These Yeast Rolls are the perfect fluffy pull-apart dinner rolls for weeknights and holidays. So tender, buttery, and delicious, just like Grandma used to make!
You Will Love These Easy Yeast Rolls
Soft, chewy, doughy bread — what could be better? If you can’t help but agree, this easy seven-ingredient recipe for homemade Yeast Rolls will be your family’s new favorite dinnertime staple.
These fluffy, buttery rolls are the perfect accompaniment to steak, ham, chicken… just about anything! If dinner doesn’t seem complete without a side of steaming bread, this recipe is definitely one you’ll use again and again.
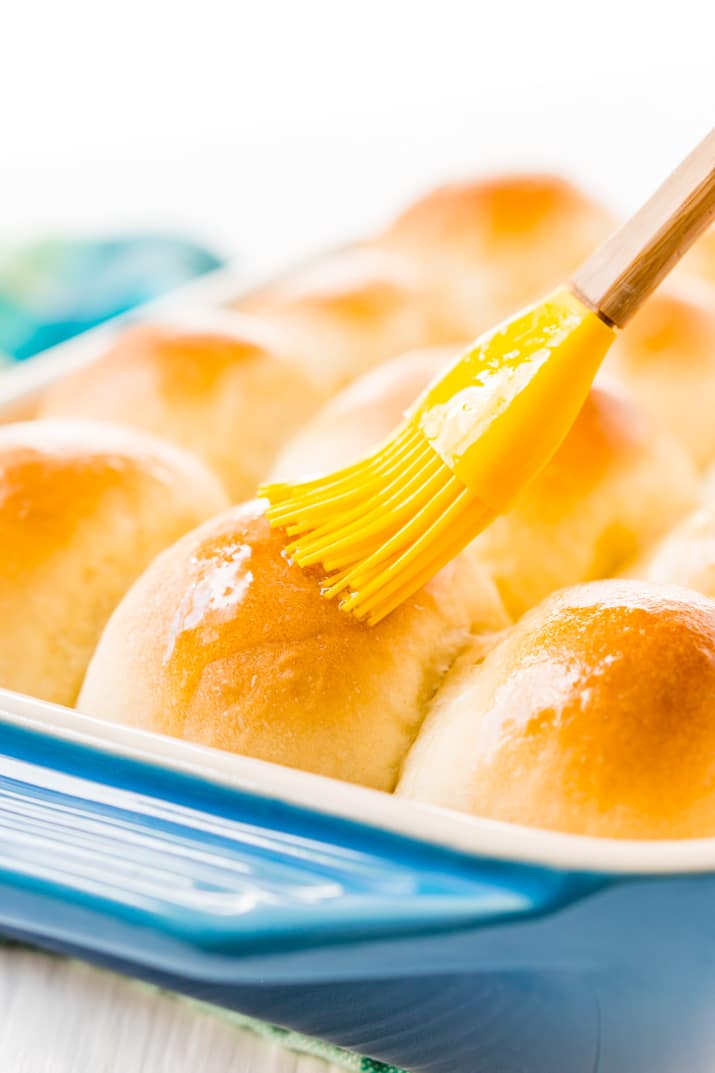
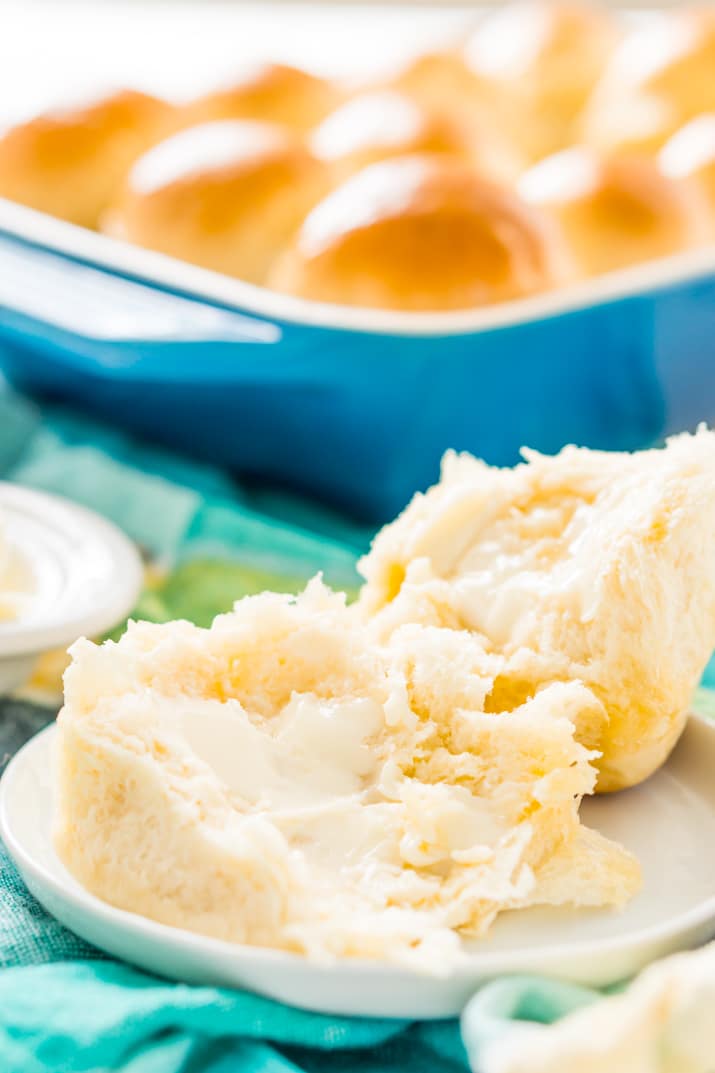
These yummy Yeast Rolls are brushed with butter and come out of the oven golden brown on the outside and light and airy on the inside.
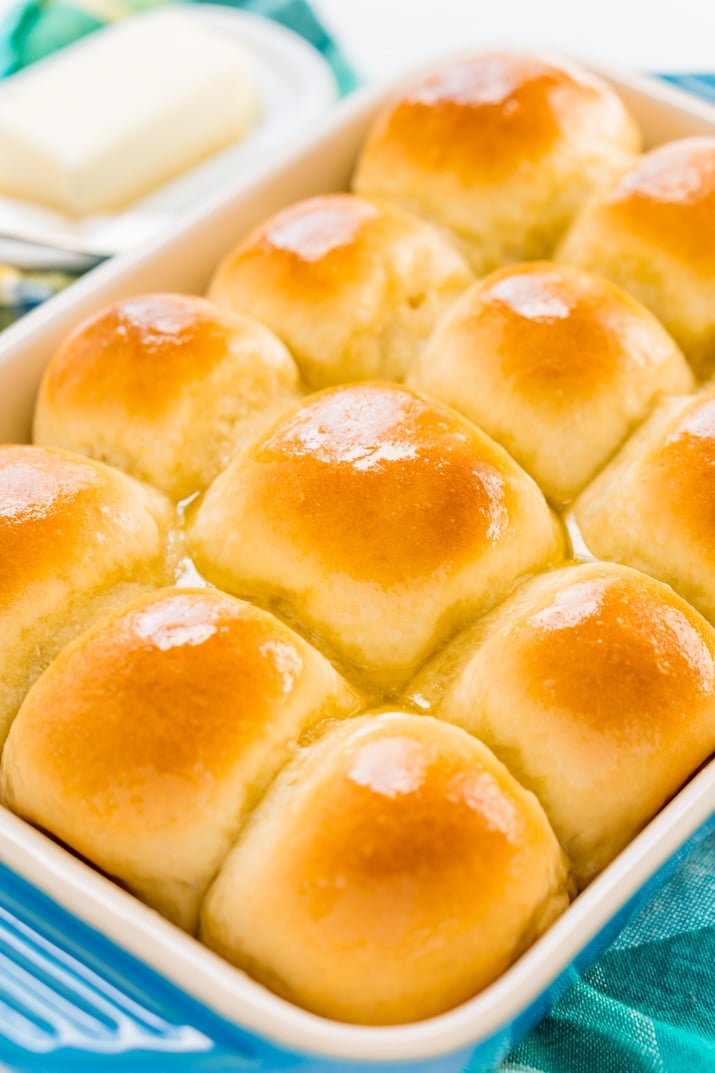
This side can be shared like pull-apart bread, and it’s tasty enough for special occasions but easy enough to make on any weeknight!
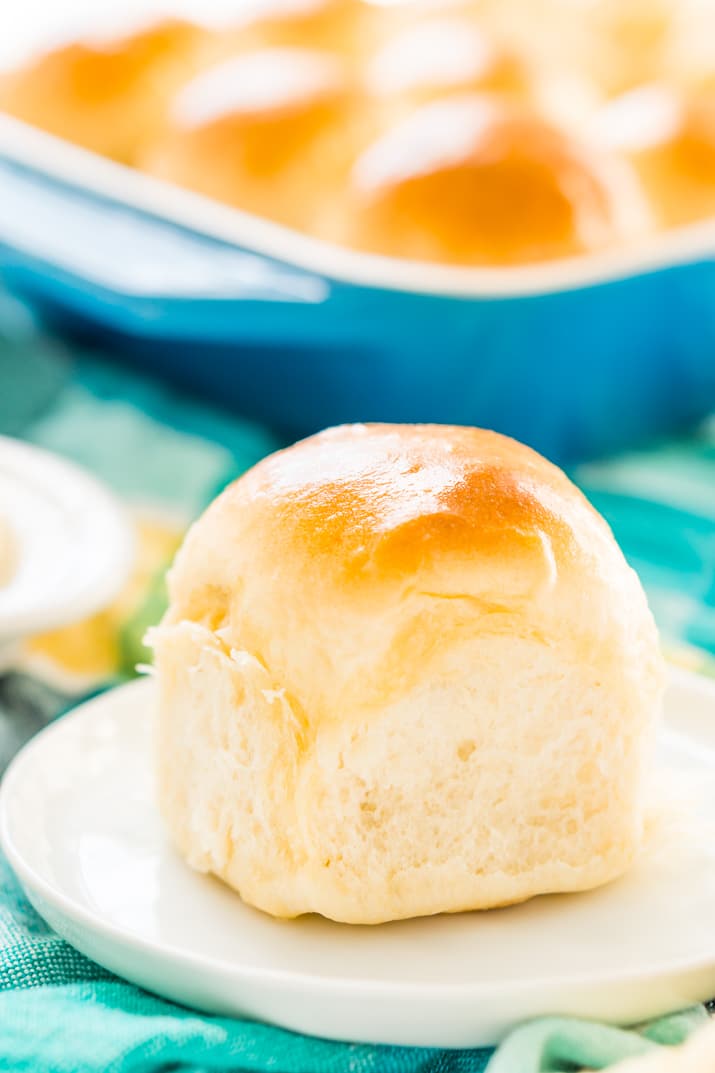
Yeast Rolls do take a little planning because the dough needs to rise, but there’s a lot of “hands-off” time involved in making them. After the ingredients are mixed, the dough needs to sit for about an hour until it doubles in size.
With that said, these rolls only take about 10 minutes to bake. The short cooking time means that it’s easy to serve Yeast Rolls hot and fresh from the oven, which is when they taste the best!
Both St Patrick’s Day and Easter are around the corner, and you may have plans to celebrate these holidays with a big, traditional meal. Yeast Rolls are delicious with a feast full of corned beef, cabbage, and mashed potatoes, and they’re just as tasty with a slab of honey-glazed ham and all the fixings.
I love using day-old Yeast Rolls to make sliders or sandwiches for lunch the next day. As a matter of fact, I’m already dreaming about making mini Reubens and ham sandwiches with all my Saint Patrick’s Day and Easter dinner leftovers!
Whenever I have guests over — or I’m bringing a dish to someone else’s house — I try to keep the food as homemade as possible. There’s no need to buy dinner rolls with this simple recipe because the irresistible taste and pull-apart texture of Yeast Rolls makes them a total crowd-pleaser.
Plus, everyone will be impressed that you made your own bread. Whether you need bread to add to a holiday spread or just something to round out your weeknight dinners, Yeast Rolls are an easy, delicious way to complete a meal and please the whole family!
Yeast Rolls Recipe ingredients
- Active dry yeast
- Warm water (105 to 115 degrees F)
- Granulated sugar
- Large egg
- Unsalted butter
- k
- Kosher salt
- All-purpose flour
How to make Homemade Yeast Rolls
These delicious dinner rolls aren’t hard to make, but they do take a bit of inactive time to proof; this leaves you free to work on other components of your main meal or go watch TV! This recipe uses dry active yeast, so you need to let the dough rise for perfectly fluffy rolls!
- Begin by dissolving the yeast in the warm water in a very large bowl. Stir in the sugar and let stand for 5 minutes.
- Next, stir in the egg, melted butter, salt, and as much of the flour as you can with a wooden spoon.
- Then you’ll transfer the dough to a stand mixer fitted with a dough hook and mix on low speed for 6 to 8 minutes. Alternatively: You can turn the dough out onto a lightly floured surface and knead by hand until the dough is smooth and elastic.
- Shape the dough into a ball and place it back in the large bowl, making sure to lightly grease the bowl first, then turn once to cover the surface of the dough with grease. Cover with a clean hand towel and let rise in a warm place until the dough doubles in size, about 45 to 60 minutes. See tips for helping dough rise below!
- Next, you’ll need to punch the dough down and turn it out onto a lightly floured surface, divide the dough in half and cover the dough back up with the cloth and let rest for 10 more minutes. Meanwhile, lightly grease two 9×13-inch pans. For Larger Rolls: Use a 15×10-inch pan, and do not divide the dough.
- Then, you’ll need to divide each half of the dough into 12 pieces and shape the rolls by gently pulling each dough piece into a ball, tucking the edges under, and arranging them on the baking sheets. If you are making larger rolls, make 15 equally-sized balls of dough.
- Cover the pans of rolls with hand towels and let rise in a warm place until the rolls have doubled in size, about 30 minutes.
- Preheat the oven to 350 degrees F and brush the tops of the rolls with melted butter. Bake for 15 to 18 minutes or until the tops are golden brown. Brush the rolls with more butter after removing them from the oven. Best served within 24 hours.
Helpful Tools For This Yeast Roll Recipe
Tips To Make Homemade Rolls Rise
Getting dough to rise can, at times, be tricky, especially if your kitchen tends to be on the cooler side. Baking bread has been an art form for centuries, but up until the last one, many depended on wood stoves for cooking and warmth.
This meant kitchens were usually pretty toasty, and you didn’t really have to worry about your dough not rising, but things are different now with central air and radiant heat, fewer and fewer homes use woodstoves, and it can be a little harder to get the dough to rise properly, so here are some tips for doing so!
- You will need to make sure your oven is cold for this one, so not a great option for when you have a ton of things to cook on big holidays like Easter or Thanksgiving. Place a piece of greased cling wrap over the top of your large bowl of dough and place it on the top shelf of the oven. On the bottom shelf, place a bowl or pot of boiling water. The water will help warm the oven and make for a great dough-rising atmosphere.
- Preheat your oven to the lowest temperature for 2 minutes, then shut your oven off. You will need to put your bread in an oven-safe bowl and let the dough double in size. Not that dough may take less time to rise with this method, so it’s good to check on it every 15 minutes or so.
How to serve Homemade Yeast Rolls
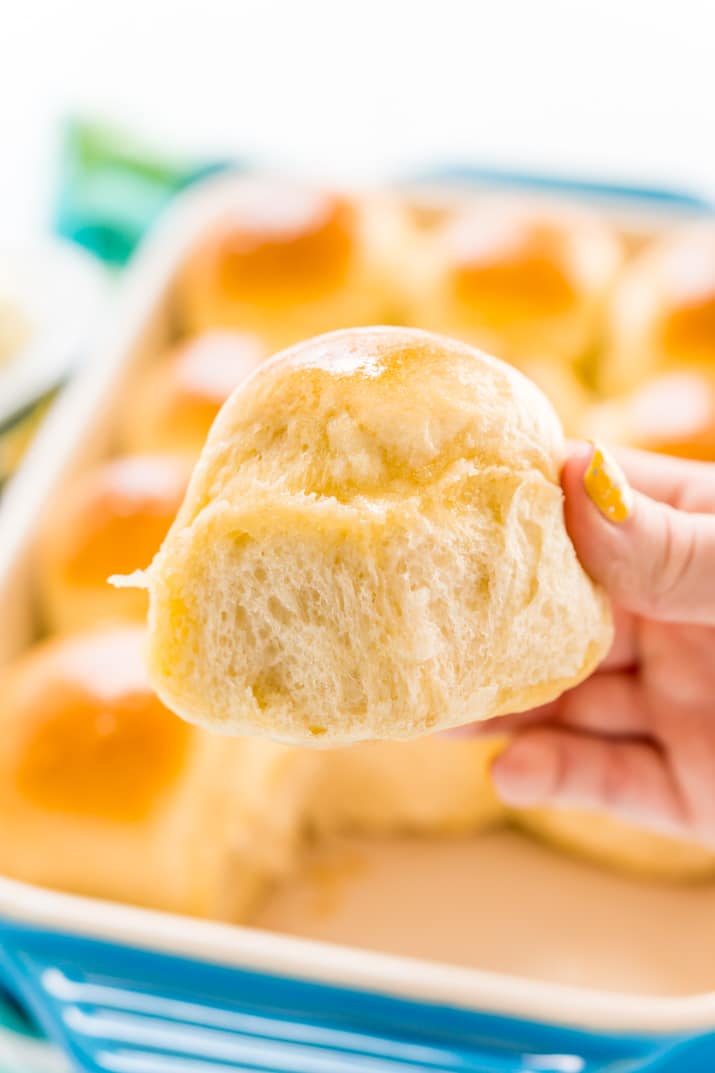
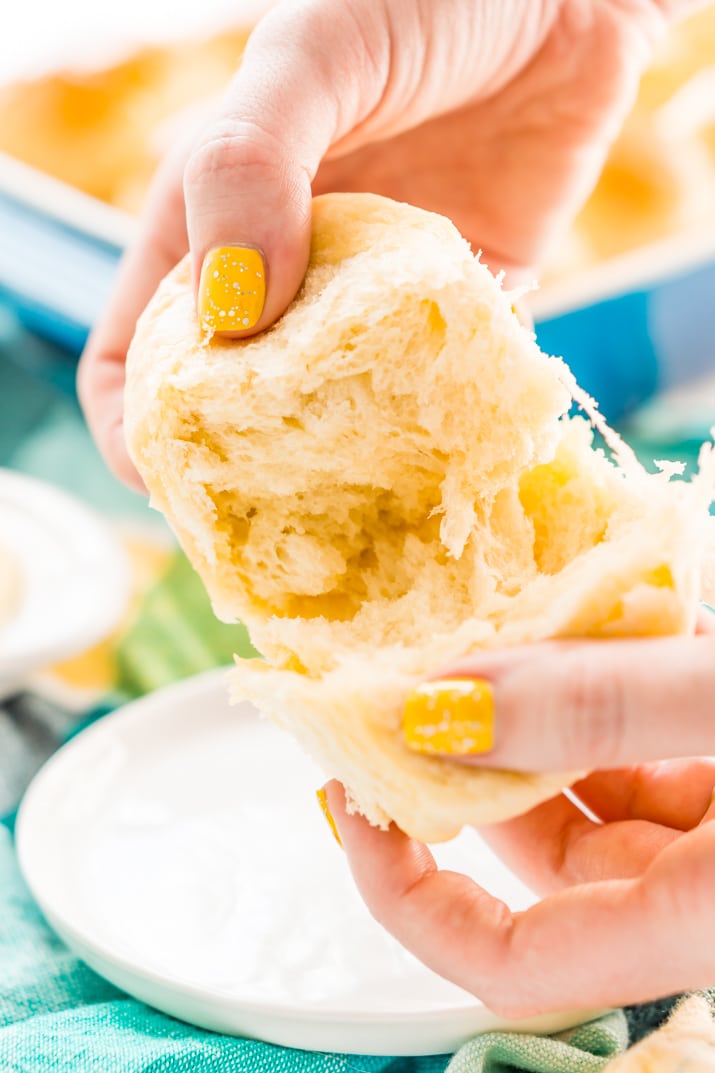
In my opinion, there is nothing better than warm, pillowy dinner rolls fresh out of the oven. When you split them open and the steam comes rolling out with that deliciously bready smell, you know you’re in for a treat. Serve them on the side of a delicious homemade meal, use them to make sliders, or simple enjoy them with a bit of butter.
How to store Easy Yeast Rolls
Once cooled, these rolls can be stored in a ziploc bag. Make sure to squeeze out as much excess air as possible to prevent them drying out.
Best Yeast Roll Recipe FAQs
It’s possible your yeast didn’t activate properly. Make sure the water you use is between 105 to 115 degrees F and that the yeast mixture if bubbly before starting the dough.
Don’t overmix, you want the dough to relax and be pliable. This is one of the reasons we divide the dough in half right before making the rolls.
Forgot to punch down your dough. If you forget to do this step, it’s possible the dough with over proof and the gluten will collapse. The end result will be hard rolls that have trouble rising while baking.
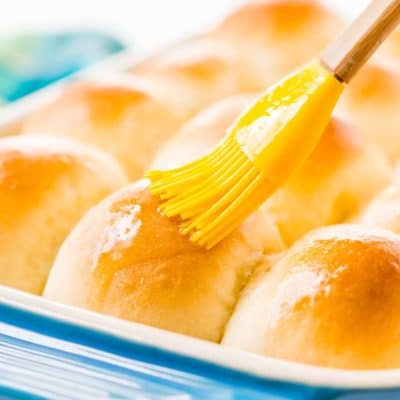
Brushing before baking isn’t as important as brushing after baking, however, I recommend it because it adds flavor and can help browning. You don’t have to, but really, why wouldn’t you.
Yes, you can. And too much yeast can cause the dough to rise too fast and collapse result in a poor finer texture.
Yes, you can. Once you over knead your dough, it’s game over. Keep an eye on your dough with the poke test. Poke the dough and if the indentation fills back in quickly, you’re good to go. If the hole remains, you’ve over kneaded the dough and will need to scrap it and start over.
More Delicious Recipes:
Let’s Connect!
If you’ve tried this recipe, please let me know how you liked it in the comments below and leave a review. I love hearing from you!
Don’t forget to tag me – @sugarandsoulco – on Instagram and Pinterest with your photos or join our Sugar & Soul Show-offs Community and share them there, where you can join our recipe challenges!

Best Yeast Roll Recipe
Ingredients
- 2 (.24 oz.) packages active dry yeast
- 2 cups warm water 105 to 115 degrees F
- ½ cup granulated sugar
- 1 large egg lightly beaten
- ¼ cup unsalted butter melted + extra for brushing at the end
- 2 teaspoons kosher salt
- 6 – 6½ cups all-purpose flour
Instructions
- Dissolve the 2 (.24 oz.) packages active dry yeast in the 2 cups warm water in a very large bowl, then stir in the ½ cup granulated sugar and let stand for 5 minutes.
- Stir in 1 large egg, ¼ cup unsalted butter (melted), and 2 teaspoons kosher salt. Stir in as much of the 6 – 6½ cups all-purpose flour as you can with a wooden spoon.
- Transfer the dough to a stand mixer fitted with a dough hook and mix on low speed for 6 to 8 minutes.
Alternatively: You can turn the dough out onto a lightly floured surface and knead by hand until the dough is smooth and elastic. - Shape the dough into a ball and place back in the lightly greased large bowl, turning once to cover the surface of the dough with grease. Cover with a clean hand towel and let rise in a warm place until the dough doubles in size, about 45 to 60 minutes.
- Punch the dough down and turn out onto a lightly floured surface, divide the dough in half and cover the dough back up with the cloth and let rest for 10 more minutes. Meanwhile, lightly grease two 9×13-inch pans. For Larger Rolls: Use a 15×10-inch pan and do not divide the dough.
- Divide each half of the dough into 12 pieces and shape the rolls by gently pulling each dough piece into a ball, tucking the edges under and arranging on the baking sheets. If you are making larger rolls, make 15 equally sized balls of dough.
- Cover the pans of rolls with hand towels and let rise in a warm place until the rolls have doubled in size, about 30 minutes.
- Preheat the oven to 350°F and brush the tops of the rolls with melted butter. Bake for 15 to 18 minutes or until the tops are golden brown. Brush the rolls with more butter after removing from the oven. Best served within 24 hours.
Nutrition
Did You Make This Recipe?
Don’t forget to share it with me on Instagram @sugarandsoulco and follow on Tiktok @sugarandsoulco and Pinterest @sugarandsoulco for more!


Comments & Reviews
Richard says
These were perfect texture and pretty easy to make.
Our oven has a “proof” 100 deg option and it work perfect and recipe was right on everything.
Only wish had more of a “yeast” taste, can you add more yeast? Or can you use milk instead of water?
Texture was perfect, flavor was mild. But overall my go to for now on.
Cyncyn says
Hi Melanie either you overwatch your dough or your yeast was not good Usually those are only 2 reasons have to be careful not to overwork the dough You wanted a little tacky
Melanie says
My rolls are hard and not fluffy at all 😩. Does anyone no what I’ve done wrong?
Dee says
Easy to make and very tasty
Rebecca Hubbell says
I’m so glad you enjoyed them, Dee!
Penny says
Small batch.. need recipe for 12-18 only
Tara says
Question…has anyone tried to make these then freeze the dough like the Rhodes Rolls? I want to “make up” so my kiddos can just pull them out through them in a tin let them rise then put in oven. But what point could I do that…sorry if seems like a stupid question. Lolol…
Shirley says
Very easy and delicious, thanks for sharing.
Rebecca Hubbell says
Glad you liked them!
Lisa says
Has anyone tried to half the recipe?
Samantha Noll says
These rolls turned out beautifully for me! Which NEVER happens!
Rebecca Hubbell says
I’m so glad!
Albert Bevia says
This post has me craving for freshly baked rolls! I have all the ingredients on hand, I have to try this out tonight! great recipe and easy enough for anyone to make
Courtney says
WOW! These rolls are absolutely perfect. So fluffy and delicious. They will be on the Easter menu for sure. Totally off topic of food, but your nails <3 I love yellow and I'm seriously obsessed with that color you have! 🙂 It's the perfect yellow!!
Rebecca Hubbell says
Thank you! It’s CND brand in Bicycle Yellow 🙂 With a glitter top coat!
Amanda says
What beautiful rolls! These would be so great for a holiday bread basket, and the texture looks perfect. Love those glossy tops, and the suggestion to use them for holiday leftover sandwiches, too!
Rebecca Hubbell says
Thanks, Amanda! And yes, so many great uses for them!