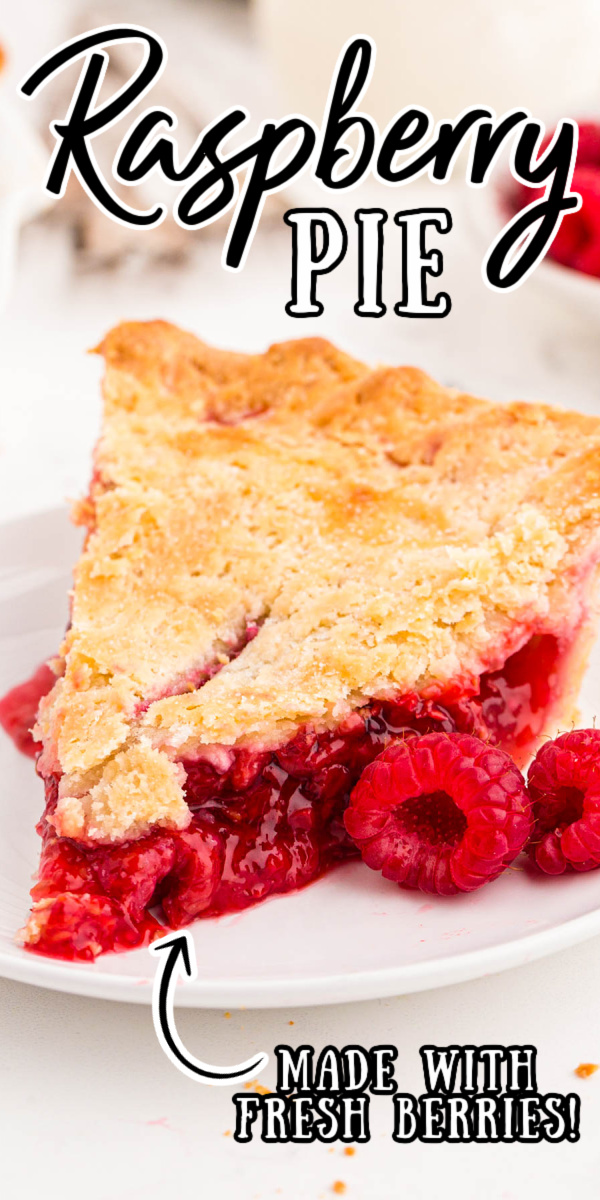
This Raspberry Pie is overflowing with fresh raspberries that have been tossed in sugar to create an incredibly sweet yet tart filling! This delicious homemade pie comes out of the oven after just 40 minutes of baking!
Take a bite of another perfectly sweet yet tart raspberry dessert like this Raspberry & Peach Cobbler that’s made with only 6 ingredients or this light and creamy No Bake Raspberry Cheesecake!
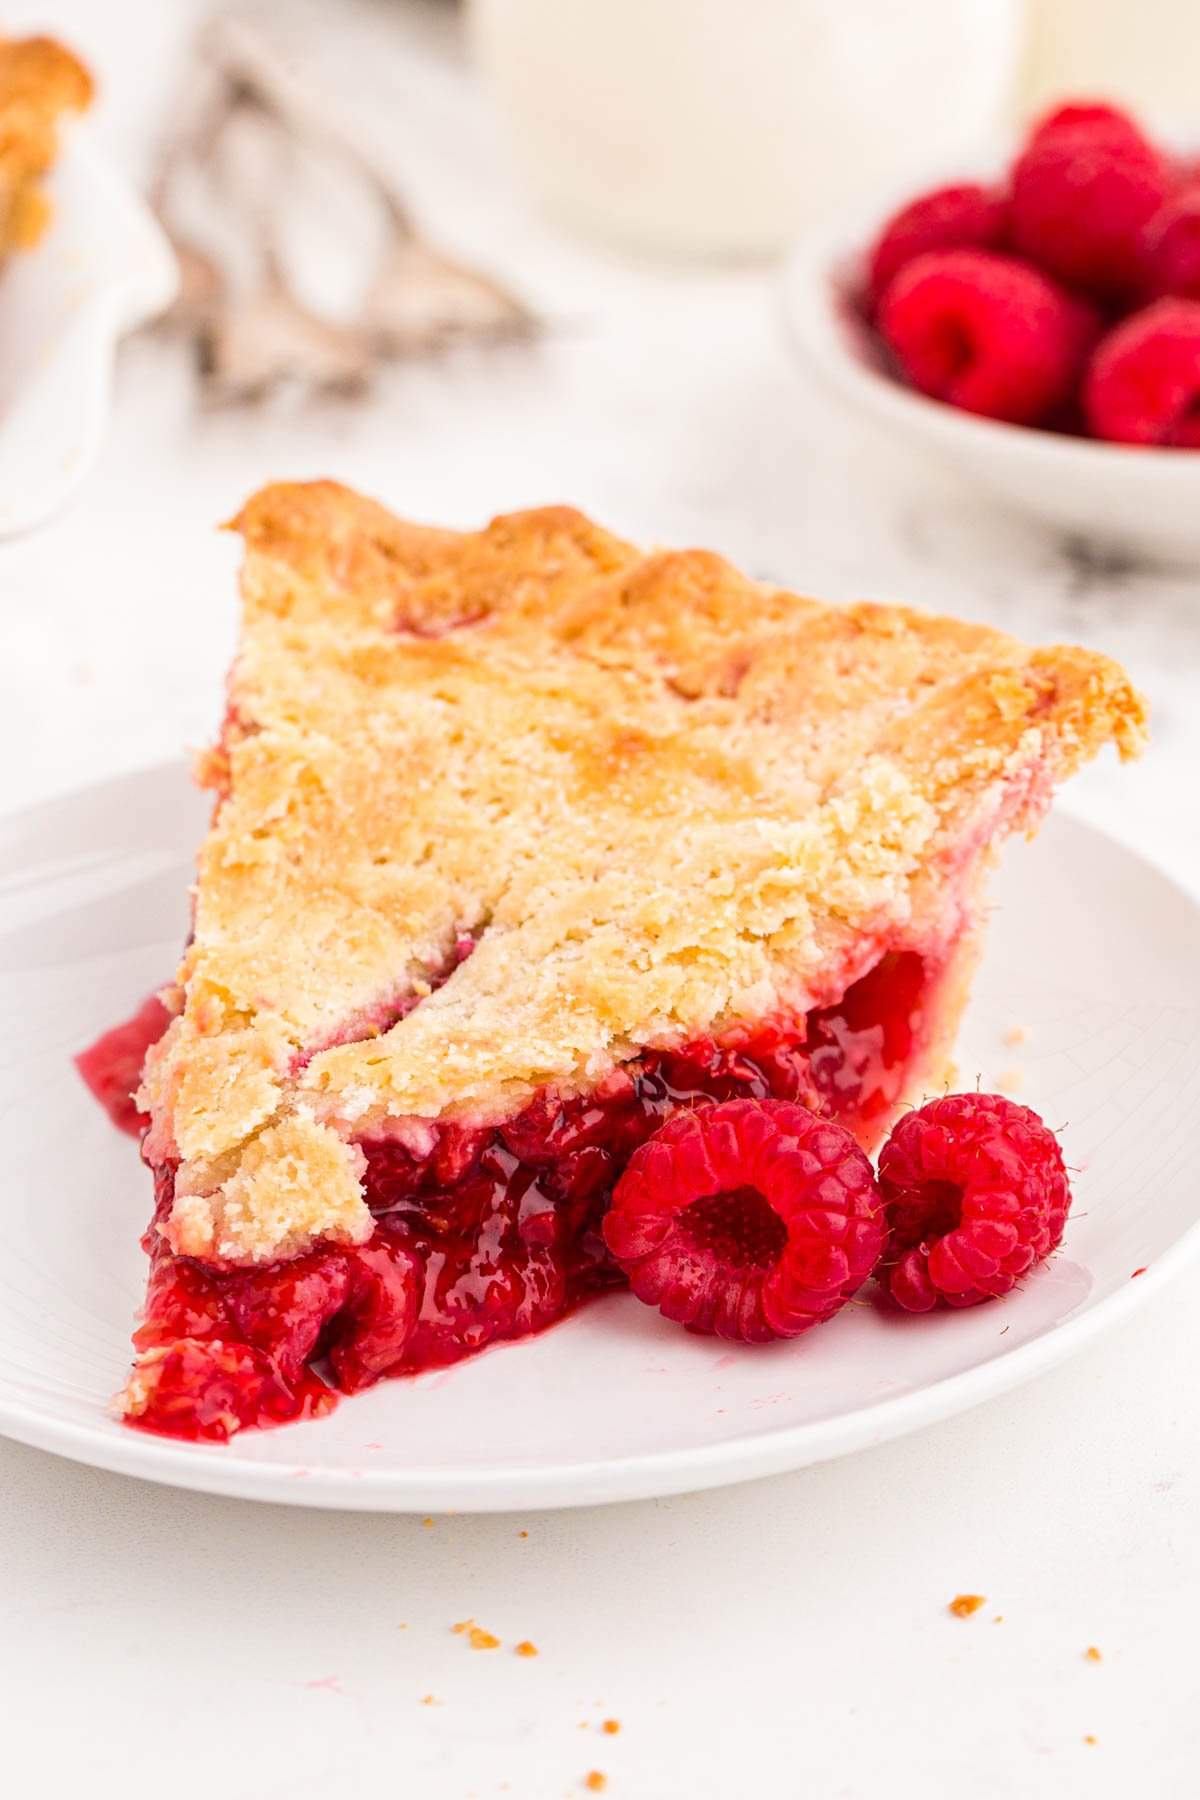
This Raspberry Pie pairs freshly picked berries with common pantry ingredients for a tasty fruit pie that has a gorgeous deep red filling! Serve this pie up to friends and family with a heaping scoop of vanilla ice cream or a topping of Perfect Homemade Whipped Cream!
This recipe gives you the freedom to pour the raspberry pie filling into a store-bought refrigerated pie crust for a quicker pie! But I’d also really encourage you to try it in homemade Cream Cheese Crust for an incredibly delightful flavor combination!
Either way, the raspberry filling really has a great balance of a sweet and tart taste that everyone will appreciate regardless of crust choice! The added lemon juice really adds some brightness to the sweet raspberries that make this pie a true stand out from the rest!
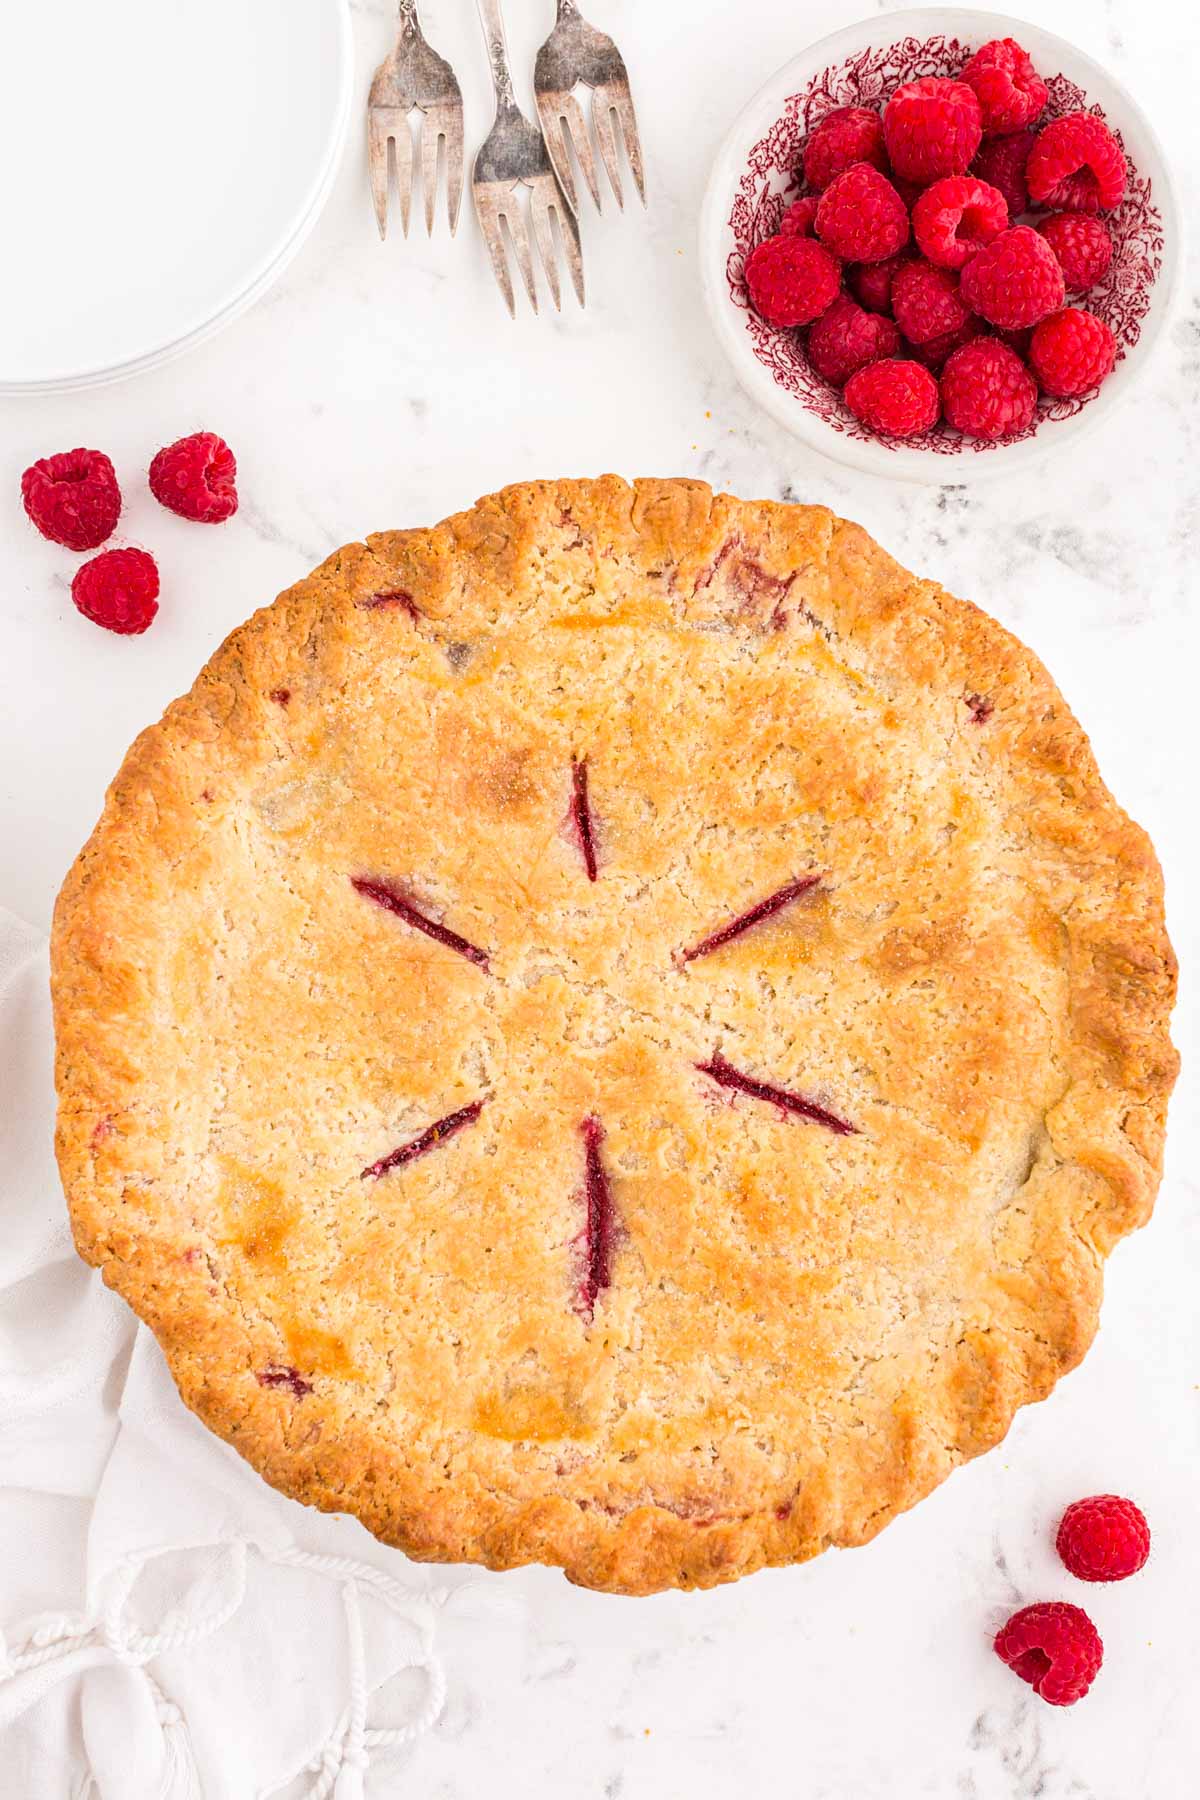
Ingredient Notes
To slide this Raspberry Pie into the oven you’ll need fresh raspberries that have been rinsed off and pat dry. They then get tossed with granulated sugar, lemon juice, tapioca flour, and lemon zest to create the pie filling.
The raspberry filling then gets poured into a homemade Cream Cheese Pie Crust, Traditional Butter Crust, or even a refrigerated crust. Slices of butter are then put on top of the filling and covered with the top layer of crust.
Before baking the crust it will get brushed with an egg wash that’s made of egg whites and water.
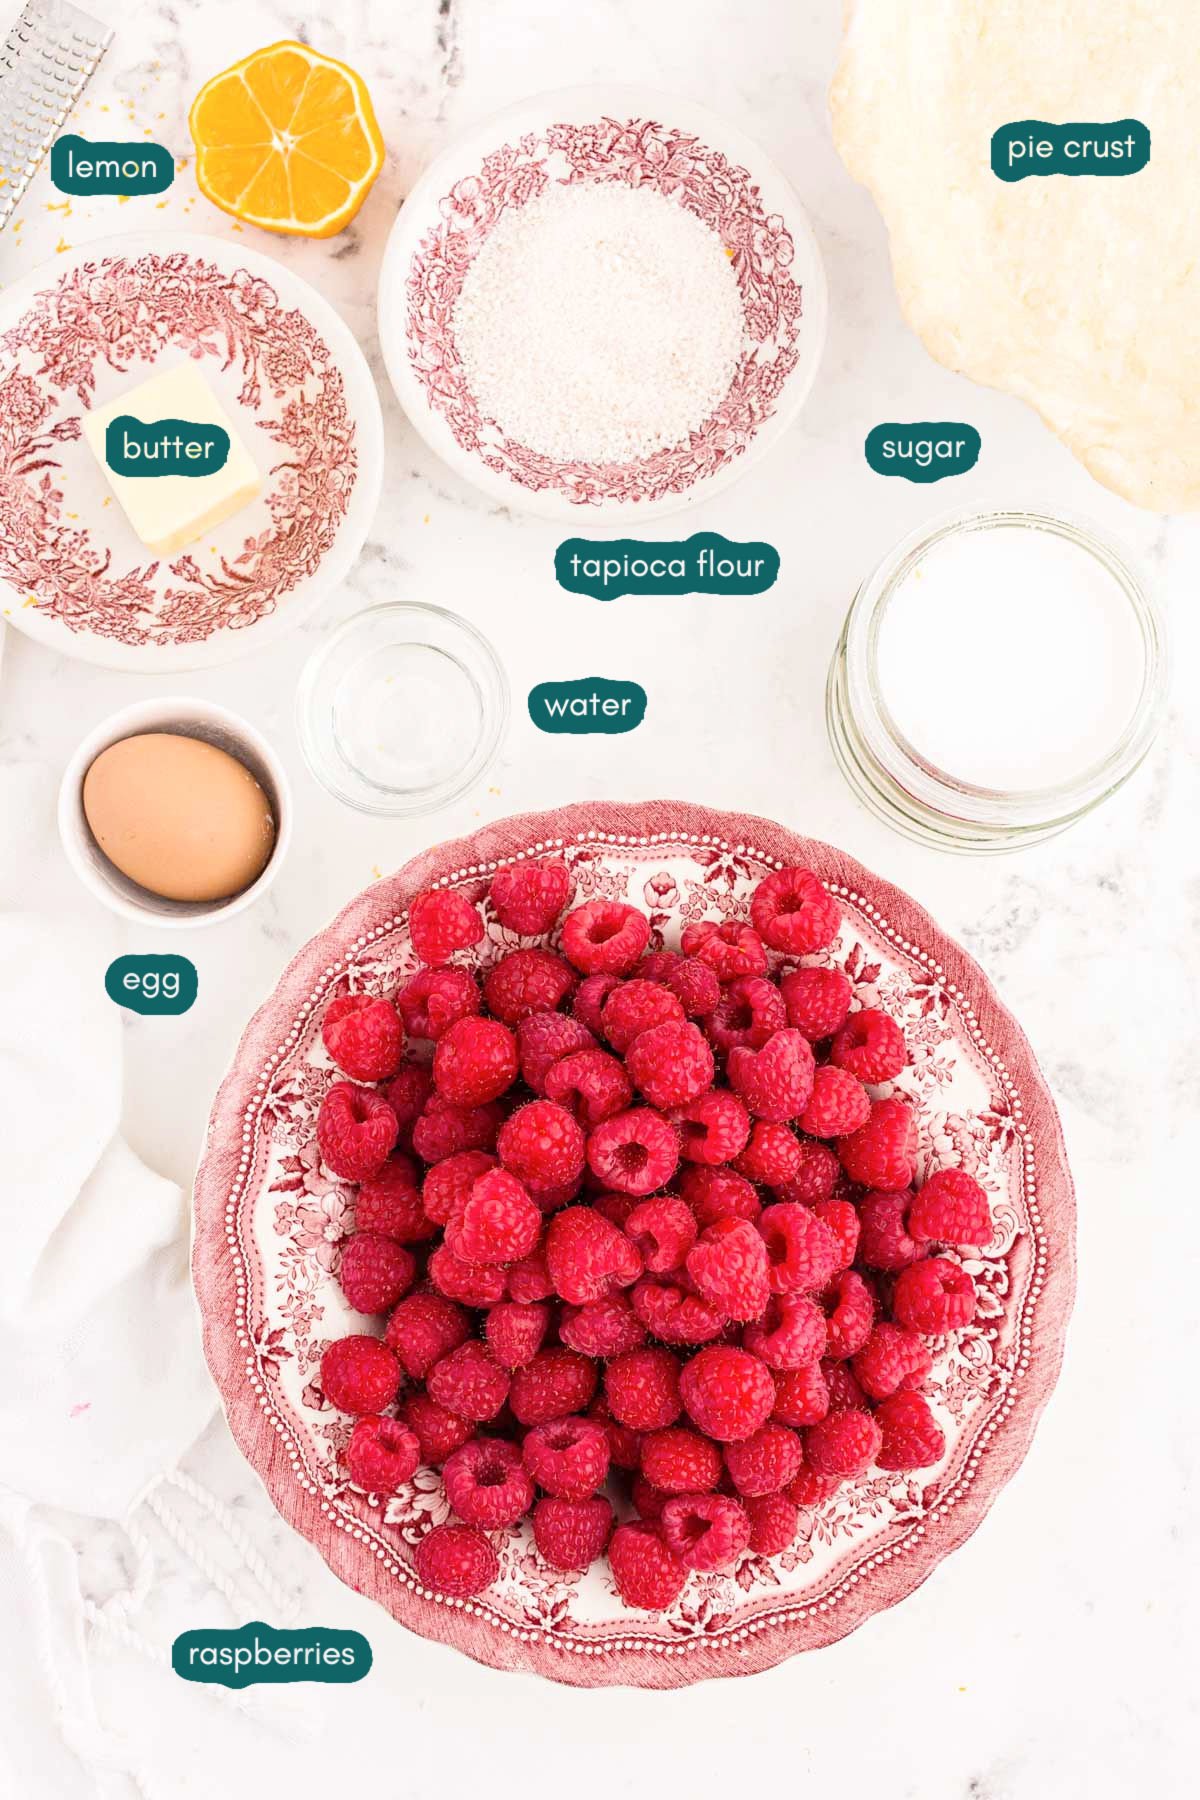
How To Make Raspberry Pie
- Toss the raspberries, sugar, lemon juice, tapioca flour, and lemon zest together in a large mixing bowl. Being careful not to smash the delicate raspberries.
- Pour the raspberry filling into the prepared bottom pie crust.
- Place slices of butter across the top of the filled pie.
- Place the top pie crust over the filling. Tuck the top layer of crust under the edge of the bottom layer of crust, trimming any excess dough away.
- Pinch or seal the edges together.
- Slit the top of the crust using a sharp knife to allow steam to escape while the pie bakes.
- Whisk together the egg white and water. Dip a pastry brush into the egg wash and brush the pie crust gently.
- Bake the pie and then reduce the heat of the oven. Then cover the pie with aluminum foil.
- Continue baking until the filling is bubbling up through the slits on the top of the pie.
- Cool the pie completely before slicing and serving!
Frequently Asked Questions
How To Store
You can store this Raspberry Pie tightly covered at room temperature for 2 days. Afterward, you can move it to the refrigerator and store it for another 2 days.
Can I Use Frozen Raspberries Instead Of Fresh?
Yes, you can. I would just let them thaw out a bit before you begin to make the filling.
What Can I Use Instead Of Tapioca Flour?
You could swap the tapioca flour out for cornstarch instead.
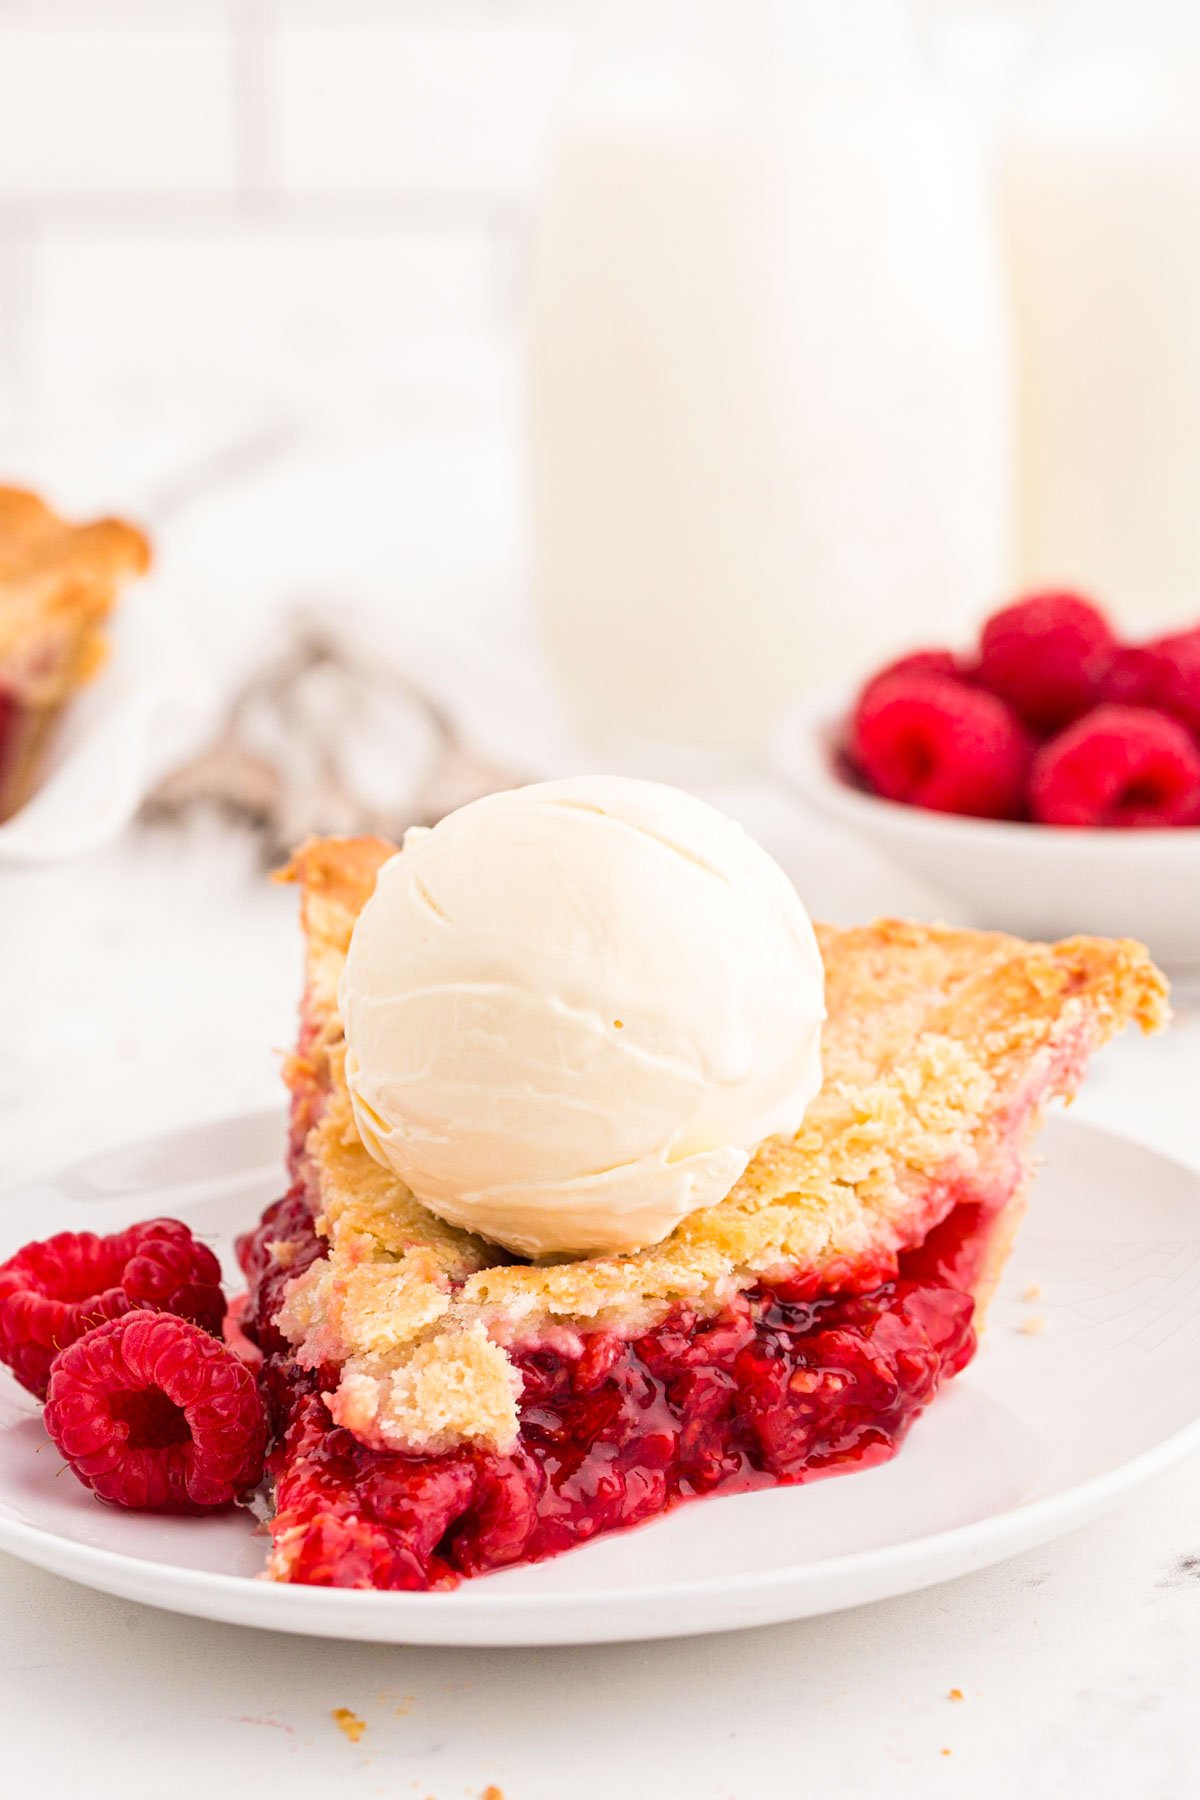
I love grabbing fresh fruit to make up yummy homemade fruit pies like this Raspberry Pie! Enjoy another fruit pie recipe that you’ll enjoy slicing up and eating as much as this one!
- The Best Homemade Apple Pie – Homemade spiced apple pie filling gets baked into a flaky pie crust, ready in under an hour!
- Classic Blueberry Pie (With Lattice Crust) – Whip up the sweet blueberry filling from scratch and then bake it in a pre-made refrigerated pie crust!
- Berry Pie – Strawberries, blueberries, raspberres, and blackberries combine to create this sweet yet tart pie!
- Strawberry Jello Pie – Made with fresh, ripe strawberries and sweet whipped cream for a refreshing dessert!
- Easy Cherry Hand Pies – Tart cherry filling gets sweetened up with sugar and then tucked inside a heart shaped crust!
Let’s Connect!
If you’ve tried this recipe, please let me know how you liked it in the comments below and leave a review. I love hearing from you!
Don’t forget to tag me – @sugarandsoulco – on Instagram and Pinterest with your photos or join our Sugar & Soul Show-offs Community and share them there, where you can join our recipe challenges!

Raspberry Pie
Ingredients
- 5 cups fresh raspberries rinsed and pat dry
- 1 cup granulated sugar
- 2 teaspoons lemon juice
- 3 tablespoons tapioca flour
- ¼ teaspoon lemon zest optional
- 2 tablespoons unsalted butter
- 1 double pie crust refrigerated or favorite recipe
- 1 egg white
- 1 tablespoon water
Instructions
- Preheat oven to 425°F. Toss together raspberries, sugar, lemon juice, tapioca, and lemon zest in a large mixing bowl. Toss gently so that you don’t smash the delicate raspberries.
- Mound raspberry filling into prepared bottom pie crust.
- Dab pieces of butter across the top of the filled pie.
- Roll out the top pie crust and place it over the top of the pie.
- Tuck the top layer of crust under the edge of the bottom layer of crust, trimming excess dough. Pinch or seal the edges together.
- Slit the top of the crust to allow the steam to escape while baking.
- Whisk together the egg white and water. Use a pastry brush to gently brush over the pie crust.
- Bake for 15 minutes at 425°F. Then reduce heat to 375°F and cover the pie with aluminum foil.
- Continue cooking 25 to 30 minutes longer until the filling is bubbling up through the slits in the top crust.
- Cool pie completely before slicing.
- Serve with vanilla ice cream or whipped cream.
Notes
- This pairs nicely with a cream cheese crust or a traditional butter pie crust.
- The pie should be a nice golden brown after the initial high temp bake time. If it’s not quite golden, go ahead and reduce the cook temp, but wait to cover with aluminum foil until it’s browned.
- The tapioca will thicken the pie as long as it cooks until the filling is bubbling up. Since you’ve already browned the crust and covered it with aluminum foil, keep the pie cooking until it’s bubbly.
- You could add cinnamon or nutmeg to the pie instead of the lemon. Lemon adds some brightness to the sweet raspberries, but warmer spices would be nice, too.
Nutrition
Did You Make This Recipe?
Don’t forget to share it with me on Instagram @sugarandsoulco and follow on Tiktok @sugarandsoulco and Pinterest @sugarandsoulco for more!



Share your thoughts!
Love this recipe? Share your thoughts with me below and leave a review! And don’t forget to connect on your favorite social platform below!