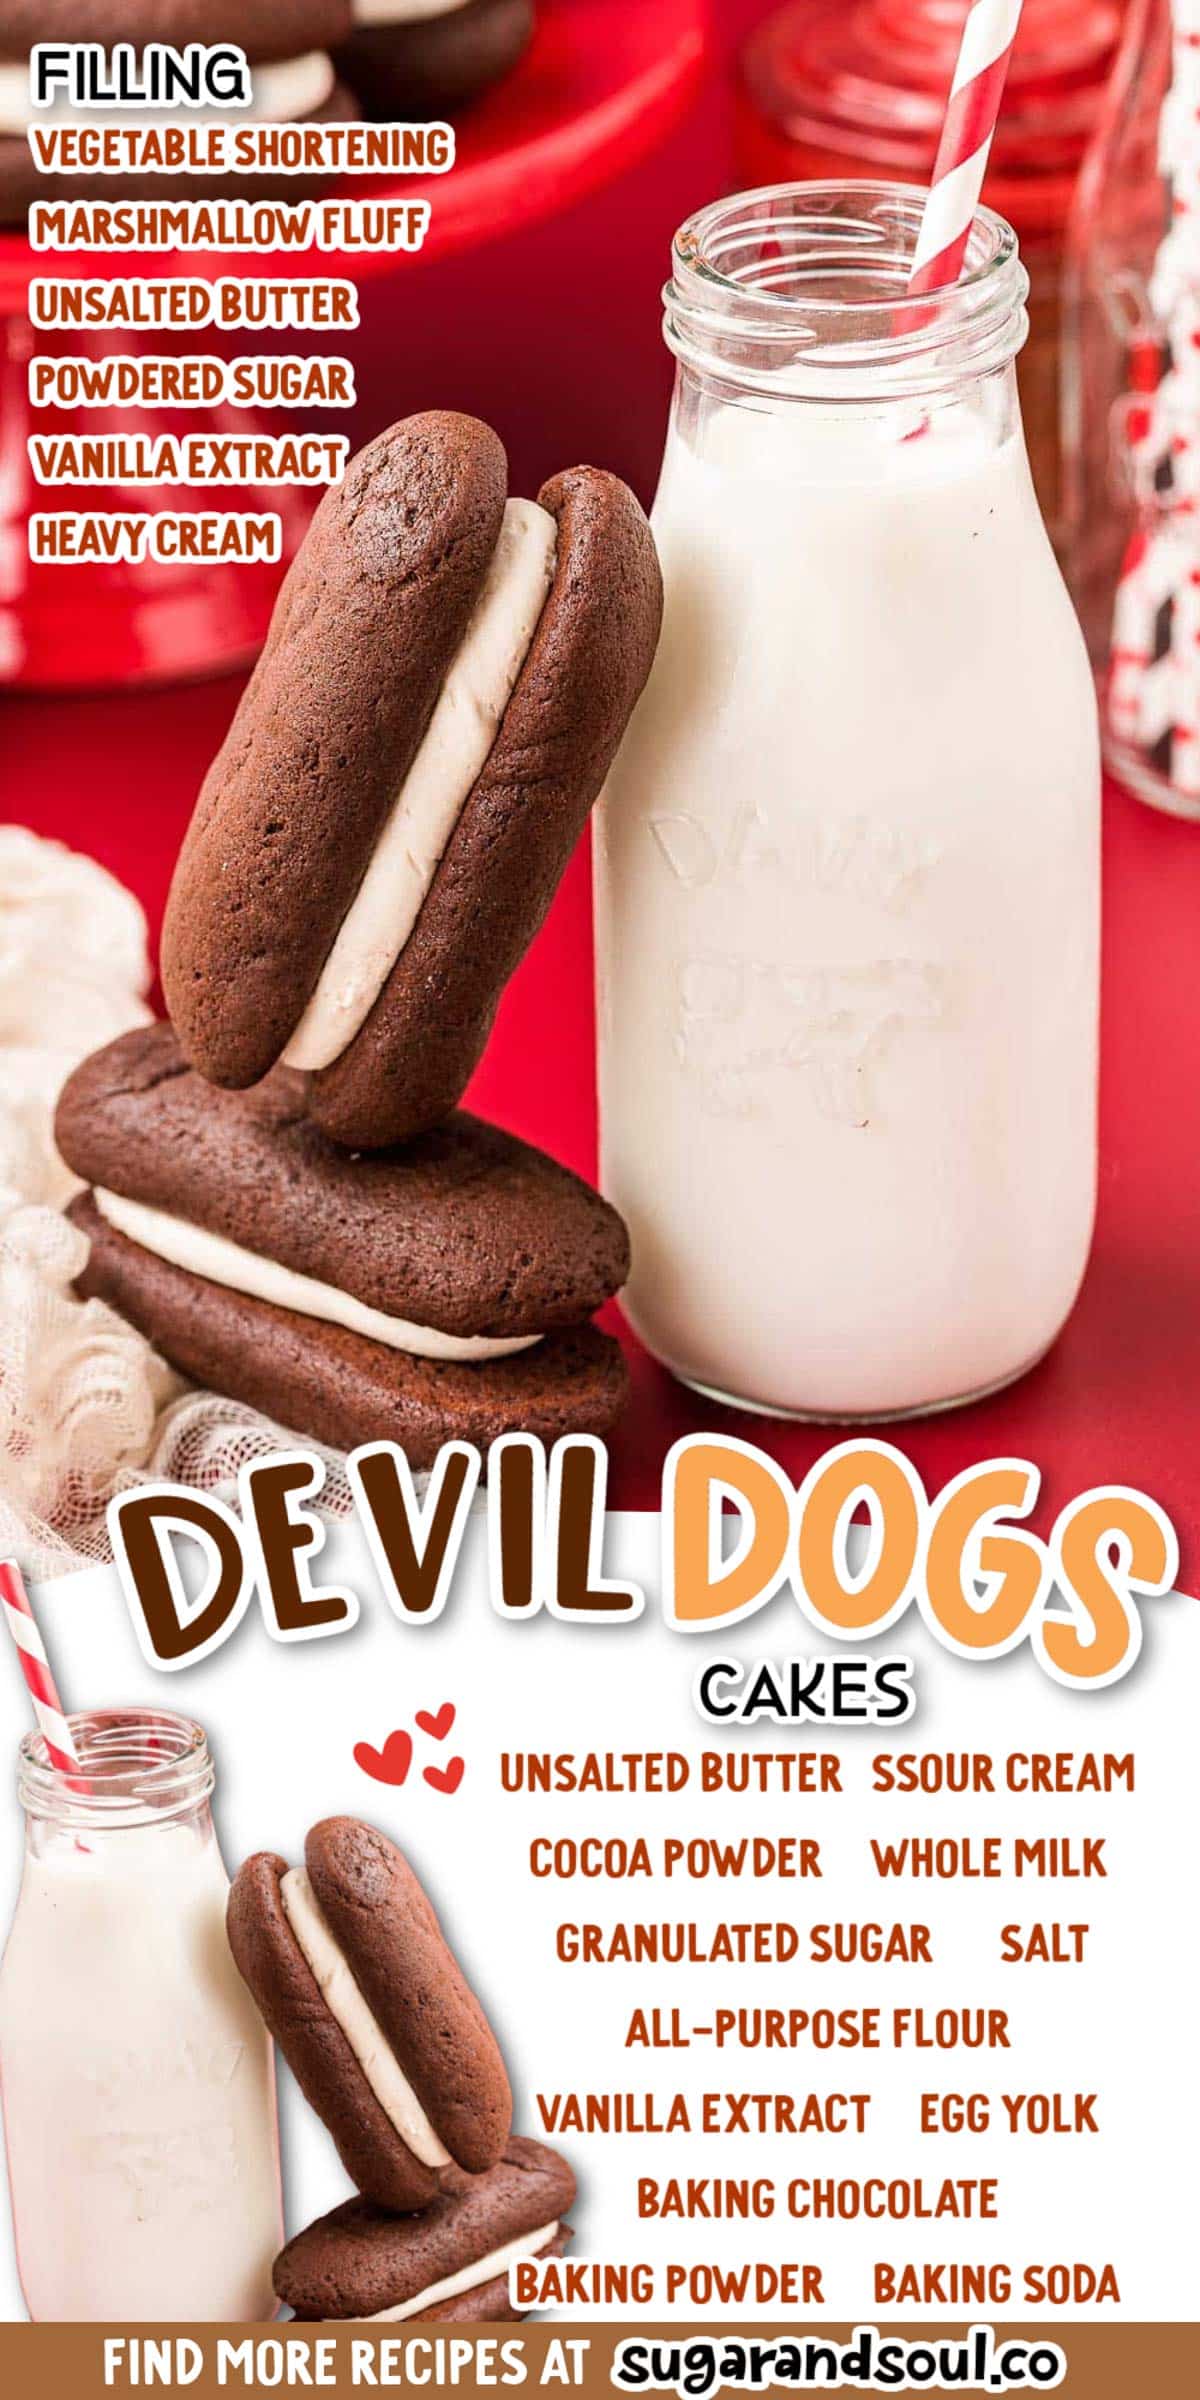
These Devil Dog Cakes are the homemade version of everyone’s favorite store-bought treat! Made right at home with pantry staple ingredients and better than ever!
Craving more chocolaty goodness? Then check out my Triple Chocolate Chip Cookies or Crockpot Chocolate Cake too!
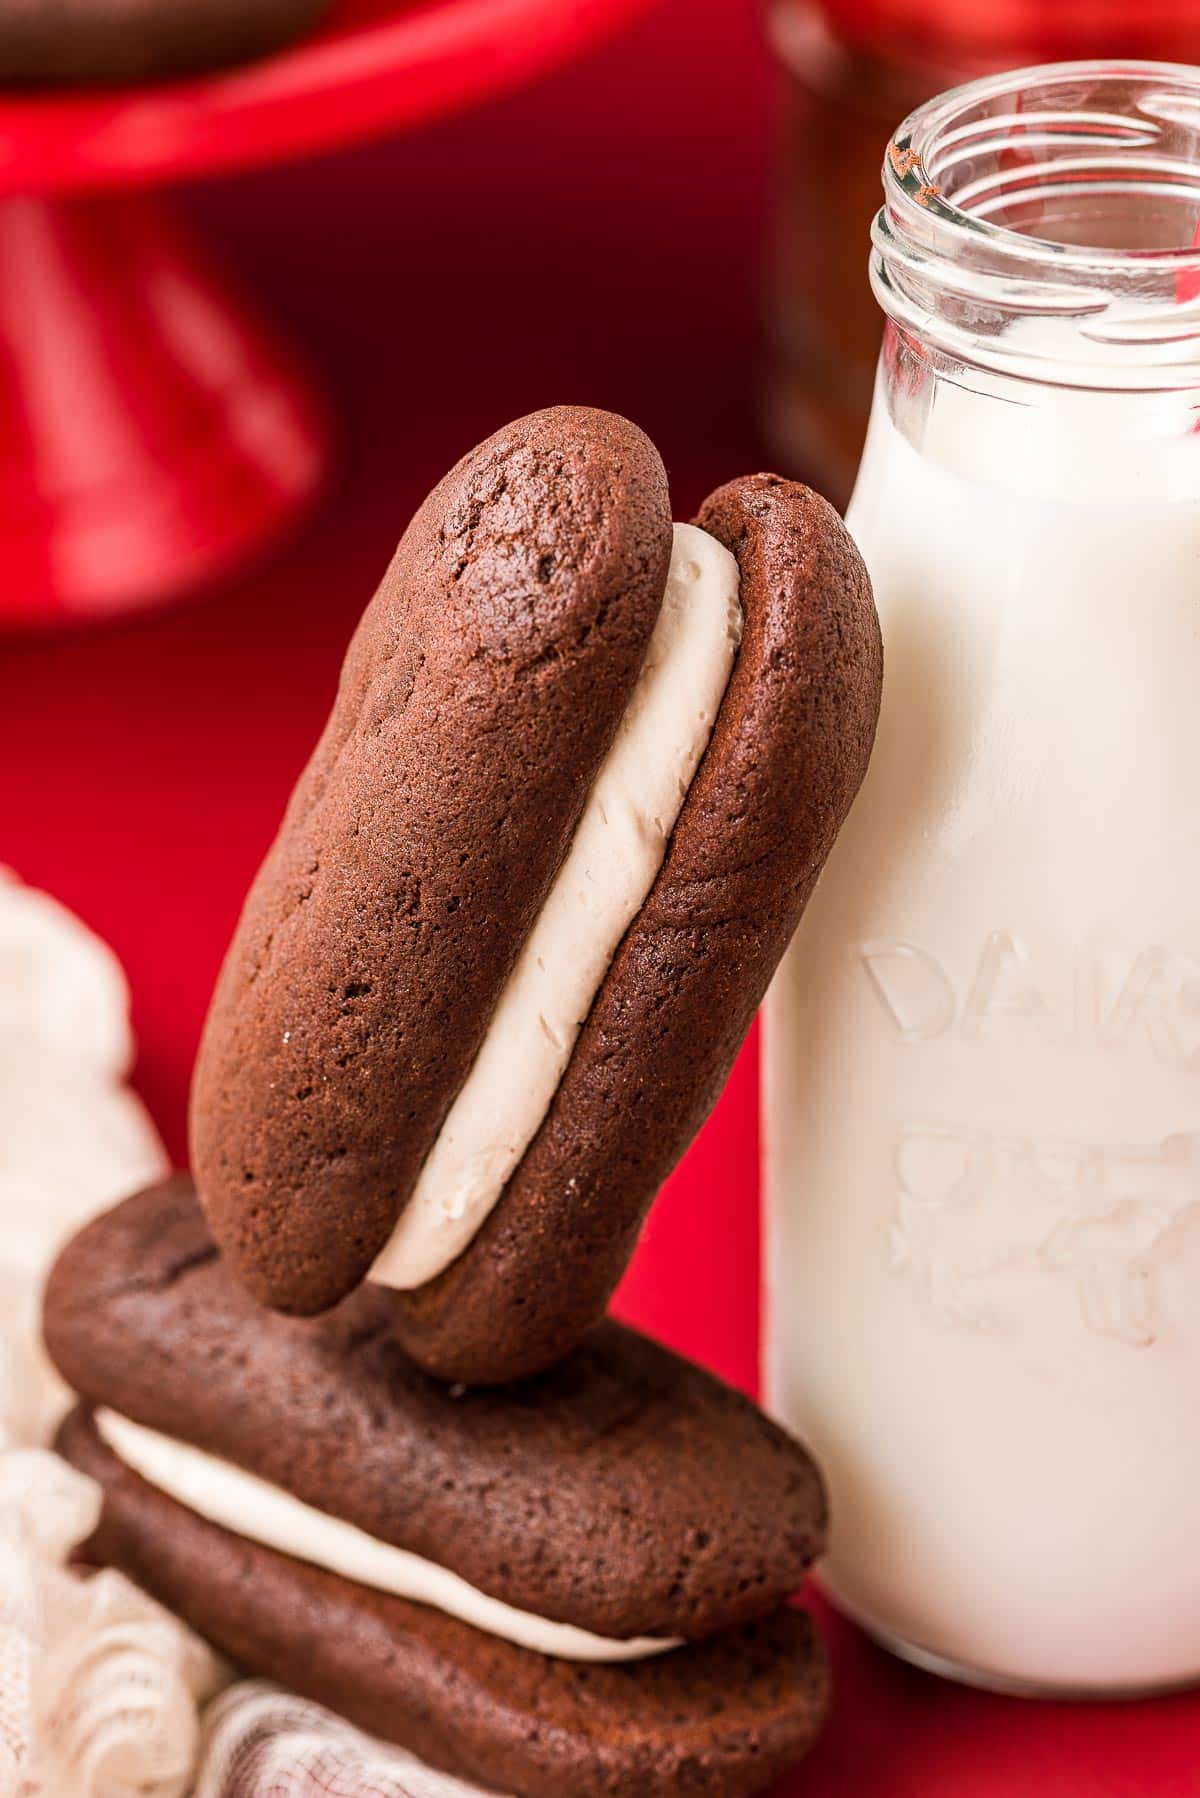
Grab an ice-cold glass of milk or a warm cup of coffee to enjoy with these Devil Dog Cakes! This homemade version will have you saying goodbye to a box of the store-bought stuff for good!
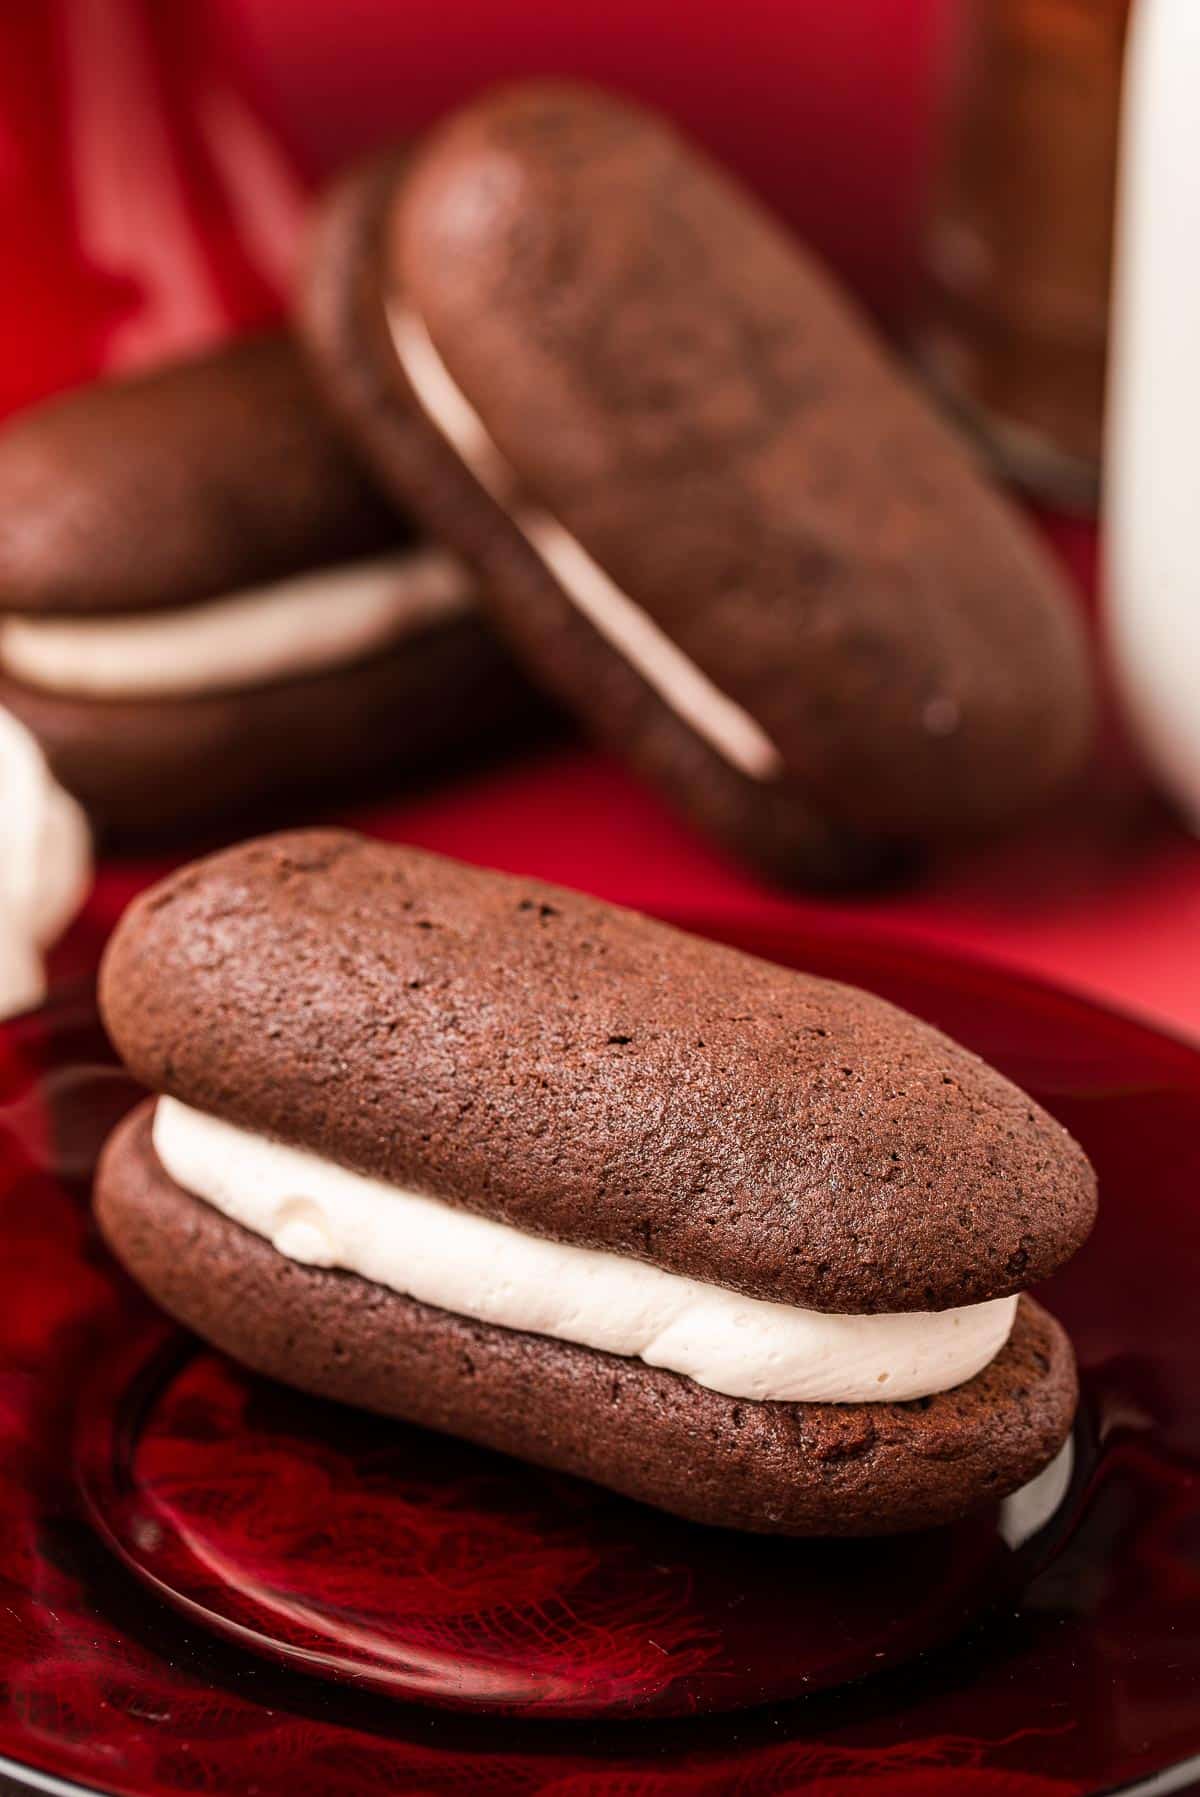
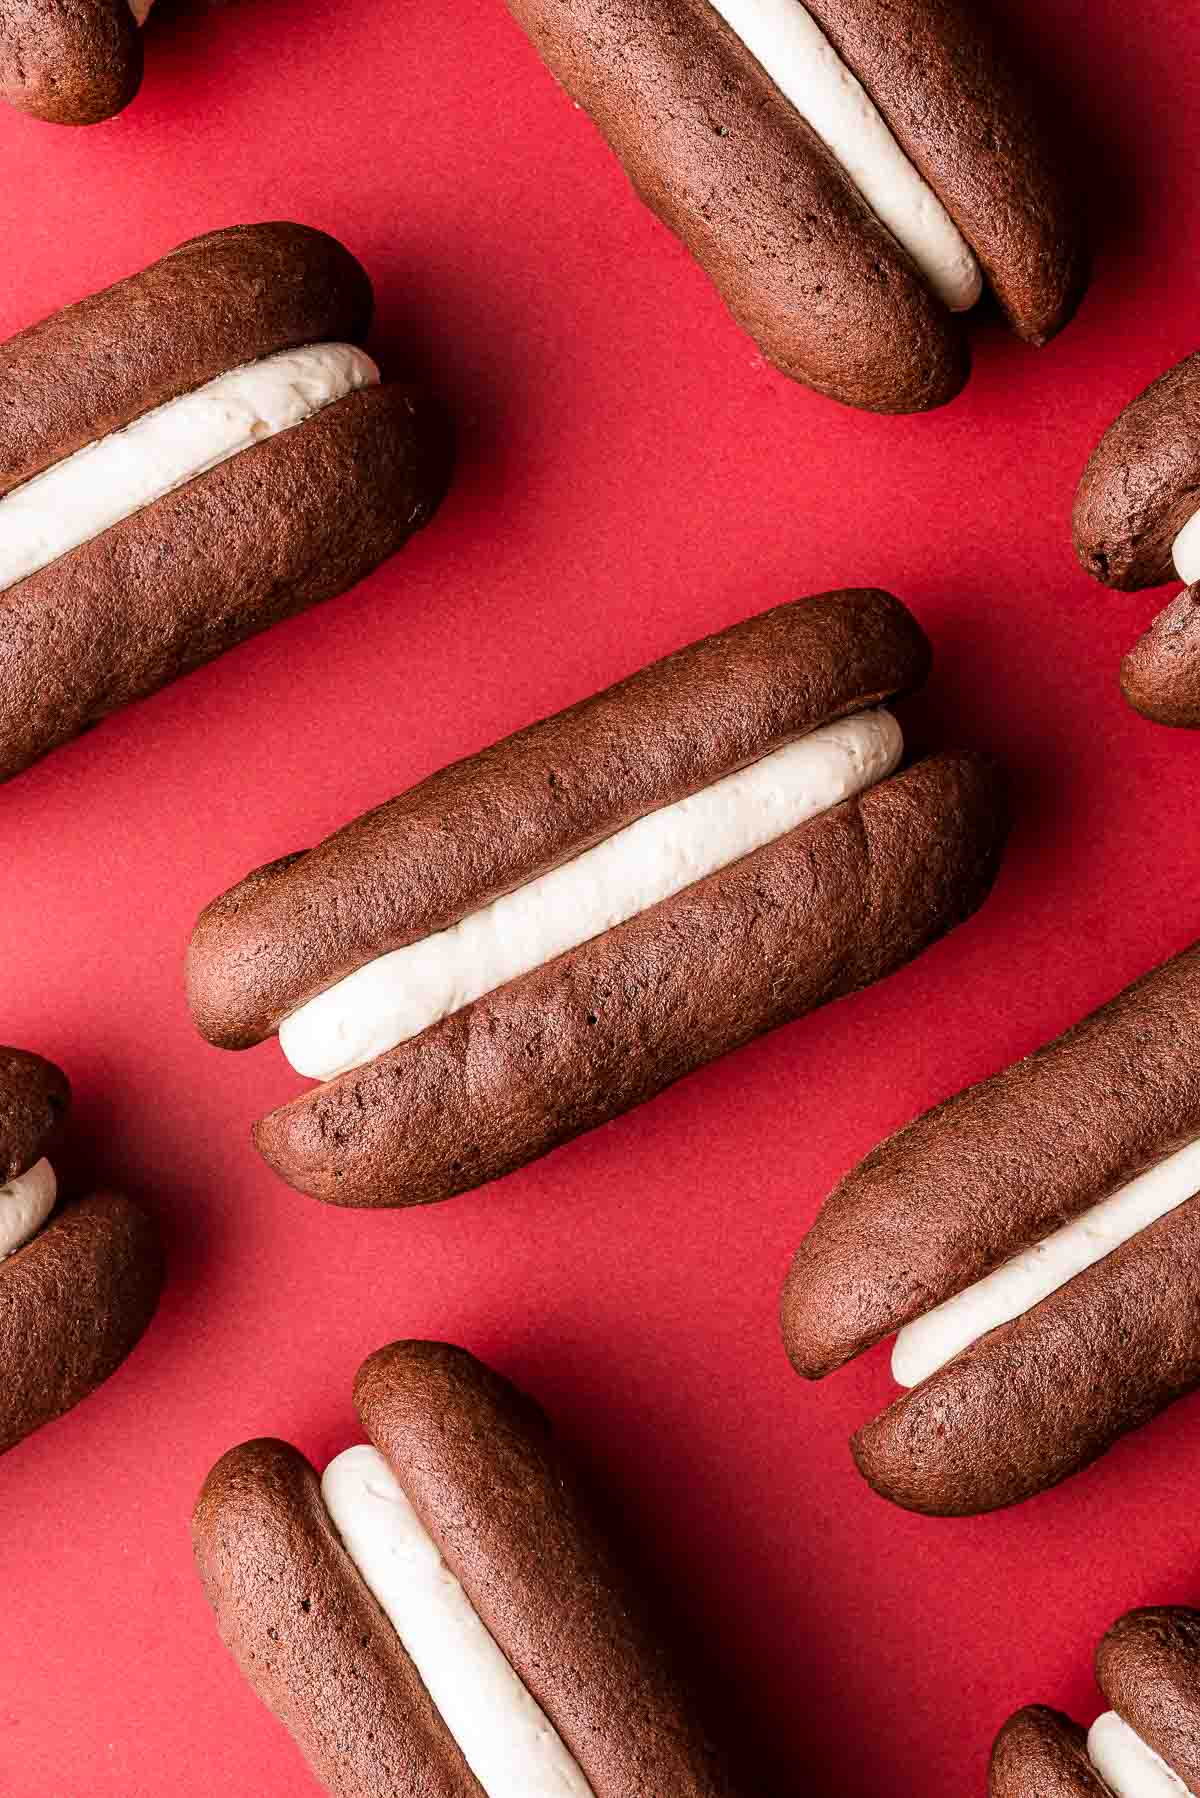
With their tender, moist chocolate cake and sweet, fluffy frosting filling, these Devil Dog Cakes make the perfect hand-held after-dinner treat! No messy serving, no time-consuming clean-up, just delicious cake that’s eaten right from the palm of your hand!
The Homemade Experience!
Taste: Biting into one of these homemade treats resembles everything we love about our beloved box of Hostess/Drake’s Devil Dogs! Only you get the taste of homemade, which to me, always trumps storebought!
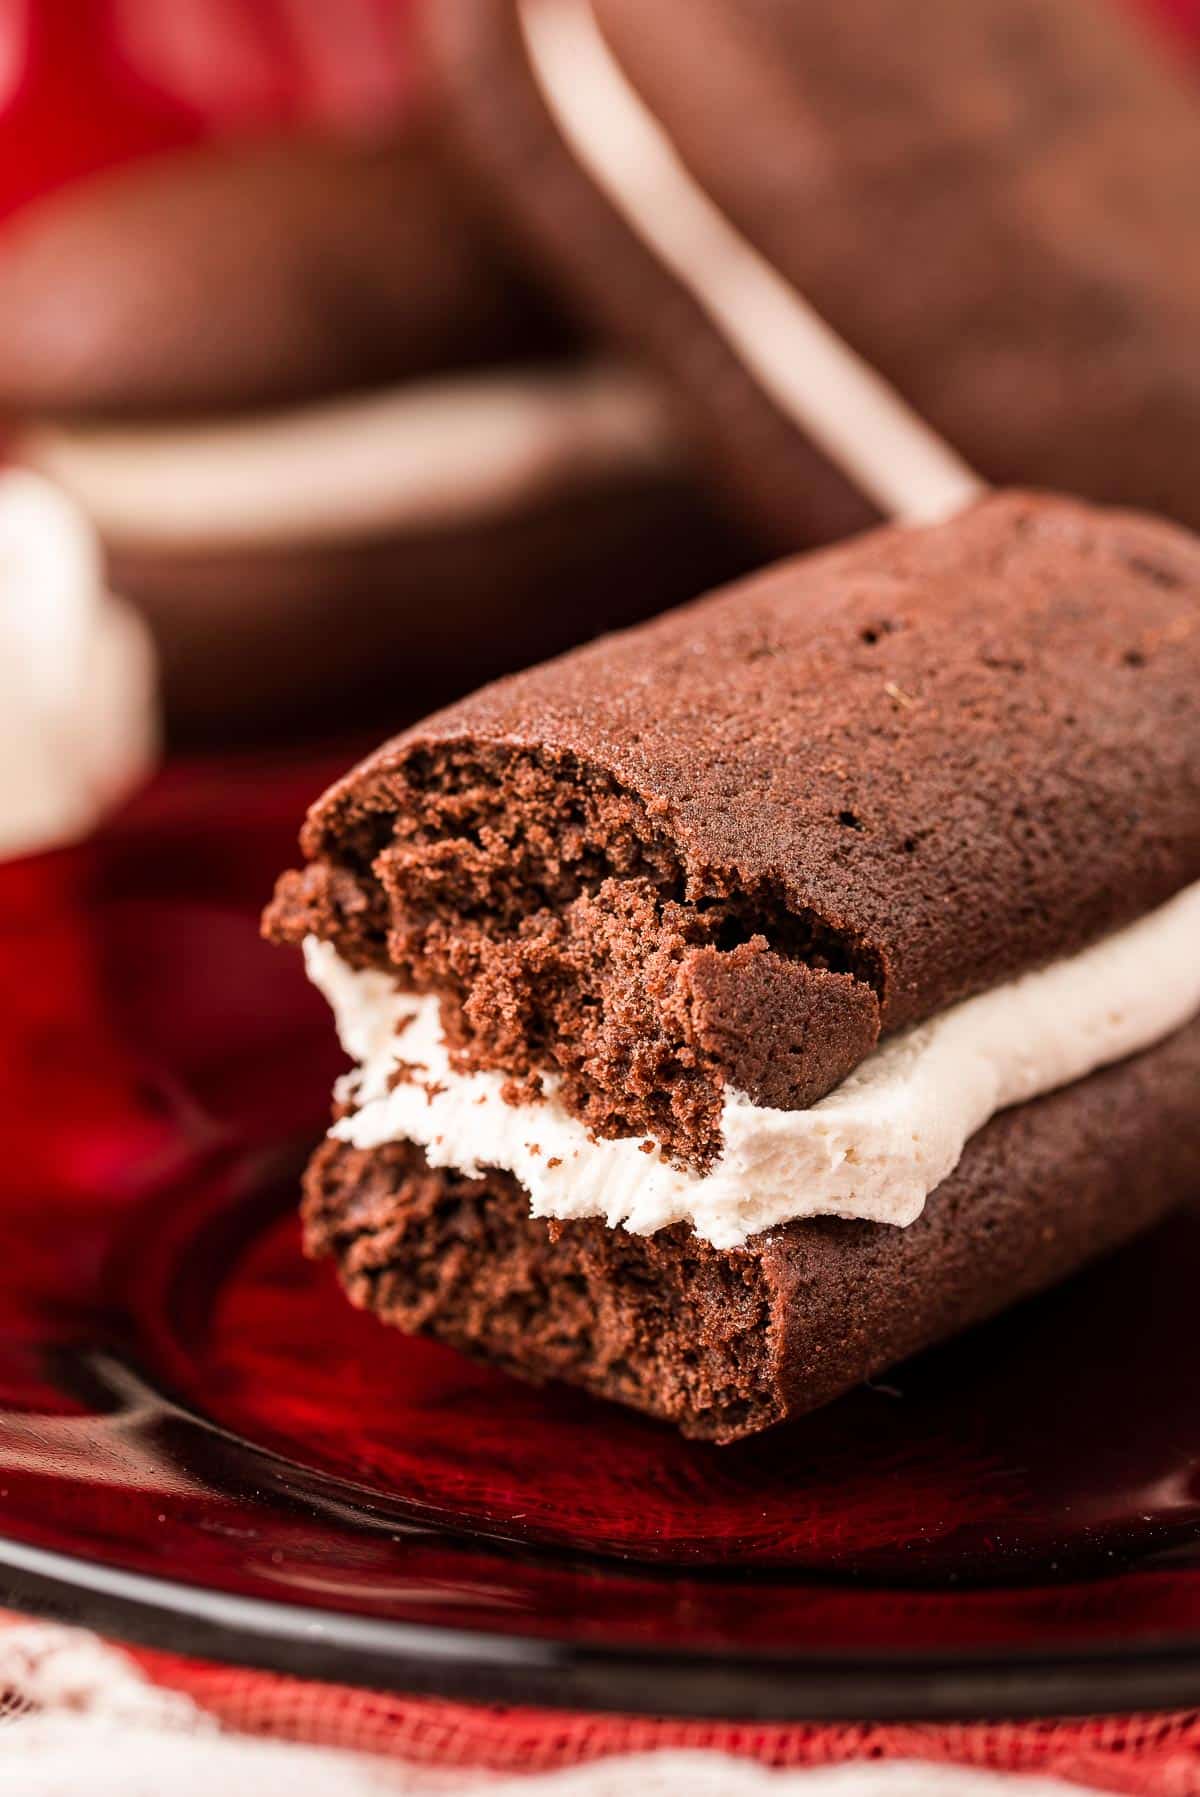
Texture: Yes, homemade will still give you those moist, cakey chocolate layers we crave when we open a package! Pair that with the creamy, sweet frosting and you won’t even miss running to the store to grab a box!
Dutch-Processed Cocoa Powder
For the Devil Dog Cakes to have their classic, dark color and deep chocolaty flavor, Dutch-process cocoa is a must! Natural cocoa powder will get the job done if you’re in a pinch, but you will lose out on flavor!
The difference between the two lies in the acid! The Dutch-process cocoa powder goes through a process of being washed with a potassium solution to neutralize its acidity.
Whereas natural cocoa powder keeps all its acids. Resulting in light-colored baked goods with a lack of that intense chocolate flavor that we’re looking for in these specific cakes!
Though all cocoa is not created the same, they do all have their place! And that’s in yummy chocolaty dessert recipes to share with friends and family!
Whether you like your chocolate in brownies such as these cake-like Twix Caramel Brownies or Classic Homemade Fudge Brownies!
Or if you’re more of a cookie lover who likes a fresh batch of Double Chocolate Chip Cookies!
And of course, there’s always room for chocolate cake!
Tips To Make The Best Homemade Devil Dog Cake Recipe!
- Be sure to mix the dry ingredients together first, just as the recipe calls for! This way the leavening agents get evenly dispersed throughout the batter.
- The devils food cakes batter is THICK! I found the best way to mix the thick batter is by using a rubber spatula to fold the ingredients together.
- To pipe the batter onto the baking sheets I found that a pastry bag fitted with a 1A piping tip worked best.
- The cakes will spread during baking so make sure to leave room between the cakes on the baking pan!
- Cakes have finished baking when the tops are no longer sticky and spring back slightly when touched. Be cautious not to overbake them as we don’t want dry Homemade Devil Dog Cakes!
- While the heavy cream is optional in the filling recipe, I do highly recommend using it! It thickens up the filling nicely, allowing the creme to hold its shape between the layers of cake!
Storage Instructions
These Homemade Devil Dog Cakes are best enjoyed the day of! However, if you store them in an airtight container at room temperature you can get an extra day of enjoying them!
Can These Devil’s Food Cakes Be Frozen?
Yes, they can! To do so, wrap each cake individually in plastic wrap. Then store them in a freezer bag and place them in the freezer to enjoy for up to 3 months.
Is There A Substitute For The Sour Cream In The Cakes Recipe?
There is! The sour cream can be swapped out for the same amount of plain Greek yogurt.
How Many Devil Dogs Creme Cakes Does This Recipe Make?
This recipe will yield about 15 to 18 finished cakes. Way better than the 8-count box you get at the store!
Let’s Connect!
If you’ve tried this recipe, please let me know how you liked it in the comments below and leave a review. I love hearing from you!
Don’t forget to tag me – @sugarandsoulco – on Instagram and Pinterest with your photos or join our Sugar & Soul Show-offs Community and share them there, where you can join our recipe challenges!

Devil Dog Cakes
Ingredients
Cakes
- 2 cups all-purpose flour spooned and leveled
- ½ cup Dutch-processed cocoa powder
- 1 tesapoon baking powder
- ½ teaspoon baking soda
- ½ teaspoon salt
- ½ cup unsalted butter melted and cooled
- 2 ounces semi-sweet baking chocolate melted and cooled
- 1 cup granulated sugar
- 1 large egg yolk room temperature
- 2 teaspoons vanilla extract
- ½ cup whole milk room temperature
- ½ cup sour cream
Filling
- ½ cup unsalted butter softened
- ½ cup vegetable shortening
- 3 cups powdered sugar
- 3 cups marshmallow fluff
- 1 teaspoon vanilla extract
- 2 tablespoons heavy cream optional
Instructions
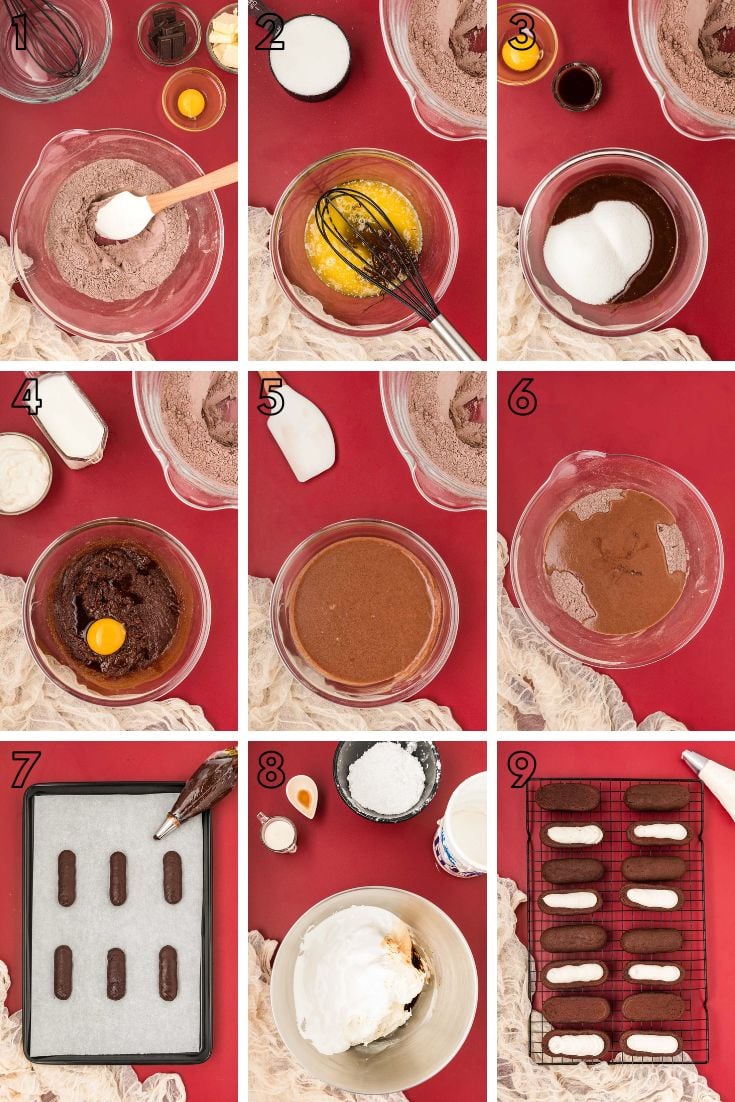
- Preheat the oven to 350°F and line two baking sheets with parchment paper and set aside.
- In a large bowl, whisk together the flour, cocoa powder, baking powder, baking soda, and salt. Make a well and set it aside.2 cups all-purpose flour, ½ cup Dutch-processed cocoa powder, 1 tesapoon baking powder, ½ teaspoon baking soda, ½ teaspoon salt
- In a separate medium bowl, whisk together the melted butter and chocolate until smooth. Lastly, whisk in the milk and sour cream.½ cup unsalted butter, 2 ounces semi-sweet baking chocolate
- Then whisk in the sugar, egg yolk, and vanilla extract until fully incorporated.1 cup granulated sugar, 1 large egg yolk, 2 teaspoons vanilla extract
- Whisk in the milk and sour cream until fully combined.½ cup whole milk, ½ cup sour cream
- Pour the wet ingredients into the well of the dry ingredients and use a rubber spatula to fold the ingredients together until combined. The batter will be thick.
- Fill a pastry bag fitted with a 1A piping tip with the batter and pipe into 1-inch by 3-inch long flat ovals about ¼ to ½-inch thick. Pipe the batter 3 inches apart since it will spread a fair amount during baking. This recipe should make 15 to 18 Devil Dogs, so you should have 30 to 36 cakes total. You may need more than 2 baking sheets depending on the size of the sheets you use.
- Bake the cakes one sheet at a time on the center rack for 8 to 12 minutes, rotating the baking sheet halfway through. The cakes are done when the tops are no longer sticky and spring back slightly when touched.
- Allow the cakes to cool completely on the baking sheet on a wire rack and bake off the other sheet.
- While the cakes are baking, prepare the filling by creaming together the butter and shortening with an electric mixer. Add in the powdered sugar, fluff, and vanilla and mix on low speed until the sugar has combined, then increase the speed to high and whip for 2 minutes. If you choose to add the heavy cream (which I highly recommend) add it in before turning up the speed.½ cup unsalted butter, ½ cup vegetable shortening, 3 cups powdered sugar, 3 cups marshmallow fluff, 1 teaspoon vanilla extract, 2 tablespoons heavy cream
- Transfer the filling to a pastry frosting bag fitted with a large piping tip and pipe filling onto half the cooled cakes abd top with the other half of the cakes.
Notes
- Store in an air-tight container at room temperature for up to 1 day. These can also be individually wrapped in plastic wrap and stored in a freezer bag and frozen for up to 3 months.
- 1/4 cup of chocolate chips can be used in place of baking chocolate but baking chocolate is preferred.
- Plain Greek yogurt can be substituted for sour cream.
Nutrition
Did You Make This Recipe?
Don’t forget to share it with me on Instagram @sugarandsoulco and follow on Tiktok @sugarandsoulco and Pinterest @sugarandsoulco for more!
The cake recipe is adapted from Pastry Love by Joanne Chang.


Comments & Reviews
Coco Smith says
This is so sweet it makes the flavor of the vanilla and marshmallow disappear. Slowly add the powdered sugar and taste it for your own consistency.