Treat yourself to this Homemade Cheesecake Recipe that’s lusciously creamy and rich and complete with a homemade graham cracker crust! Finish your slice off with fresh fruit, chocolate sauce, or cherry pie filling!
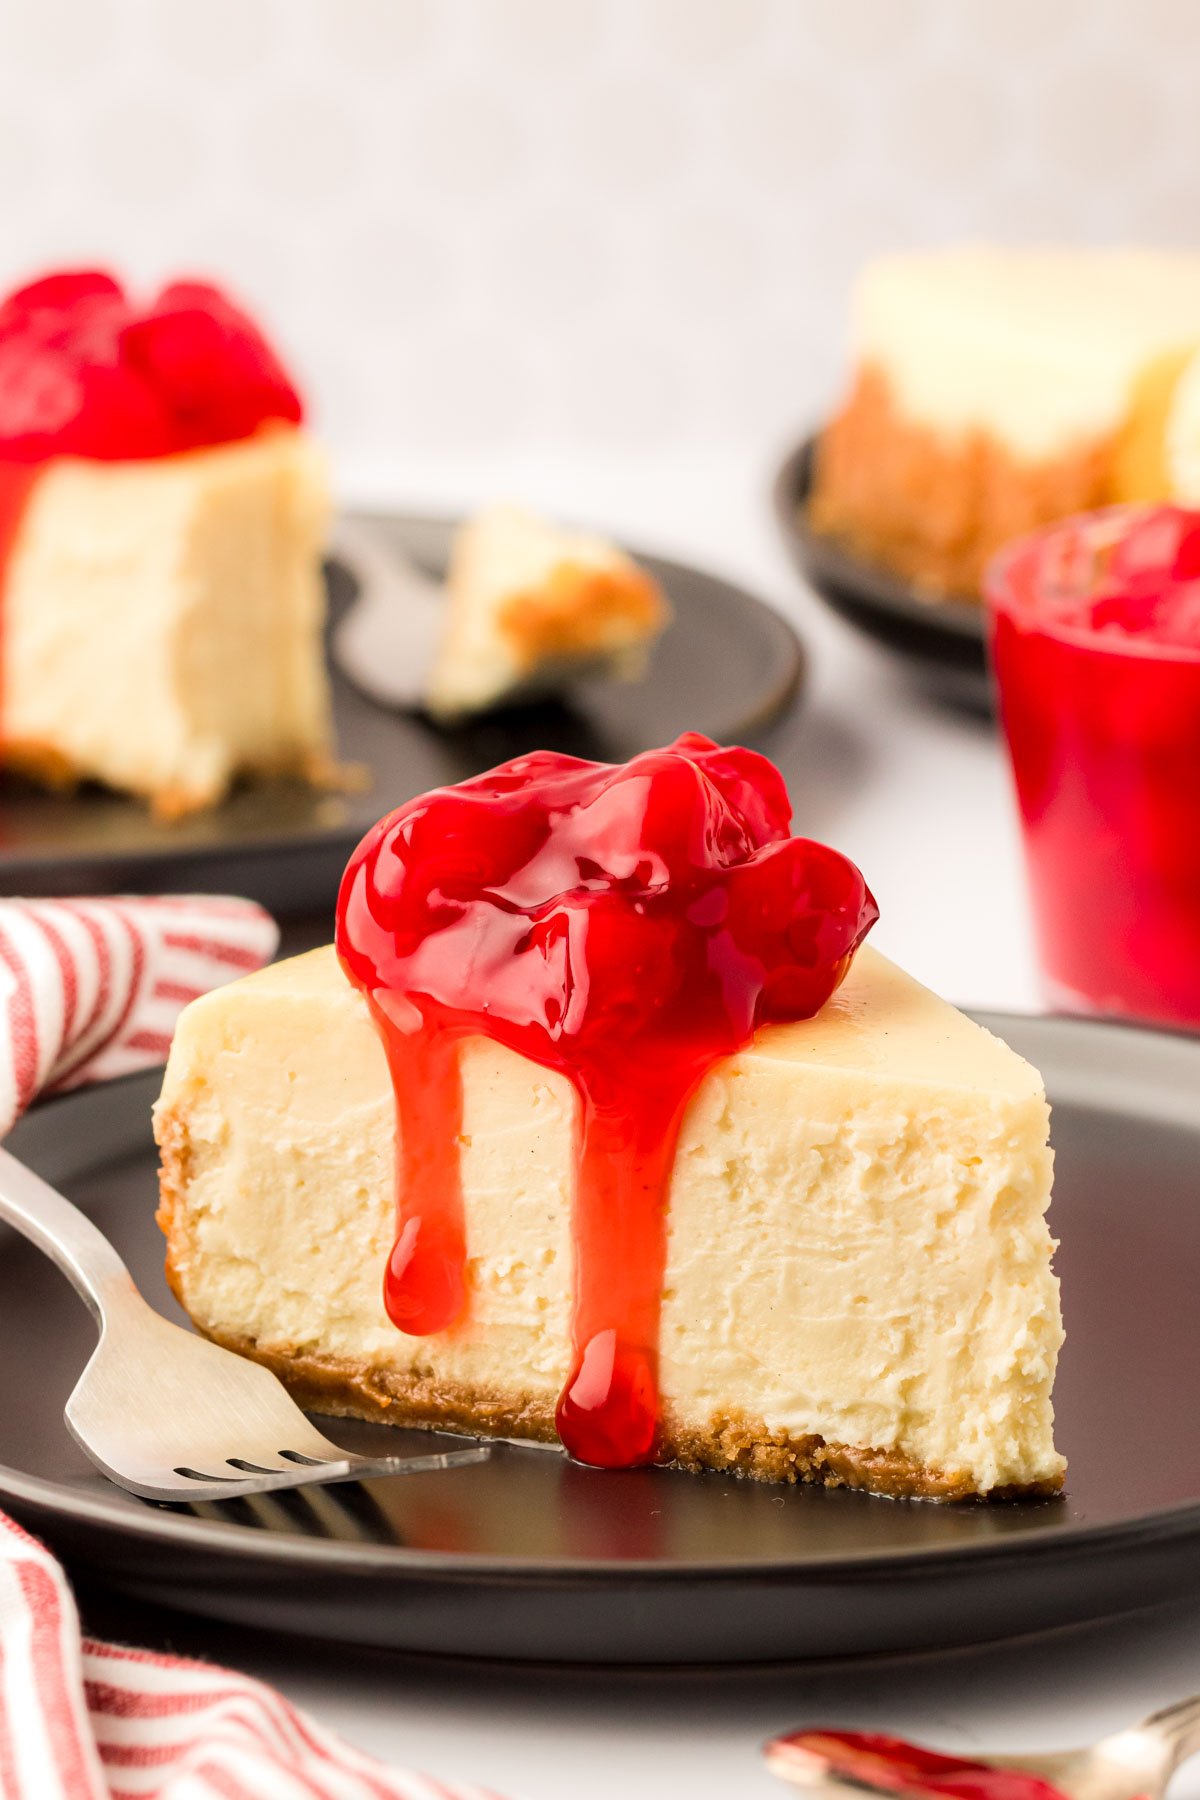
The Best New York Style Cheesecake Recipe
This Homemade Cheesecake is the best cheesecake you’ll ever have! It’s deliciously dense and satisfyingly creamy; dress it up with fresh fruit or a drizzle of dessert sauce, or simply enjoy it as is!
Indulge yourself as well as friends and family with a thick slice of this homemade cheesecake, whose flavor is perfectly sweet with that classic cream cheese tang. To make it the very best cheesecake, I used high-quality cream cheese, made a homemade graham cracker crust, and then took it over the top with an easy water bath baking technique.
What Is The Difference Between New York-Style Cheesecake And Regular Cheesecake?
New York-style cheesecake is made with more cream cheese and less sugar than regular cheesecake. This then creates a flavor and texture difference between the two.
New York cheesecake is known for being dense, thick, and rich, whereas regular cheesecake has a silkier, lighter texture. Both cheesecakes are delicious and enjoyable!
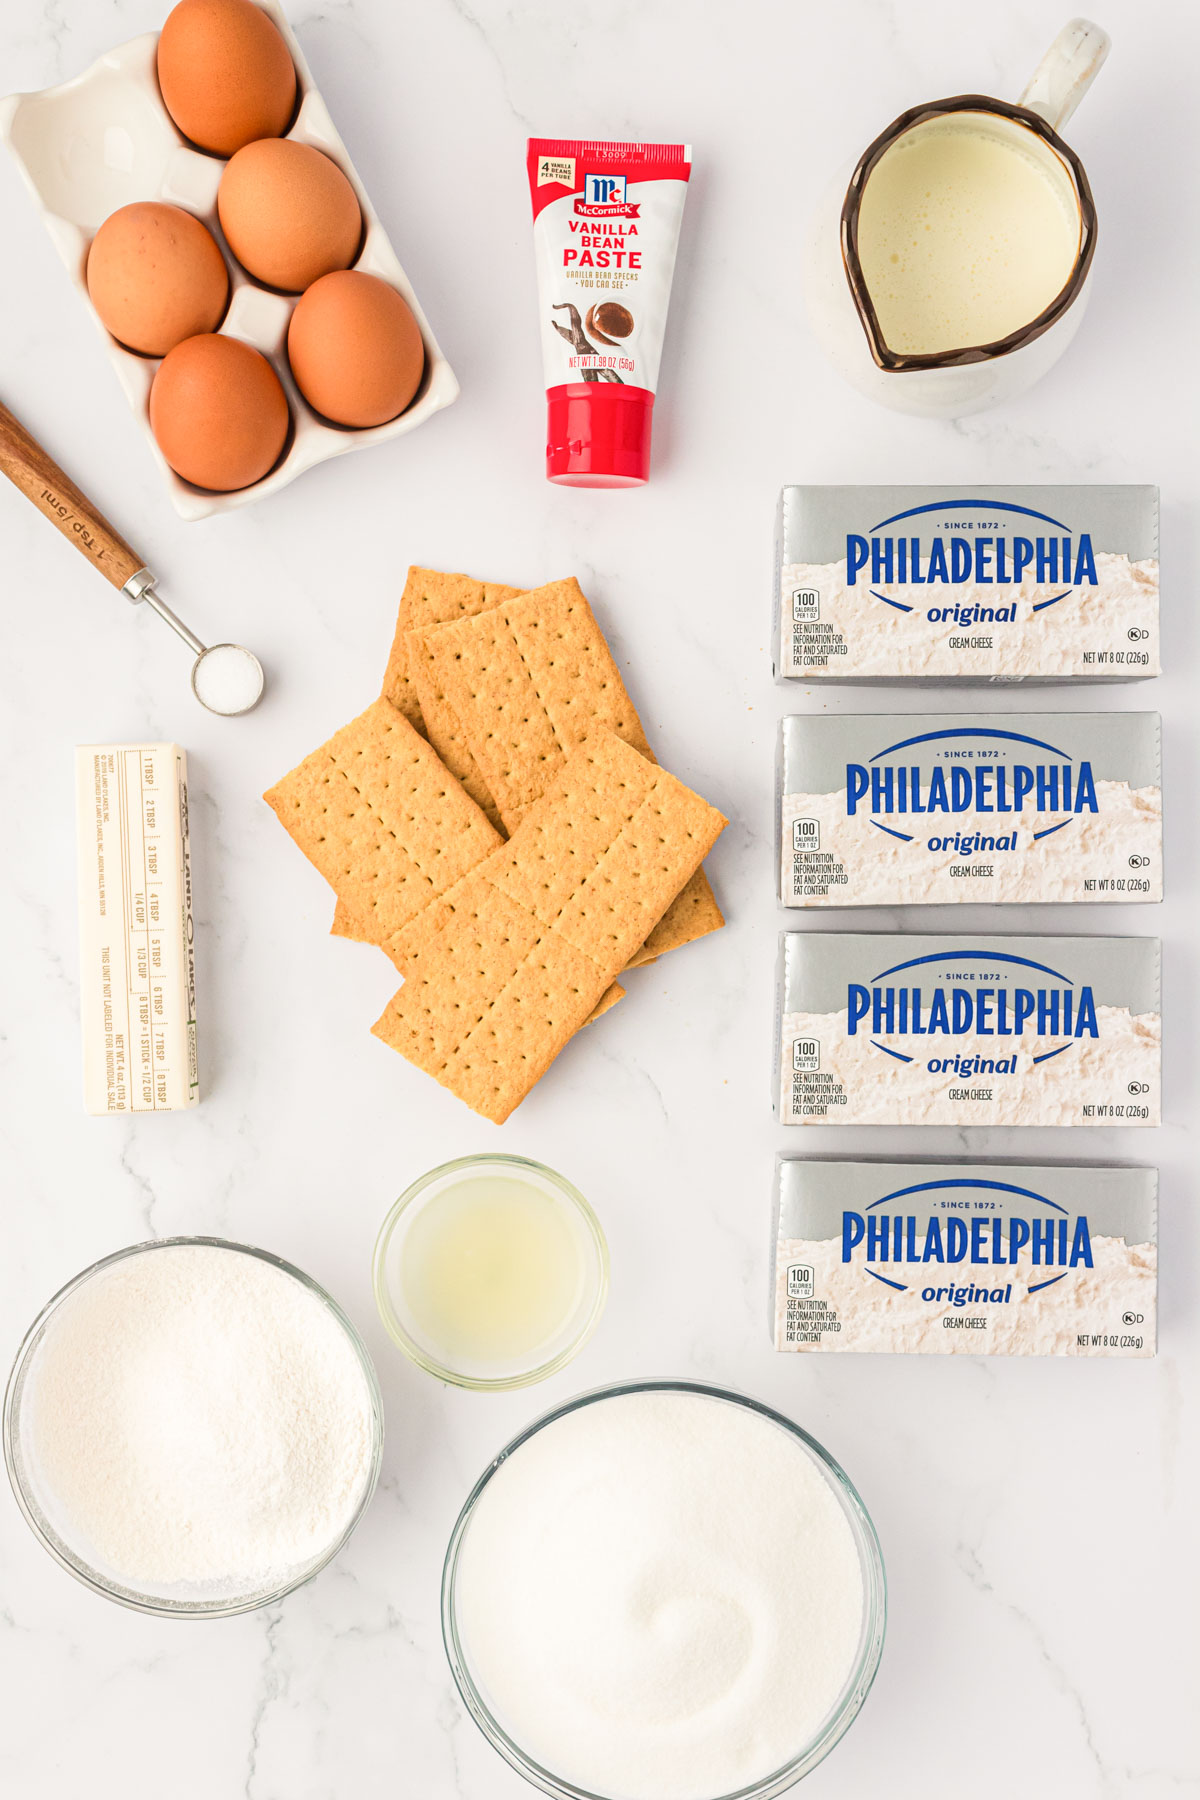
Easy Cheesecake Ingredients
- Graham Cracker Crumbs
- Salted Butter
- Granulated Sugar
- Cream Cheese
- Vanilla Bean Paste
- Large Eggs
- Heavy Cream
- Lemon Juice
- Salt
- All-Purpose Flour
To achieve the creamiest cheesecake with peak taste, this recipe should be made with high-quality, full-fat cream cheese. Full-fat cream cheese gives this dessert the thick, creamy texture we expect in a baked cheesecake!
I prefer using Philadelphia cream cheese, though any full-fat cream cheese will work well in this recipe. If you prefer, it can be made with low-fat cream cheese. However, it just won’t turn out to be as rich and creamy as with full fat.
Once this Homemade Cheesecake is ready, it becomes the perfect blank slate for all of your favorite cheesecake toppings! From fresh fruit to homemade sauces or even canned pie filling, everything tastes good on a slice of this thick, creamy cheesecake!
Simple Cheesecake Recipe Substitutions and Additions
- Unsalted Butter – Unsalted butter can replace salted butter when making the graham cracker crust. Add 1/4 teaspoon of salt to the graham cracker crumb mixture to make this substitution.
- Graham Cracker Crumbs – I prefer using boxed graham cracker crumbs when making the cheesecake crust. However, you can easily make homemade graham cracker crumbs by pulsing crackers in a good processor until fine crumbs form.
- Vanilla Bean Paste – Vanilla extract can be used instead of vanilla bean paste by using 1 tablespoon of vanilla extract in its place. However, the vanilla bean paste does add so much more in terms of flavor, in my opinion.
- Cheesecake Size – This recipe can be made in either a 10-inch springform pan or a 9-inch springform pan. The 10-inch option will deliver a bit thinner cheesecake and will take slightly less time to bake. In comparison, the 9-inch option will provide a thicker slice of cheesecake. I don’t recommend using an 8-inch springform pan as it’s too small for all of the cheesecake batter.
How To Make A Cheesecake From Scratch
Step 1: Preheat the oven and then wrap a 9-inch springform pan with aluminum foil. Set the wrapped pan aside.
Step 2: Mix the graham cracker crumbs, melted butter, and granulated sugar in a large bowl. Mix thoroughly to ensure all the crumbs are evenly moistened.
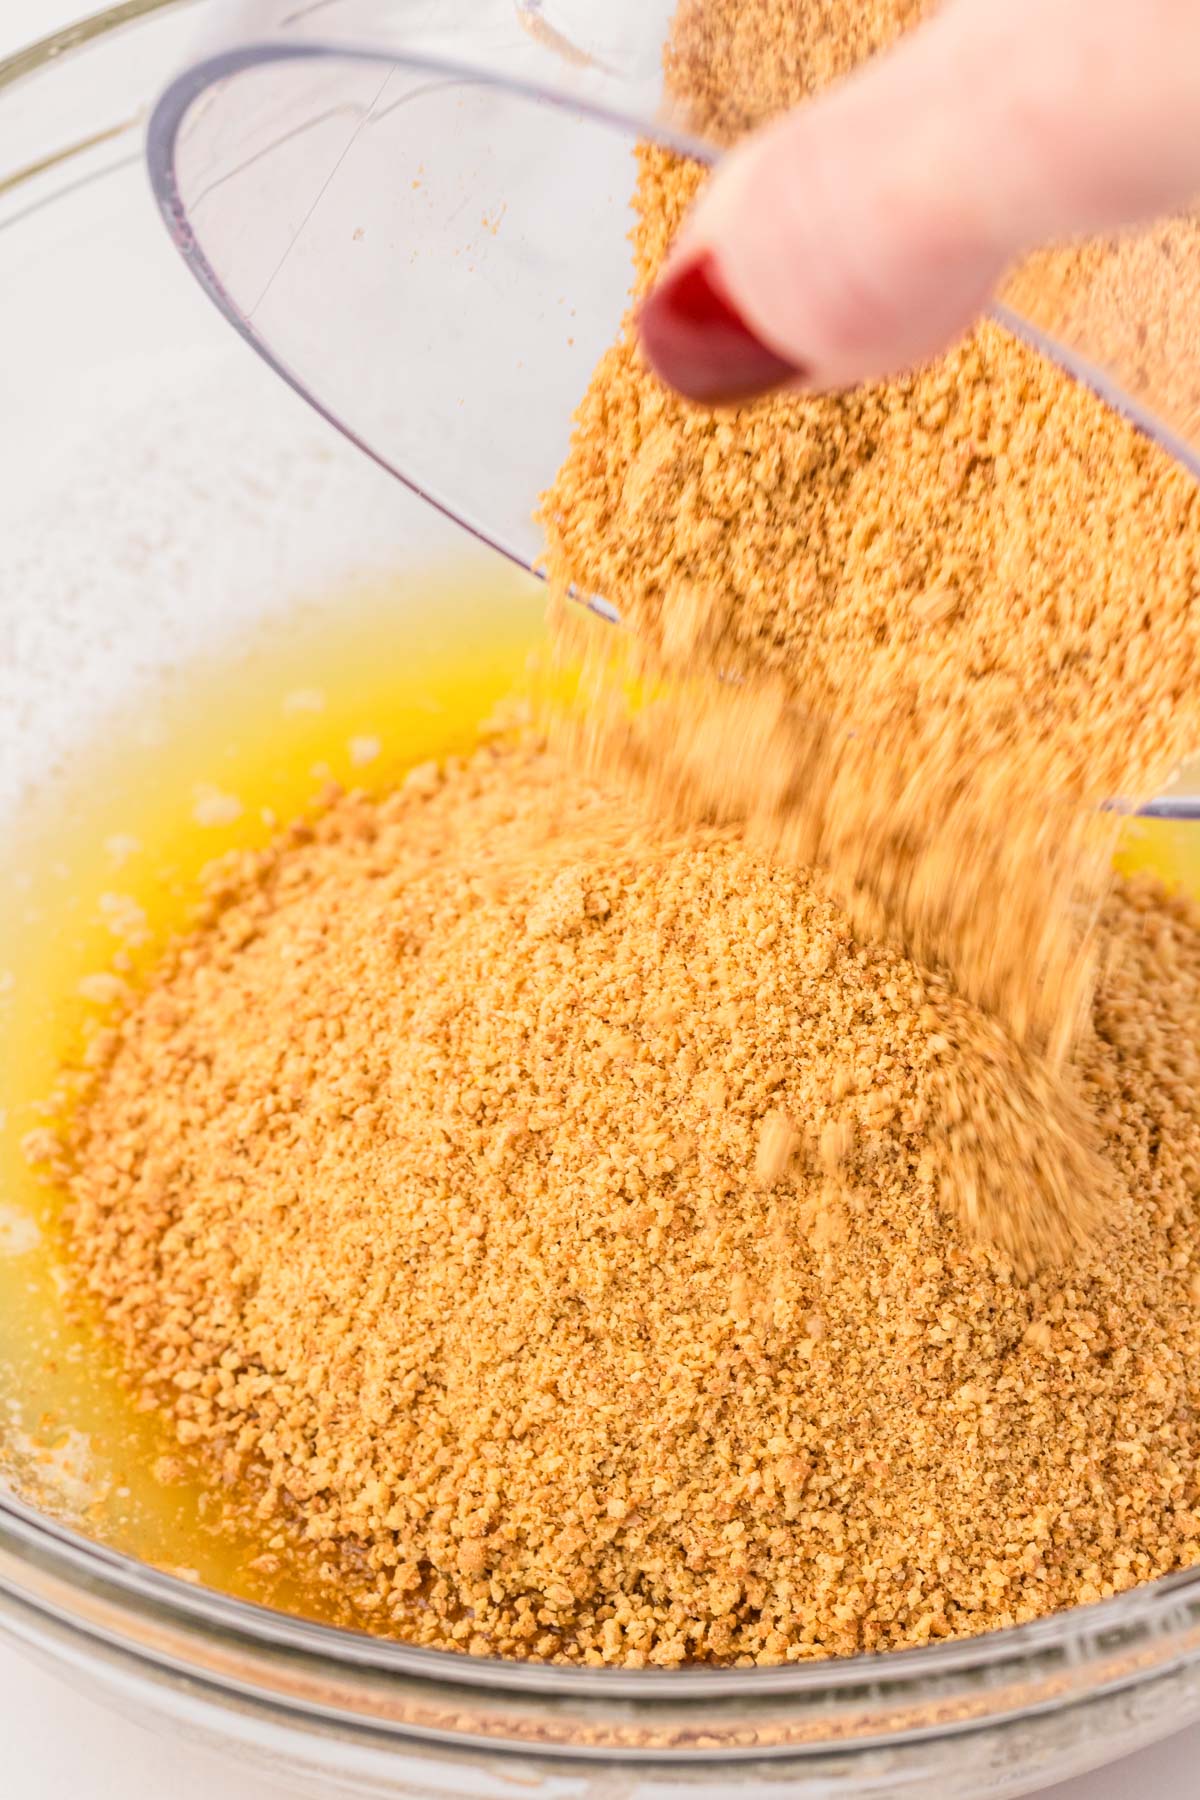
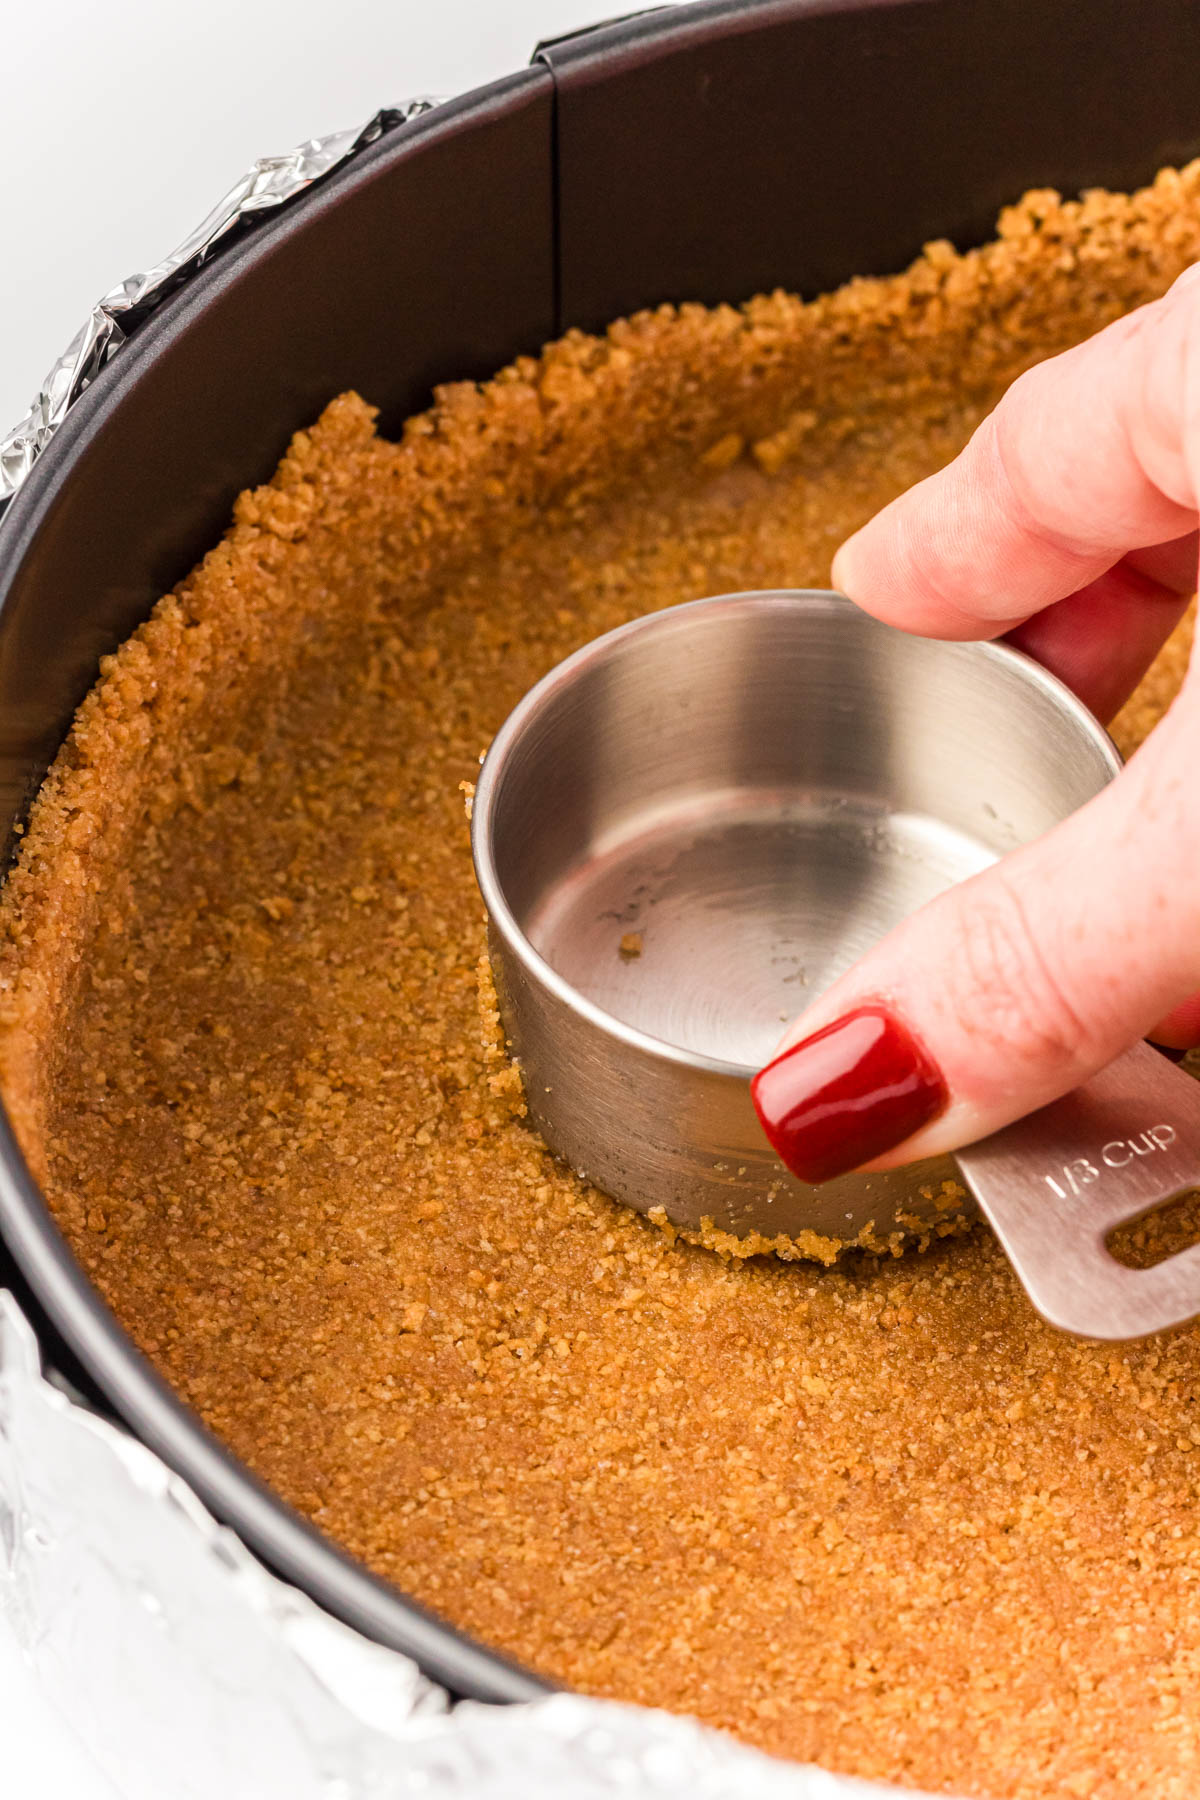
Step 3: Press this crumb mixture into the bottom of the springform pan and partially up the sides. The flat bottom of a glass or measuring cup works great to spread and press the crumbs down evenly.
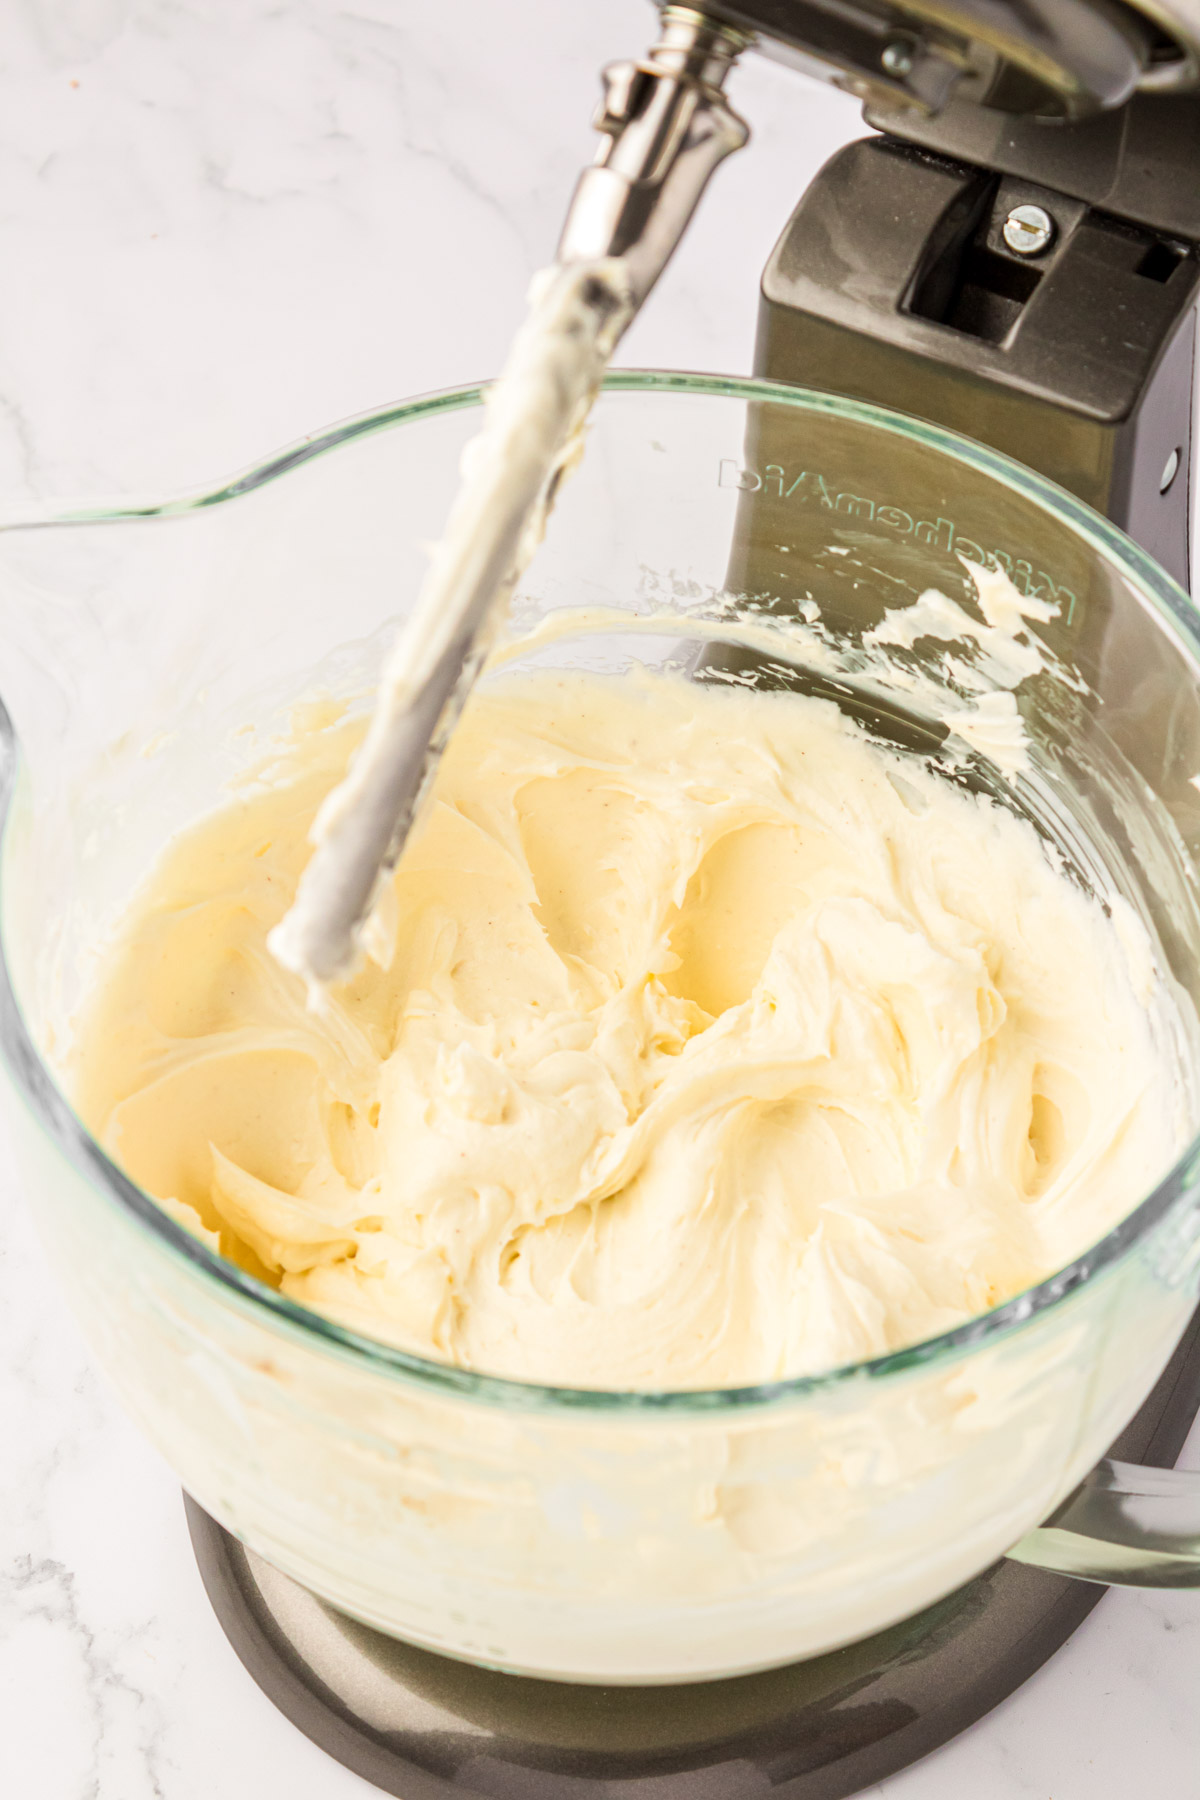
Step 4: Beat the cream cheese, granulated sugar, and vanilla bean paste into a large bowl or stand mixer that’s fitted with a whisk attachment on medium speed until smooth. Stopping to scrape down the sides of the bowl with a rubber spatula as you mix to ensure no lumps remain.
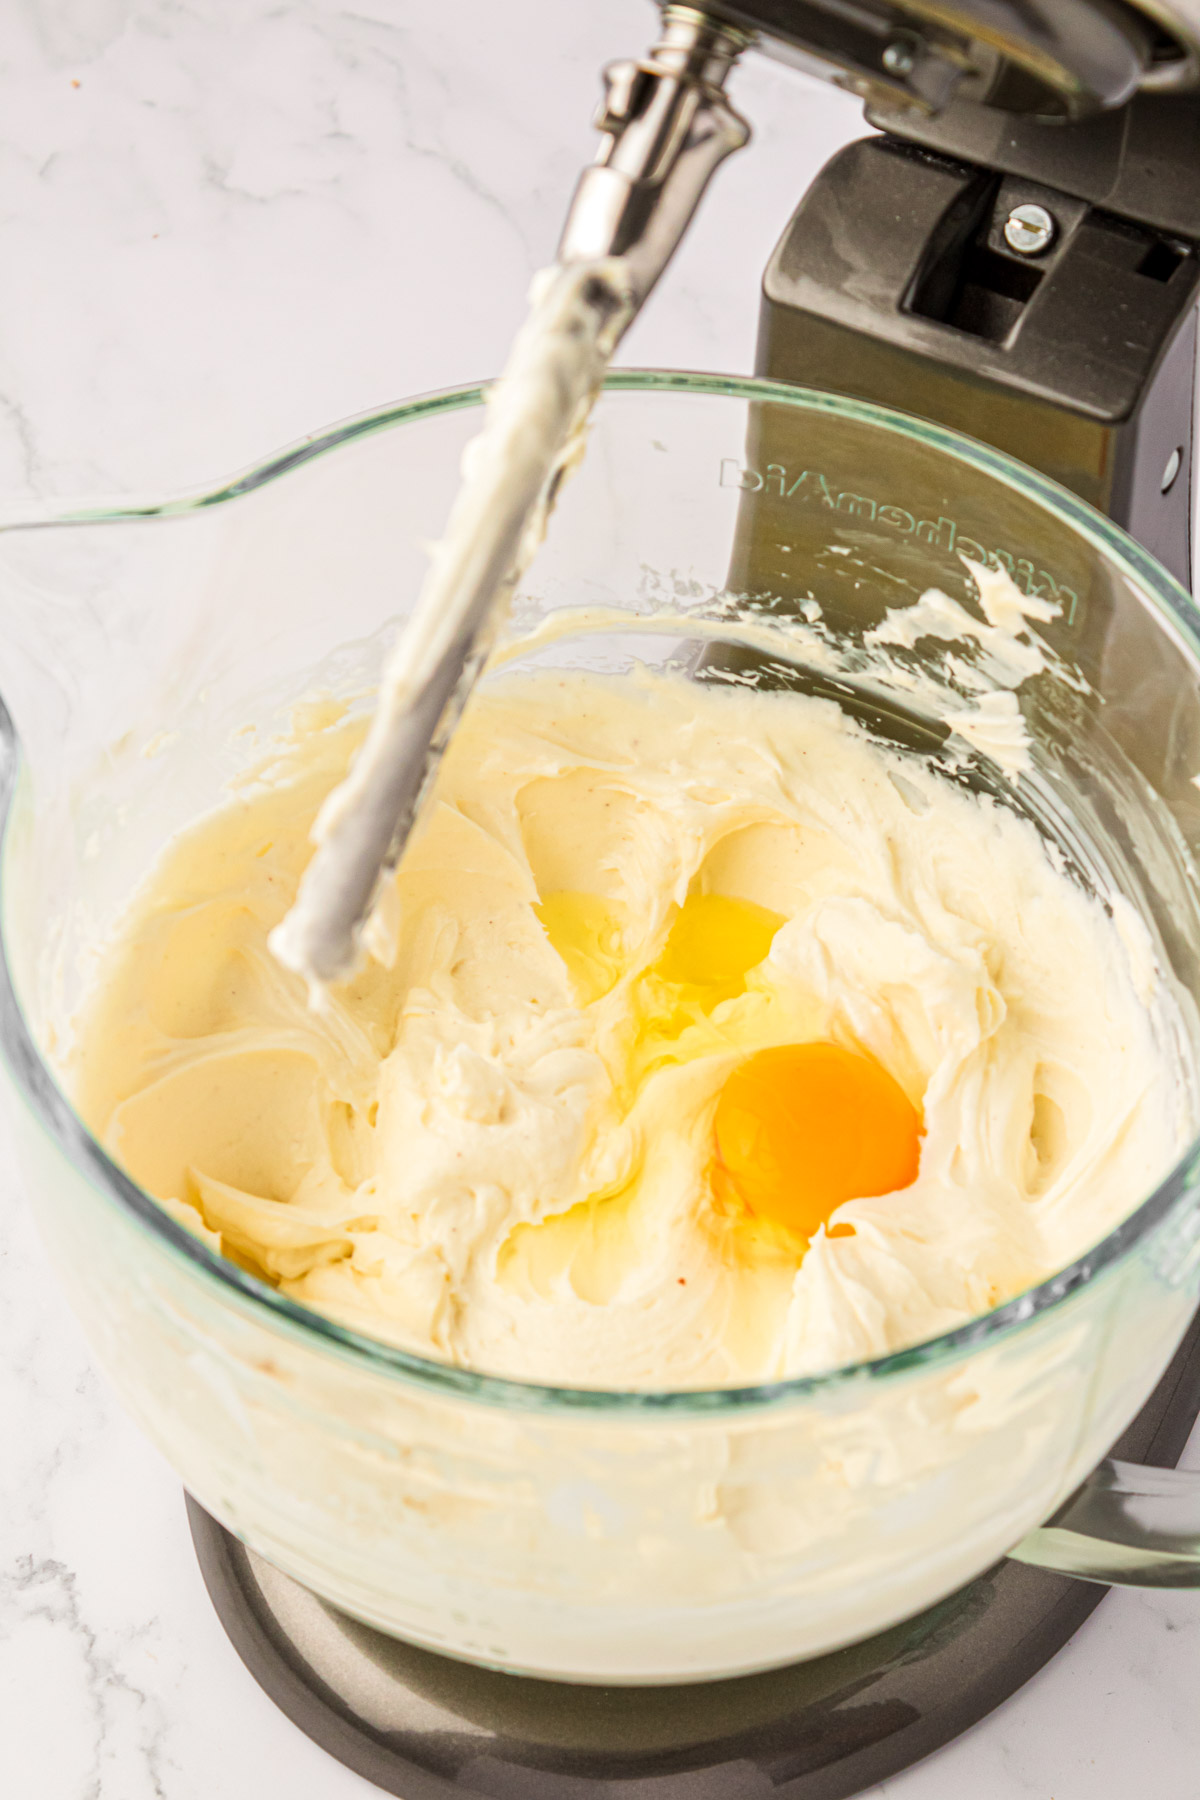
Step 5: Add the eggs one at a time, mixing after each addition on low speed. Make sure little yellow remains from the previous egg’s yolk before adding the next.
Step 6: While the mixer is on low speed, add in the heavy cream, lemon juice, and salt. Mix until these ingredients have been fully incorporated into the cheesecake batter.
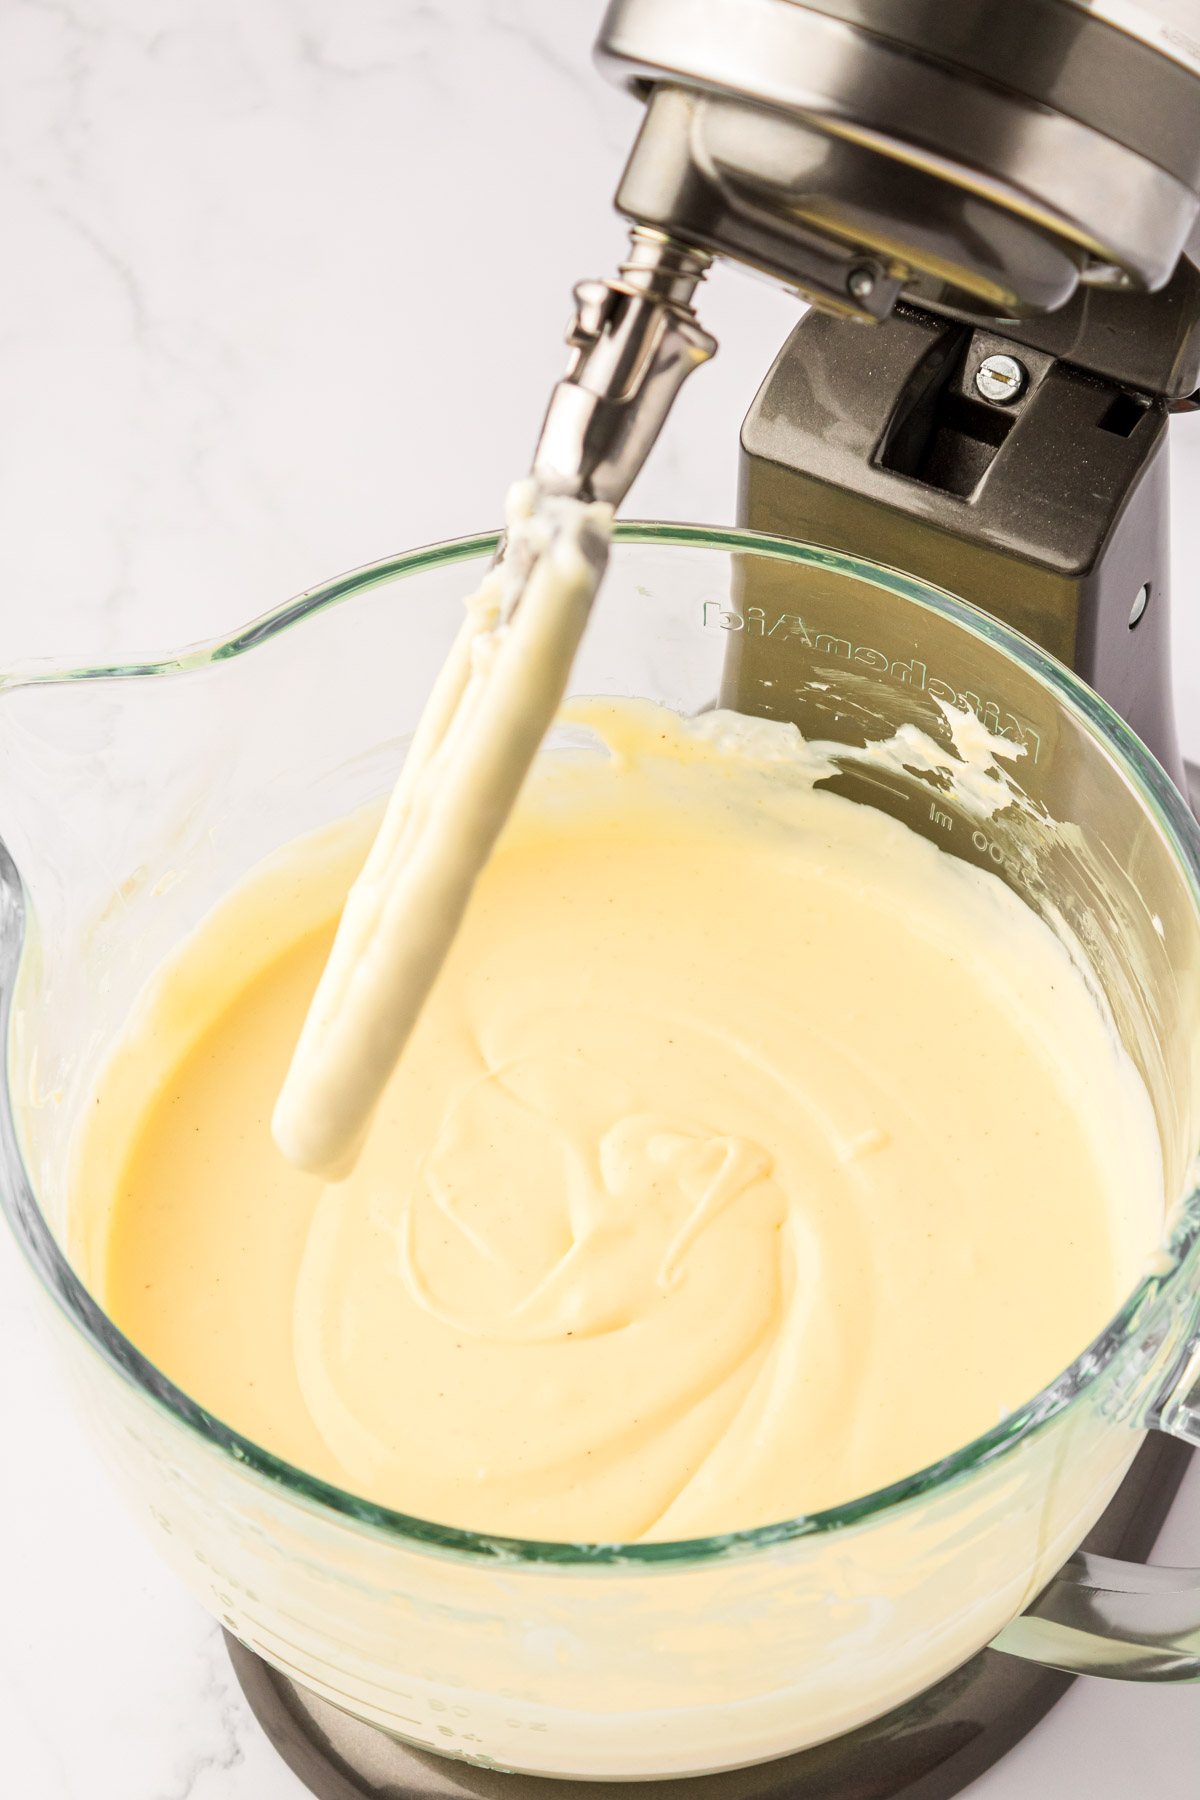
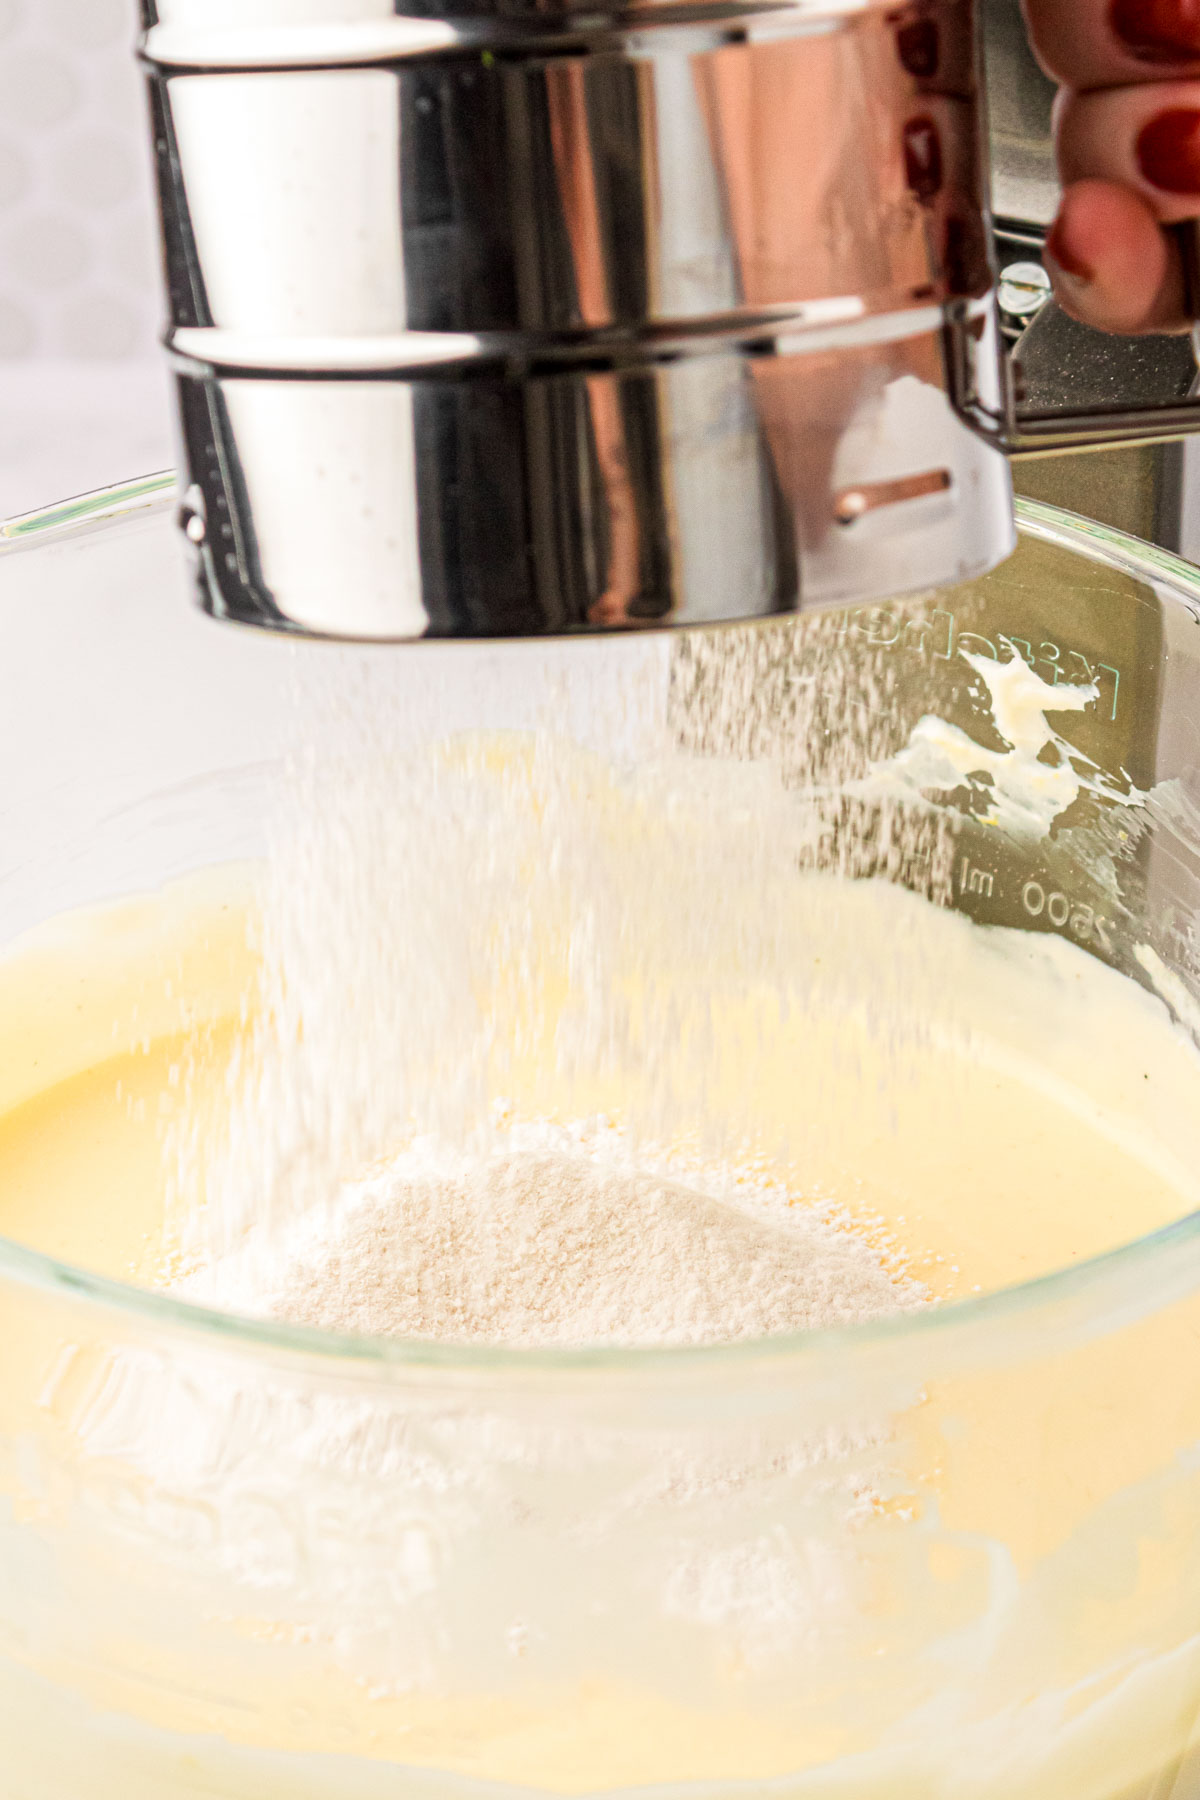
Step 7: Sift the all-purpose flour into the mixing bowl and mix on low speed. Be sure to scrape the sides of the bowl down to mix in anything stuck to its sides.
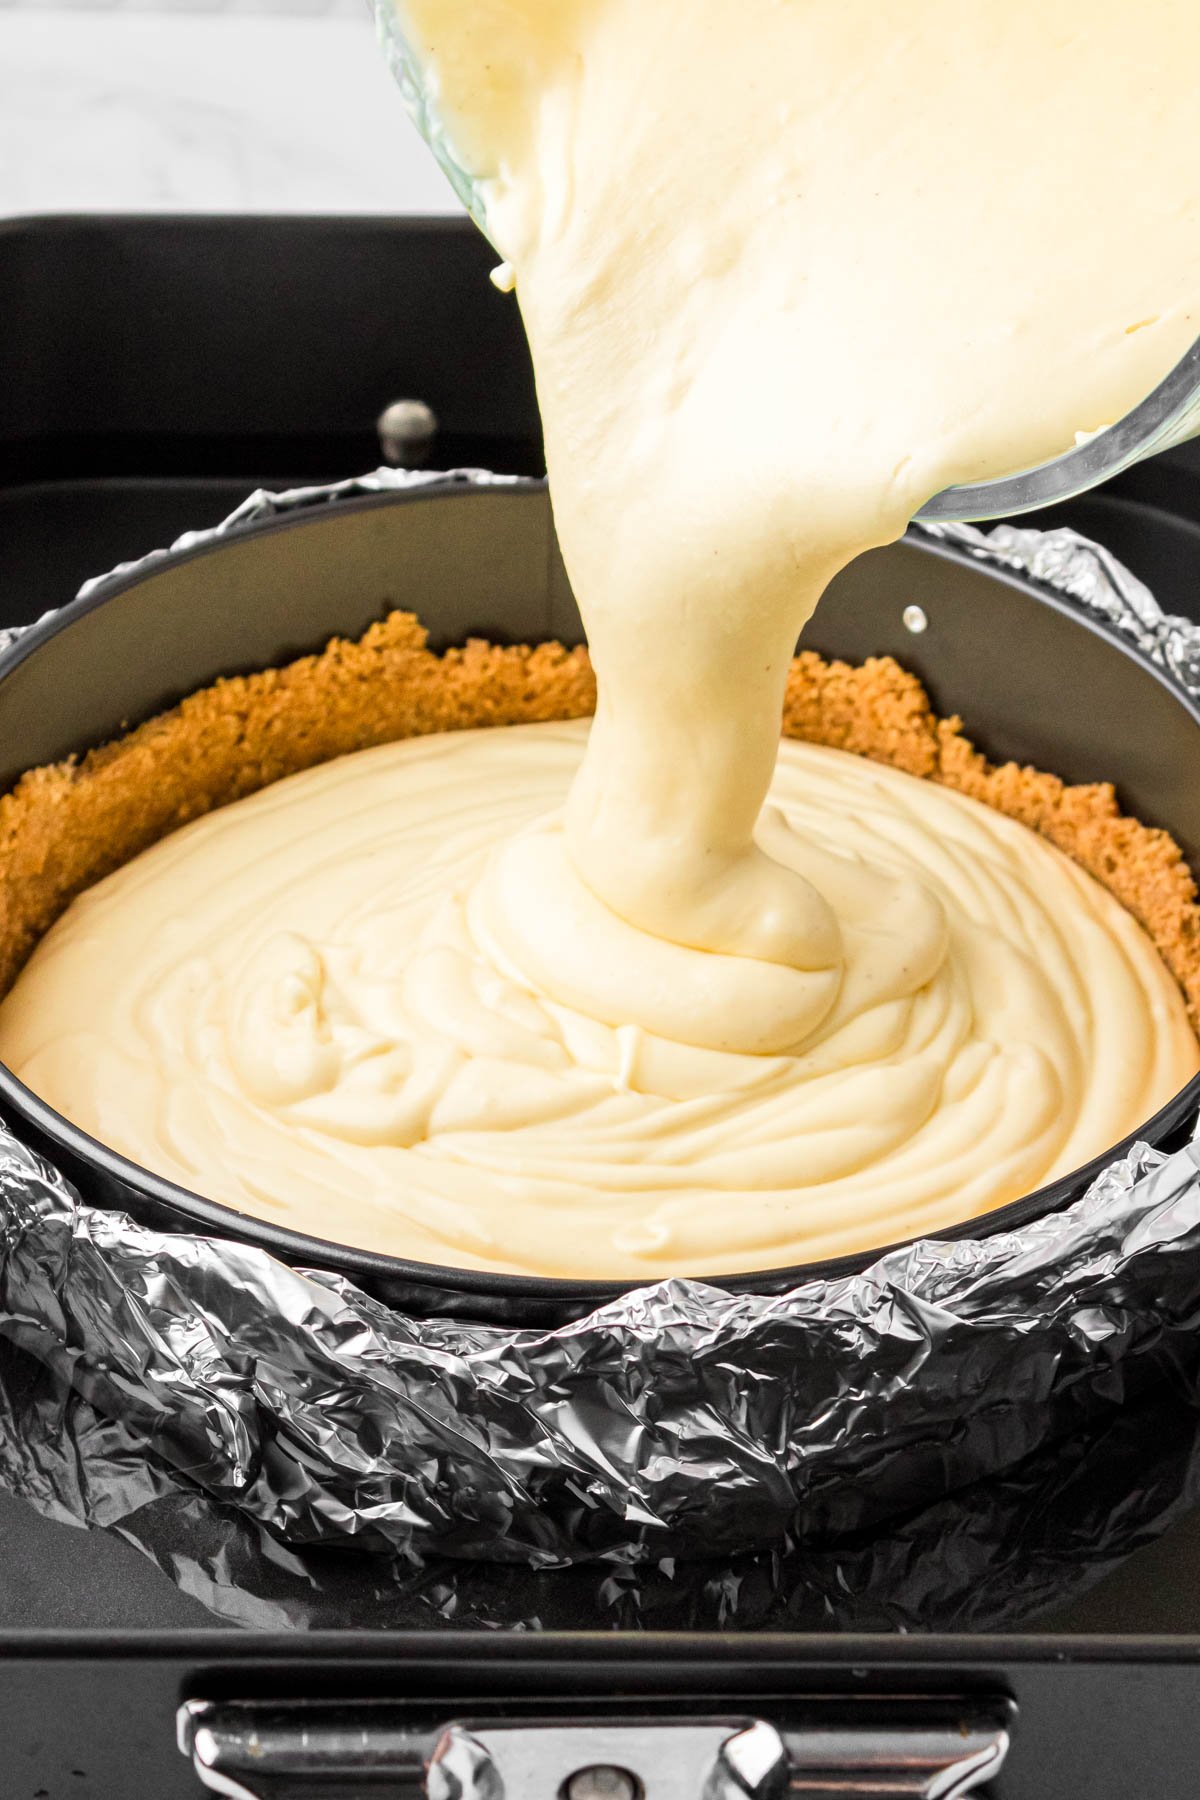
Step 8: Transfer the aluminum foil-wrapped springform pan to a larger baking pan. Next, fill the larger pan with water until the water line is about halfway up the sides of the baking pan to create the water bath.
Step 9: Pour all of the homemade cheesecake batter into the graham cracker crust in the springform pan.
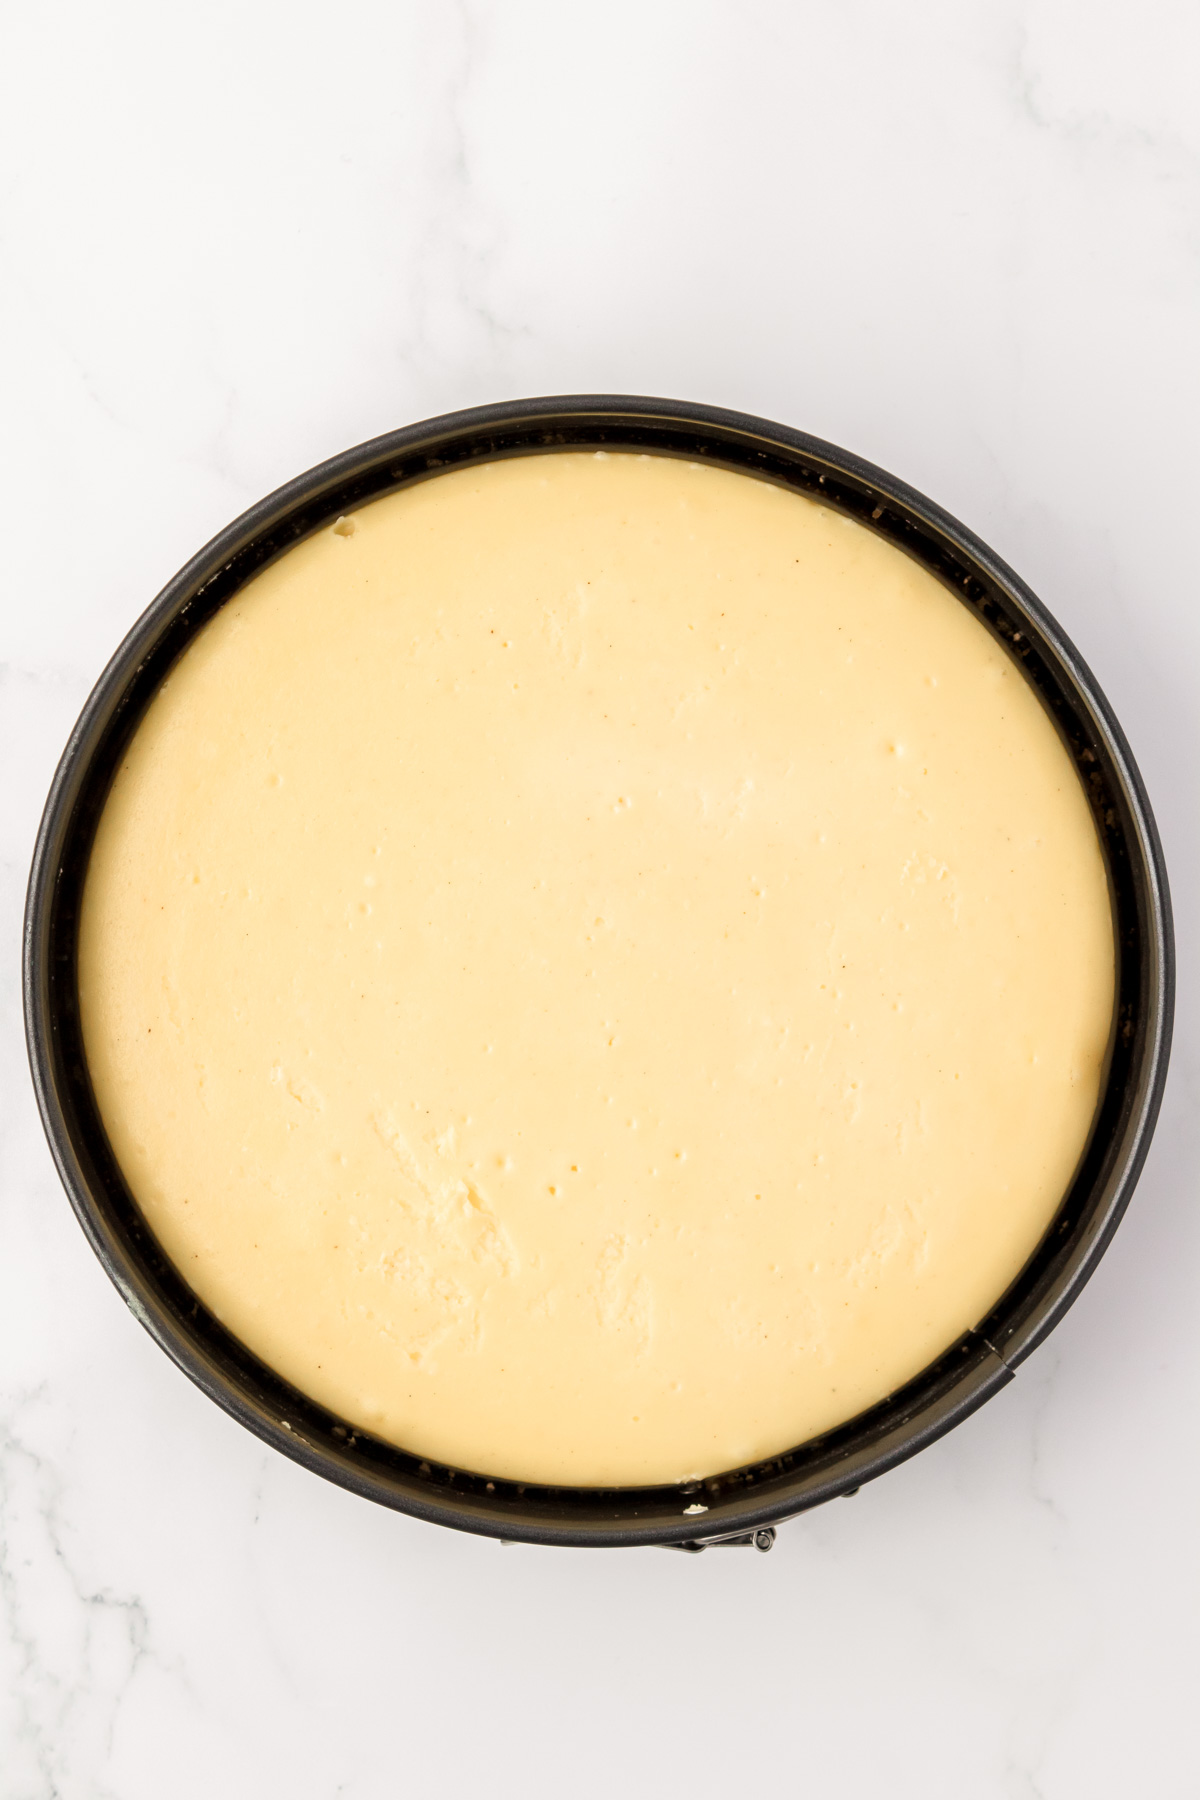
Step 10: Bake the cheesecake in the water bath in the preheated oven on the middle oven rack until the center is almost set. with a matte/dull appearance but is still slightly jiggly. The edges of the cheesecake will also be just lightly golden. Then, turn off the heat in the oven and let the cheesecake sit in the oven as it cools.
Step 11: Remove the cheesecake from the oven and use a paring knife to run around the sides of the pan to loosen the cheesecake. Next, remove the aluminum foil from the pan and transfer the cheesecake to a wire rack to cool to room temperature.
Step 12: Once cooled at room temperature, transfer the cheesecake in the pan to the fridge to chill before slicing and serving!
How To Serve this Simple Cheesecake Recipe
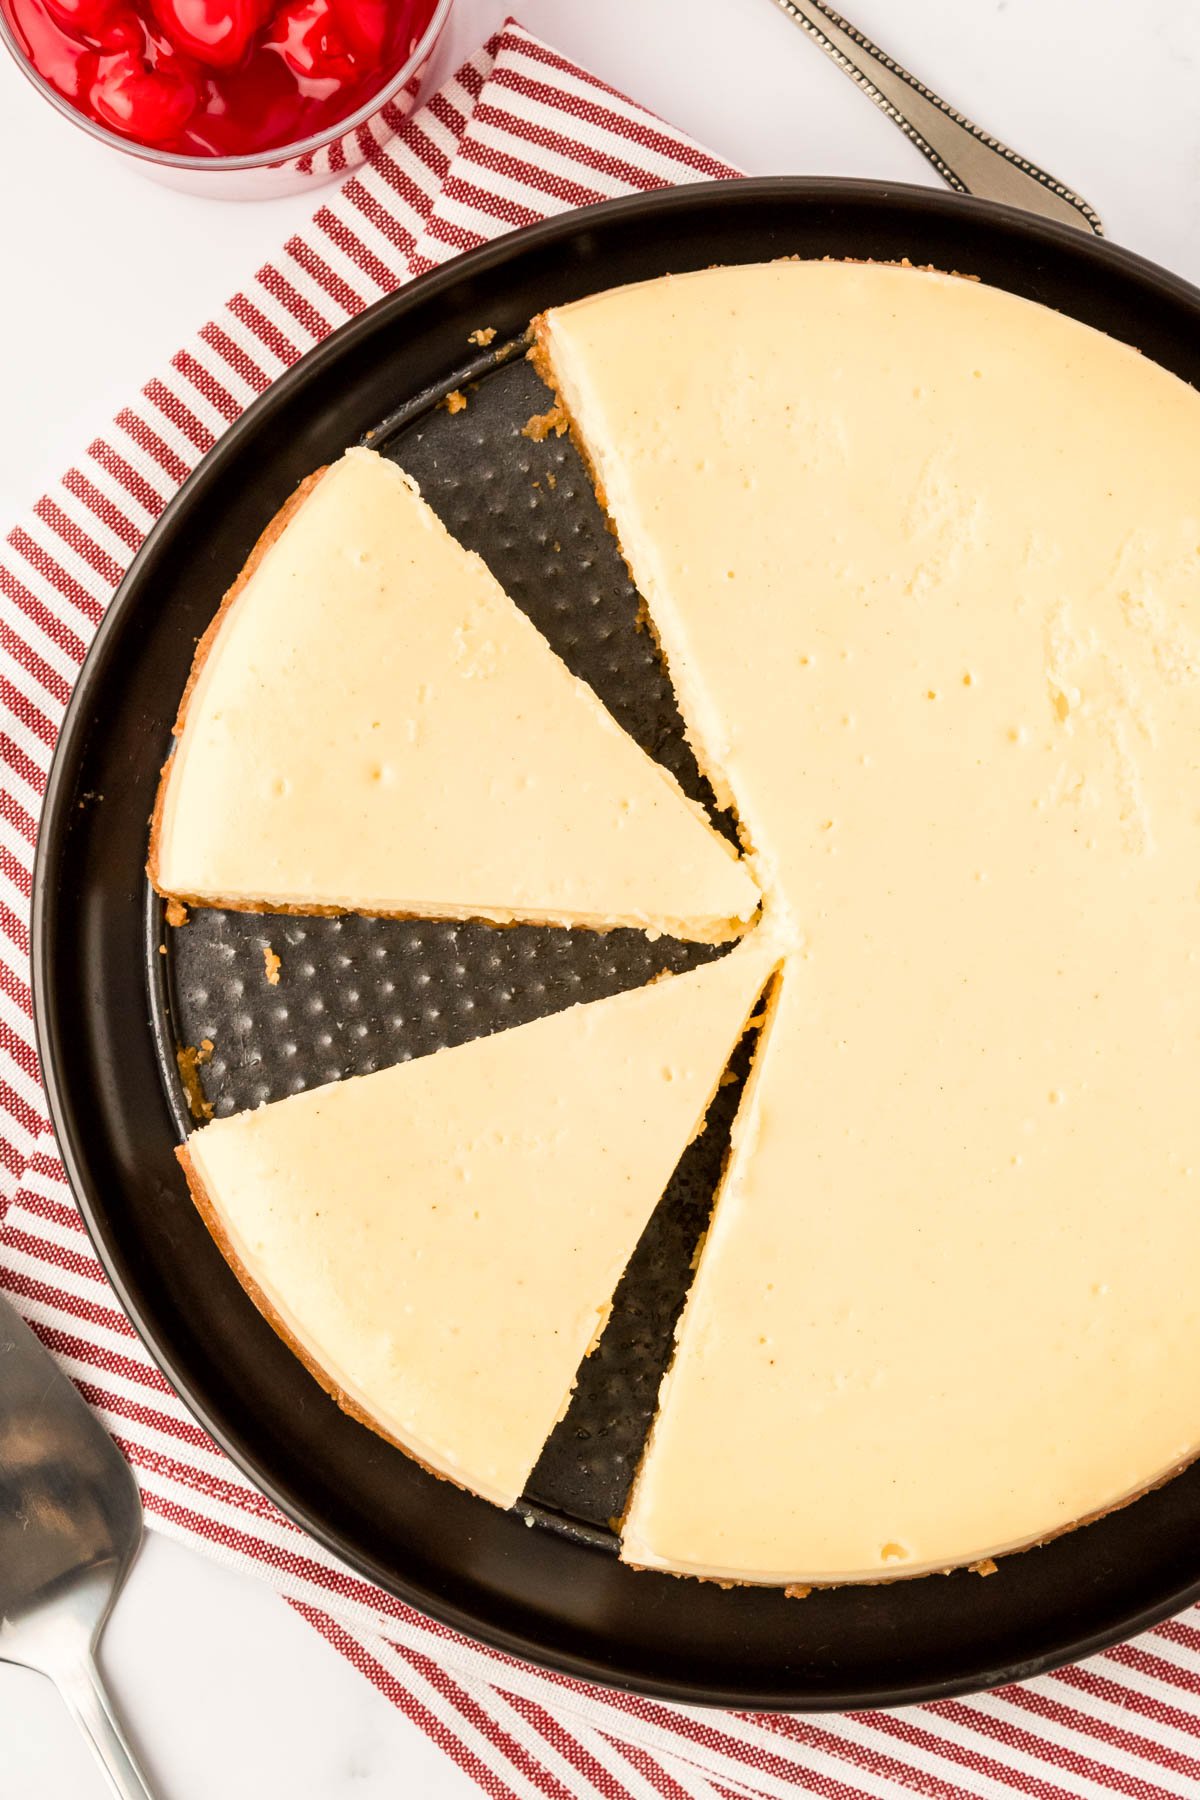
For the best serving, allow this cheesecake to chill in the fridge for 8 hours or overnight. To serve up clean, neat slices, first heat a large chef knife under hot water before cutting the cheesecake into slices.
If necessary, wipe the knife clean between cuts, reheat the knife under hot water, and slice again.
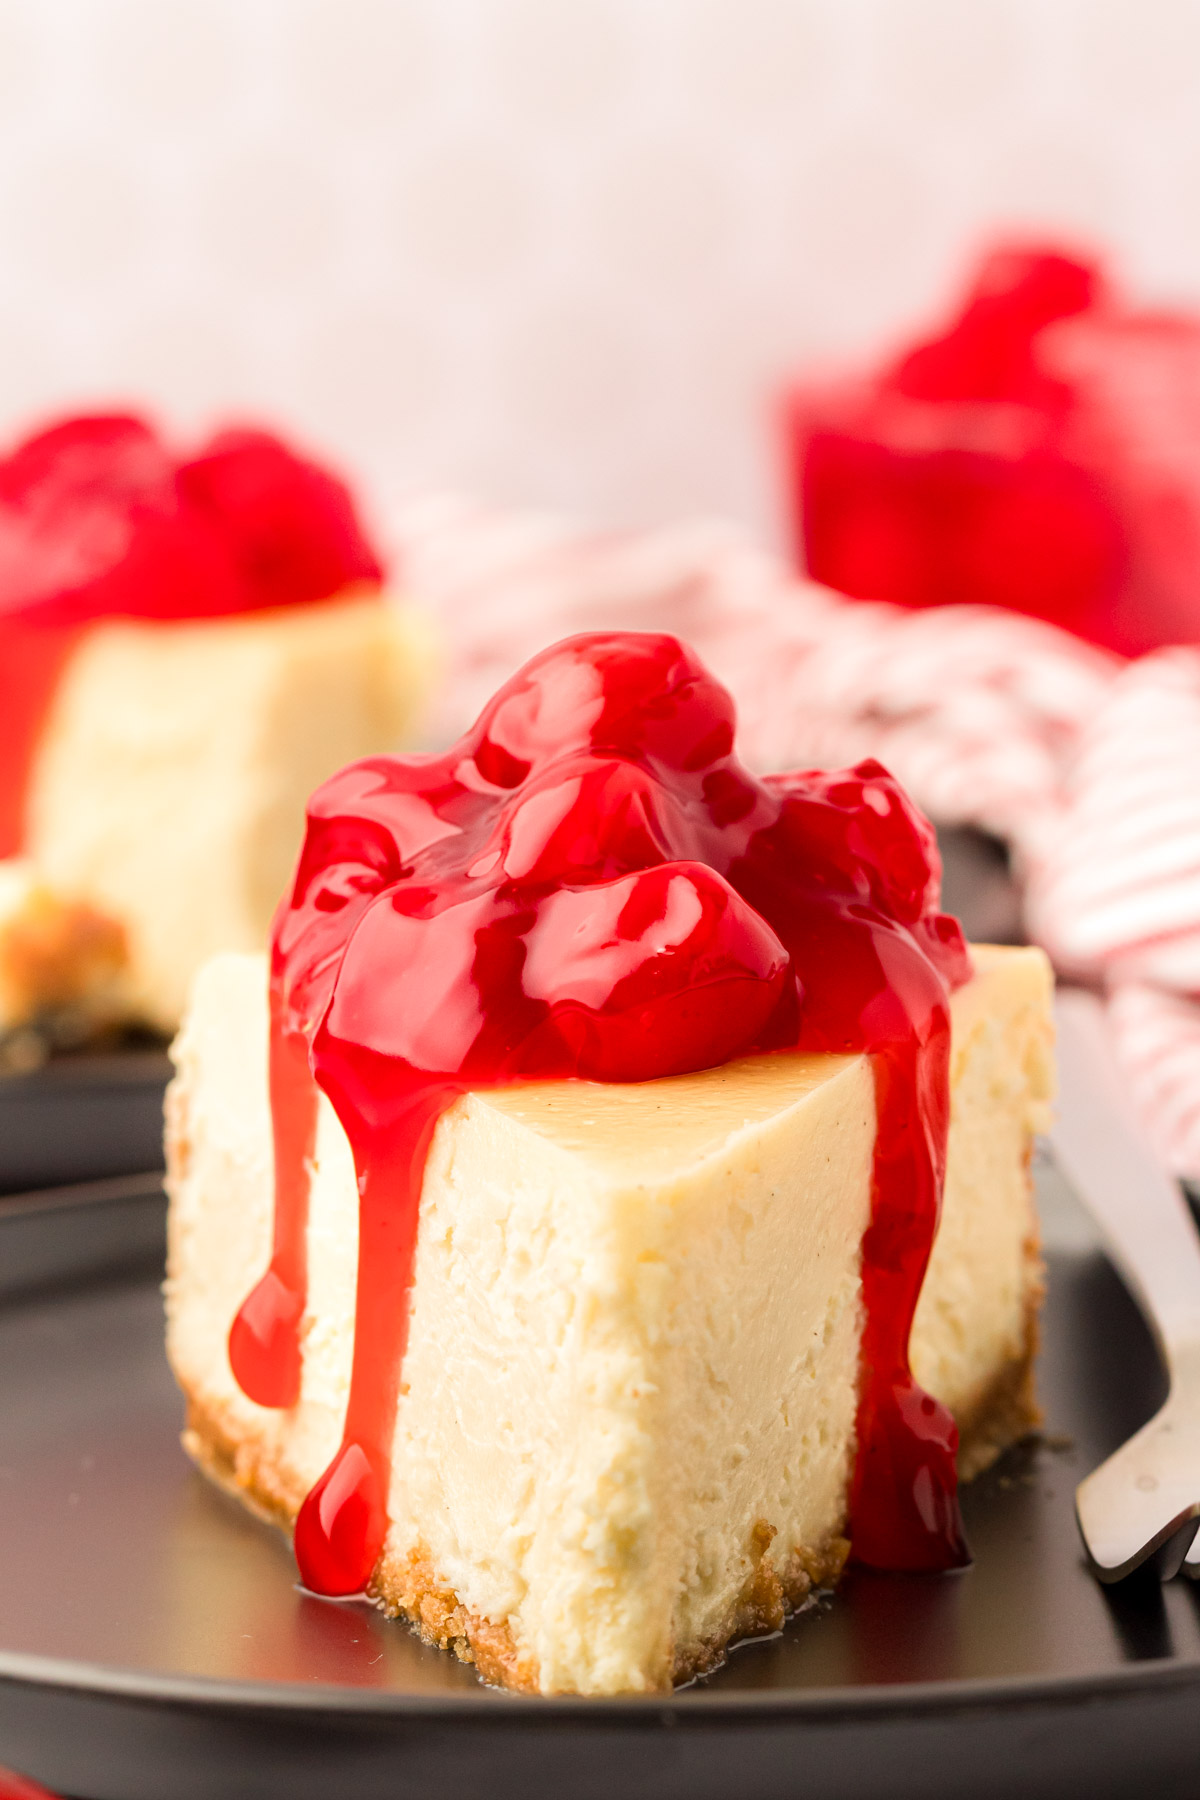
Once the cheesecake has been cut, pick your favorite cheesecake toppings to finish it with! If you’re hosting and serving this dessert, it may be fun to set out a cheesecake toppings bar for friends and family to choose from. Here are some of our favorite cheesecake toppings:
- Candy – Crush up your favorite candy to sprinkle over the top of your cheesecake! Crushed Twix, chopped Reese’s Peanut Butter Cups, as well as crushed Reese’s Pieces would all taste great!
- Fresh Berries – Blackberries, strawberries, raspberries, and blueberries would all be great served on a slice of this homemade cheesecake!
- Sauces – Drizzle your cheesecake with Chocolate sauce, hot fudge sauce, raspberry sauce, chocolate ganache, or some sweet, sticky caramel sauce!
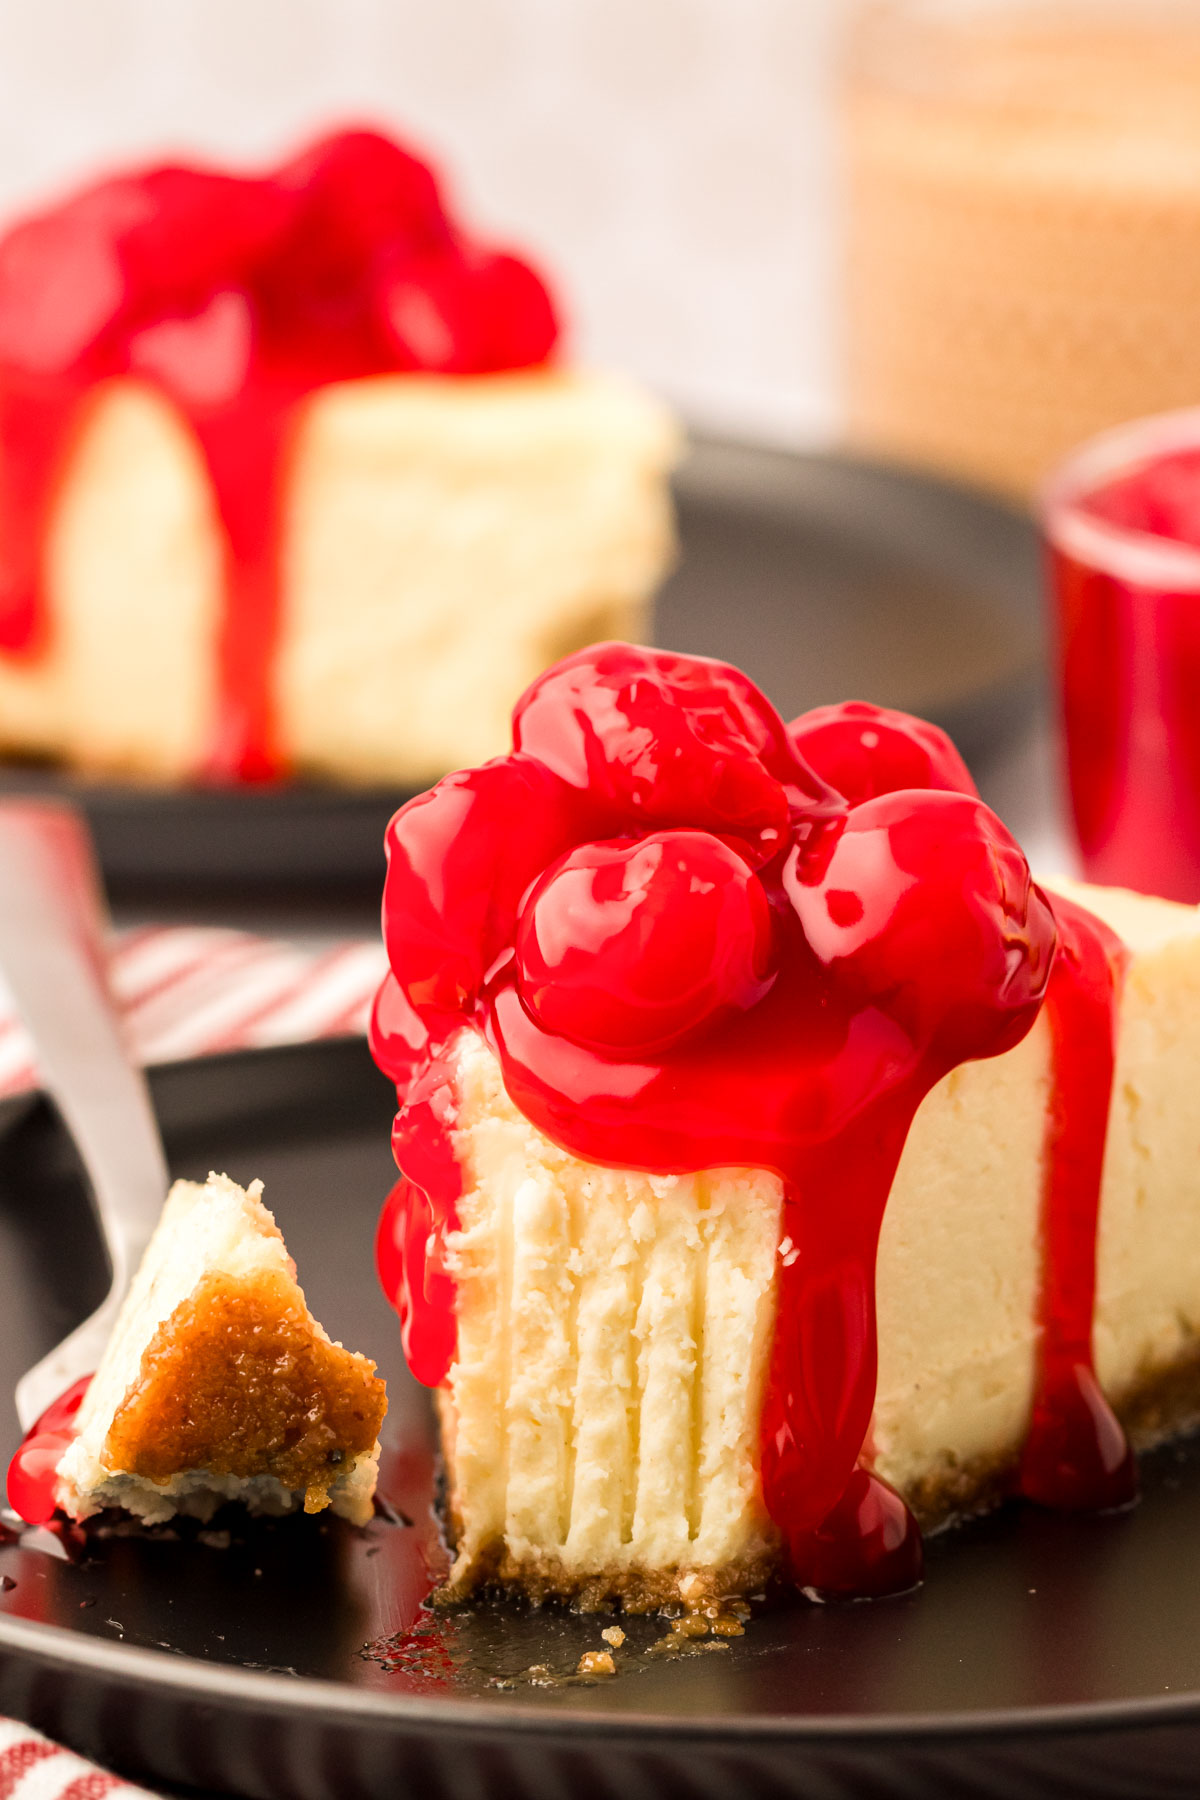
- Toppings – Canned pie fillings such as cherry pie filling or strawberry filling would make for a great topping choice as well! Try using my homemade lemon curd on this cheesecake for a homemade topping!
- Whipped Cream – Whipped cream served on cheesecake is always a crowd-pleaser! Homemade whipped cream tastes best, but storebought also gets the job done as well!
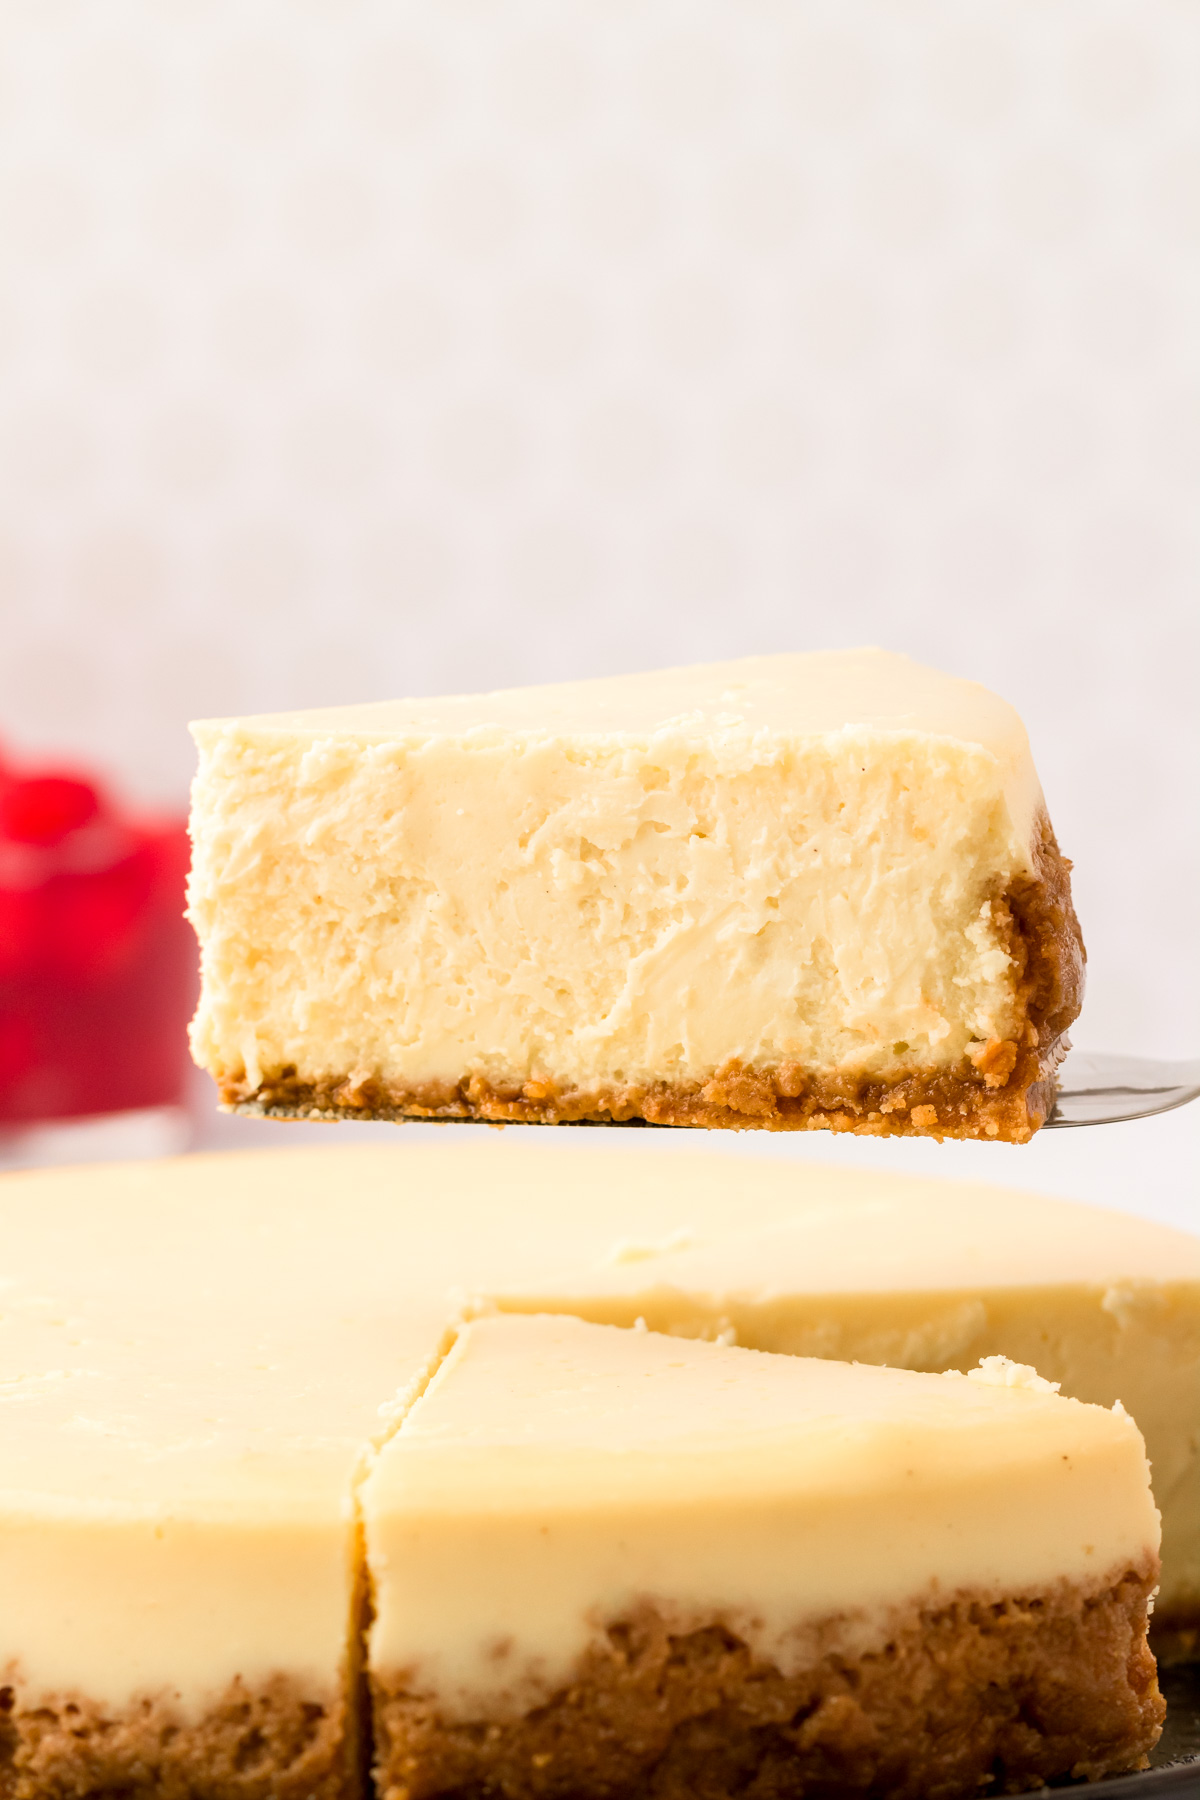
How To Store This Easy Cheesecake
Loosely wrap the cheesecake pan with foil or plastic wrap. You can also transfer individual slices into an airtight container for storage. Keep the cheesecake in the refrigerator to enjoy for up to 1 week.
This New York Cheesecake freezes great as well! This makes it a great dessert to make ahead and serve later. To freeze the cheesecake, first allow it to cool completely in the fridge.
Afterward, wrap layers of plastic around the cheesecake and then cover it again with aluminum foil. If you have a cardboard cake round used to support layer cakes, this would also be great to support the cheesecake with.
Transfer the wrapped cheesecake to the freezer to enjoy within three months.
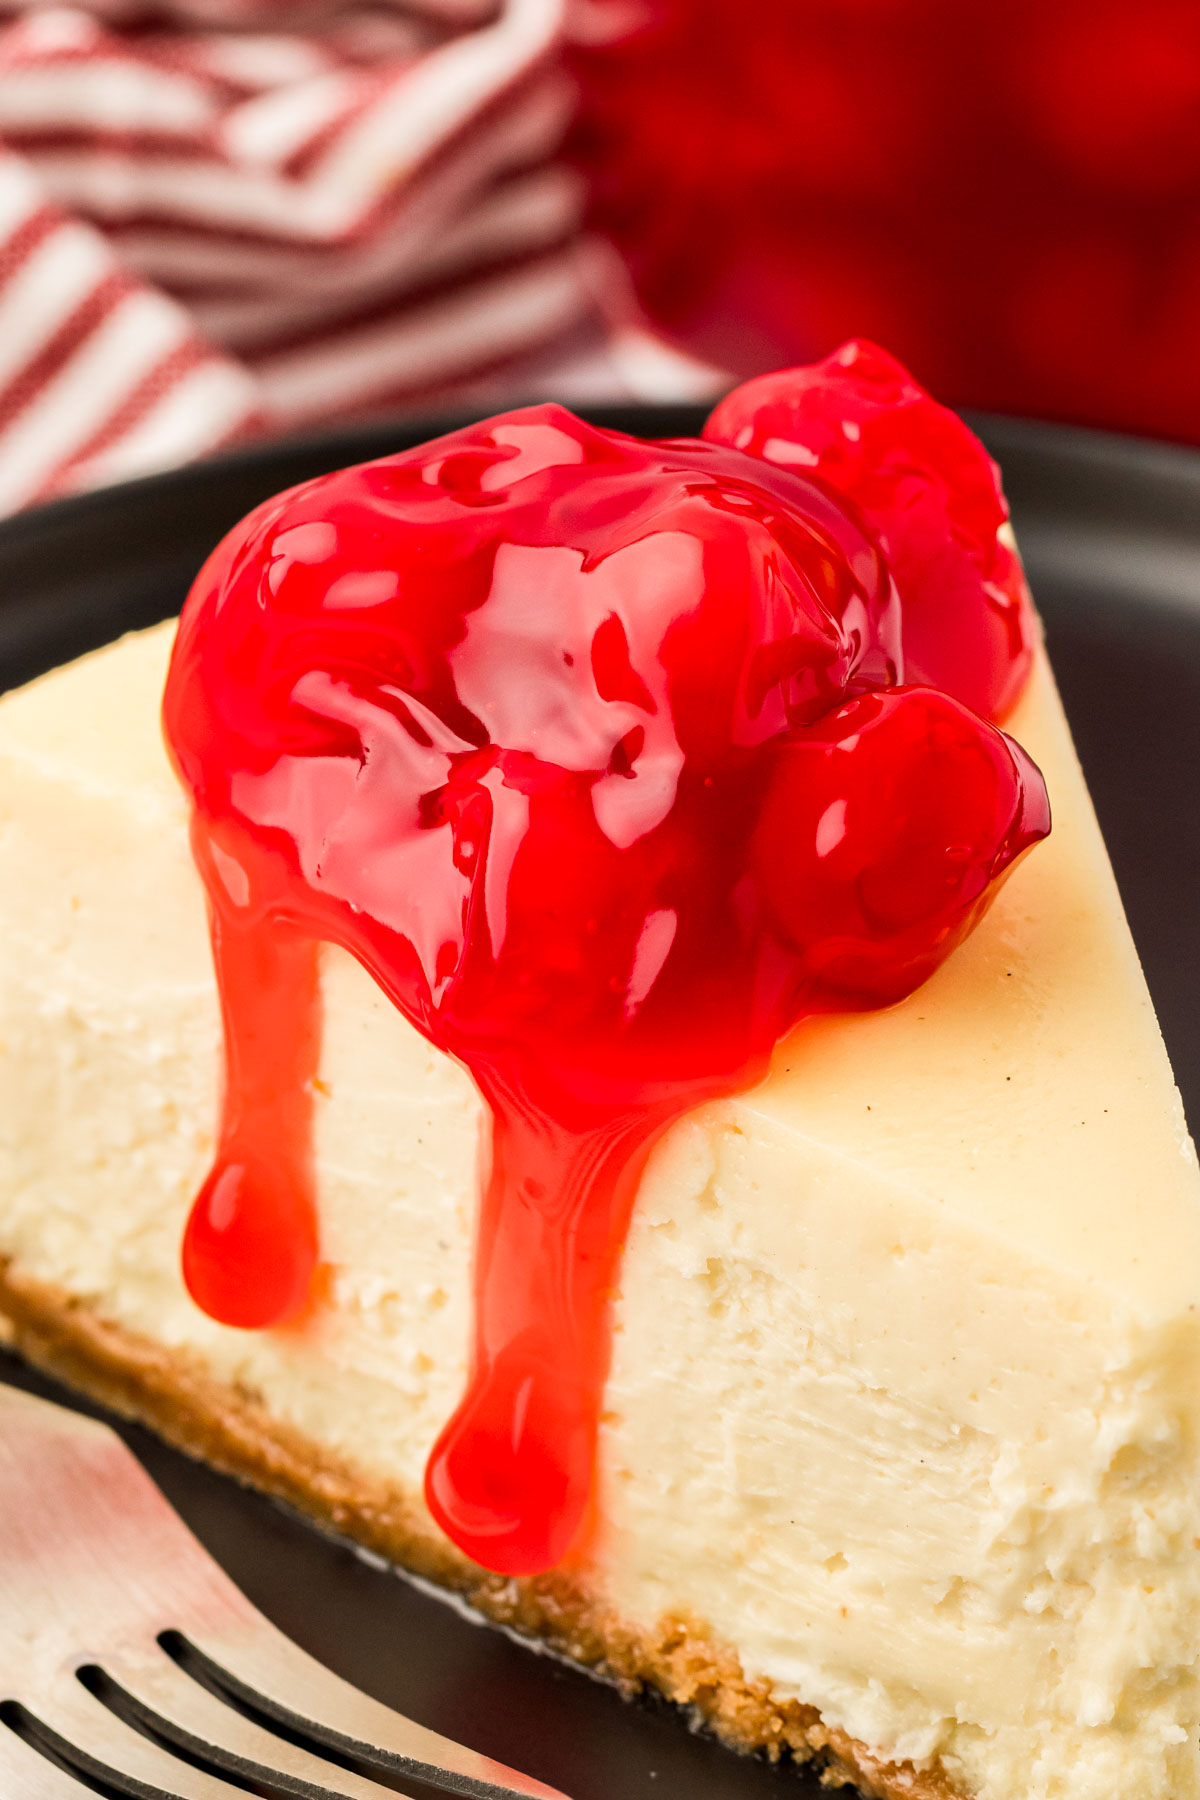
- Use room temperature ingredients! I suggest removing the heavy cream, large eggs, and cream cheese from the fridge about 4 hours before beginning this recipe.
- Don’t overmix the cheesecake batter! It’s very important to pay attention to the mixing speeds and times when making this classic cheesecake recipe. Don’t overwhip the eggs or cream, or it will result in air bubbles, giving the cheesecake a souffle-like texture.
- Mix it slow! The key to the best cheesecake is slow and minimal mixing to help achieve the silky, creamy cheesecake texture we’re aiming for with this recipe.
- Water baths for the win! Baking cheesecake in a water bath creates steam in the oven that helps the cheesecake to bake evenly to ensure it turns out perfectly creamy. This technique will also prevent the cheesecake from cracking during the baking process.
Baked cheesecake is a great choice if you enjoy a thick, dense cheesecake. Whereas if you prefer something lighter that’s a bit airy, you may opt for a slice of this no-bake cheesecake. Both are creamy and delicious!
Did You Make This Recipe?
If you’ve tried this recipe, please let me know how you liked it in the comments below and leave a review. I love hearing from you!
Don’t forget to tag me – @sugarandsoulco – on Instagram and Pinterest with your photos or join our Sugar & Soul Show-offs Community and share them there.

Homemade New York Cheesecake
Ingredients
Crust
- 1½ cups graham cracker crumbs 170g
- 8 tablespoons salted butter 112g, melted
- ¼ cup granulated sugar 60g
Cheesecake
- 32 ounces cream cheese 904g, room temperature and full-fat only
- 1½ cups granulated sugar 335g
- 1 tablespoon vanilla bean paste 18g
- 5 large eggs room temperature
- ¾ cup heavy cream 175ml, room temperature
- 2 teaspoons lemon juice
- 1 teaspoon salt
- ⅓ cup all-purpose flour 43g, sifted
Instructions
- Preheat the oven to 300°F and wrap a 9-inch springform pan with aluminum foil and set aside.
- Add 1½ cups graham cracker crumbs, 8 tablespoons salted butter, and ¼ cup granulated sugar to a large bowl and mix until the crumbs are evenly moistened. I use boxed crumbs, but if making your own, make sure to pulse the graham crackers in a food processor until fine crumbs form.
- Add the crust mixture to the springform pan and use a glass or measuring cup to press the mixture into the bottom and partially up the sides.
- In a large bowl or stand mixer fitted with a whisk attachment, beat together 32 ounces cream cheese 1½ cups granulated sugar, and 1 tablespoon vanilla bean paste on medium speed until smooth, about 2 minutes. Scraping down the sides of the bowl every 30 seconds or so, and make sure no lumps remain.
- Add the 5 large eggs one at a time, mixing on low speed after each addition. Make sure only a little yellow remains from the previous egg before adding the next.
- With the mixer on low speed, add in the ¾ cup heavy cream, 2 teaspoons lemon juice, and 1 teaspoon salt and mix until fully incorporated.
- Sift the ⅓ cup all-purpose flour into the mixing bowl and mix on low speed for 10 seconds. Scrape down the sides of the bowl and beat for another 10 seconds.
- Place the springform pan in a larger baking pan and fill the larger pan with water until it covers the bottom of the large pan, about 3 to 4 cups, to create the water bath. This helps prevent your cheesecake from cracking.
- Pour the cheesecake batter into the prepared pan, the filling will feel like a lot, but add all of it.
- Bake for 75 to 85 minutes on the middle oven rack until the center is almost set and has a matte/dull appearance but is still a little jiggly and the edges will also be just light golden.
- Turn off the heat and let the cheesecake sit in the oven for an additional 20 minutes.
- Remove from the oven and run a paring knife around the edge of the pan to loosen the cheesecake then remove the aluminum foil and transfer the cheesecake to a wire rack to cool to room temperature. About 3 hours.
- Transfer the cheesecake (in the pan) to the refrigerator to chill for at least 8 hours, preferably overnight.
- For super clean cheesecake slices, heat a large chef knife under hot water and slice the cheesecake.
- Serve plain or topped with fruit sauce, hot fudge, fresh berries, or your favorite cheesecake topping.
Video
Notes
- A whisk attachment is accurate; this is why it’s important the cream cheese is very soft for mixing. I recommend pulling out of the refrigerator at least 4 hours before using it.
- Store in the refrigerator for up to 1 week.
- This can be made in a 10-inch springform pan, but the cheesecake will be thinner and will take slightly less time to bake. An 8-inch springform pan is too small for all of the batter.
- It’s extremely important that you pay attention to the mixing speeds and time in this recipe. You do not want to overwhip the eggs or cream as it will result in air bubbles or a more souffle-like texture. Slow and minimal mixing will help obtain the silky, creamy cheesecake texture.
- You can freeze this cheesecake for up to 3 months. Simply let it cool completely in the refrigerator, then wrap it with plastic wrap and aluminum foil. If you have a cardboard cake round used to support layer cakes, this would also be great for supporting the cheesecake.
Nutrition
Did You Make This Recipe?
Don’t forget to share it with me on Instagram @sugarandsoulco and follow on Tiktok @sugarandsoulco and Pinterest @sugarandsoulco for more!


Share your thoughts!
Love this recipe? Share your thoughts with me below and leave a review! And don’t forget to connect on your favorite social platform below!