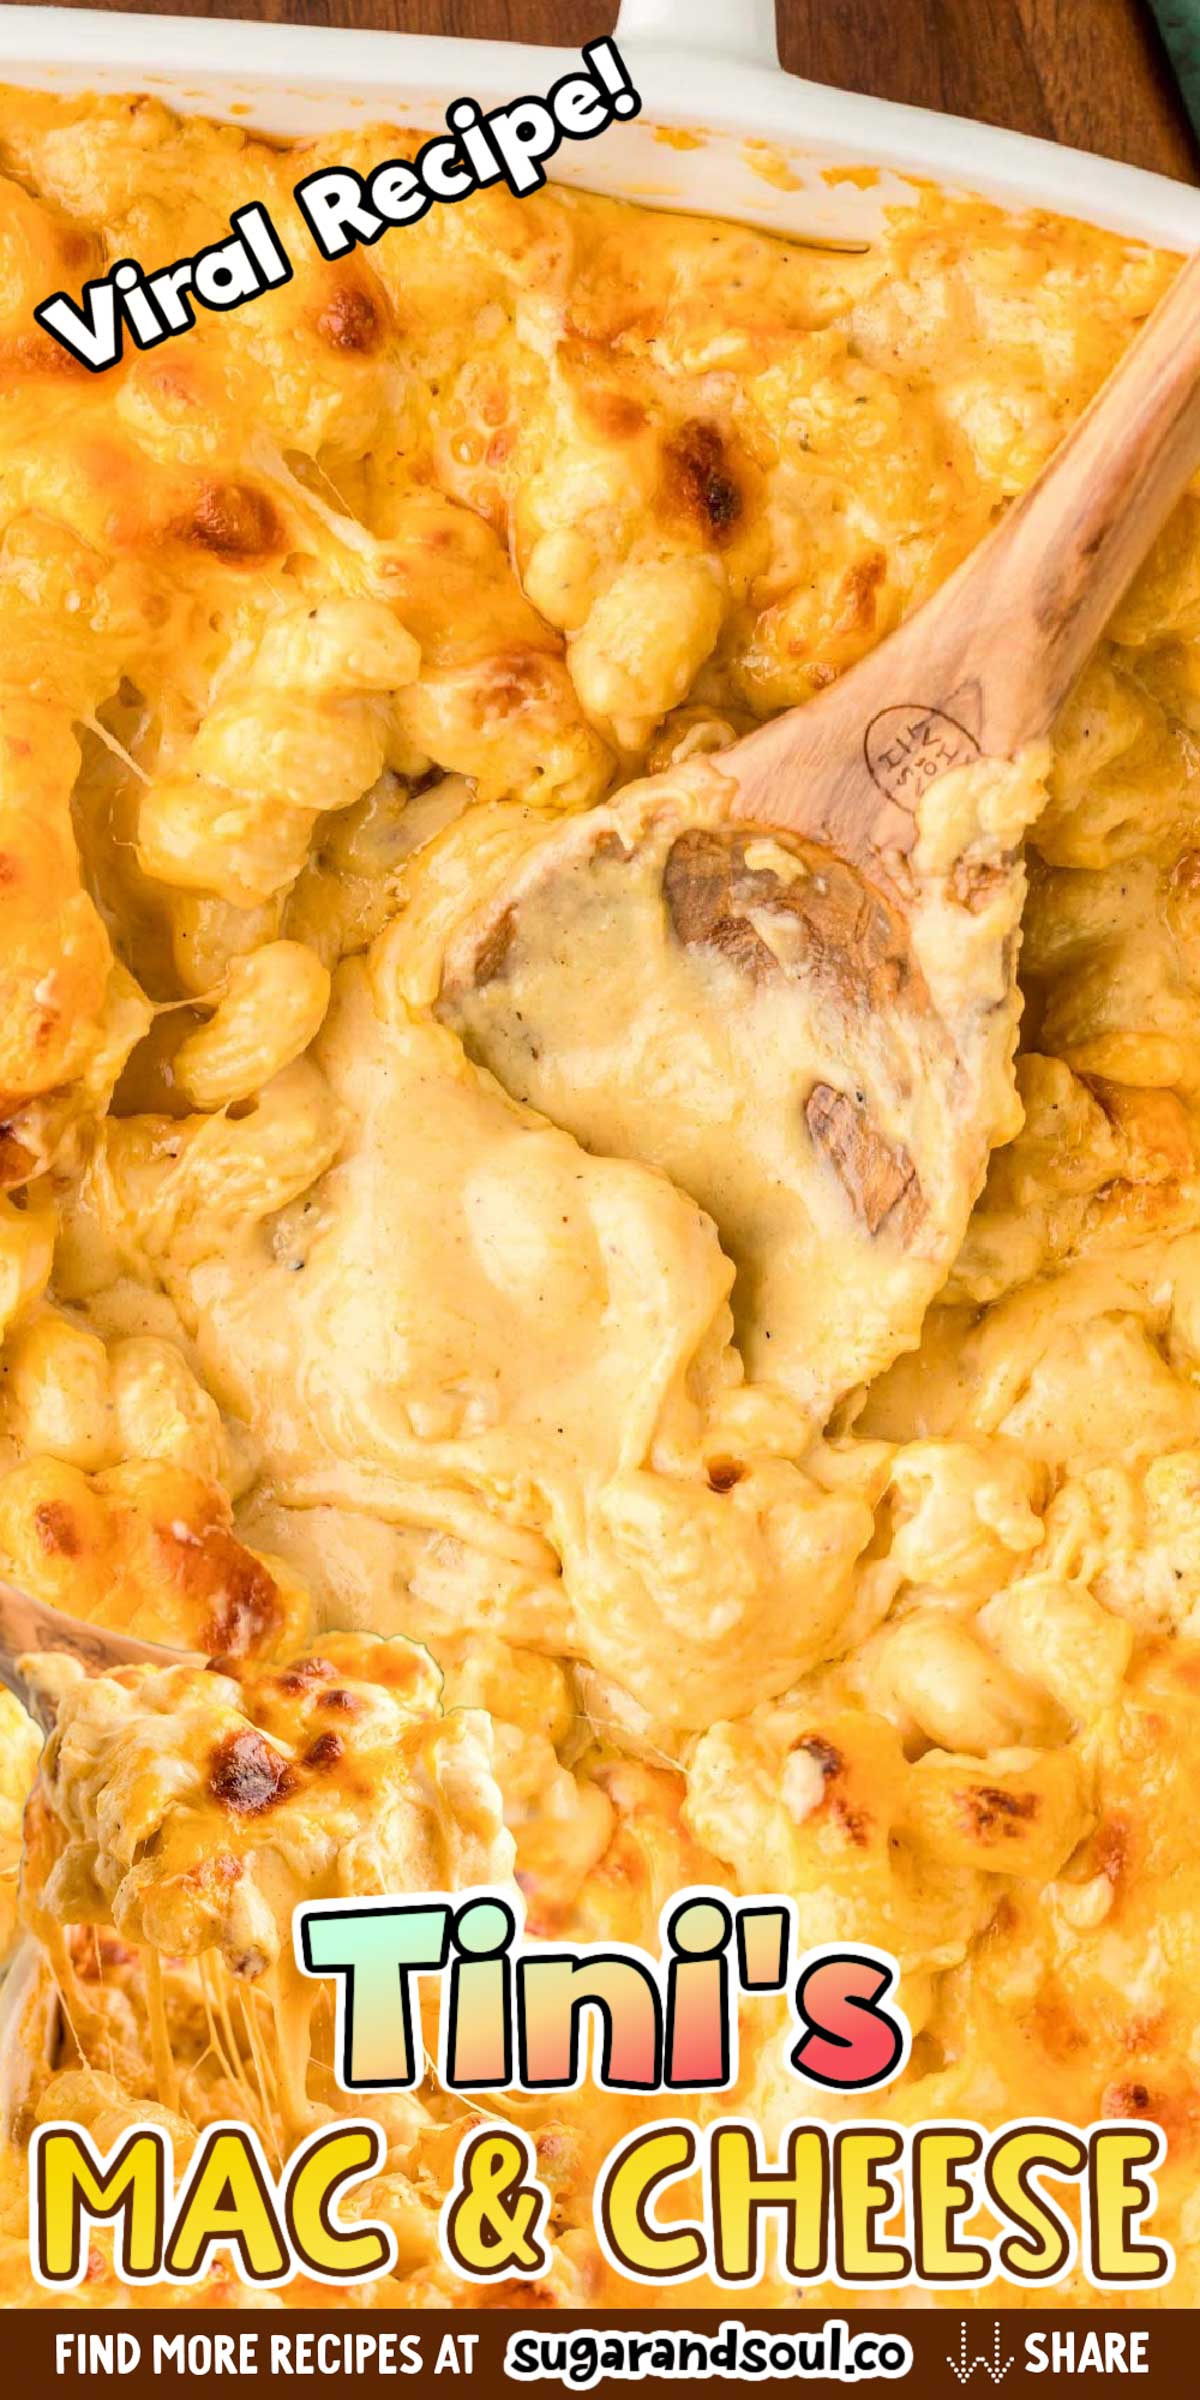
Dive into the TikTok culinary sensation that is Tini’s Mac and Cheese Recipe, a dish that has taken the world by storm! This macaroni and cheese creation is a cheesy flavor symphony crafted with a trifecta of cheeses, a blend of delectable spices, and corkscrew pasta.
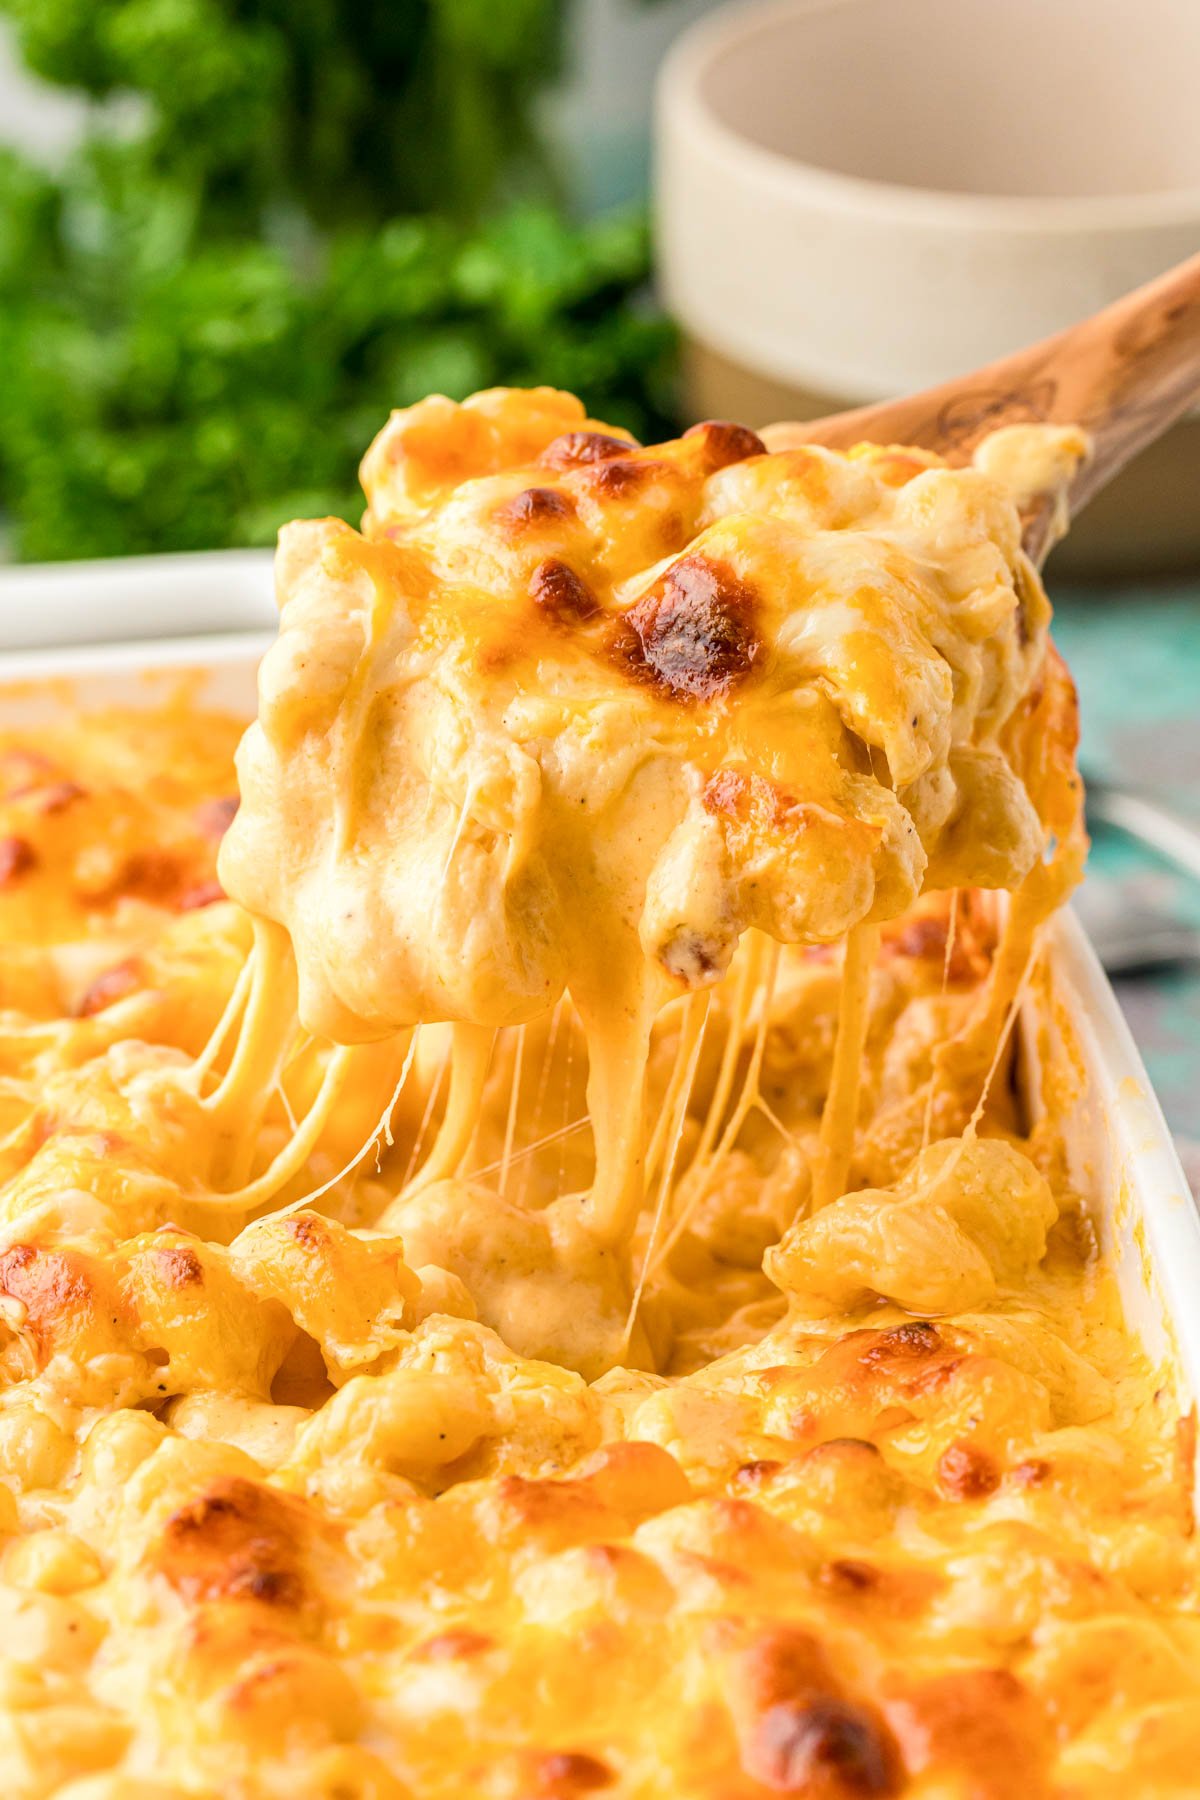
Three cheeses, spices, pasta, and a layering technique make Tini’s Mac and Cheese the BEST EVER!
What Is Tini’s Mac and Cheese?
It might just be the Best Mac and Cheese EVER! Tini is a Social Media Chef with over 6M followers, and this TikTok recipe is her most viral, with over 90M views (so far). Tini shared this recipe just before Thanksgiving, and everyone went crazy for it!
It’s the quintessential comfort food – bright yellow, super saucy, and carb-loaded – basically Mac and Cheese PERFECTION. It’s the kind of mac and cheese you make for game days, BBQs, and potlucks, but it is simple enough to make for an easy dinner, too!
Rebecca’s Recipe Review
Taste: Cheesy, cheesy, cheesy with a balanced flavor thanks to some spices!
Texture: Super Gooey sauce, tender pasta, broiled top.
Ease: 5/10 – Hand grating is a bit of a pain, and it does require three cooking methods and a lot of dishes! But overall, it is pretty simple to make.
Pros: Fresh grated cheese for super smooth sauce and creaminess.
Cons: Time spent grating cheese; use a rotary grater to speed up the process.
Would I Make This Again? Absolutely, over and over again! But I would reduce the amount of cheese slightly!
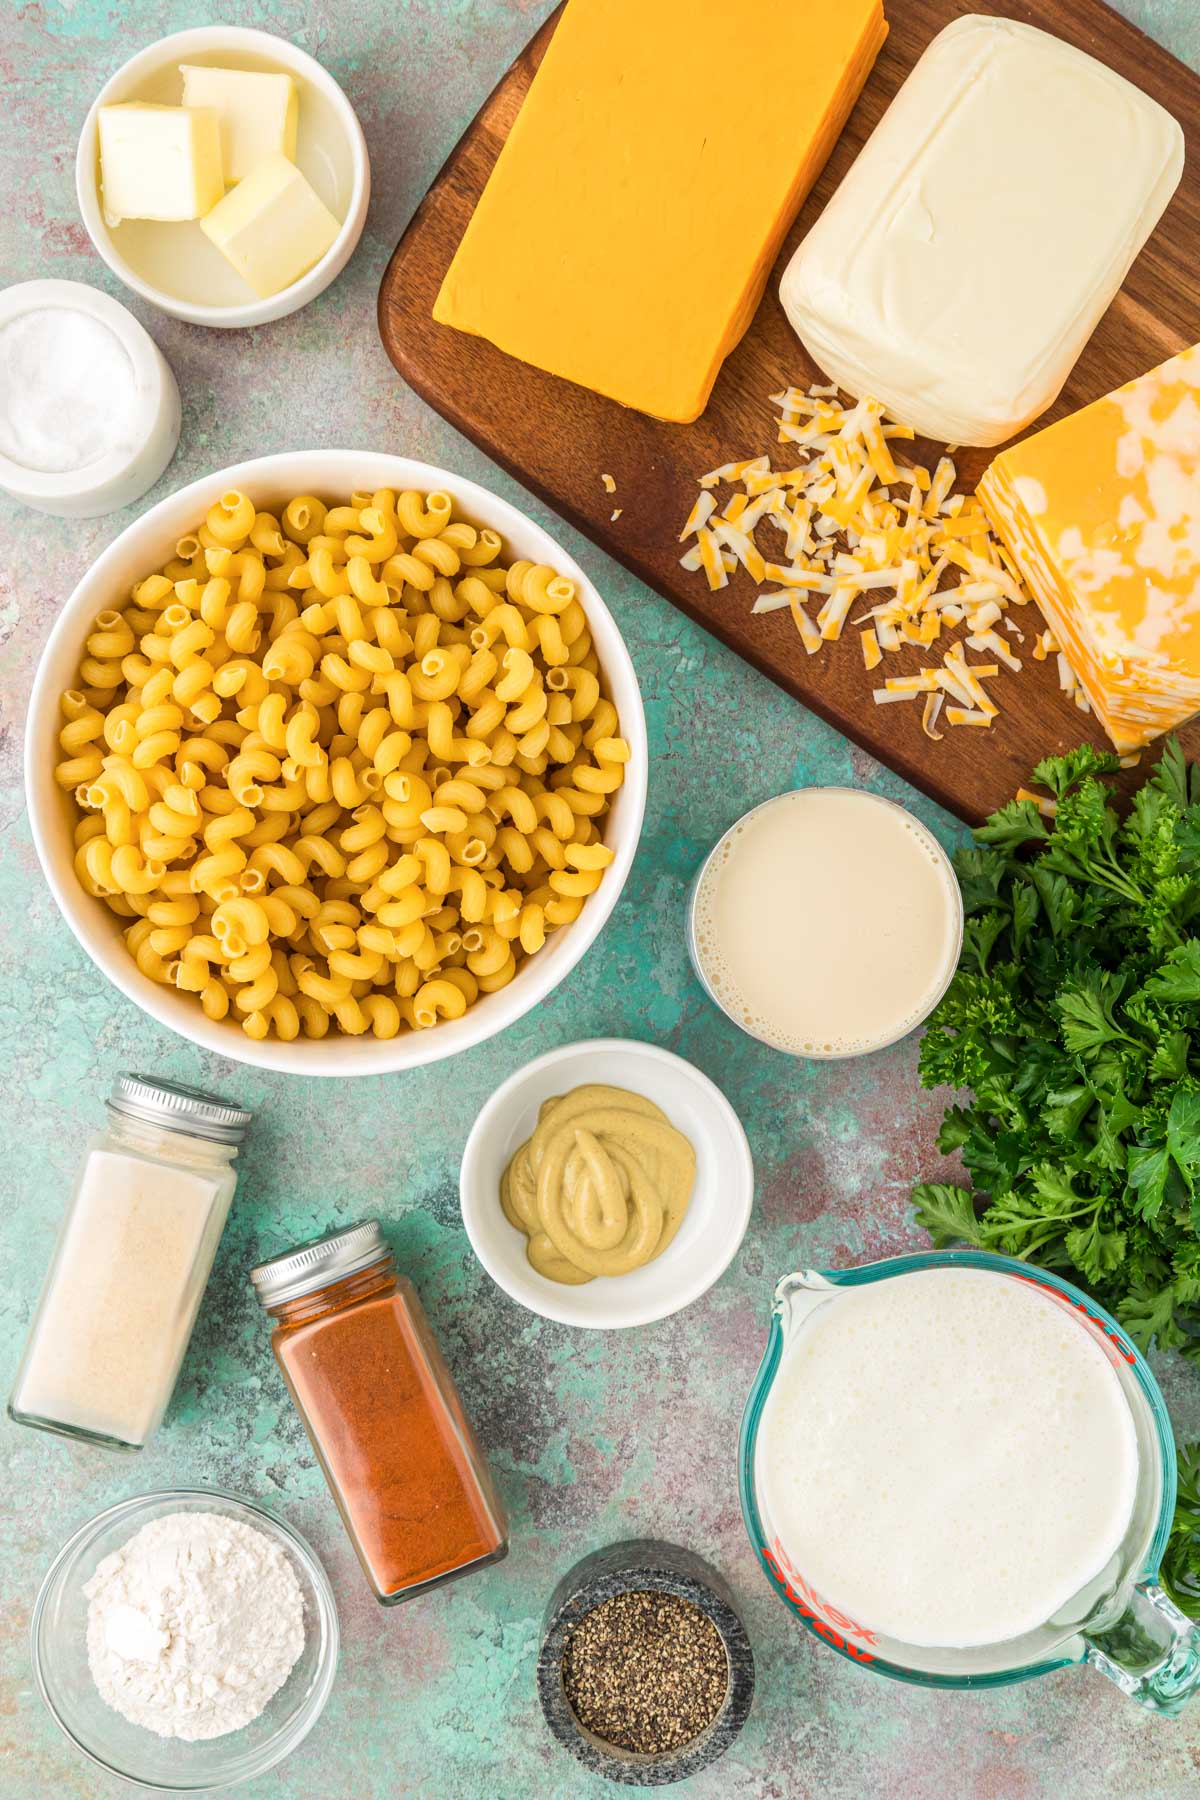
Baked Macaroni and Cheese Ingredients
- cavatappi (corkscrew) pasta
- Mozzarella cheese
- Colby Jack cheese
- sharp cheddar (yellow preferred)
- garlic powder
- smoked paprika
- coarse salt
- ground black pepper
- salted butter
- all-purpose flour
- evaporated milk
- heavy cream
- Dijon mustard (or mustard powder)
- fresh parsley
I loved this recipe so much! It had amazing flavor and a great cheese crust on the top! Thanks for sharing this recipe!!!! 💖
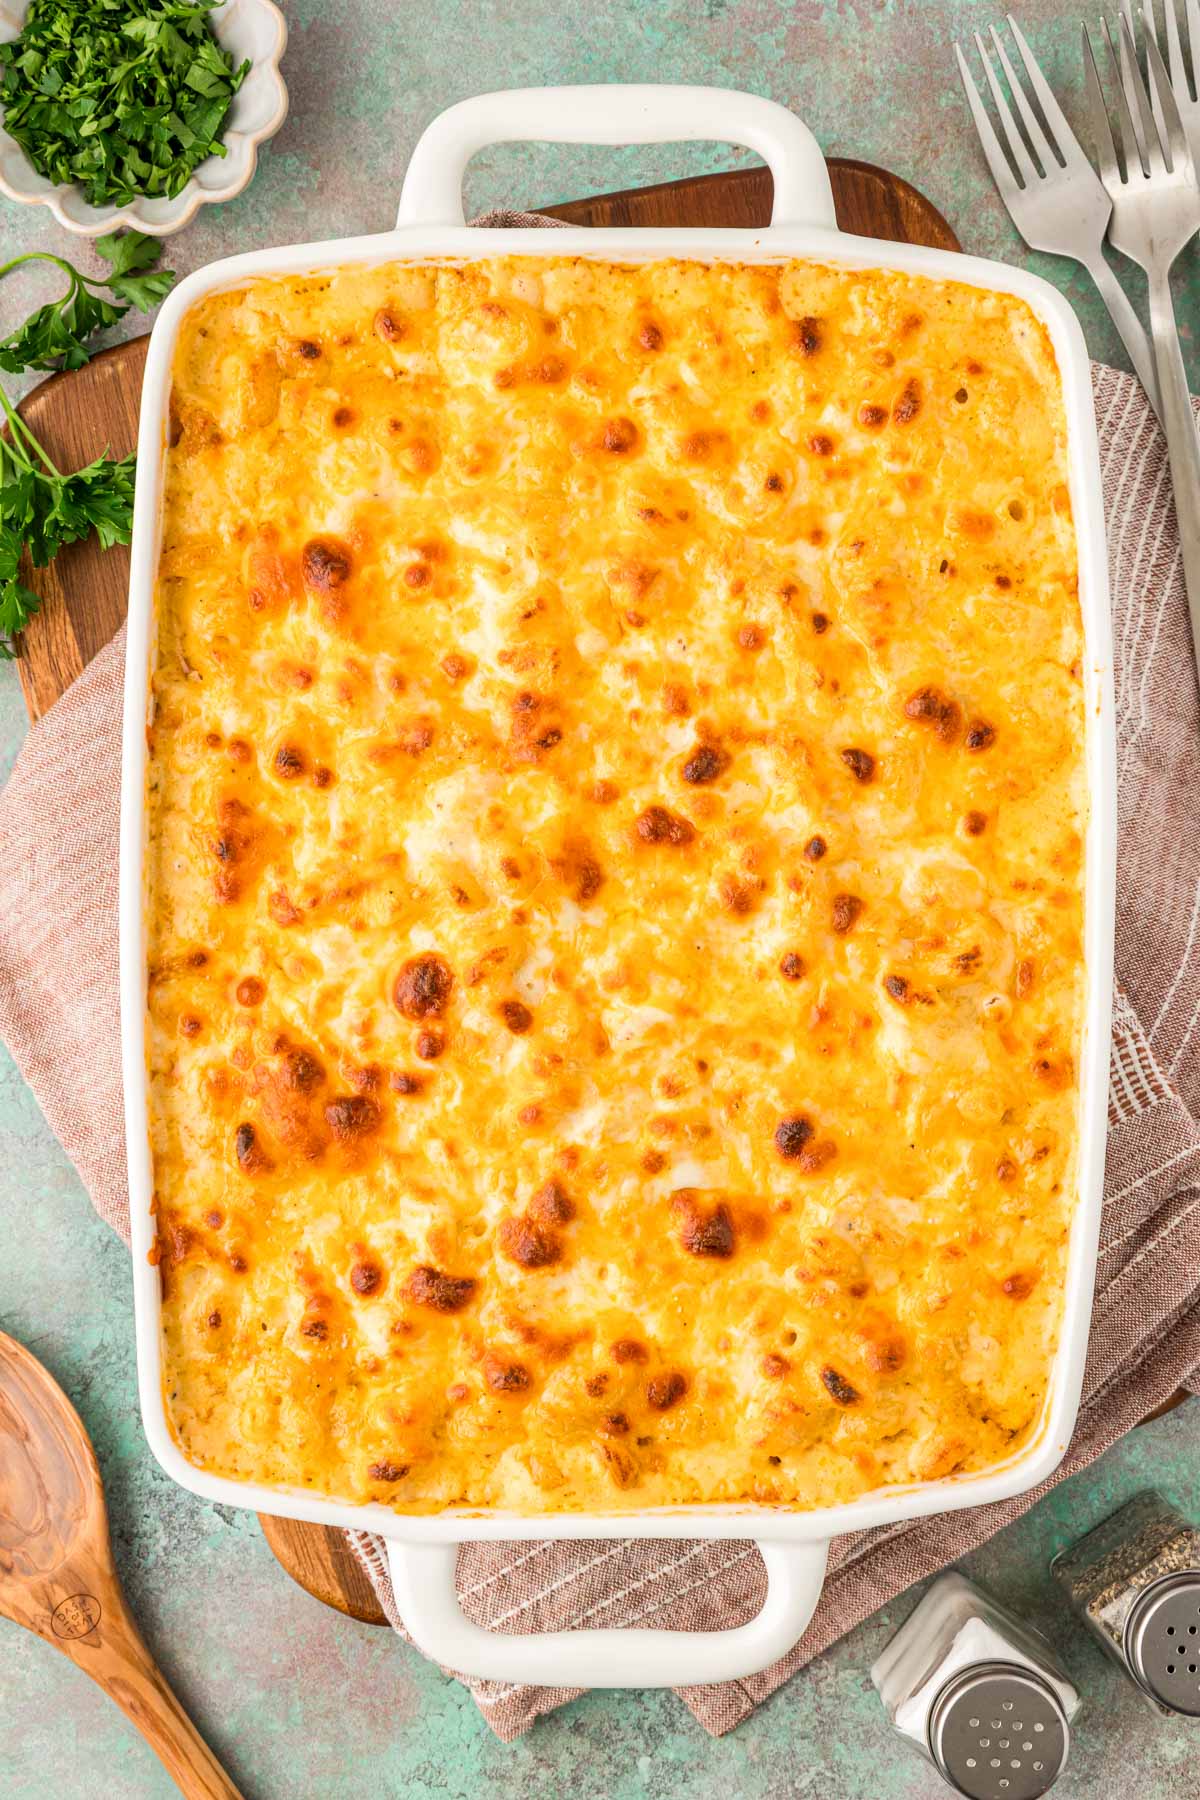
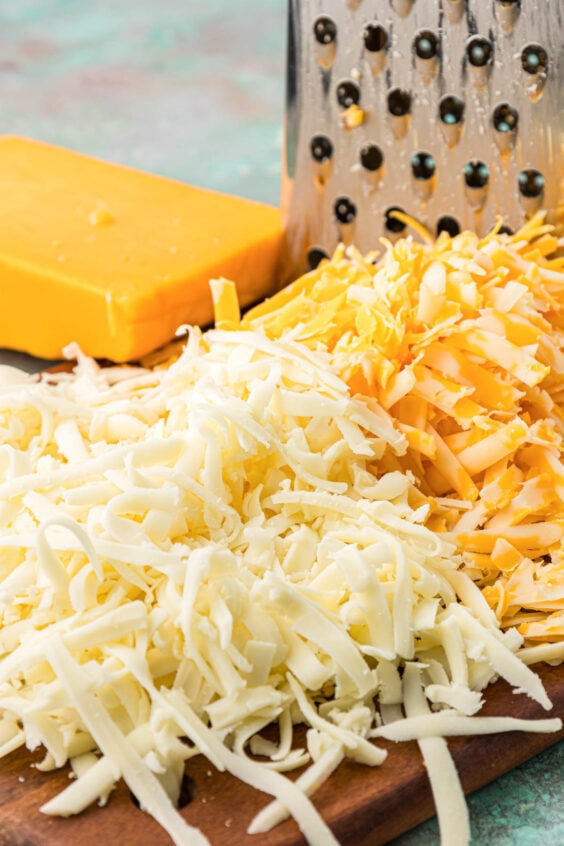
- Please don’t skip the freshly shredded cheese; it makes all the difference! Did you know that packaged shredded cheese has a coating that preserves it but makes it harder to melt? This is why shredding your own is always best, and a rotary cheese grater makes it a snap to do!
- Any pasta will work, but this is our favorite for mac and cheese. Look for pasta with texture and ridges to cling to the sauce.
- Get a block from the deli; it’s harder, cheaper, and easier to shred than the softer packaged balls. Trader Joe’s sells a 1-pound package of block Mozzarella.
- This is A LOT of cheese, and I would honestly recommend cutting the mozzarella cheese down to 1/2 or 3/4 of a pound, and it would still be plenty.
- Layering the cheese with the pasta like Tini does gives you bites that are extra gooey and make for the ultimate cheese-pull – you know there’s nothing more satisfying than that!
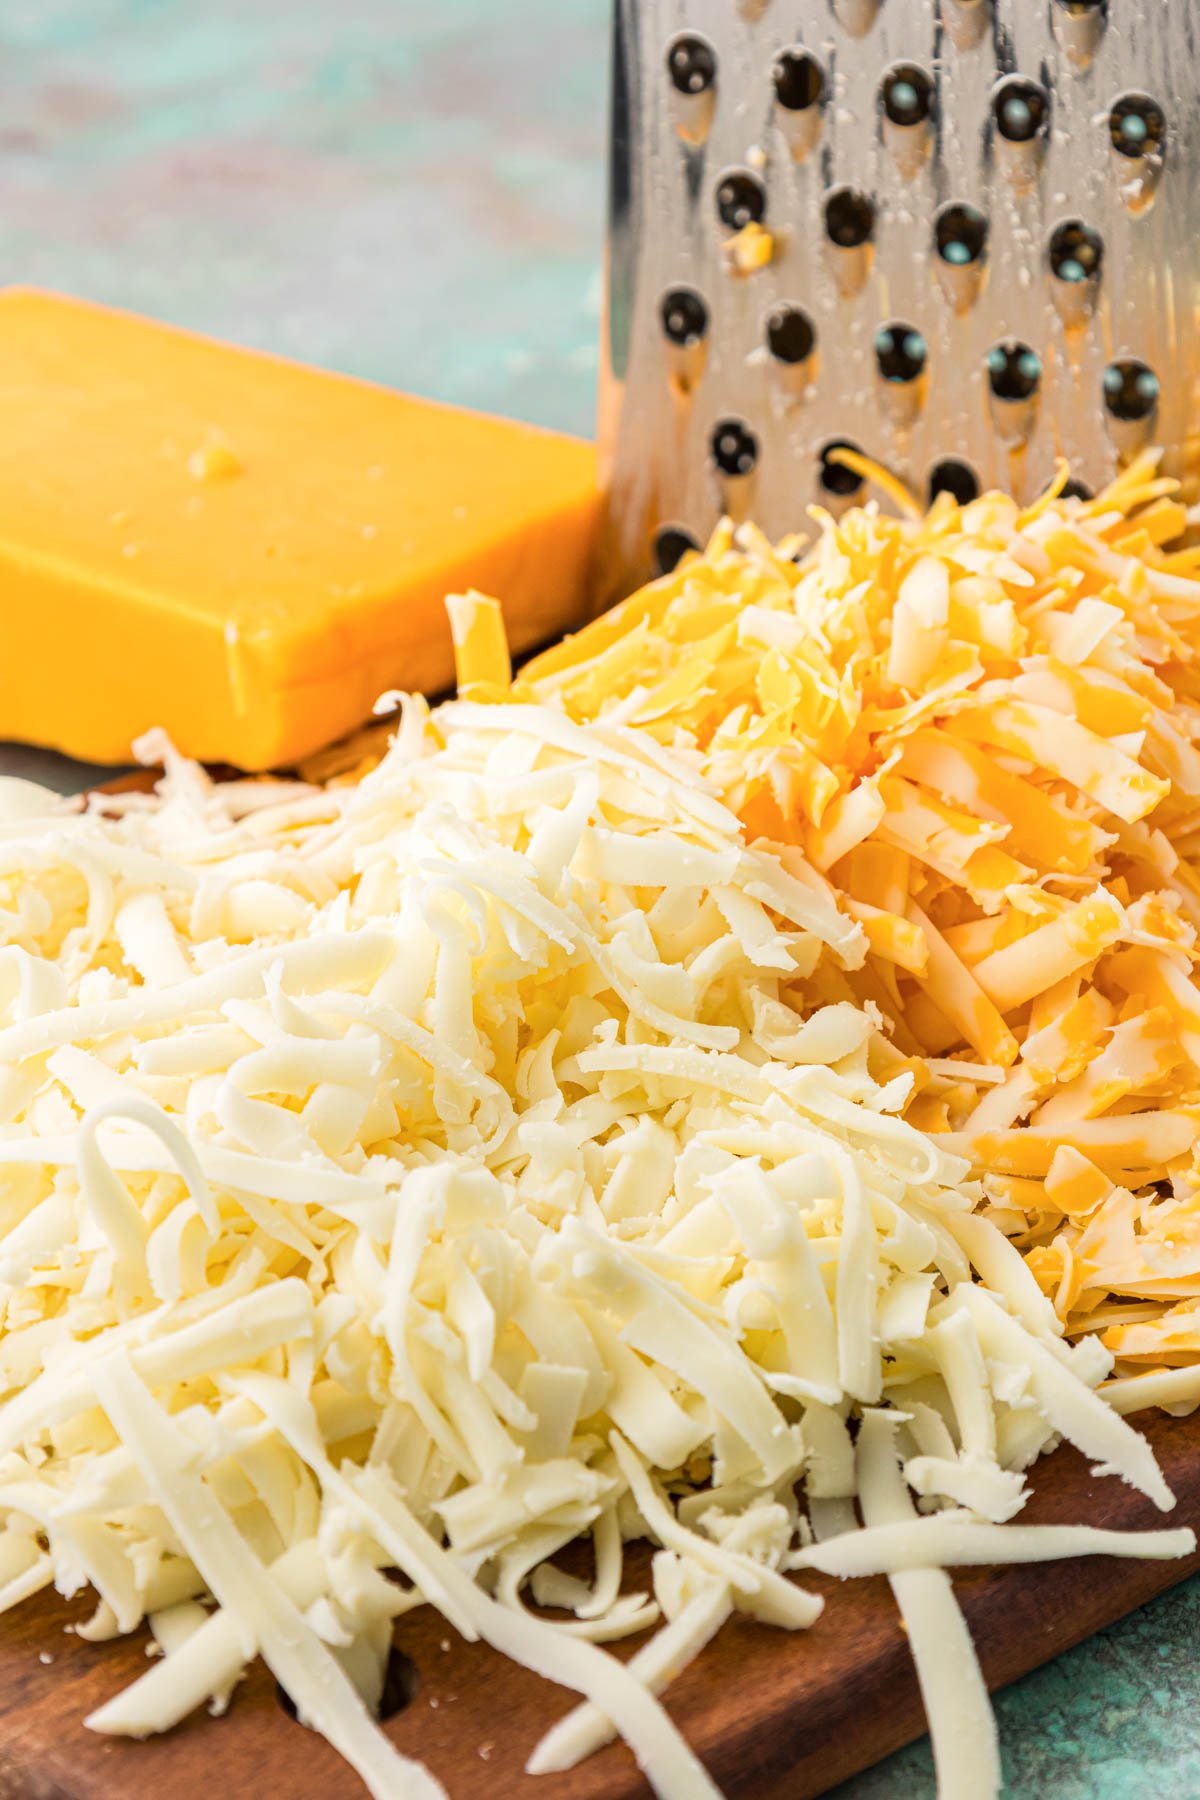
How To Make Tini’s Viral Mac and Cheese
A full recipe card with step-by-step photos and ingredient quantities can be found at the end of the post.
- Grate the cheese, mix it, and divide it between two bowls.
- Cook the pasta in a large pot of boiling salted water according to directions for al dente. Timing varies depending on the brand of pasta.
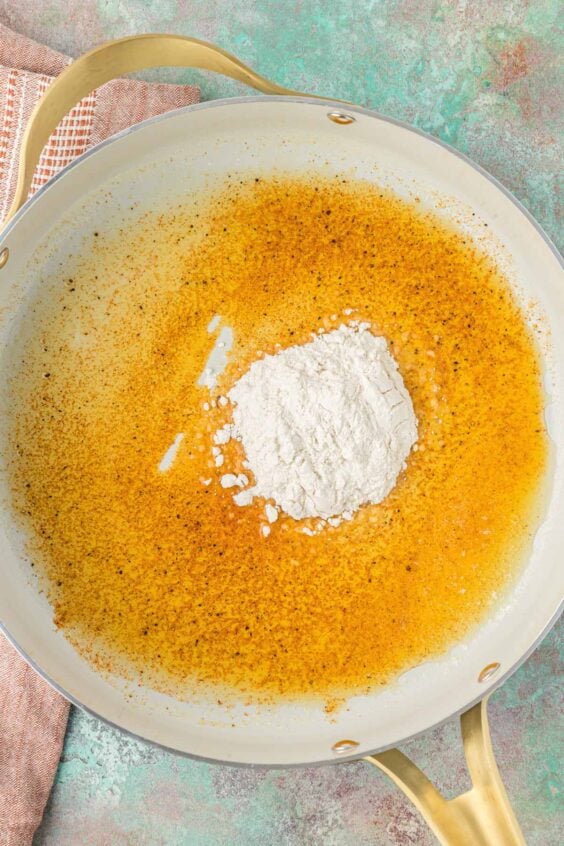
- While the pasta cooks, prepare the roux for the cheese sauce by melting the butter with half of the seasonings. Then add the flour and cook until bubbly.
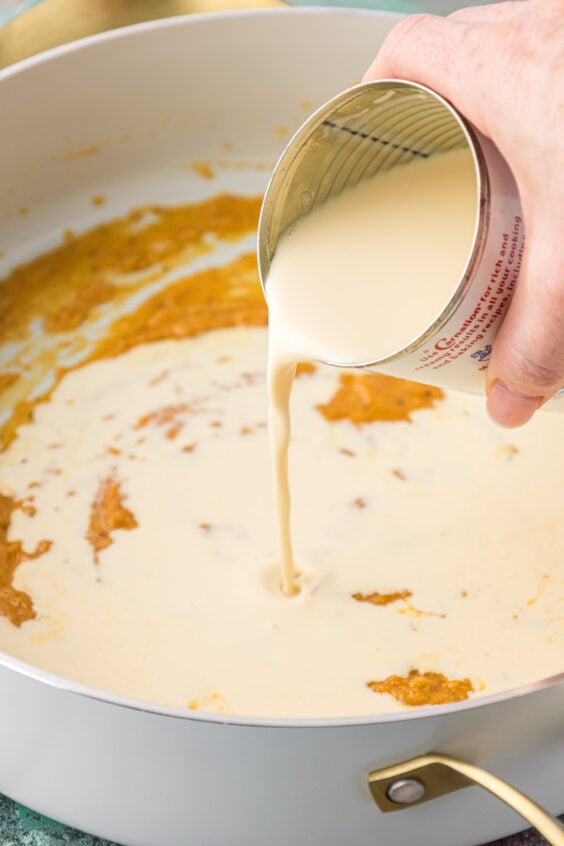
- Pour in the evaporated milk, heavy cream, and mustard, whisking frequently until it thickens.
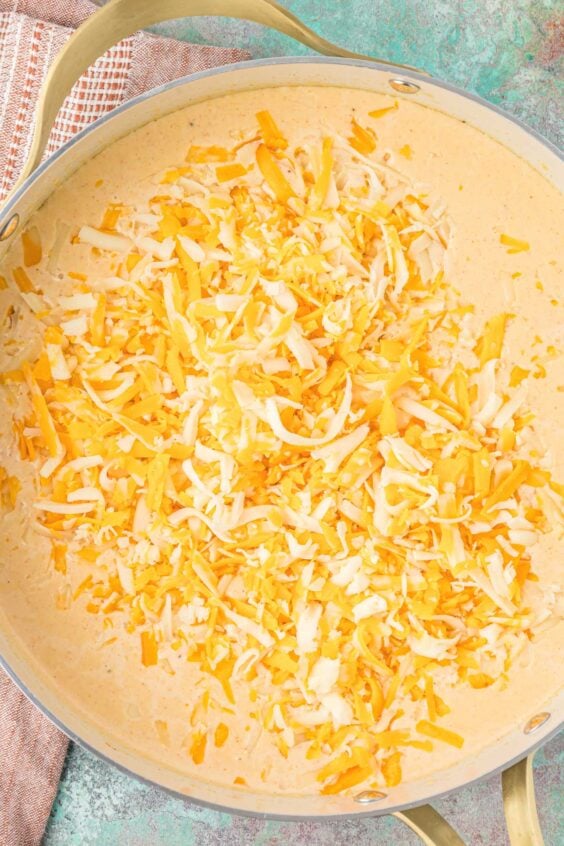
- Add the cheese a handful at a time, melting each batch before adding the next.
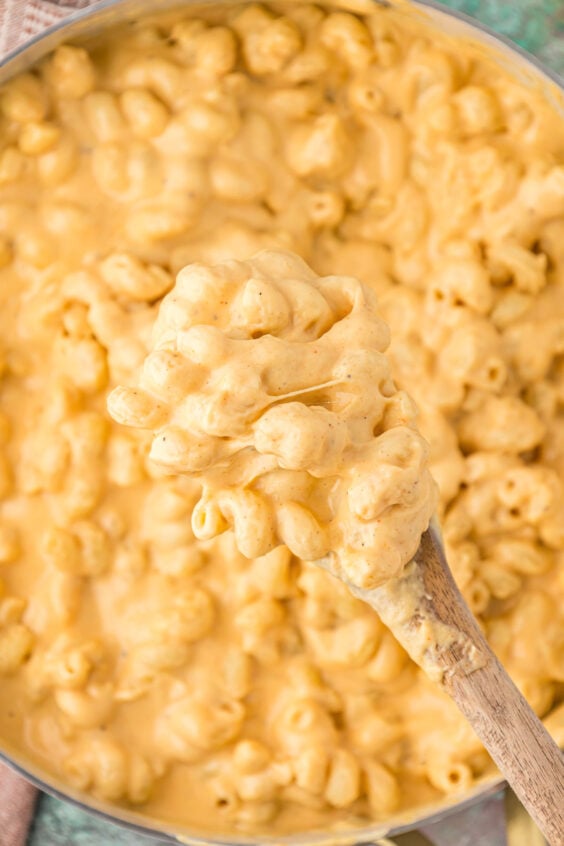
- Toss in the pasta until fully coated.
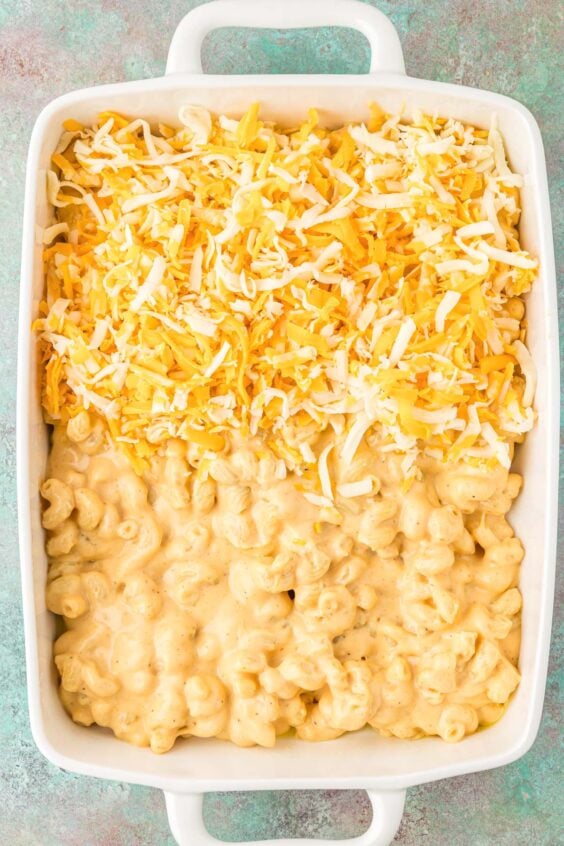
- Layer the pasta with the remaining shredded cheese in a baking pan and bake.
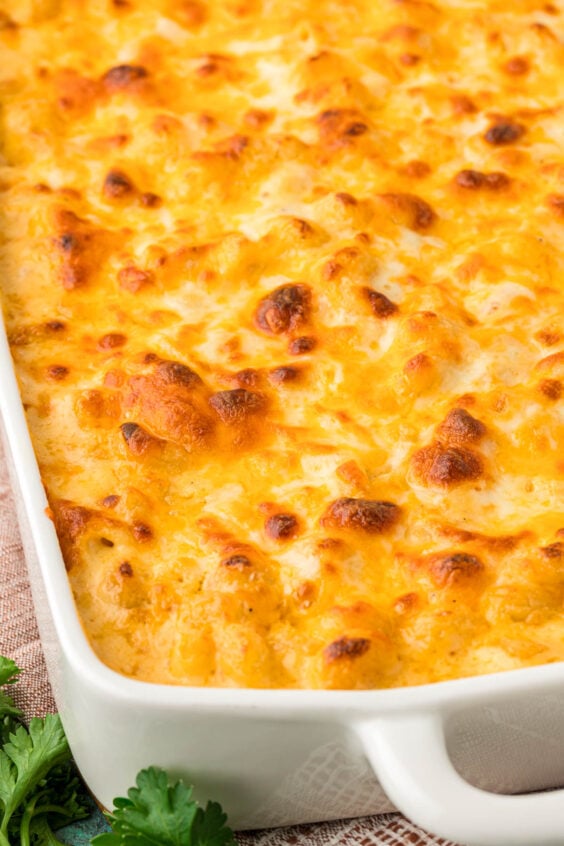
- Broil for a couple of minutes before removing from the oven and digging in!
I’m not a huge homemade mac and cheese person, but this one is the only exception! Perfectly cheesy with a beautiful cheese crust on top! This recipe will be a regular dinner go-to!
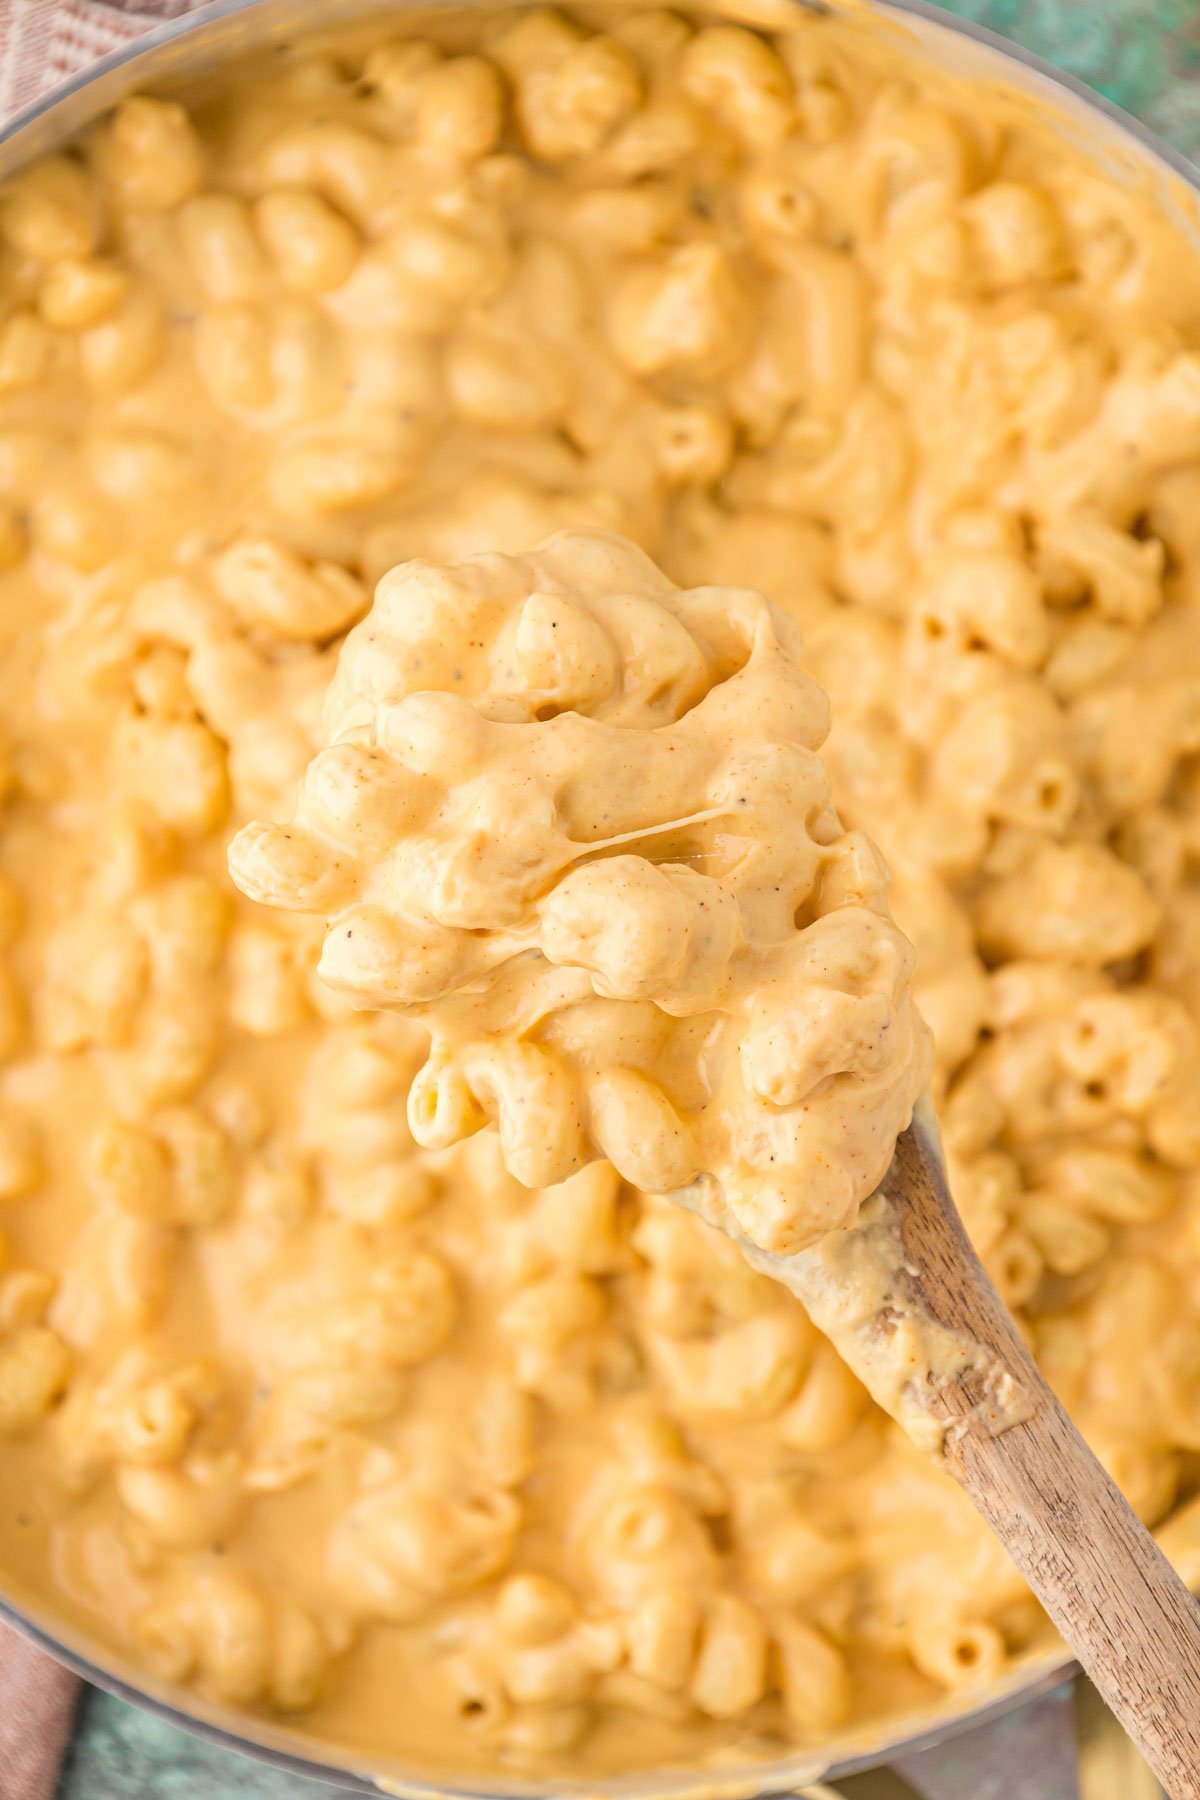
How To Serve Homemade Mac and Cheese
This mac and cheese is best served right after baking. Scoop it right out of the dish and serve as the main attraction or as a side dish for brisket, pulled pork, or ham! It makes a great addition to Thanksgiving and Easter spreads, too!
Macaroni and Cheese Recipe Variations
- Meat: Add bacon or pulled pork (but make sure the pulled pork isn’t overly juicy.
- Veggies: Soft broccoli florets would be a great addition to this recipe for the ultimate broccoli-cheddar flavor combo!
- Stovetop: Skip the baking altogether and enjoy this as a plain old stovetop mac and cheese!
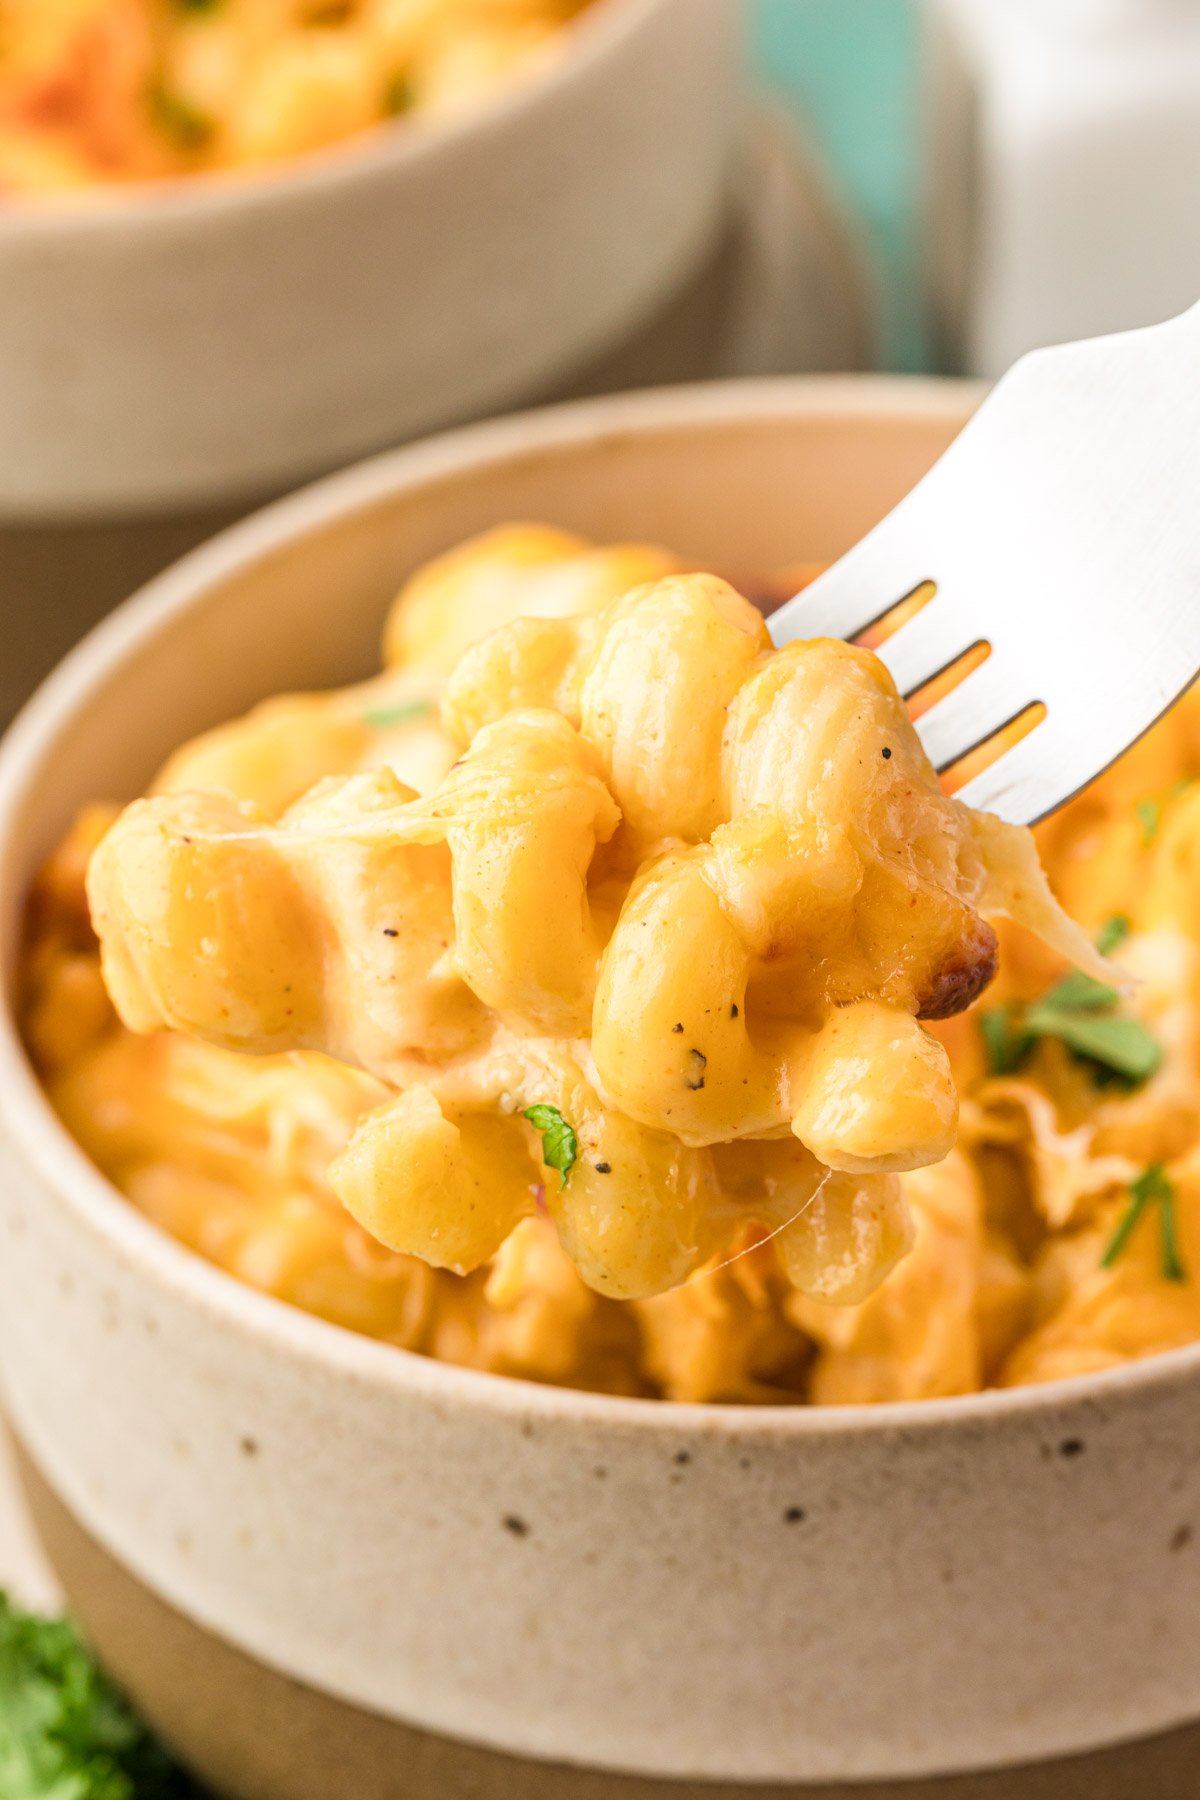
Make Ahead Mac and Cheese Instructions
If you want to prepare this mac and cheese in advance, it’s very easy to do! Simply prepare the recipe right up until baking then cover with aluminum foil and refrigerate for up to 2 days.
When ready to bake, tent the aluminum foil so it doesn’t touch the top layer of cheese and bake for 25 minutes, then remove the foil and bake for an additional 25 minutes or until heated through. Finish with the broil.
Freezing Tini’s Mac and Cheese
Follow the make-ahead instructions above, but be prepared to add an additional 30 to 35 minutes to the baking time while covered in foil.
I find that frozen pasta dishes with lots of cheese and sauce packed into a casserole container always take longer to reheat from frozen than you might expect, so plan ahead!
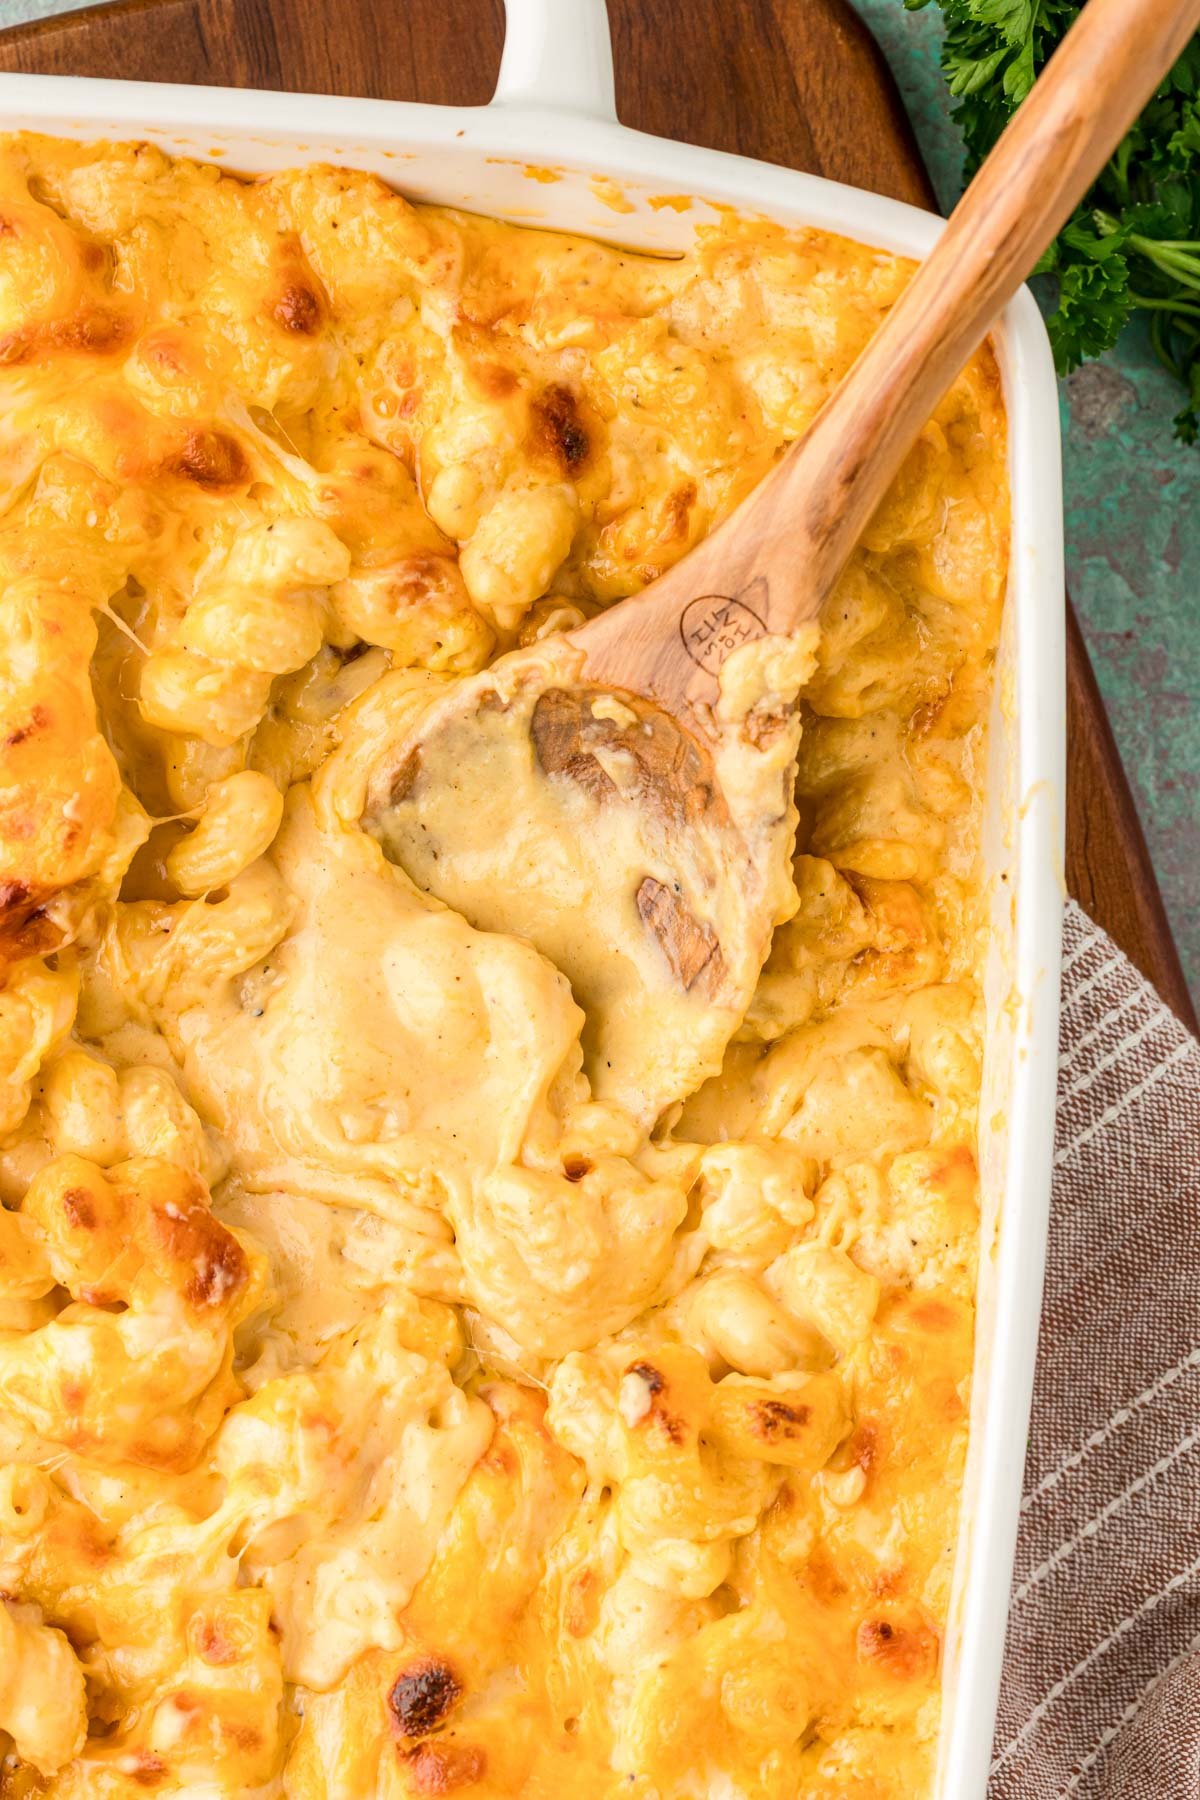
Did You Make This Recipe?
If you’ve tried this recipe, please let me know how you liked it in the comments below and leave a review. I love hearing from you!
Don’t forget to tag me – @sugarandsoulco – on Instagram and Pinterest with your photos or join our Sugar & Soul Show-offs Community and share them there.

Tini’s Mac and Cheese
Equipment
- Large pot
- colander
- Cheese grater rotary preferred
- Large skillet
- 9×13-inch baking dish
- Measuring spoons
- Measuring Cups
- Whisk
- Wooden spoon
Ingredients
- 1 pound mozzarella cheese Get a block from the deli; it's harder, cheaper, and easier to shred than the softer packaged balls.
- 1 pound Colby Jack cheese
- 8 ounces sharp cheddar yellow preferred
- 1 pound cavatappi pasta
- 1 teaspoon garlic powder
- 1 teaspoon smoked paprika
- 1 teaspoon coarse salt
- ½ teaspoon ground black pepper
- 3 tablespoons salted butter
- 3 tablespoons all-purpose flour
- 1 (12 oz.) can evaporated milk
- 2 cups heavy cream
- 1 tablespoon Dijon mustard
- fresh chopped parsley for garnish
Instructions
- Preheat the oven to 350°F.
- Shred the blocks of cheese: 1 pound mozzarella cheese, 1 pound Colby Jack cheese, and 8 ounces sharp cheddar into a large mixing bowl, then toss together and transfer half to a separate bowl.
- Cook 1 pound cavatappi pasta in salted water according to package directions for al dente. Drain and set aside.
- While the pasta is cooking, combine 1 teaspoon garlic powder, 1 teaspoon smoked paprika, 1 teaspoon coarse salt, and ½ teaspoon ground black pepper in a small prep bowl and set aside.
- Melt 3 tablespoons salted butter in a skillet, then add half the seasoning mix and stir.
- Add 3 tablespoons all-purpose flour and immediately whisk and cook for 1 to 2 minutes, the butter/flour mixture should be bubbling.
- Add the 1 (12 oz.) can evaporated milk and whisk constantly. Once it begins to thicken and bubble in the middle of the pan, add 2 cups heavy cream, the remaining half of the seasoning, and 1 tablespoon Dijon mustard and whisk until thickened.
- Add half of the shredded cheese mixture to the skillet a handful at a time and stir until completely melted and thick.
- Add the cooked pasta to the cheese sauce and stir to coat.
- Transfer half the pasta mixture to a 9×13-inch baking pan and layer with a third of the remaining cheese. Add the rest of the mac and cheese on top then finish with the rest of the cheese.
- Bake for 25 to 30 minutes, then broil for 1 to 2 minutes to give the mac and cheese a nice bubbly, golden brown top.
- Garnish with fresh chopped parsley.
Video
Notes
- 1 teaspoon of mustard powder can be used instead of Dijon Mustard.
- Mozzarella cheese can be reduced by up to 1/2 lb.
Nutrition
Did You Make This Recipe?
Don’t forget to share it with me on Instagram @sugarandsoulco and follow on Tiktok @sugarandsoulco and Pinterest @sugarandsoulco for more!


Comments & Reviews
Becca says
Made this at Christmas and thought it was good, I loved the flavors, but thought it was too cheesy. I made this again this past weekend and cut the mozzarella in 1/2 like you suggested and it was perfect. There were no leftovers.
Rebecca Hubbell says
So glad you enjoyed it, I do think a little less cheese is the sweet spot.
Mae says
I didn’t see how long to bake for, so I just did 350 since noodles were already cooked
Rebecca Hubbell says
The temperature is in step 1 – 350 is correct. The time is in step 11 – 25 to 30 minutes.
Laura Anenberg says
Love this recipe, want to make it ahead of time and freeze, is that ok???
Rebecca Hubbell says
I have never tested freezing it, so I can’t say for sure how it will thaw and reheat.
N-word says
Killer recipe, you can feel the love, stir that sauce non stop, don’t let it break, not as good but still good if it does. 5 star recipe
Jess says
Consistently outstanding!
Tina says
My mac and cheese haters loved this. Thanks.
Ellie says
Used the recipe for a lab at school in our advanced foods class and it came out perfect!
Dee says
Excellent Mac & cheese. Very cheesy and flavorful. Easy to make, great for parties. Reheats well in microwave. Hard to stop eating, I ate it every day until it was gone. Kids like it too!