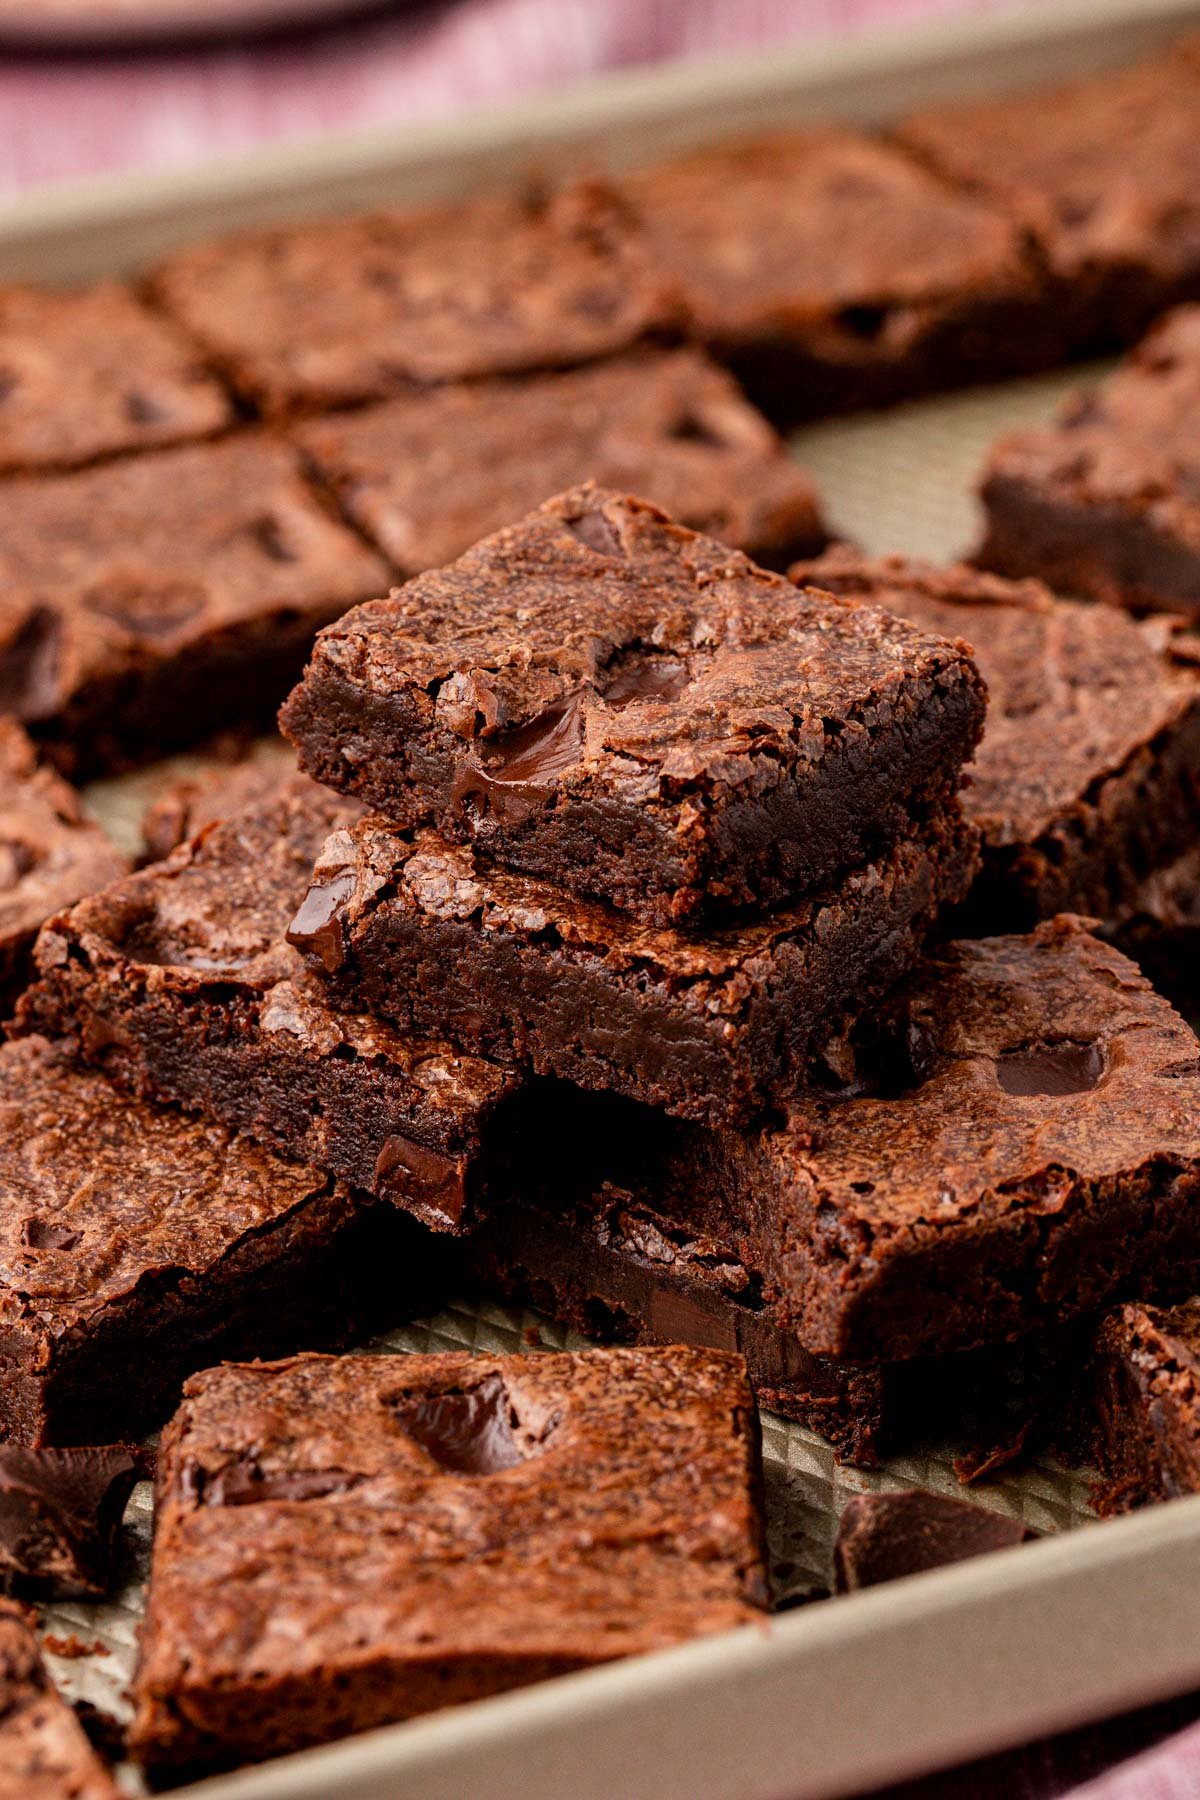
Sheetpan Brownies is the fudgy, delicious solution to baking a large batch dessert for potlucks, parties, and large holiday gatherings! Two dozen hand-held, easy-to-serve treats are made using simple ingredients that prep in just 10 minutes!
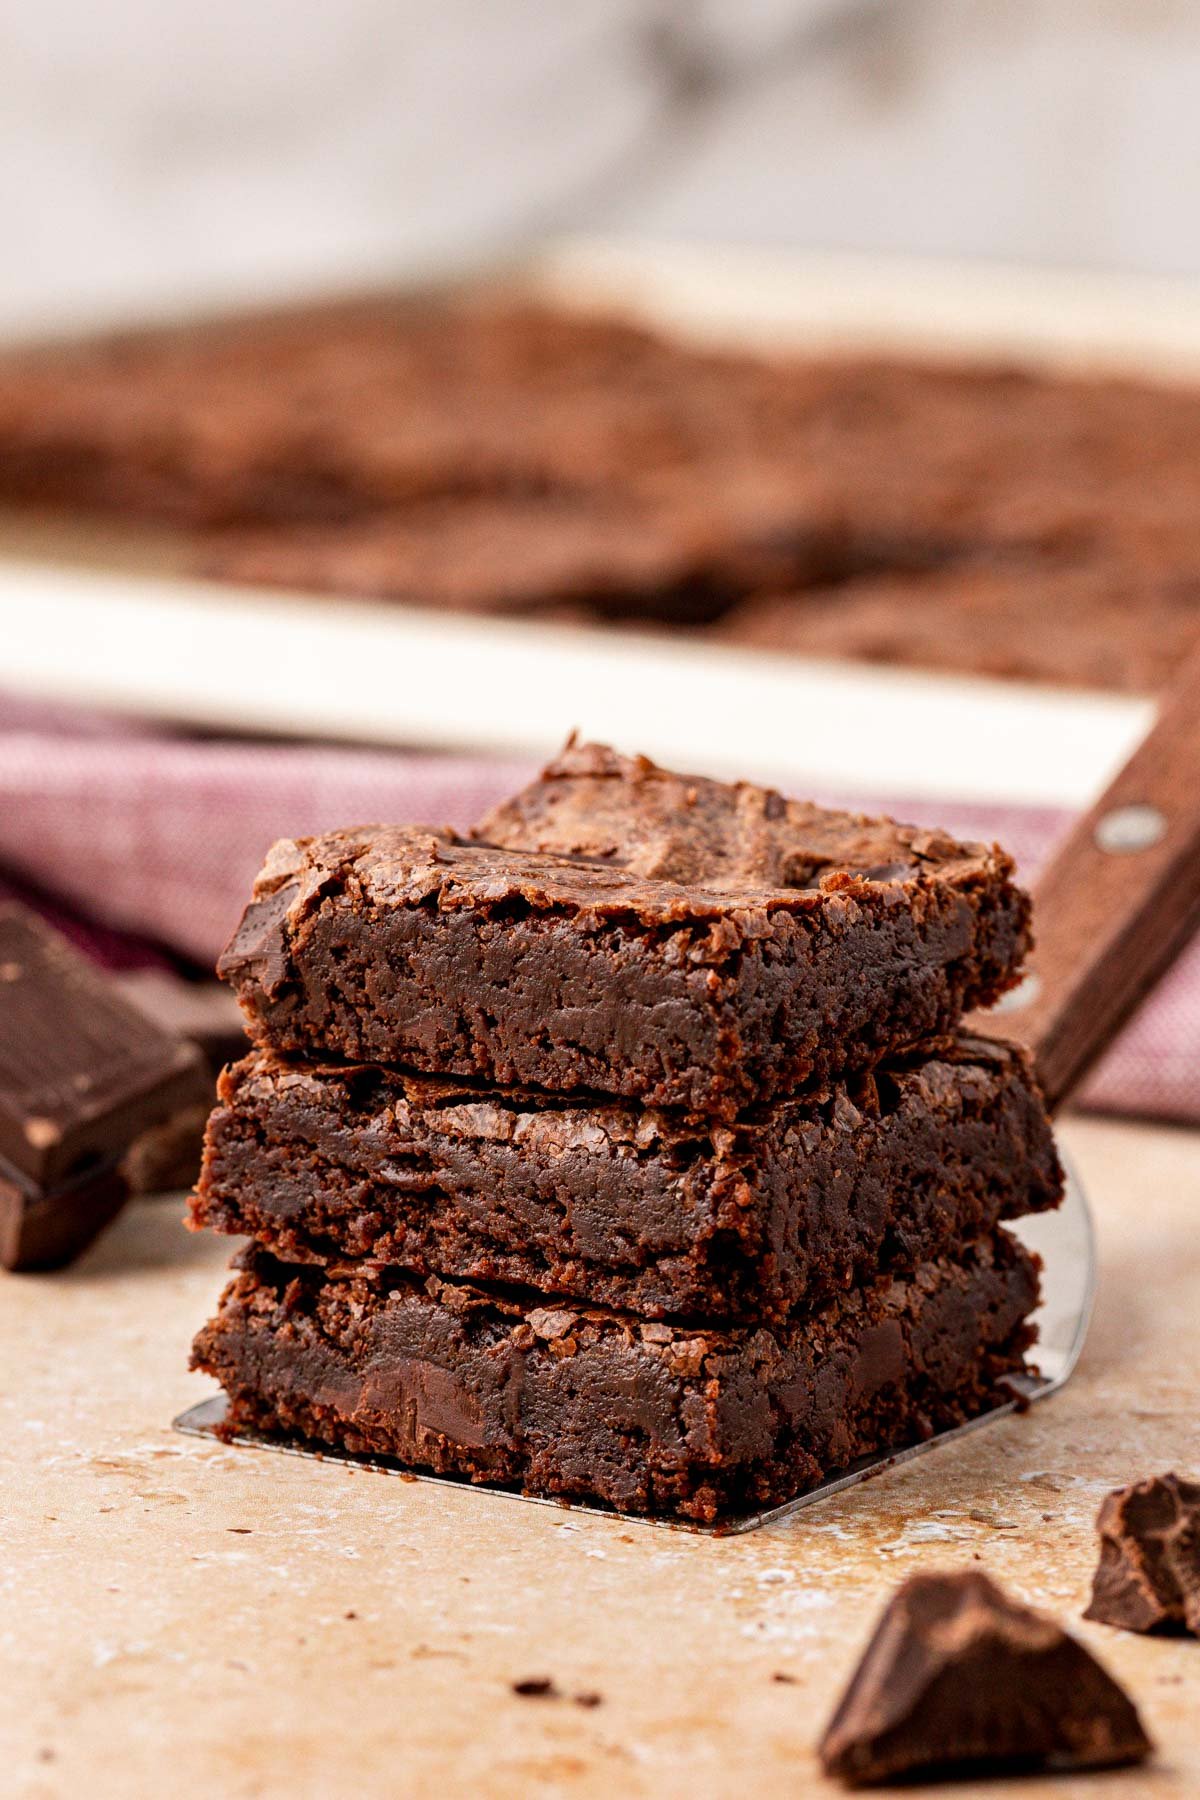
Sheet Pan Brownies Are Perfect For Potlucks!
Making a large batch dessert for potlucks and parties doesn’t have to be daunting when we now have this Sheetpan Brownies recipe to rescue us! This recipe preps mostly pantry staple ingredients in just 10 minutes before baking up in less than 20 minutes!
And just because this is a large batch dessert doesn’t mean we sacrifice flavor and texture! Instead, this brownie recipe is made using a one pot stovetop method that replaces the creaming process.
This method eliminates additional air in the brownie batter which in turn delivers chewy, fudgy brownies that have zero cake-like texture. Giving us the ultimate large-batch dessert that’s absolutely fudgy and delicious!
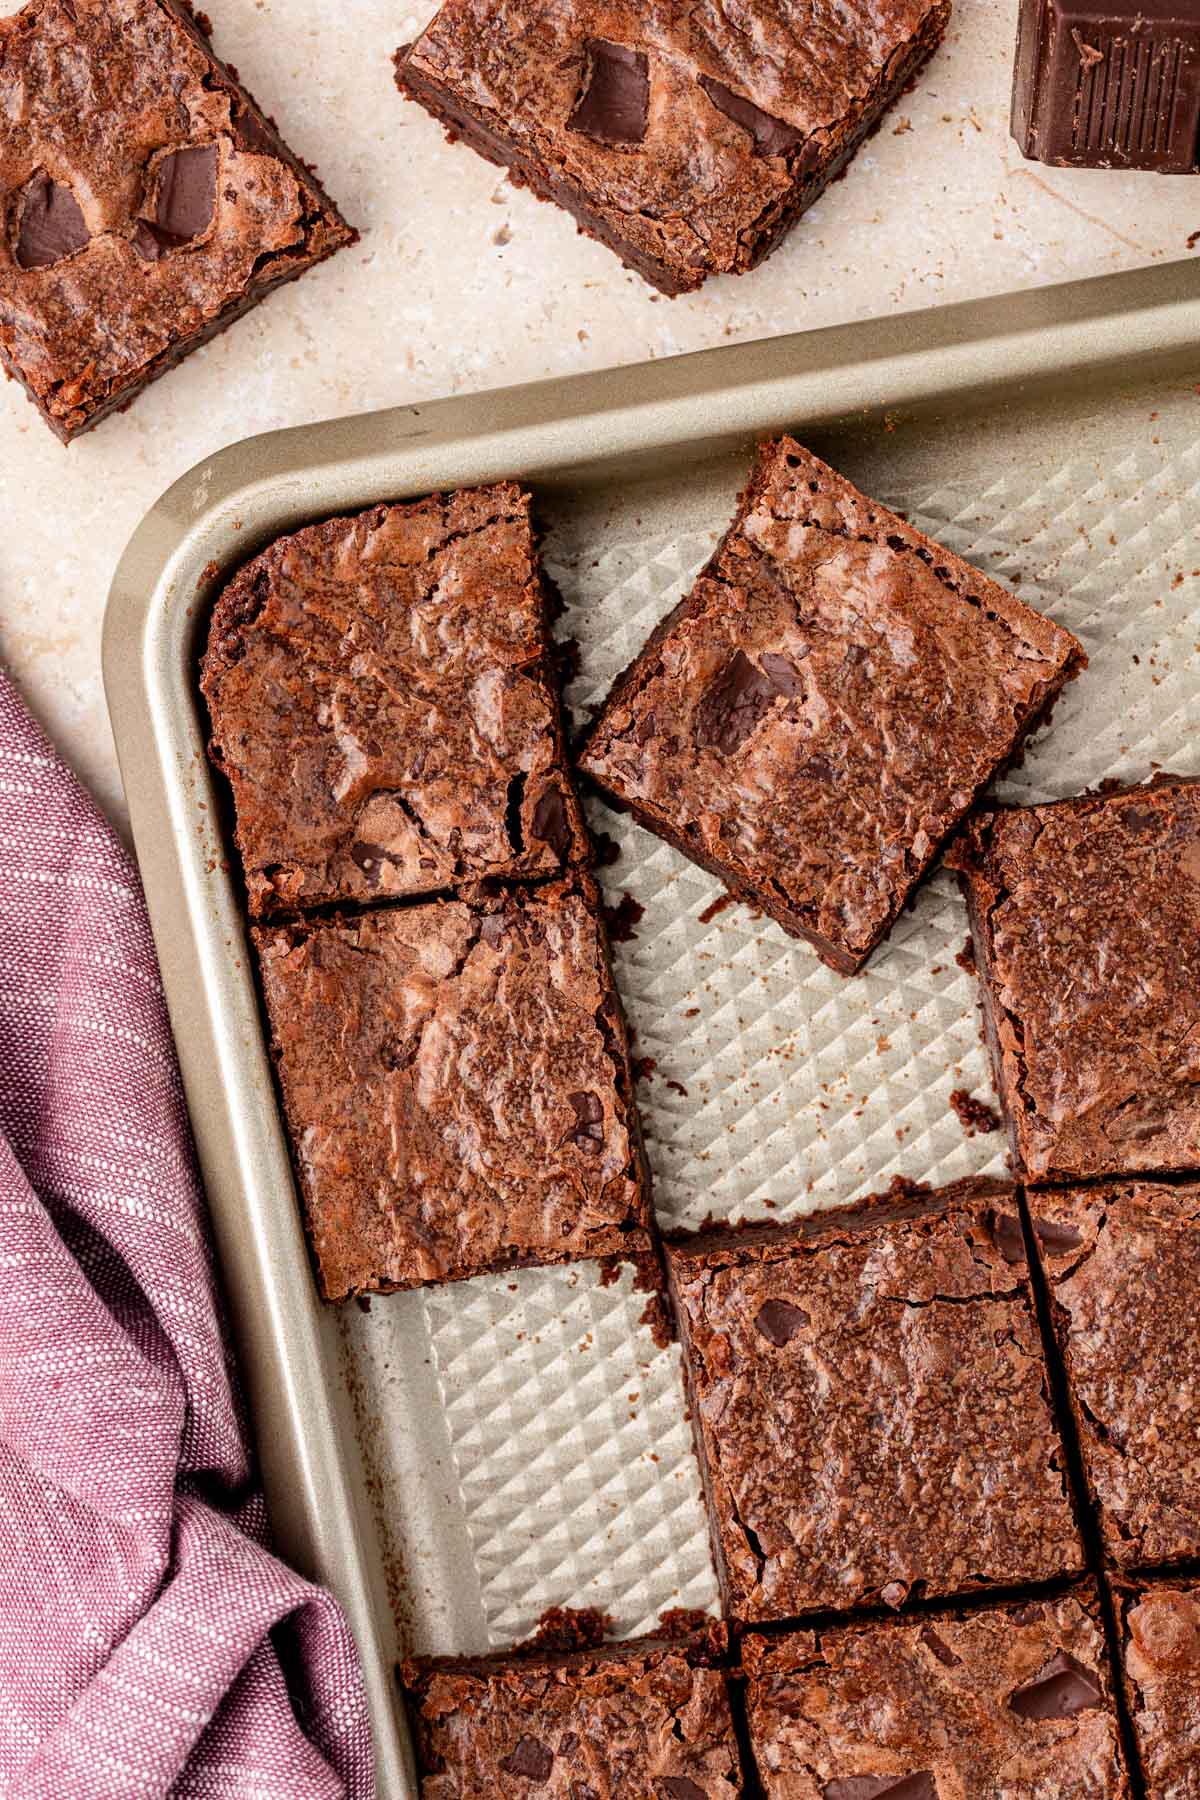
Rebecca’s Recipe Review
Taste: Incredibly rich chocolate flavor.
Texture: Thin but fudgy while holding it’s shape.
Ease: 5/10 – This is a pretty easy-to-follow recipe but does include a quick stovetop cook before baking.
Pros: Makes many, thinner brownies, which is perfect for sharing at gatherings, school, potlucks, and beyond!
Cons: It requires a 12×17-inch pan, which not everyone may have, but I highly recommend investing it, it’s what I use for all of my cookies, too!
Would I Make This Again? 100%, this will definitely be a fallback for church functions and birthday parties!
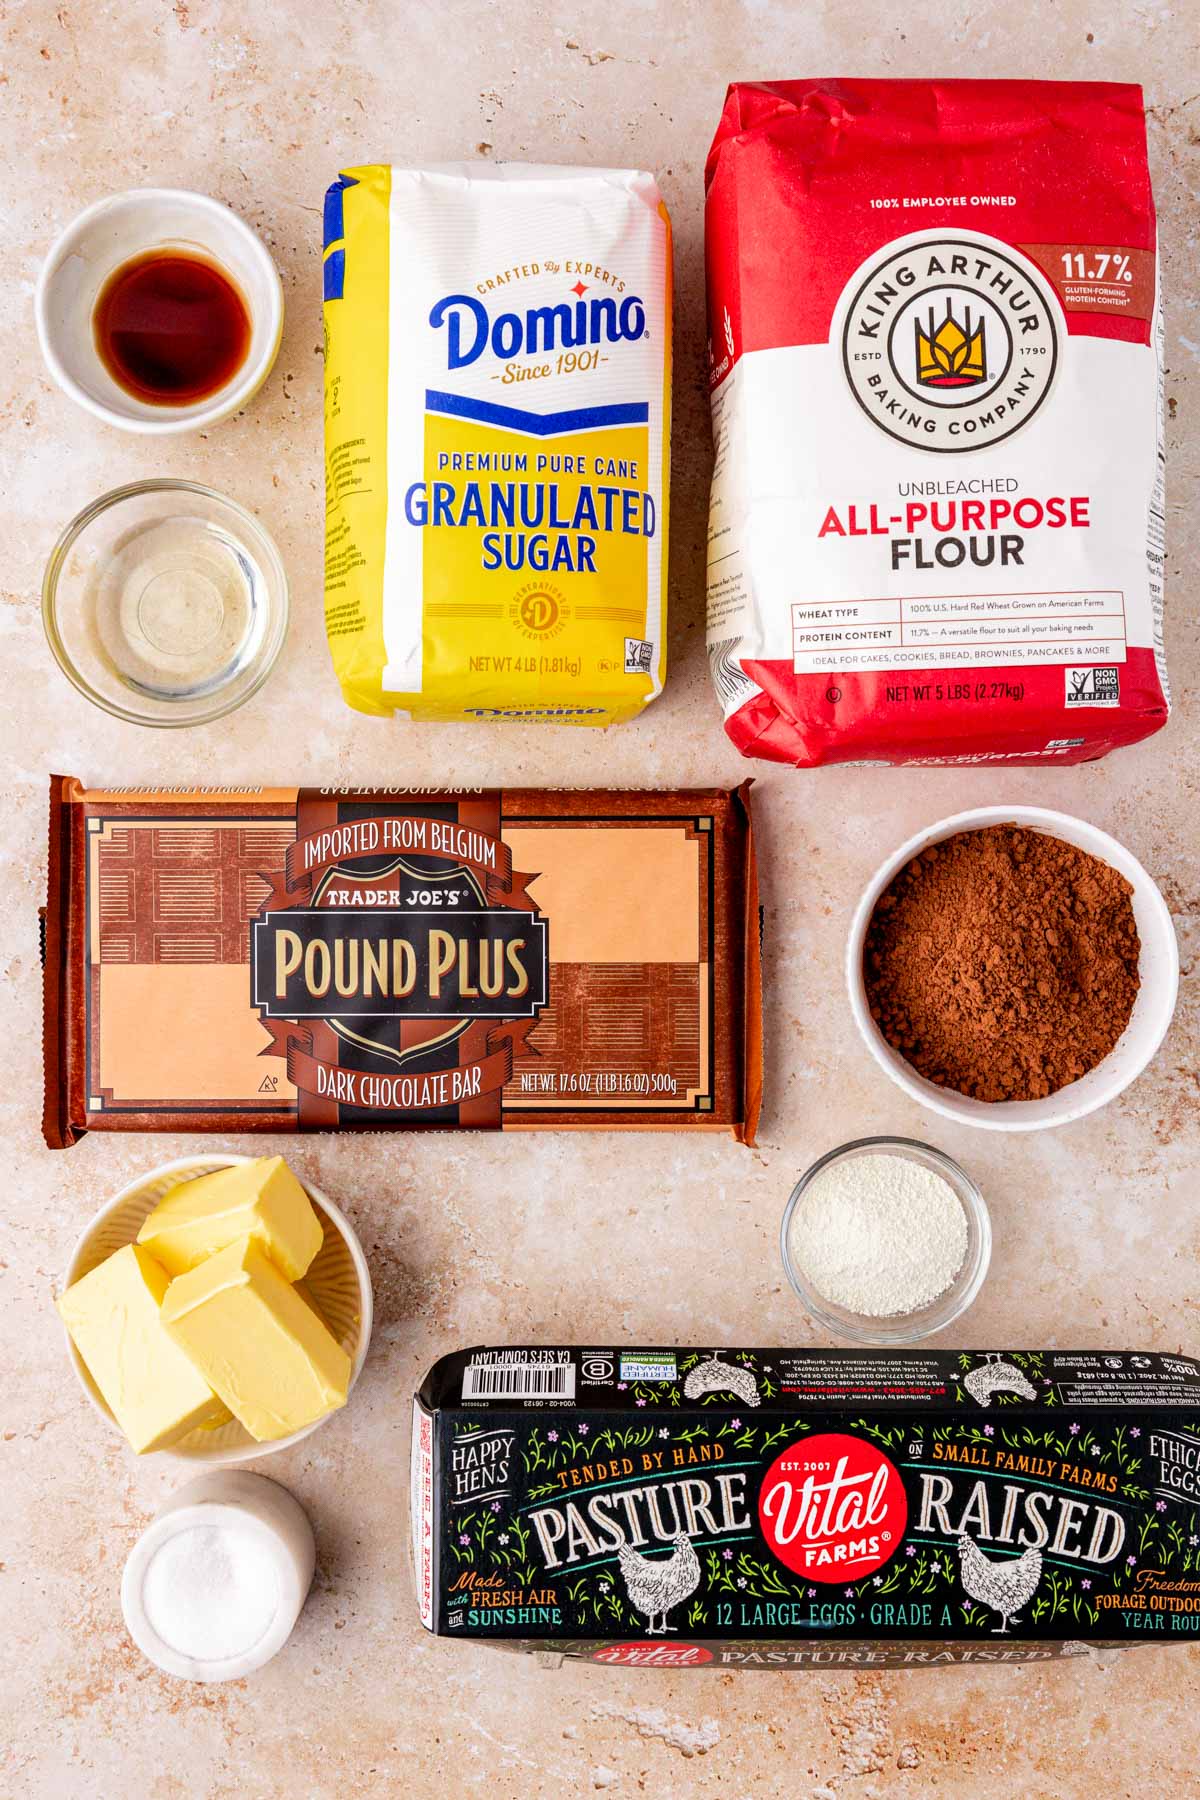
Ingredients for Sheet Pan Brownies
To keep this a recipe that everyone can make at any time I opted to keep it simple with high-quality pantry staple ingredients with the exception of one ingredient. And though the ingredients are simple, the one-pot method used in the recipe amps them up to give the brownies the yummiest, mouthwatering flavor and texture!
A batch of sheetpan brownies begins with unsalted butter, granulated sugar, canola oil, vanilla extract, eggs, all-purpose flour, unsweetened cocoa powder, and salt. The ingredient that may be the exception to pantry staples is powdered milk.
Adding powdered milk to a batch of these brownies creates a better flavor profile that really makes them stand out! However, since the milk powder doesn’t impact the brownie structurally you can leave it out if you prefer.
Chunks of thick dark chocolate are then folded into the brownie batter to finish them off. I like using half of a Trader Joe’s Pound of Chocolate bar, but any thick baking chocolate bar will work as well.
If you prefer, a milk or semi-sweet chocolate bar can be used in place of dark chocolate. You can also use thinner baking chocolate such as Ghirardelli or prepackaged chocolate chunks, however, this swap may impact the flavor of the brownies as well as their thickness.
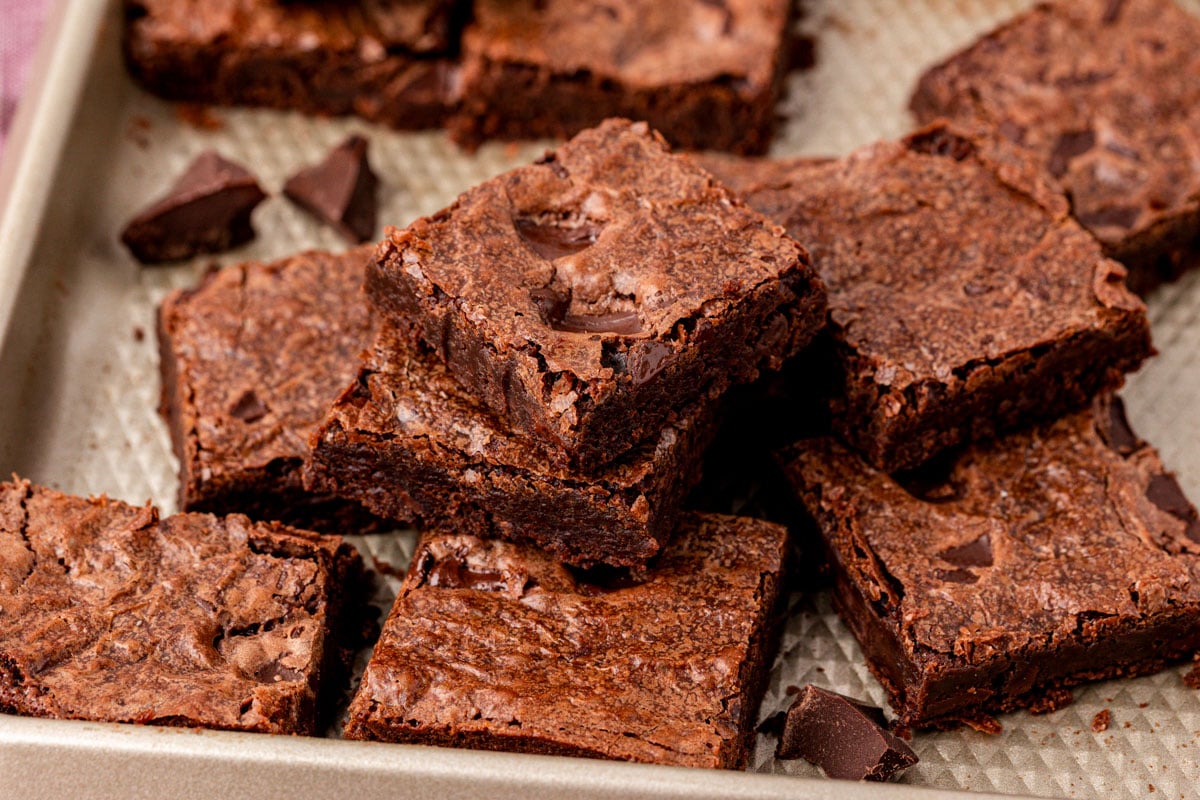
How To Make Thin Brownies
- Prepare by preheating the oven and spraying a sheet pan with nonstick cooking spray.
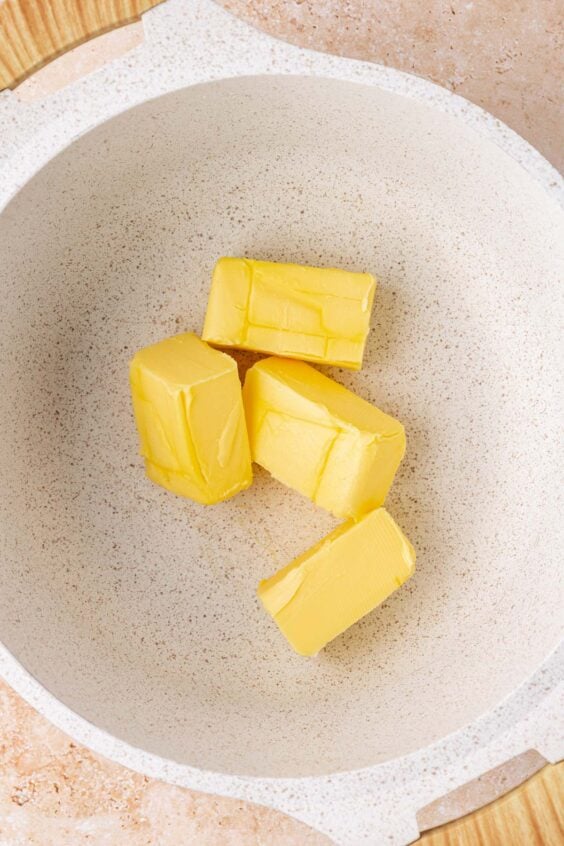
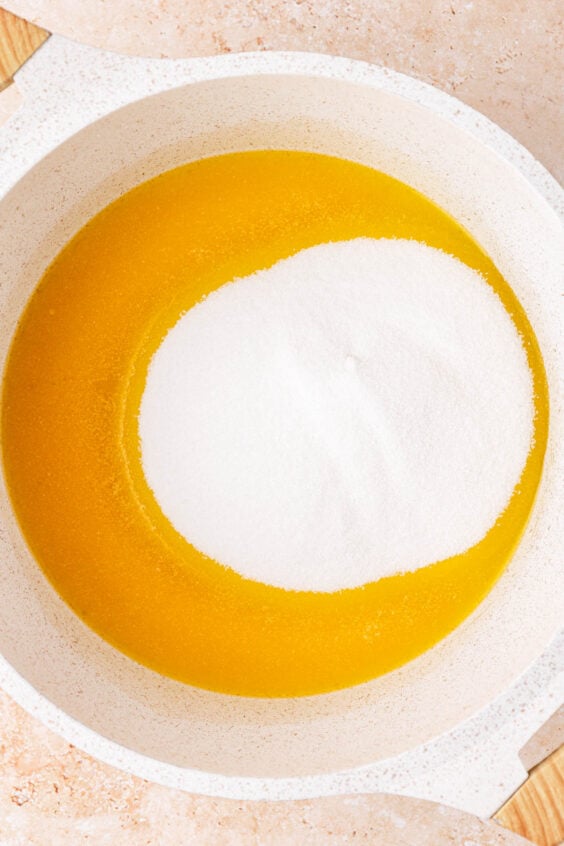
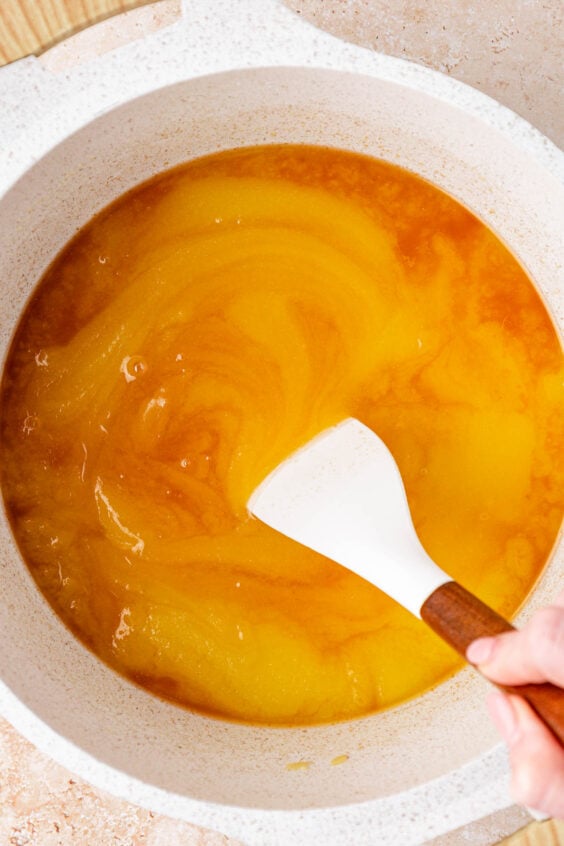
- Melt unsalted butter over low heat and then stir in granulated sugar until the mixture becomes smooth. Remove this sugar mixture from the heat and allow it to cool.
- Beat canola oil and vanilla extract into the melted butter and sugar mixture.
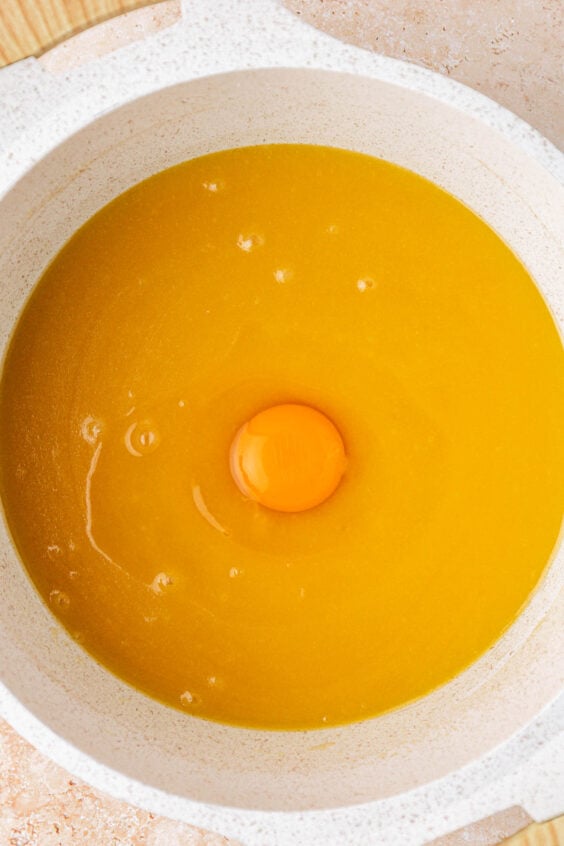
- Mix in the eggs one at a time, beating after each addition.
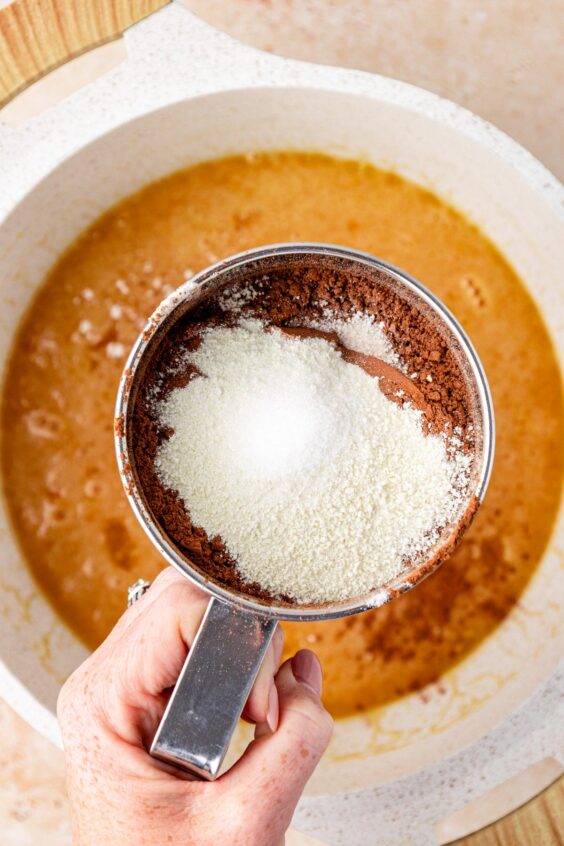
- Sift all-purpose flour, unsweetened cocoa powder, powdered milk, and salt into the mixture. Stir gently until the dry streaks in the batter are gone.
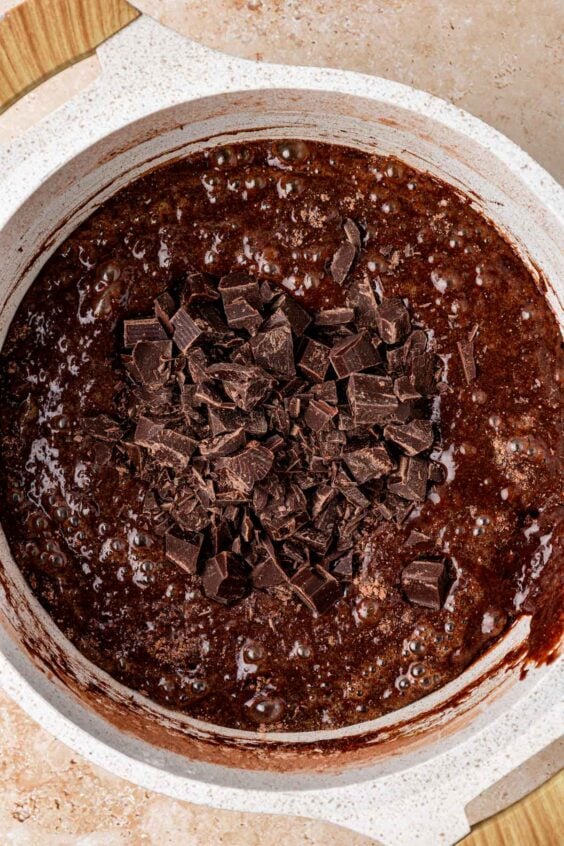
- Fold a portion of the dark chocolate chunks into the brownie batter using a spatula.
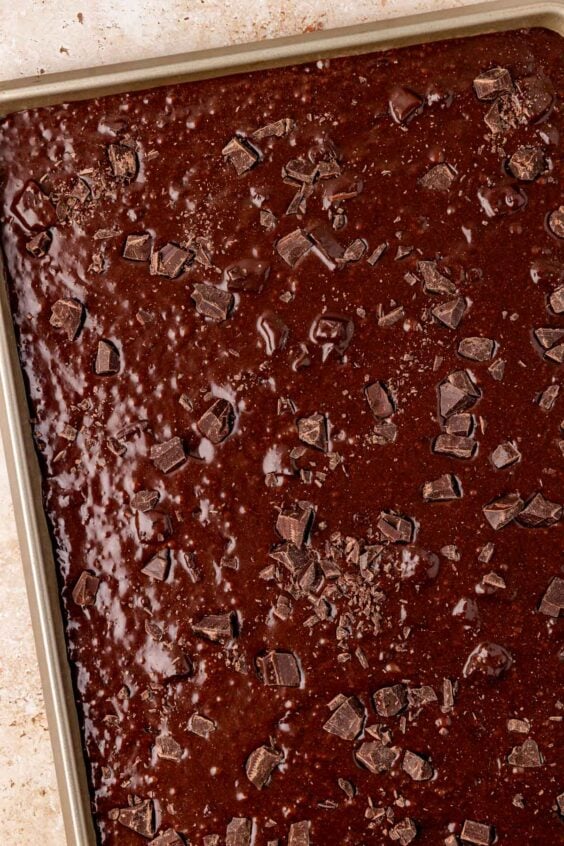
- Pour the brownie batter into the prepared sheet pan and then sprinkle the remaining chocolate chunks on top.
- Bake the homemade brownies until done and then cool them to room temperature before slicing into them.
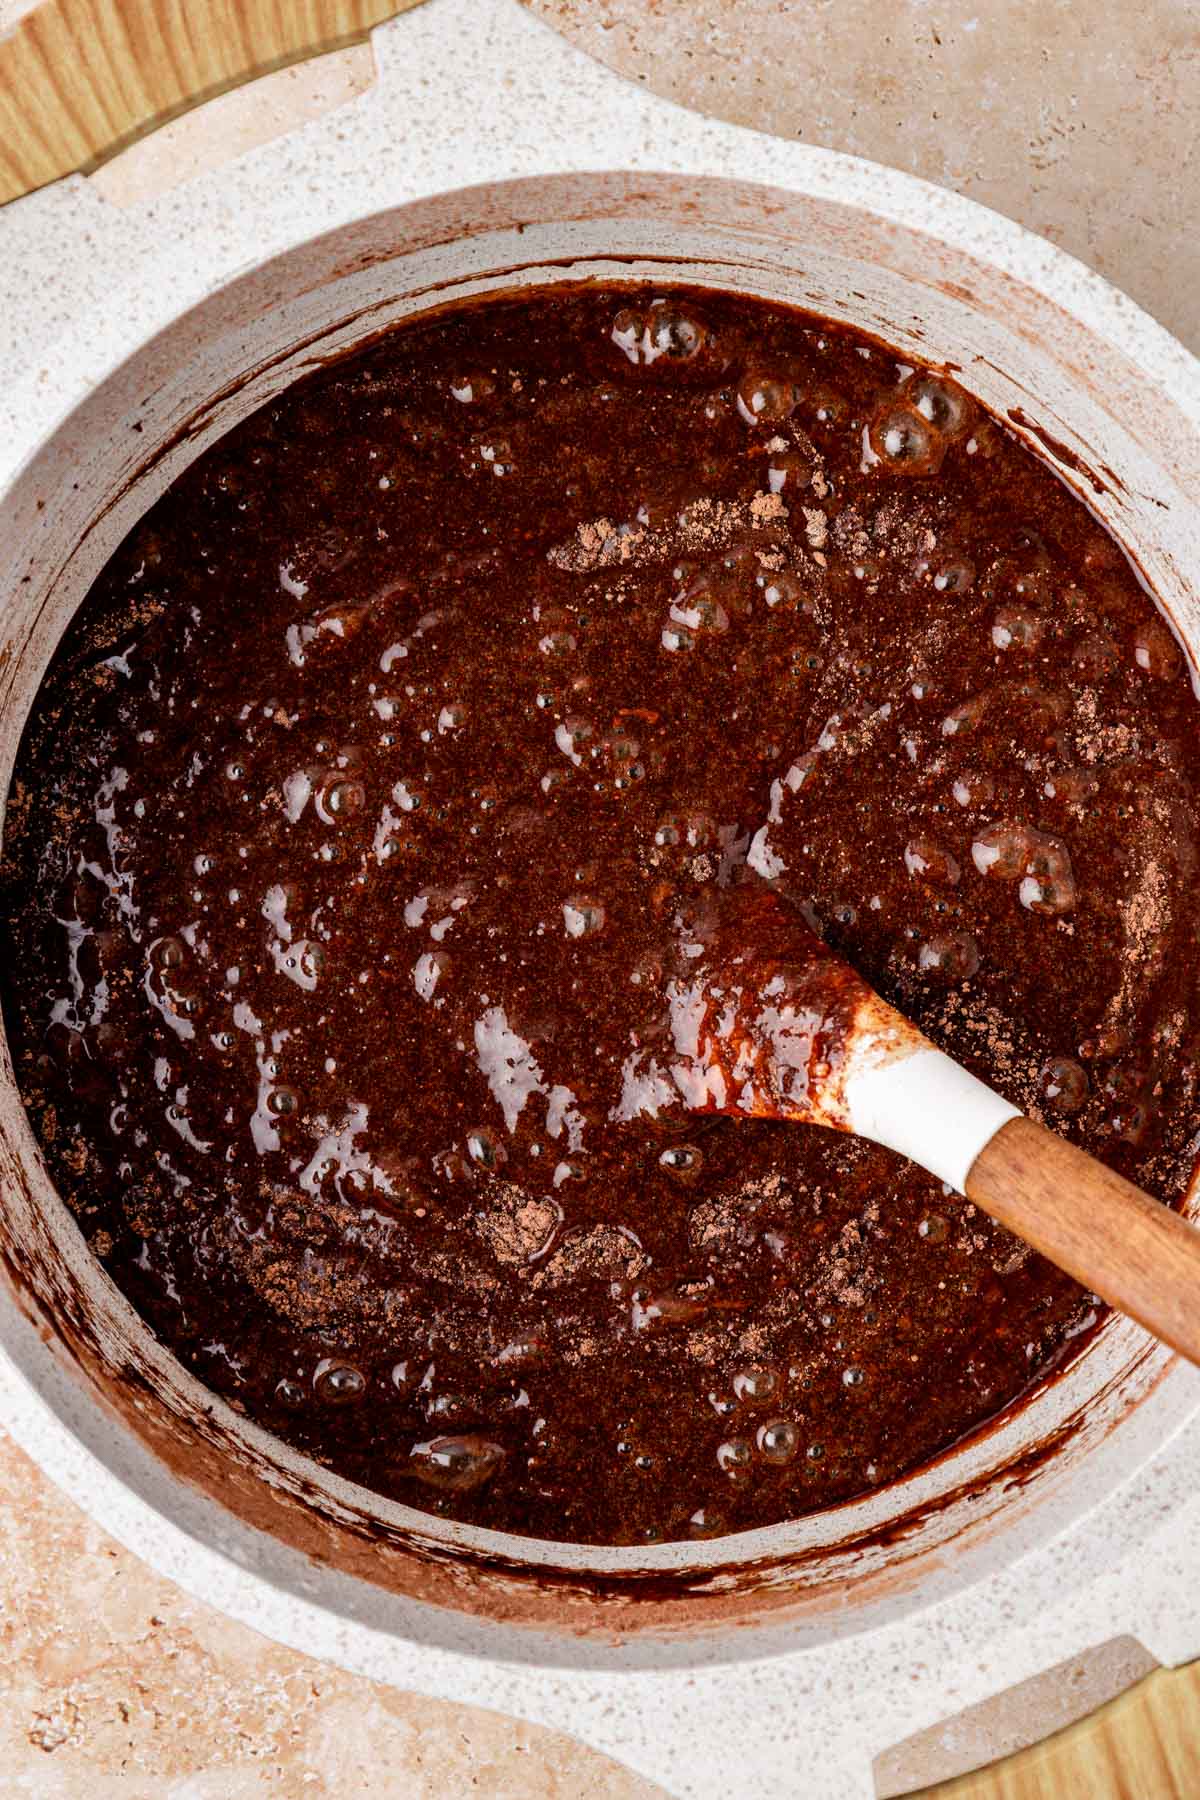
- This recipe can be baked in a smaller pan but not a larger one. If you choose to use a smaller pan just keep in mind that bake times will need to be adjusted. A rectangular 9×13-inch pan will yield about 1 inch thick brownies while an 8×8 or 9×9-inch pan will deliver brownies that are about 2 inches thick.
- To easily remove the brownies from the sheet pan, make sure to grease it with nonstick cooking spray first as parchment paper is not necessary.
- For the best results, bake these sheet pan brownies in a pan that has a flat surface with no ridges.
- It’s best to use chocolate chunks as these will help to give the brownies delicious volume and thickness.
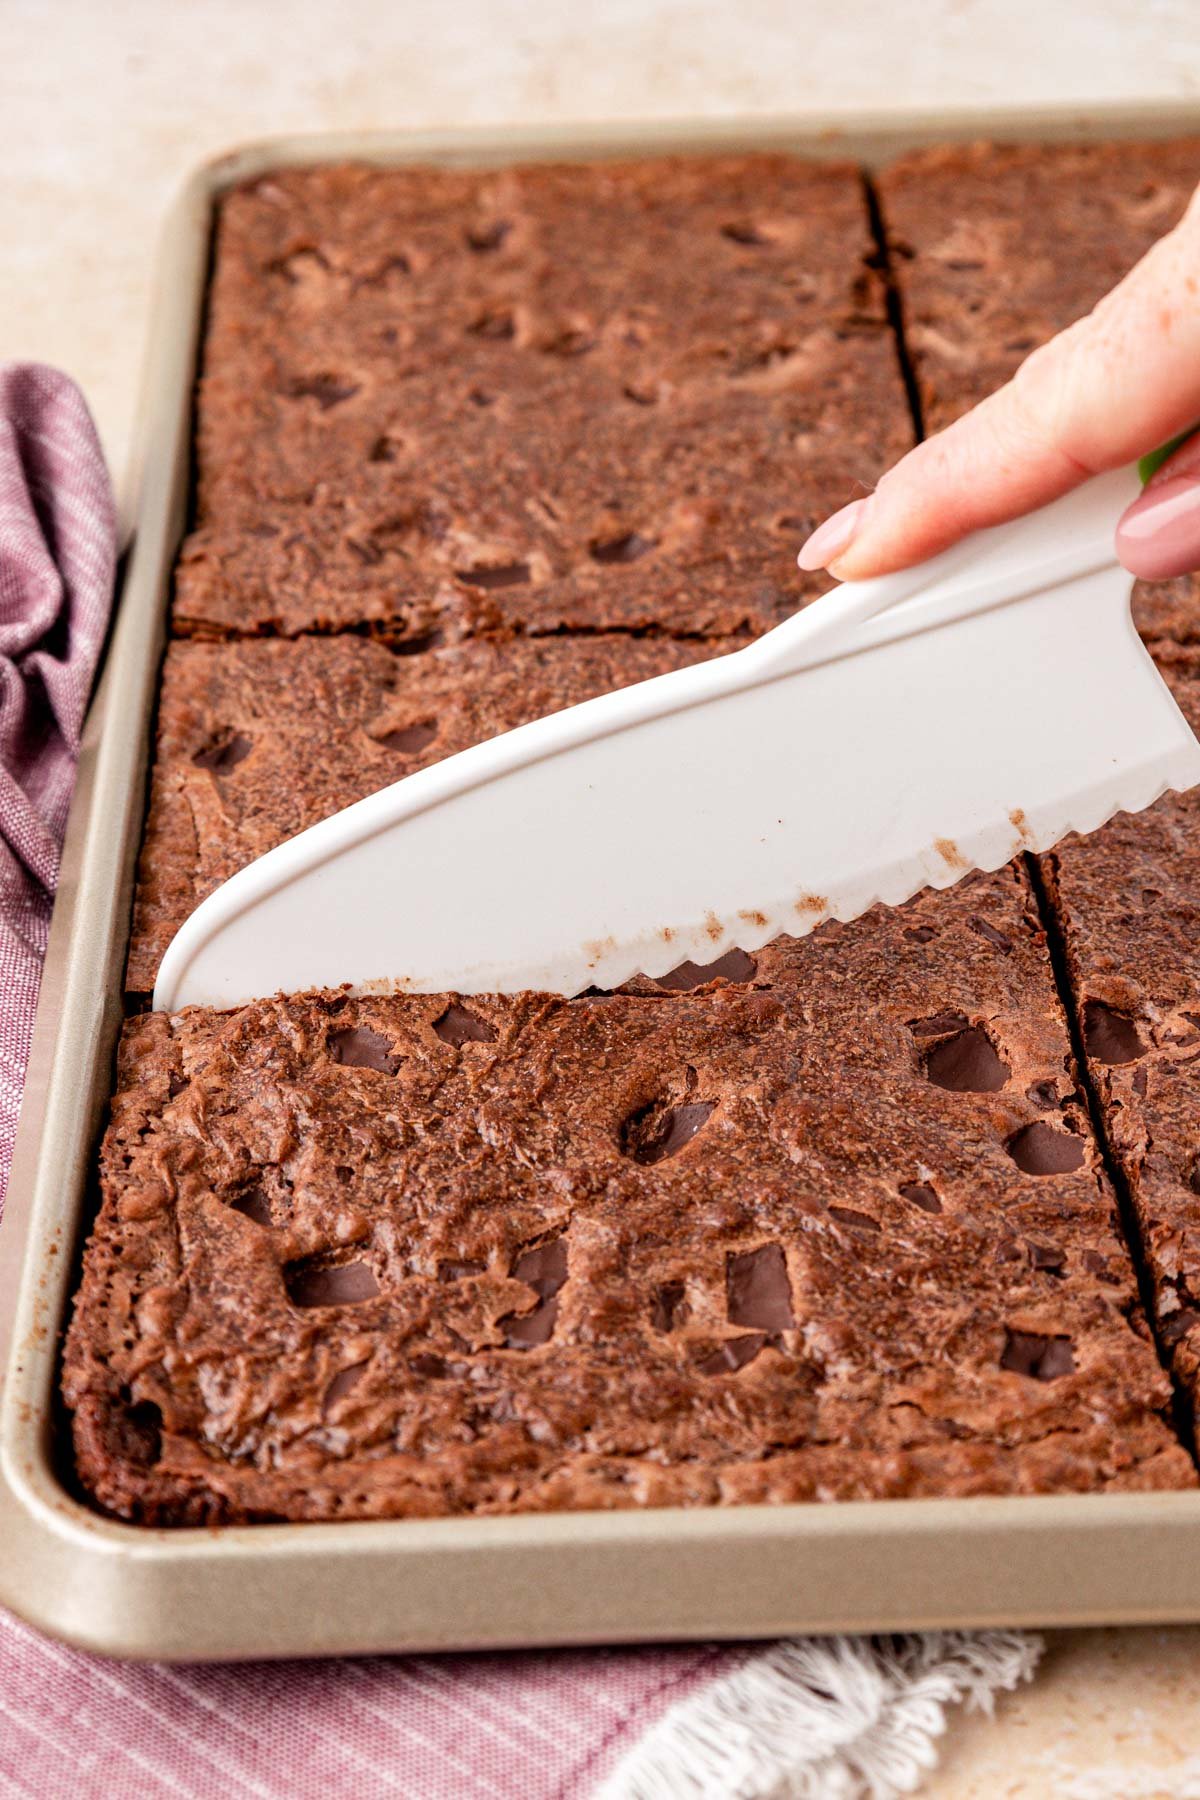
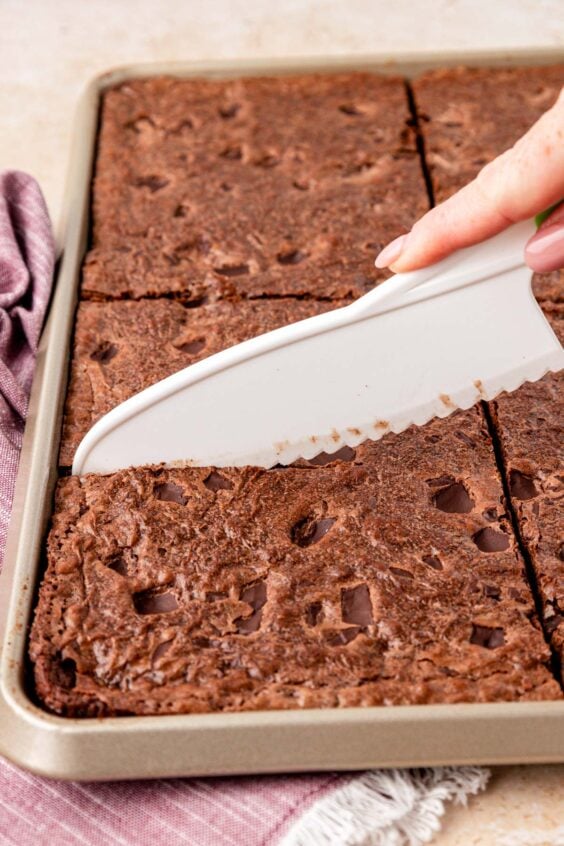
- Use a plastic knife to slice and serve the brownies as I have found this makes for mess-free cutting with nice, clean lines!
How To Serve Sheetpan Brownies
Sheet pan brownies are easy to handle once they’ve been cooled so they can easily be served right out of the pan! These yummy brownies also make the tastiest blank canvas for other desserts such as:
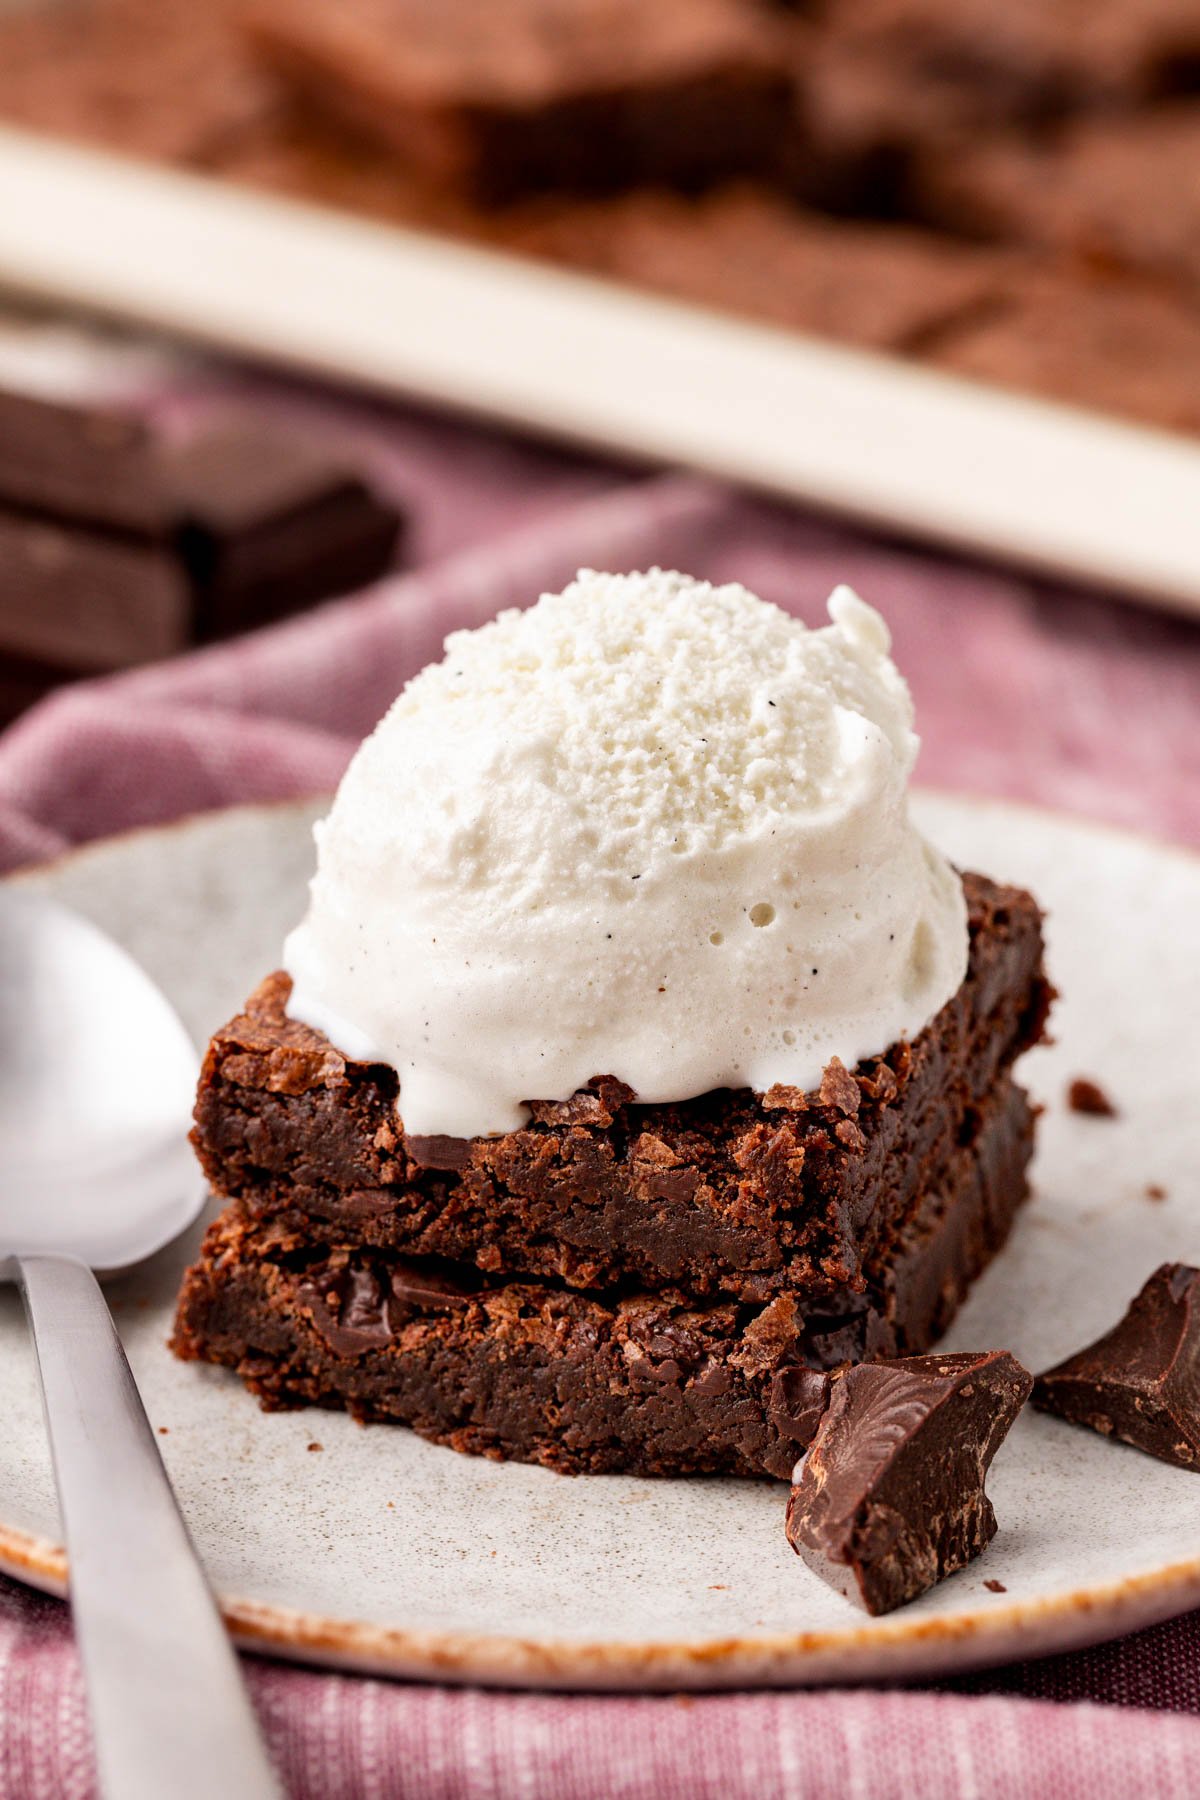
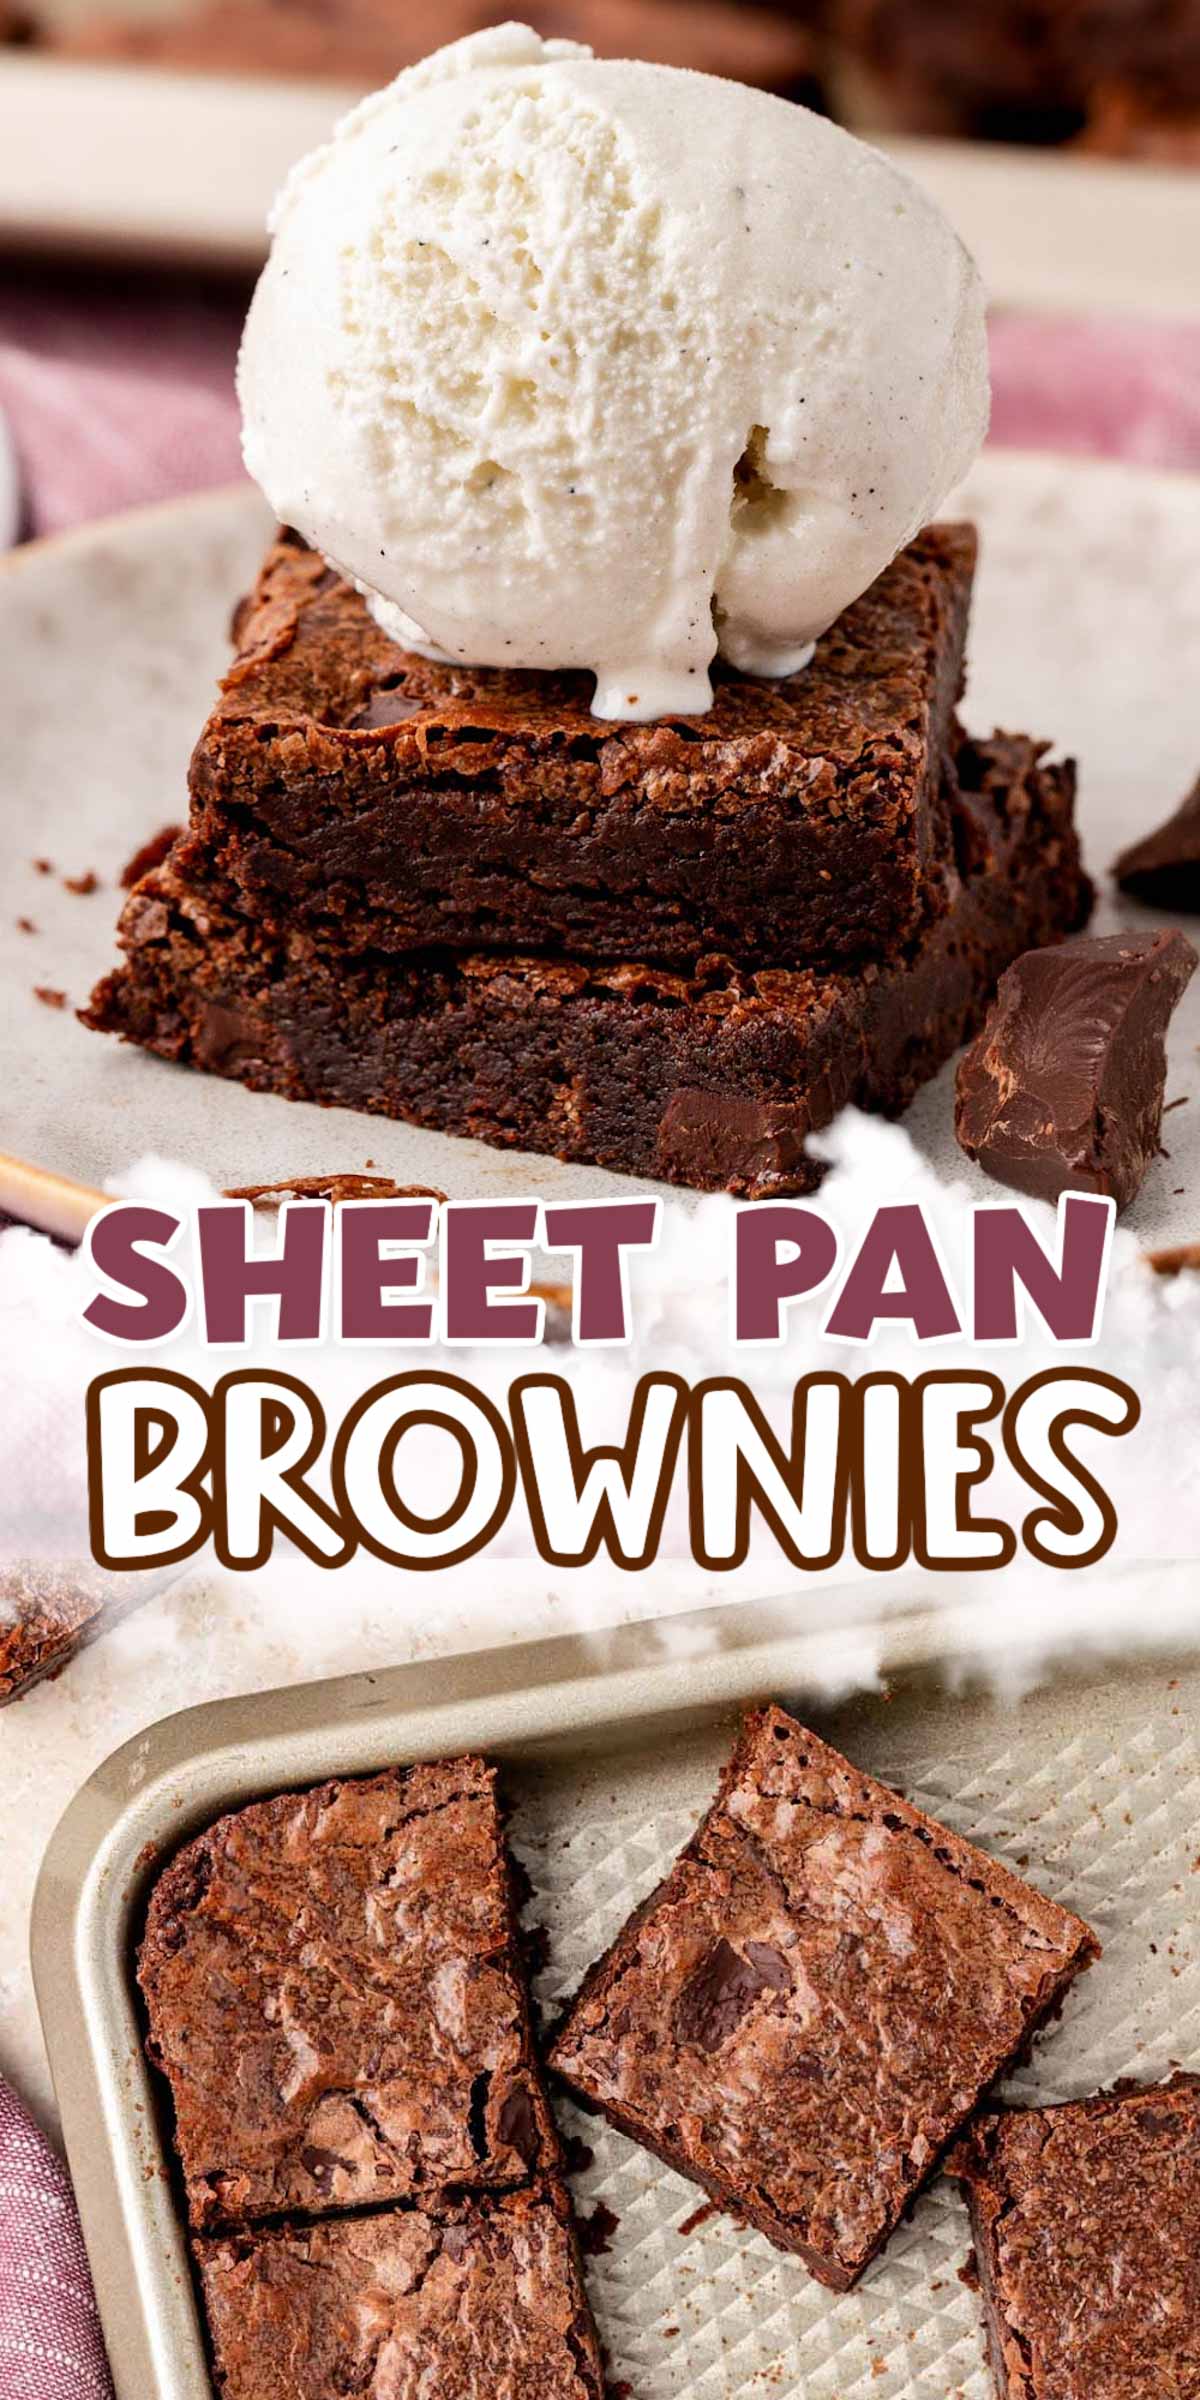
- Brownie Ice Cream Sundaes – Place a slice of brownie in the bottom of a bowl and then top it with your favorite sundae toppings! We love our sundaes with a hearty scoop of vanilla ice cream, Homemade Whipped Cream, sprinkles, and a cherry. For potlucks and parties, you could offer a toppings bar with different ice cream choices, a variety of crushed candies, and ice cream syrups.
- Ice Cream Sandwiches – A great summer treat! Take two brownie slices and sandwich a scoop of your choice of ice cream between them. This dessert method would deliver a dozen ice cream brownie sandwiches using this sheetpan recipe.
- Layered Mini Brownie Cakes – These fun desserts can be layered with your favorite frosting! Try using American Buttercream Frosting, Best Chocolate Buttercream Frosting, Nutella Frosting, or even my favorite Peanut Butter Cream Cheese Frosting!
- Mini Brownie Pizzas – A fun, delicious option for kids or holiday parties! Cut these sheetpan brownies into triangles for a slice of make-your-own Brownie Pizza! Set out an assortment of frosting options and tasty toppings such as crushed candies, bits of edible cookie dough, sprinkles, and chocolate syrup.
How To Store Brownies
Sheet pan brownies can be left right on the pan for storage, to do so just tightly wrap the completely cooled pan with plastic wrap or aluminum foil. Alternatively, you can also transfer sliced brownies into an airtight container or Ziploc bag with parchment paper separating the layers.
Once covered, store the homemade sheetpan brownies at room temperature to enjoy within 3 to 4 days.
How To Freeze Brownies
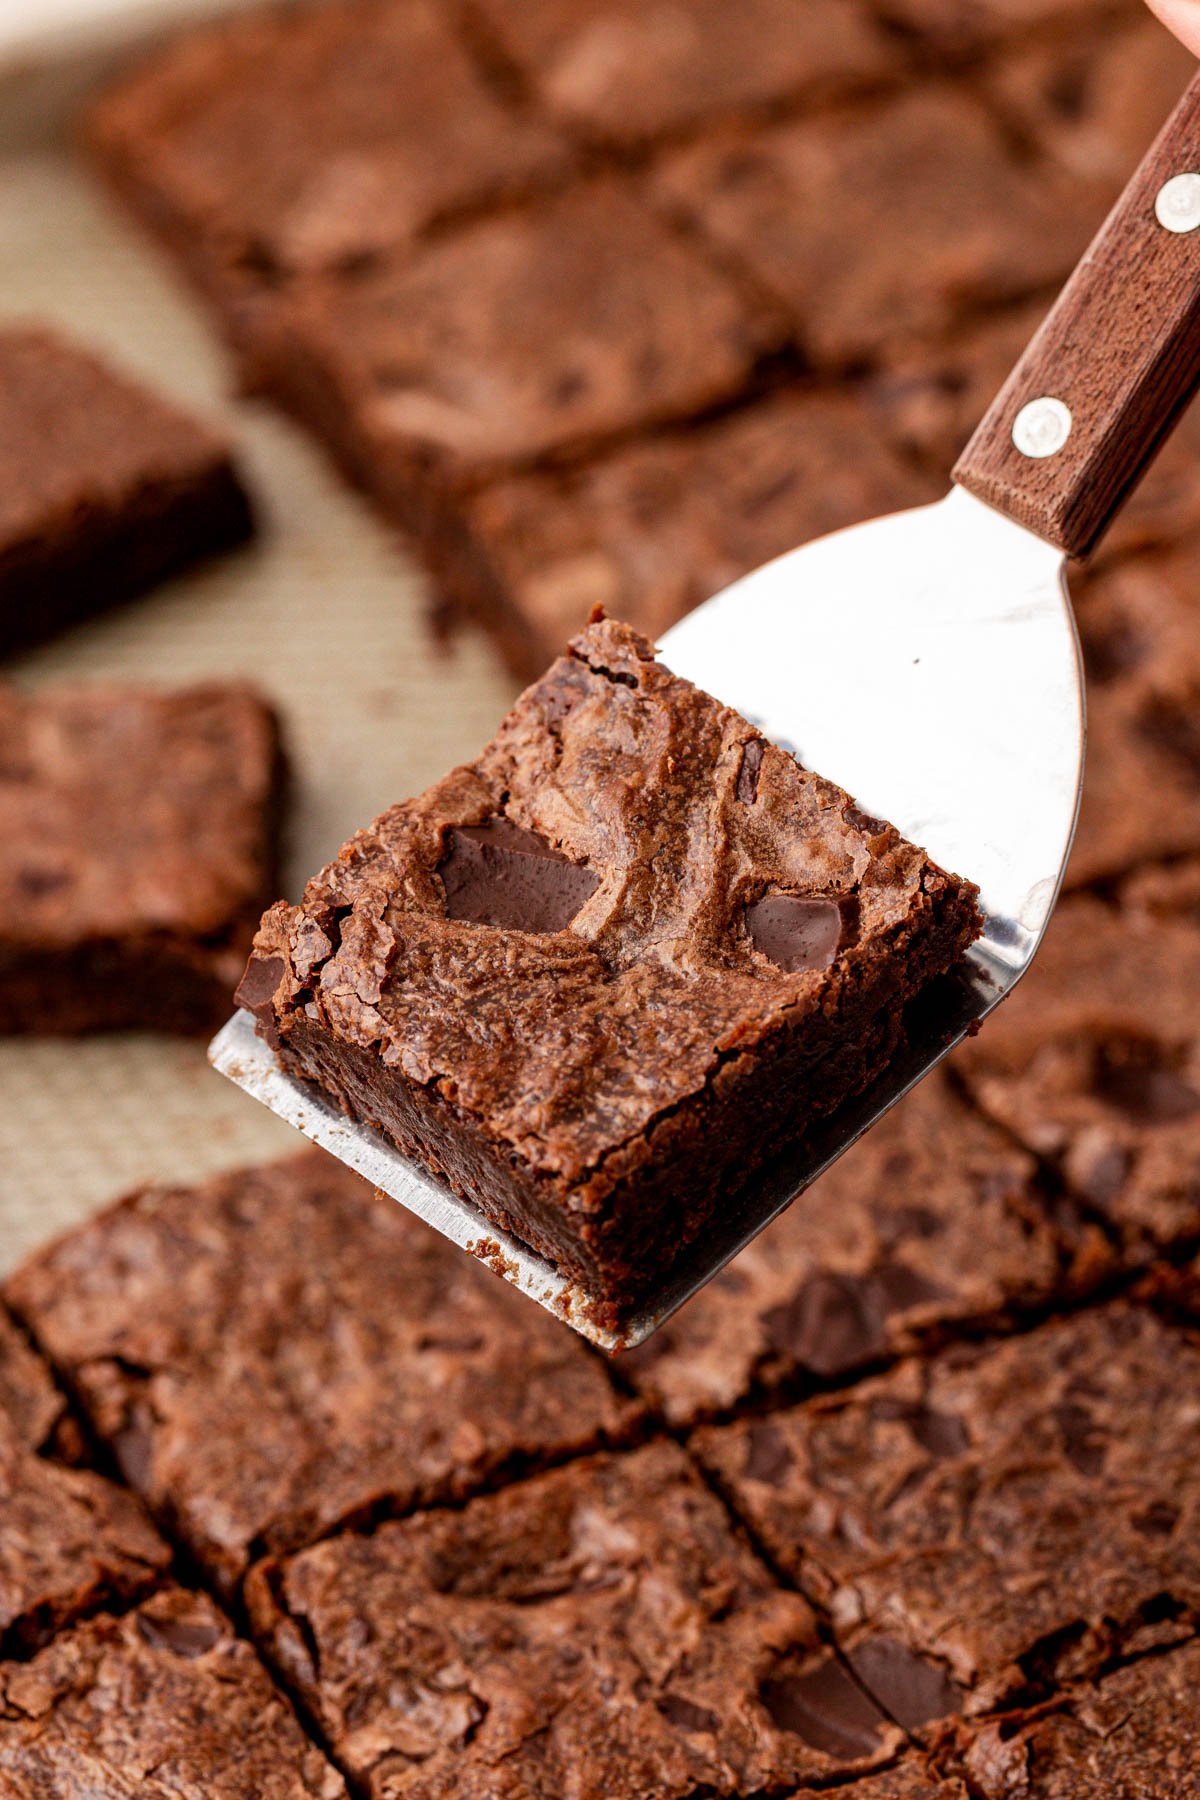
To freeze homemade brownies, transfer completely cooled slices into an airtight freezer-safe container or large Ziploc freezer bag with parchment paper separating the layers. The brownies can also be stored individually by wrapping each sliced brownie in plastic wrap and then again in aluminum foil.
Afterward, place the double-wrapped brownies into a freezer-safe container or Ziploc freezer bag and store them in the freezer. Once frozen, the brownies can be enjoyed for up to 3 months.
Freezing a batch of these sheetpan brownies is a great way to prep for the church potluck or bake sale! I also just love having individual slices tucked in the freezer for a ready-made treat I can just thaw and enjoy.
More Brownie Recipes
- Cosmic Brownies – Take a nostalgic bite out of the 90s with this homemade fudgy Cosmic Brownies Recipe!
- Flourless Brownies – A gluten-free dessert that’s made without any weird ingredients!
- Brownie Pizza – This fun easy-to-make treat is the perfect dessert for pizza night!
- Brownie Batter Dip – Creamy, dream snack dip that’s made with just 5 easy ingredients!
- Peanut Butter Crunch Brownies – Gourmet style brownies with 3 mouthwatering layers!
Did You Make This Recipe?
If you’ve tried this recipe, please let me know how you liked it in the comments below and leave a review. I love hearing from you!
Don’t forget to tag me – @sugarandsoulco – on Instagram and Pinterest with your photos or join our Sugar & Soul Show-offs Community and share them there.

Sheet Pan Brownie Recipe
Ingredients
- 1 cup unsalted butter 227g, I use Kerrygold or Kirkland Grass-fed
- 2½ cups granulated sugar 500g, I use Domino
- 2 tablespoons canola oil
- 1 tablespoons vanilla extract
- 5 large eggs
- 1 cup all-purpose flour 130g, I use King Arthur
- ¾ cups + 1 tablespoon unsweetened cocoa powder 80g, I use Ghirardelli
- 2 tablespoons powdered milk 10g
- ¾ teaspoon salt
- 8 ounces dark chocolate I like using half a Trader Joe's Pound of Chocolate bar
Instructions
- Preheat oven to 350°F and grease a metal 12×17-inch sheet pan with nonstick cooking spray.
- Melt 1 cup unsalted butter in a heavy-bottomed saucepan over low heat.
- Add 2½ cups granulated sugar and stir until smooth, the butter and sugar have started emulsifying, and no butter is separated from the sugar. Remove from heat and let the mixture cool for 5 minutes, stirring often to release heat.
- Add 2 tablespoons canola oil and 1 tablespoons vanilla extract to the butter and sugar and beat them in with a rubber spatula until fully combined and there's no separation between the ingredients (no oil resting on top).
- Beat in 5 large eggs one at a time, beating with the spatula or a fork after each one. Mix until fully incorporated.
- Sift 1 cup all-purpose flour, ¾ cups + 1 tablespoon unsweetened cocoa powder, 2 tablespoons powdered milk, and ¾ teaspoon salt into the butter and sugar mixture, stirring gently with a rubber spatula just until the dry streaks are gone.
- Fold about two thirds of the 8 ounces dark chocolate into the batter.
- Pour the brownie batter into the prepared baking pan, sprinkle the remaining chunks on top, and bake for 16 to 19 minutes.
- Cool before removing it from the pan and slicing it for best results. Use a plastic knife for the cleanest cuts.
Video
Notes
- Thicker chocolate bars are preferred for this recipe, so you have big chunks about the size of a penny. However, thinner baking chocolate, like Ghirardelli, can be used, as well as prepackaged chocolate chunks (although these usually tend to have additional ingredients added, which can impact the flavor).
- Milk or semi-sweet chocolate bars may also be used.
Nutrition
Did You Make This Recipe?
Don’t forget to share it with me on Instagram @sugarandsoulco and follow on Tiktok @sugarandsoulco and Pinterest @sugarandsoulco for more!


Comments & Reviews
Rebecca Hubbell says
This is the perfect brownie recipe for when you need a big batch! I’ve made them with chunks and with chips, and both were great! A huge crowd-please with great flavor and texture!