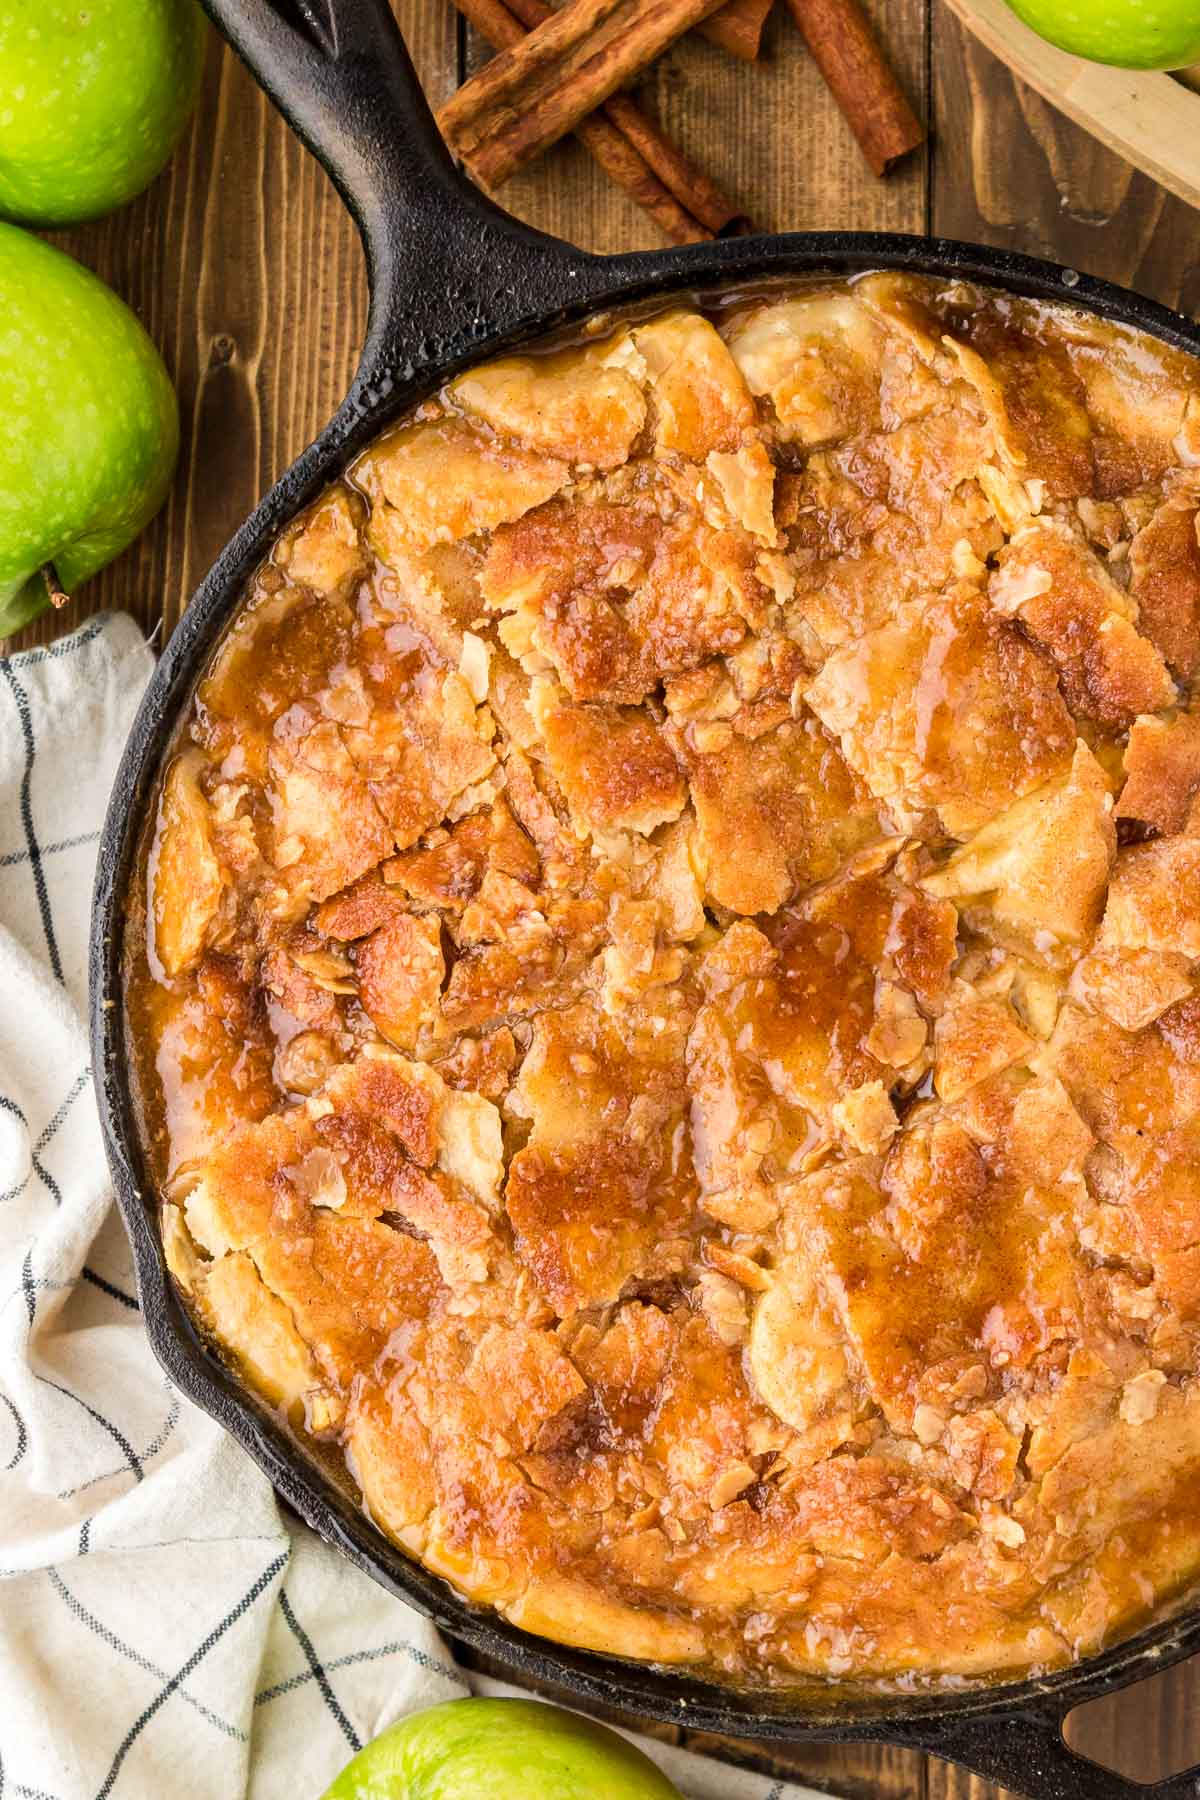
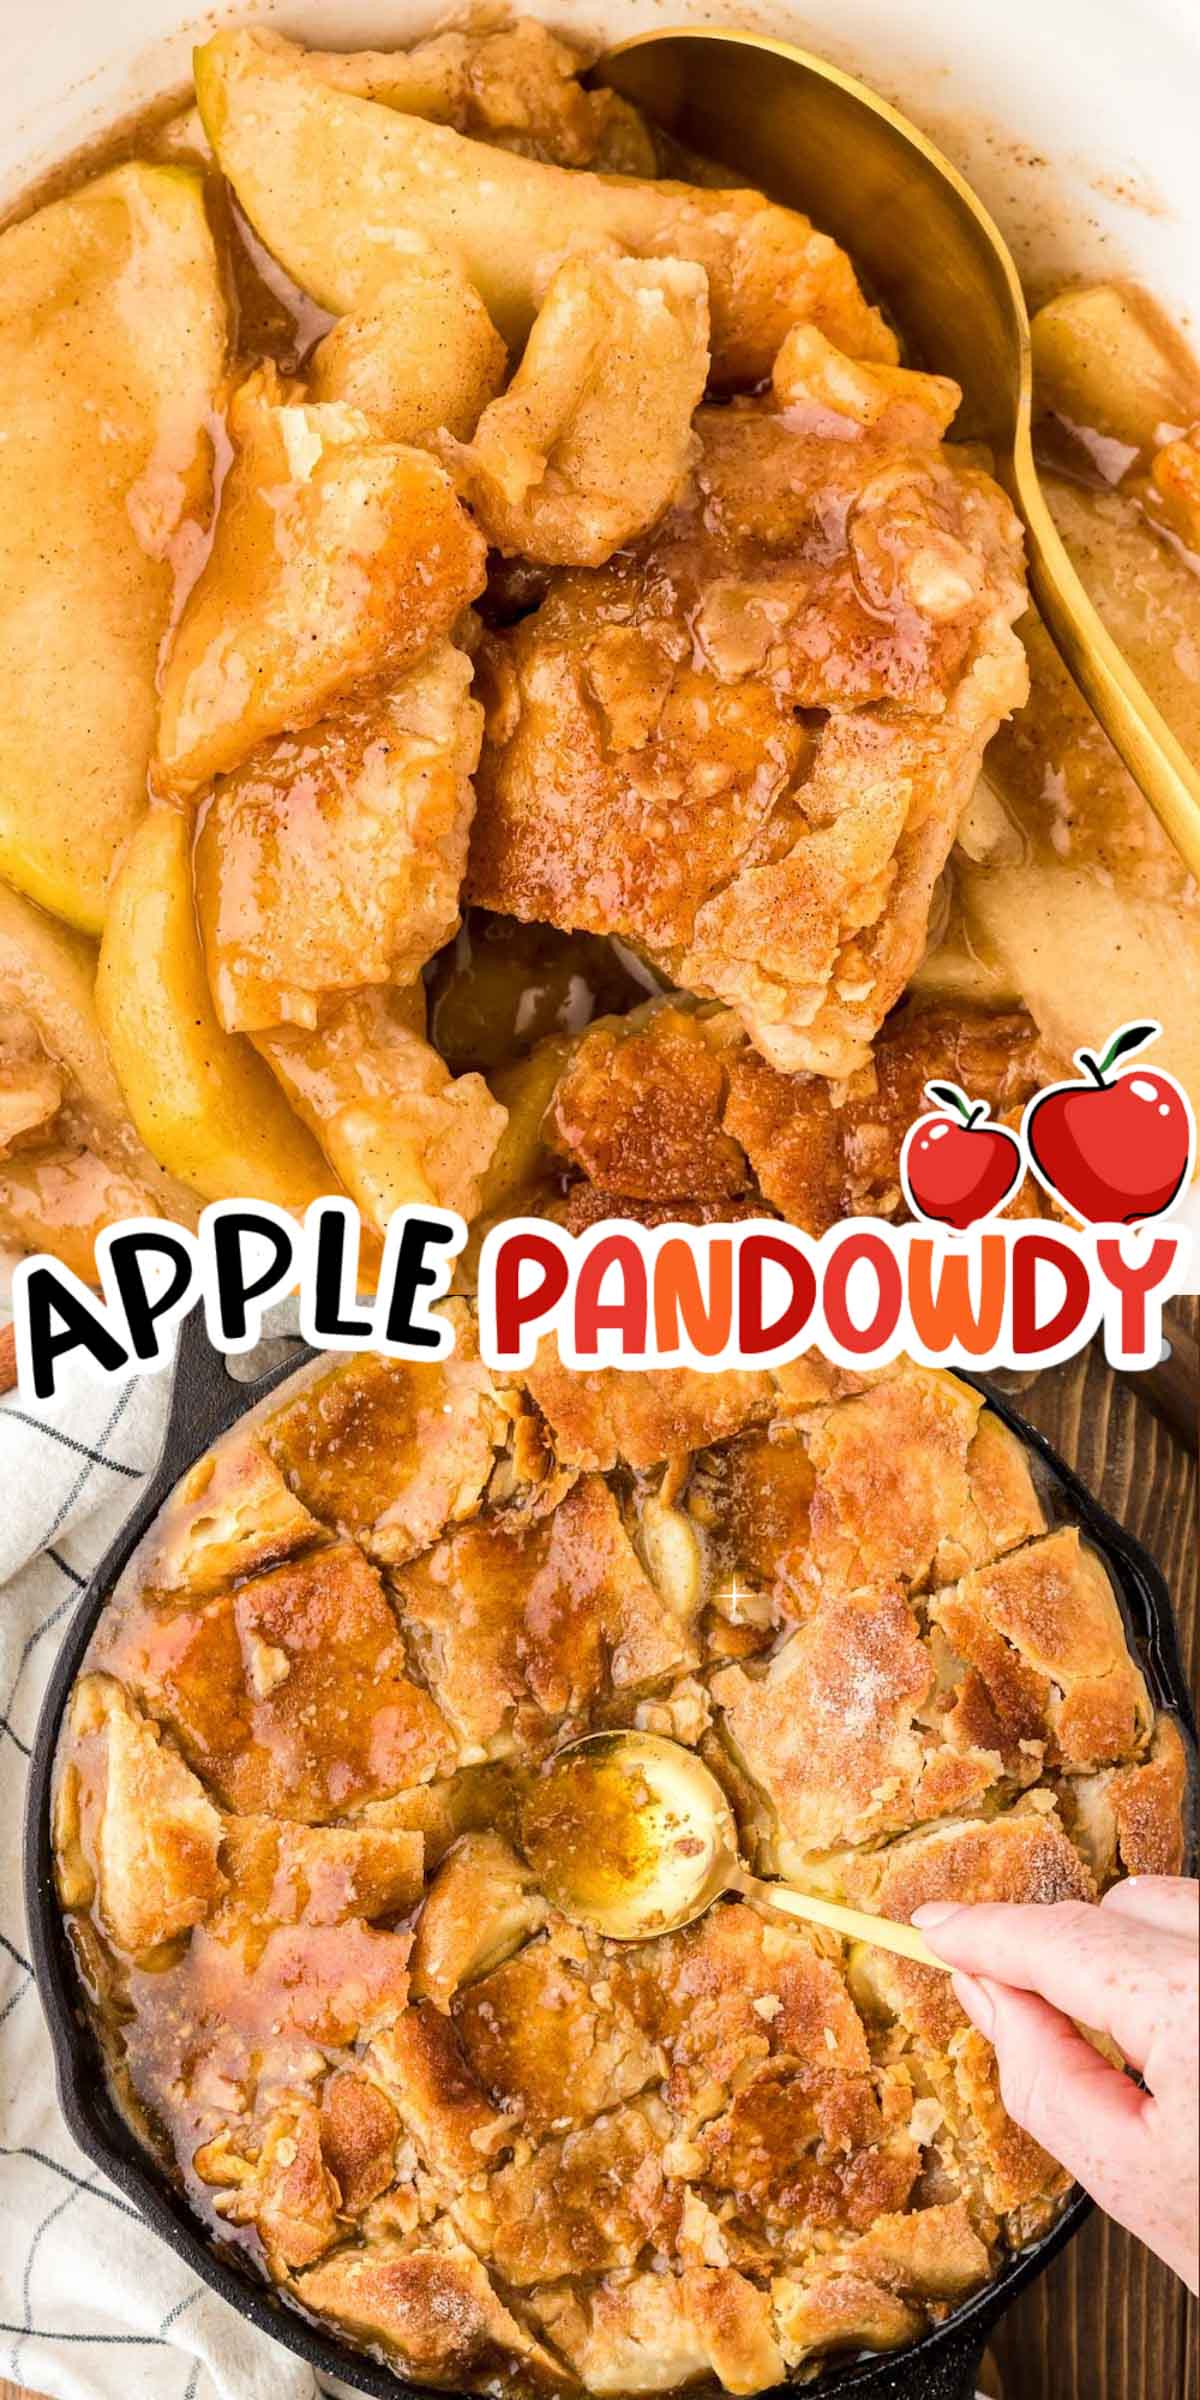
This Apple Pandowdy Recipe is loaded with sweetly spiced tender apples and covered in a pie crust that’s been sprinkled with cinnamon sugar! It takes only 30 minutes to prep this baked, cozy apple dessert!
It Doesn’t Get Any Better Than This Recipe For Apple Pan Dowdy
If you’re a lover of cozy baked apple desserts, then you’re going to fall in love with this Apple Pandowdy with every bite! The combination of slightly glazed golden brown pie crust paired with tender spiced apples creates a texture that’s just as good as the flavor!
This is the ultimate crisp fall treat to bake up as soon as you get your hands on fresh-picked apples from the orchard. Though it’s so good, you’re going to want to carry this recipe through the holidays, too!
And since it’s best served with a scoop of ice cream, we can just count it as a summer treat, too! 😉
What Is A Pandowdy?
Pandowdy is a deep-dish baked fruit dessert that has a sliced-up top crust. Typically, a pandowdy is sweetened with maple syrup or molasses and brown sugar or granulated sugar.
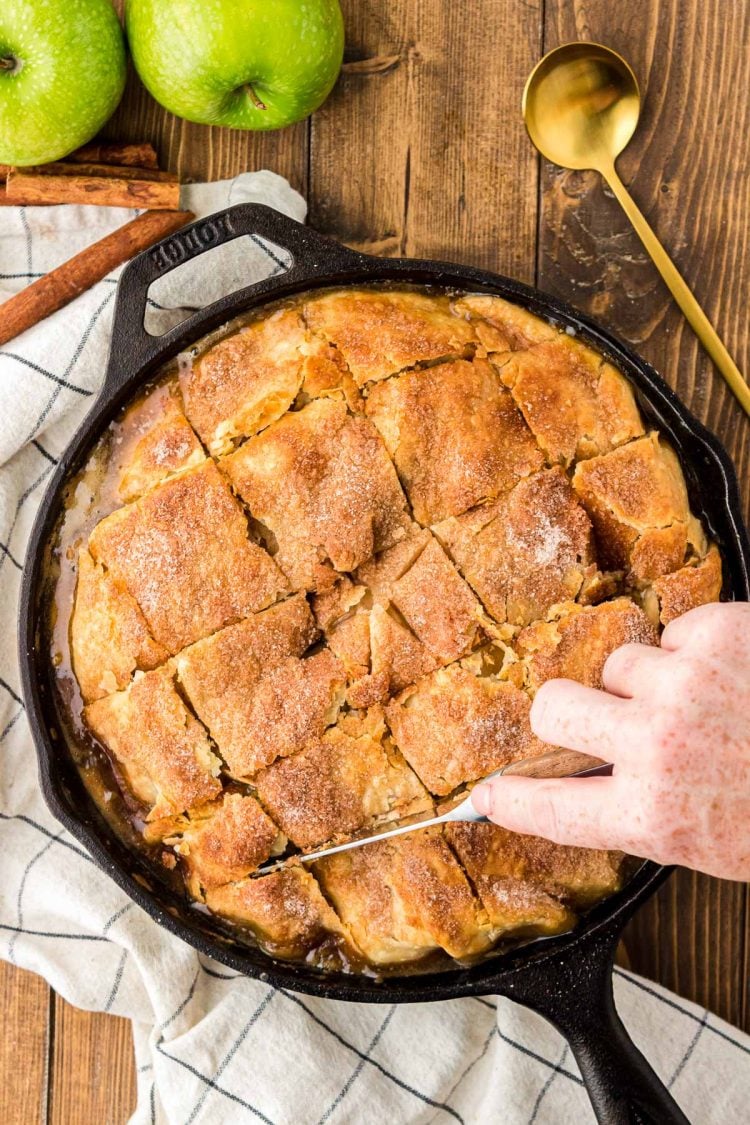
The classic look of a pandowdy comes after it has finished baking when the crust is immediately cut into squares. Once the crust has been cut, it’s gently pushed into the spiced fruit filling so that the sauce slightly covers the crust.
Think of it like an easier, deconstructed apple pie of sorts.
Where Did The Term Pandowdy Come From?
The term pandowdy dates back to the 18th century and is said to have come from the “dowdy” appearance that the crust takes on once it’s been cut into and pressed into the hot filling.
Apple Pandowdy Recipe Ingredients
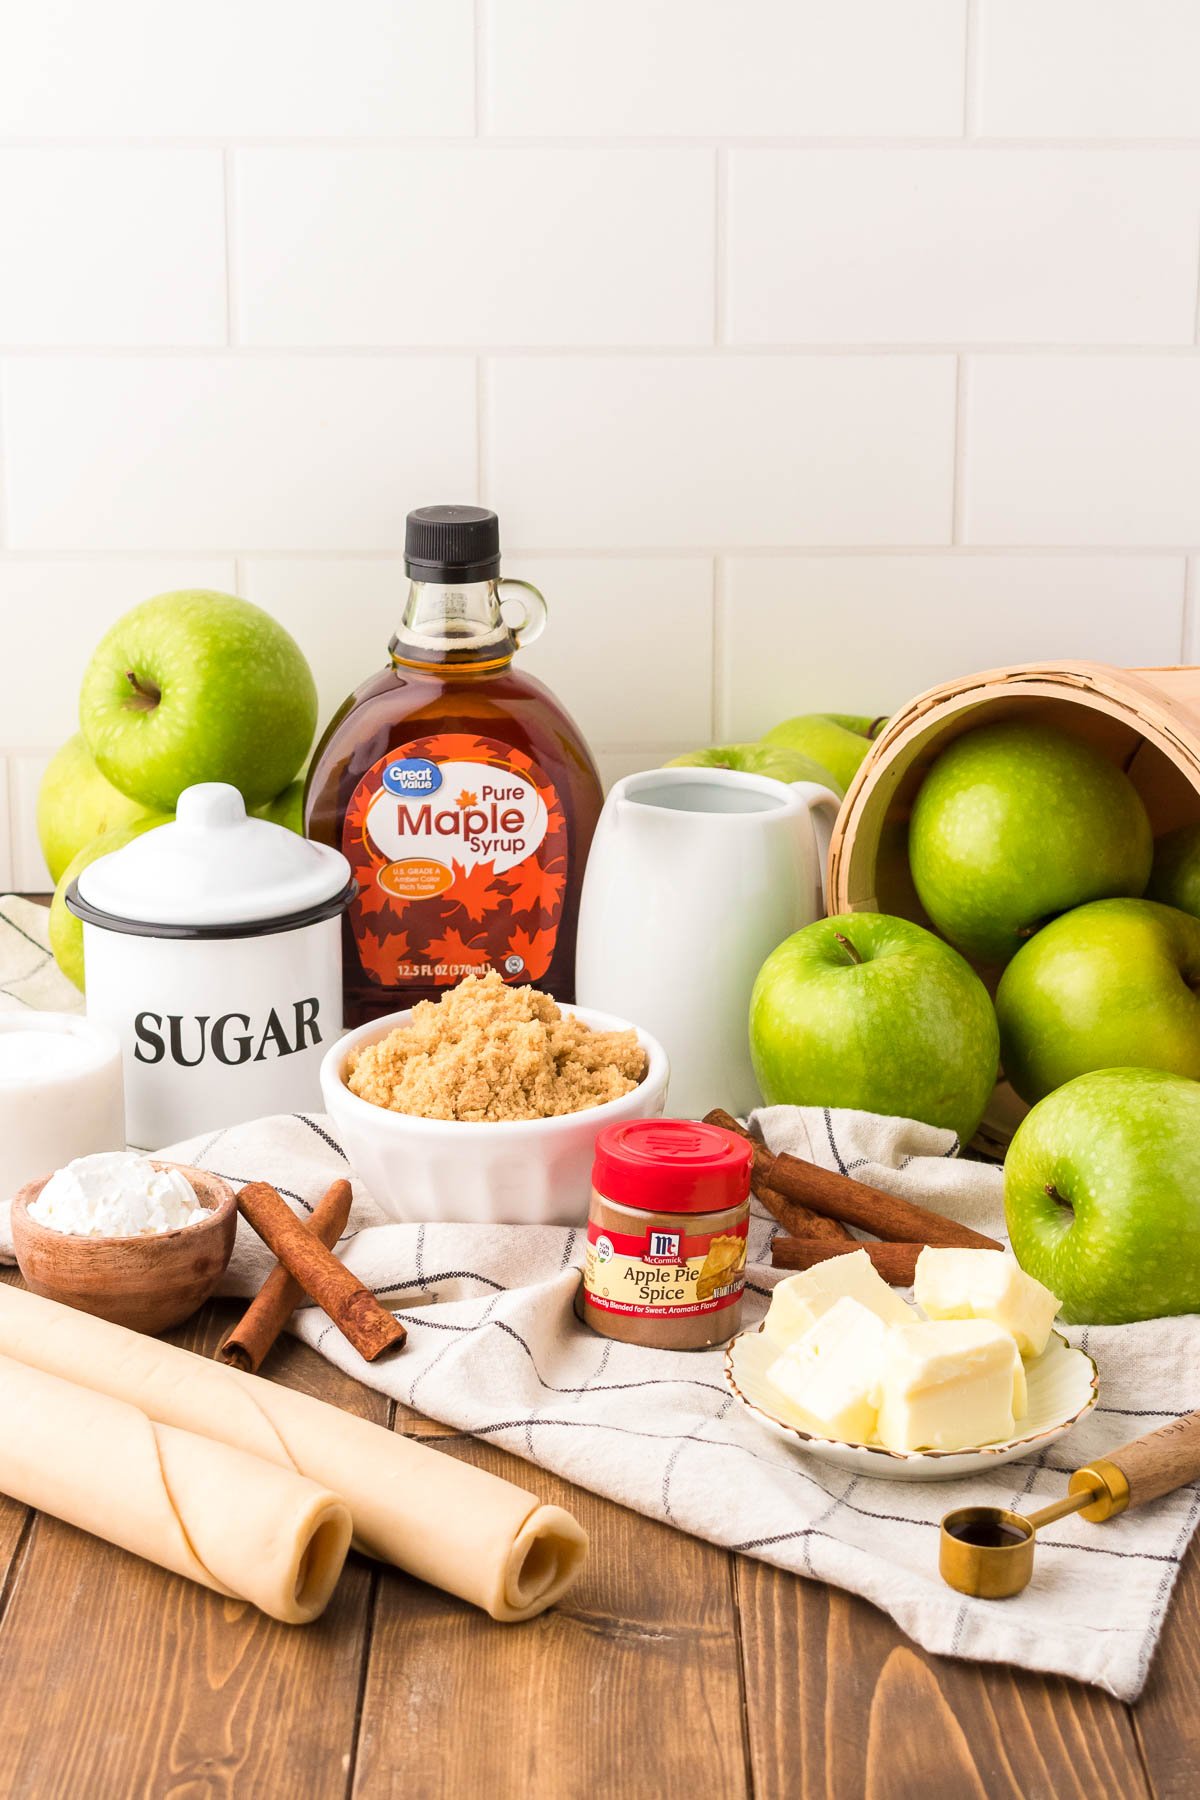
- Honeycrisp Or Granny Smith Apples
- 100% Pure Maple Syrup
- Light Brown Sugar
- Lemon Juice
- Cornstarch
- Vanilla Extract
- Ground Cinnamon
- Speculaas or Apple Pie Spice
- Salt
- Salted Butter
- Pillsbury Refrigerated Pie Crusts
- Milk
- Granulated Sugar
Since the idea of pandowdy is that it’s simple, we opted to use a storebought pie crust. This allows the dessert to be made fairly quickly and easily compared to baking a traditional apple pie from scratch.
However, if you’d rather, you can take the extra time and prepare a homemade crust to use in this recipe instead. I’m sure the touch of homemade would be absolutely delicious!
I used Speculaas Spice, a Dutch Spice, to give this pandowdy its mouthwatering flavor. It’s the spice that gives speculoos/Biscoff their standout flavor and is a popular ingredient in Europe.
It is a tricky ingredient to find here in the US. However, you can order it right from Amazon or make your own using this recipe. You can also use Apple Pie Spice to replace Speculaas Spice.
If you don’t have Speculaas or Apple Pie Spice, add 1/4 teaspoon of cinnamon and a tiny pinch of nutmeg, ginger, clove, and cardamom instead.
Substitutions and Variations
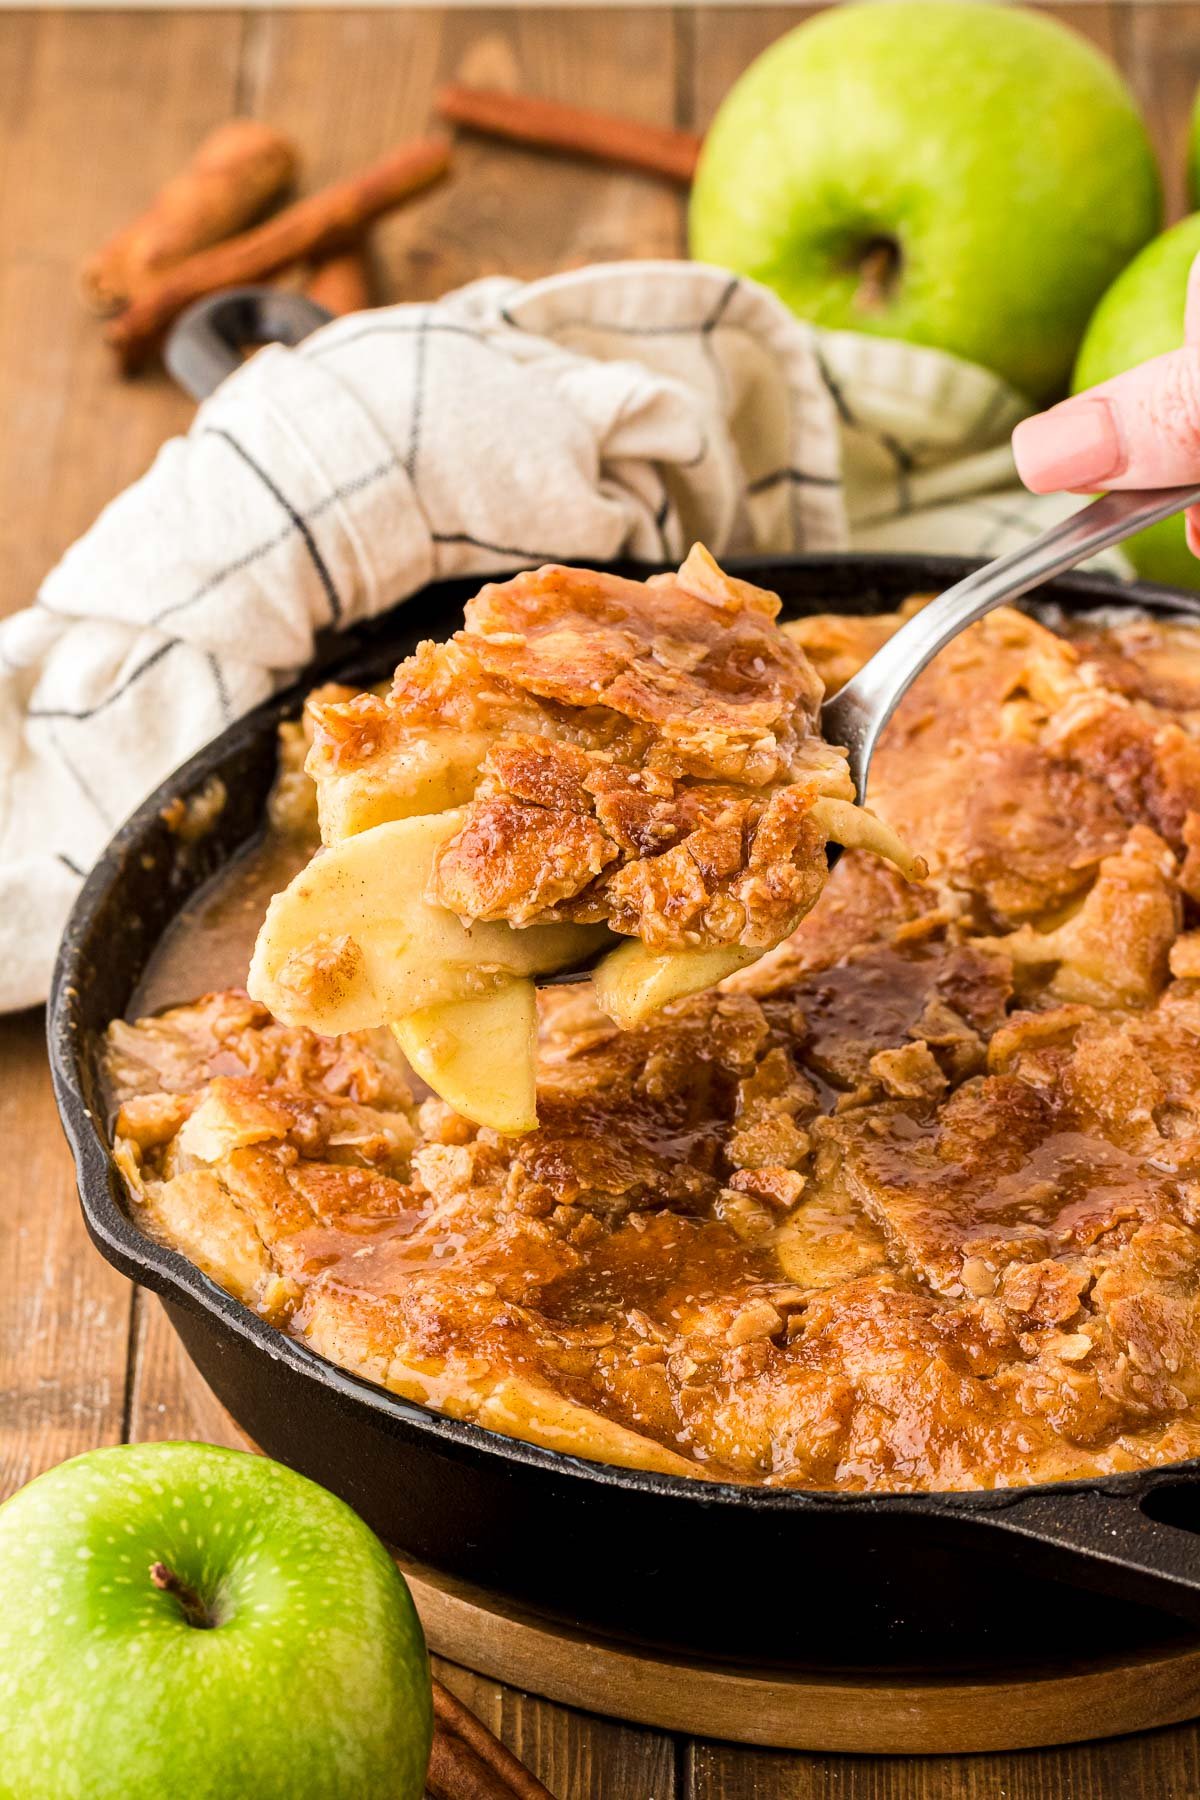
- Apples – I like to make apple desserts using crisp, juicy apples such as Granny Smith or Honeycrisp. However, you can make this pandowdy with your favorite apples or even a mixed variety of apples!
- Pie Crust – puff pastry or homemade
- Molasses– Apple Pandowdy can be made with molasses instead of 100% real maple syrup. Both lend a distinct flavor to the dessert, so feel free to choose the one that better suits your taste buds.
- Coarse Sparkling Sugar – King Arthur Baking carries coarse sparkling sugar that you can use to make the cinnamon sugar mixture with. This coarse sugar would give the dessert more of a crunchy topping.
- Fruit – Instead of making this pandowdy with apples, give it a try with peaches, pears, or another fruit of your choice. You can even do a mixed fruit pandowdy!
How To Make Apple Pan Dowdy
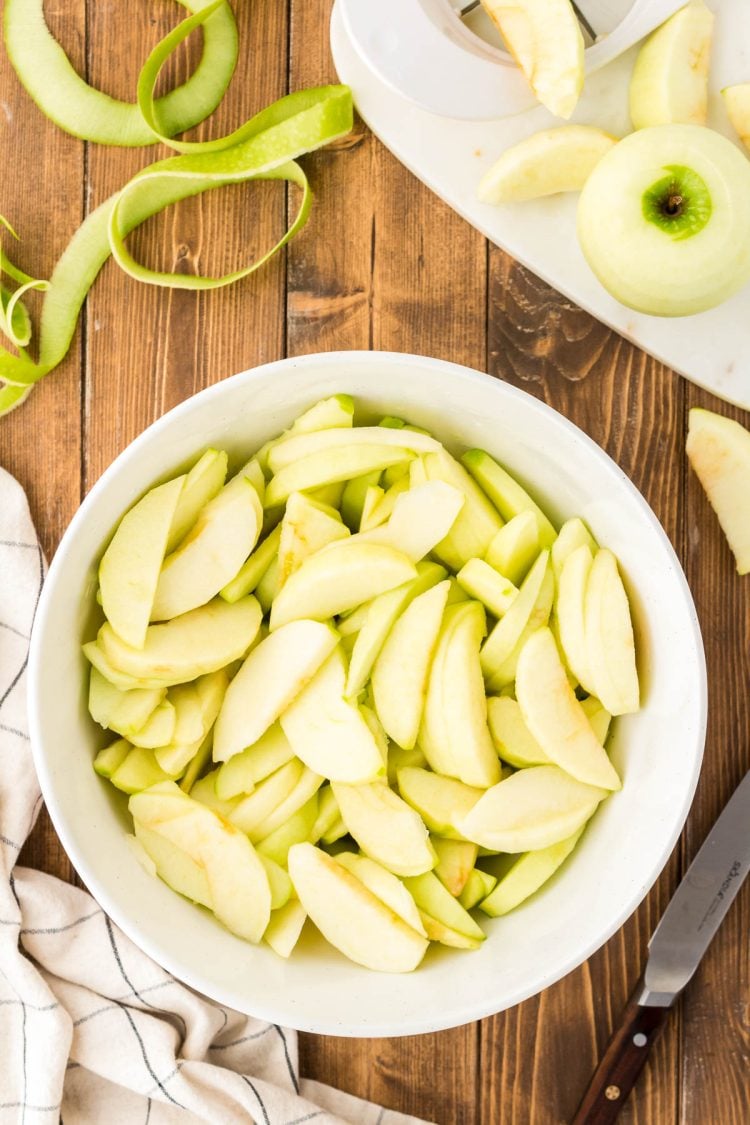
Step 1: Prepare the apples by peeling, coring, and slicing them into 1/4-inch thick slices. Then, add them to a large mixing bowl.
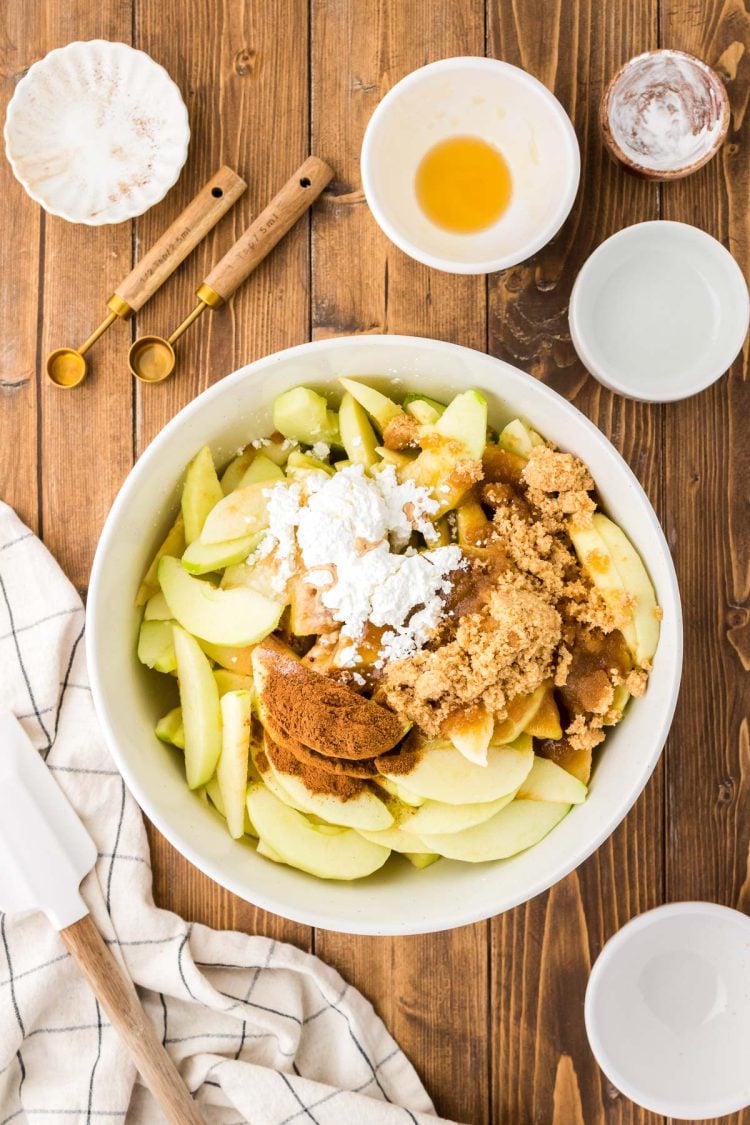
Step 2: Add the light brown sugar, pure maple syrup, lemon juice, cornstarch, vanilla extract, ground cinnamon, Speculaas or apple pie spice, and salt to the bowl with apples. Toss together to coat the apples.
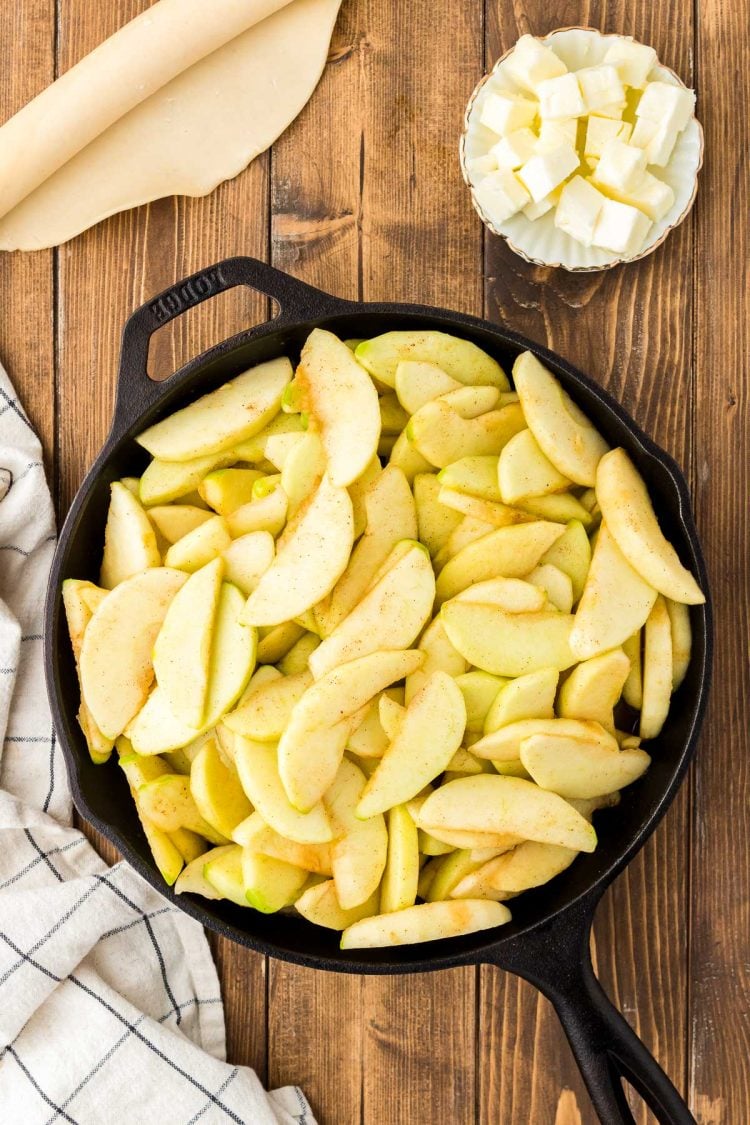
Step 3: Transfer the coated apples to a 10-inch cast iron skillet. If you only have an 8-inch cast iron skillet, that’s okay; just reduce the apples by 1!
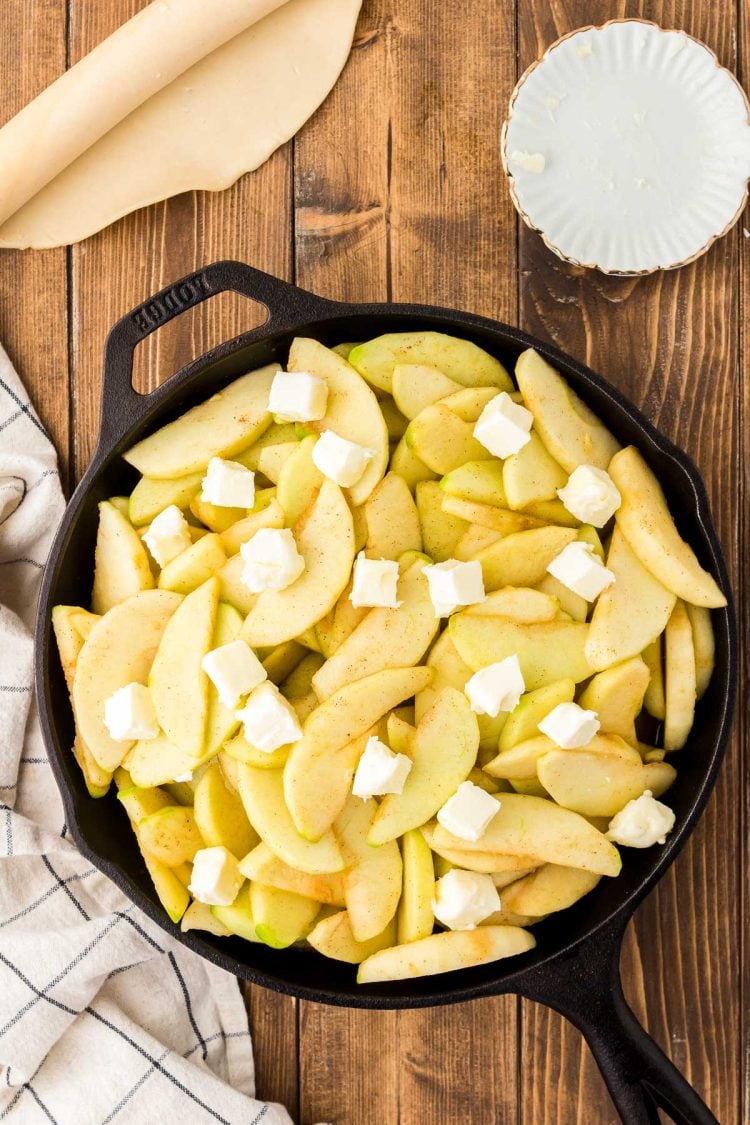
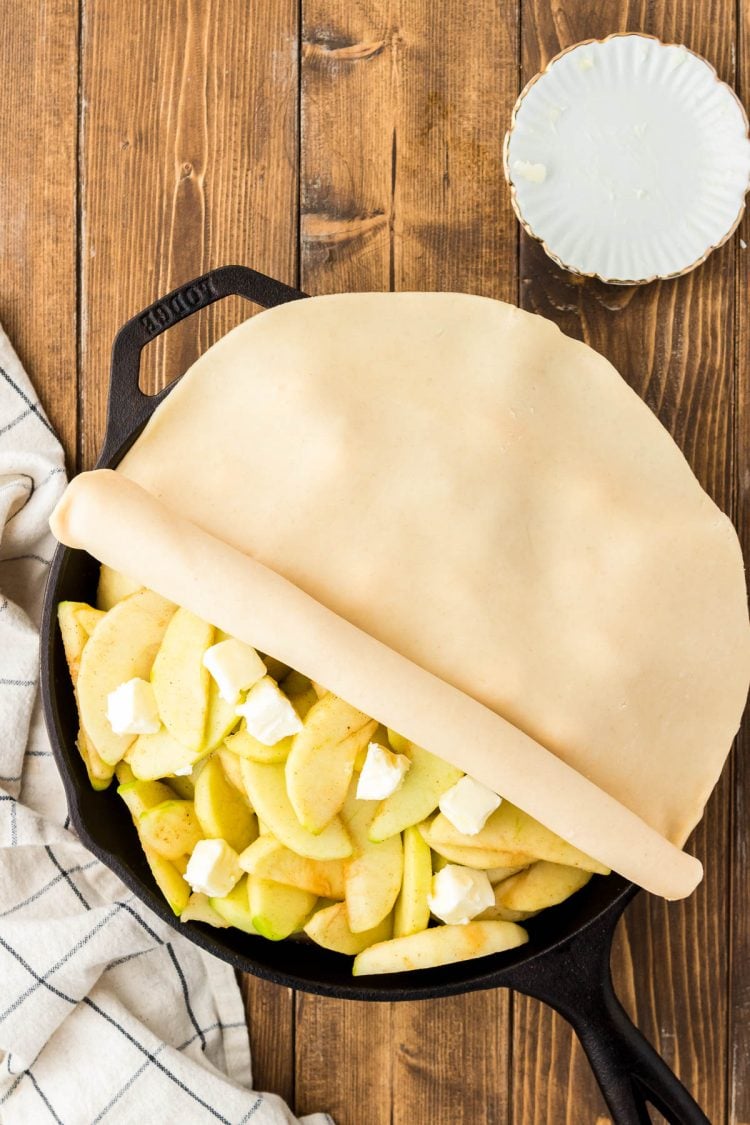
Step 4: Add salted butter cubes over the apple mixture top.
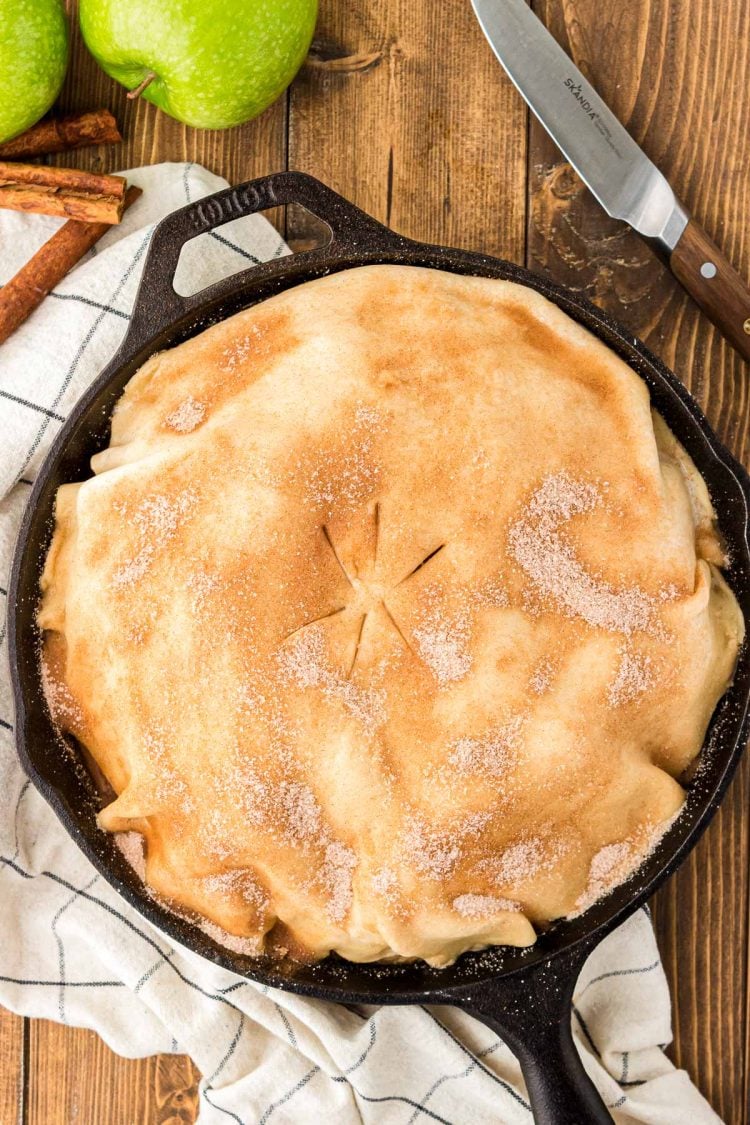
Step 5: Top the skillet of apples with one crust and press the edges of the crust down into the pan around the edges a bit.
Step 6: Brush the milk onto the top of the pie crust.
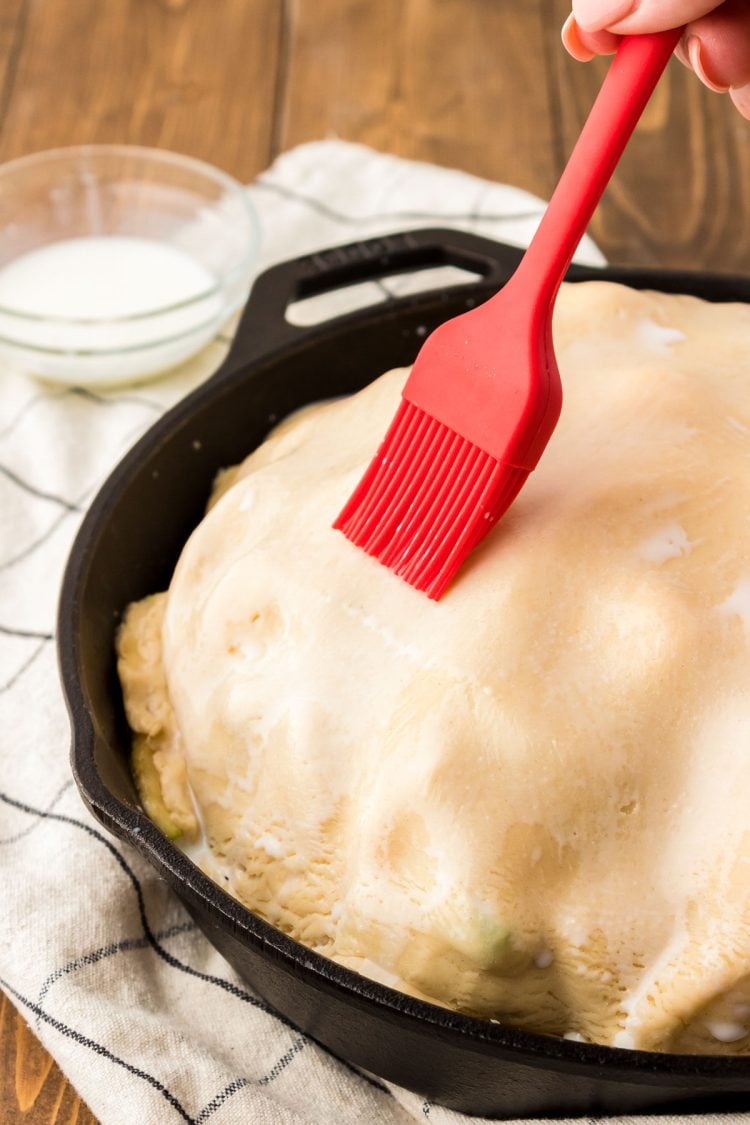
Step 7: Stir together ground cinnamon and granulated sugar in a small prep bowl. Afterward, sprinkle half of this cinnamon sugar mixture over the top of the milk-washed pie crust.
Step 8: Repeat steps 6 and 7 with the other pie crust on top of the first.
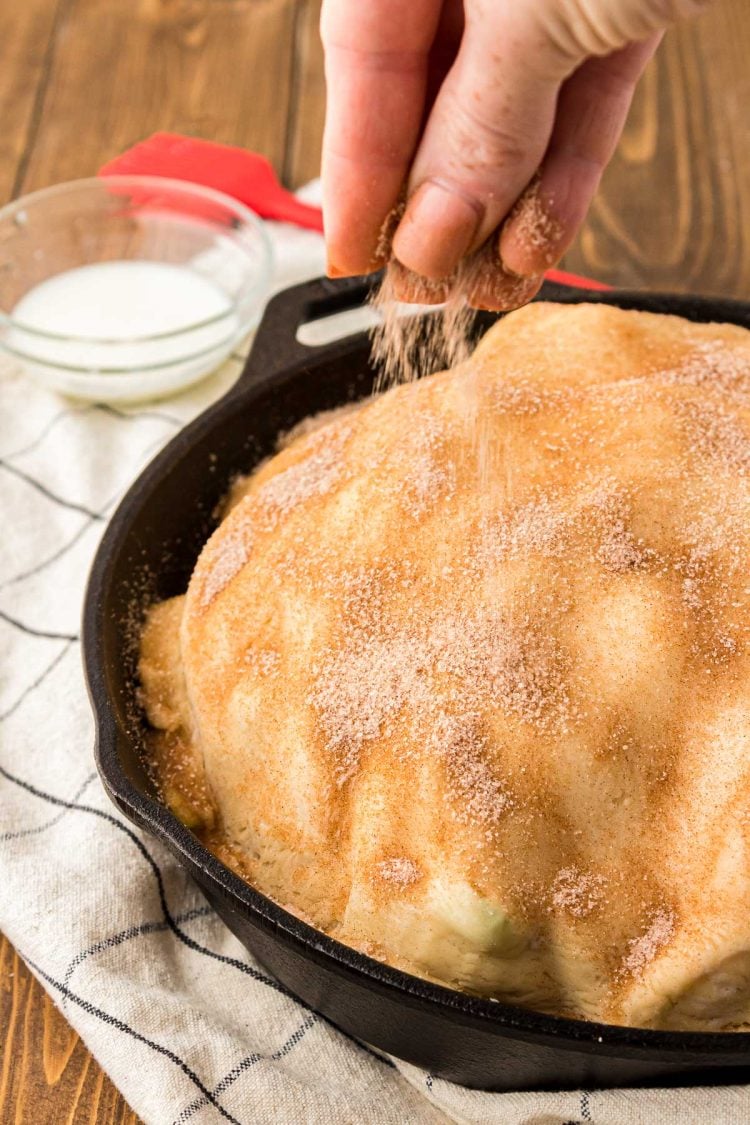
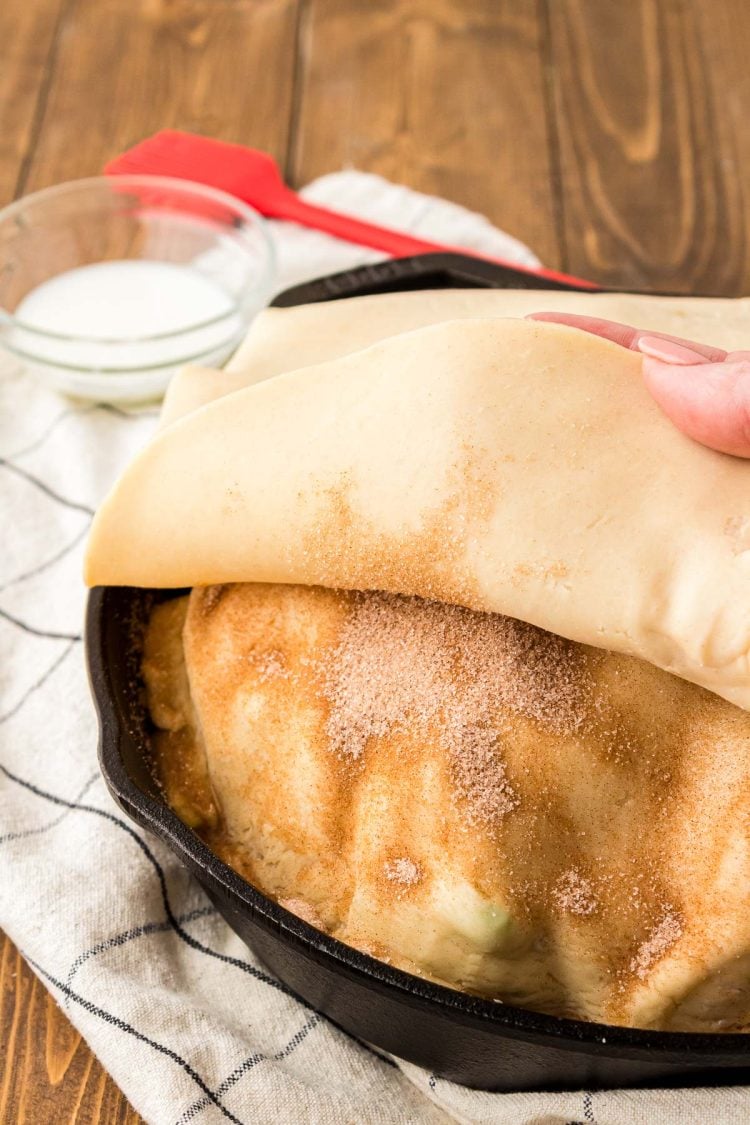
Step 8: Cut 6 slits around the center of the apple pandowdy.
Step 9: Bake until the filling bubbles around the edges and the crust has turned golden brown. This should take about 35 to 40 minutes.
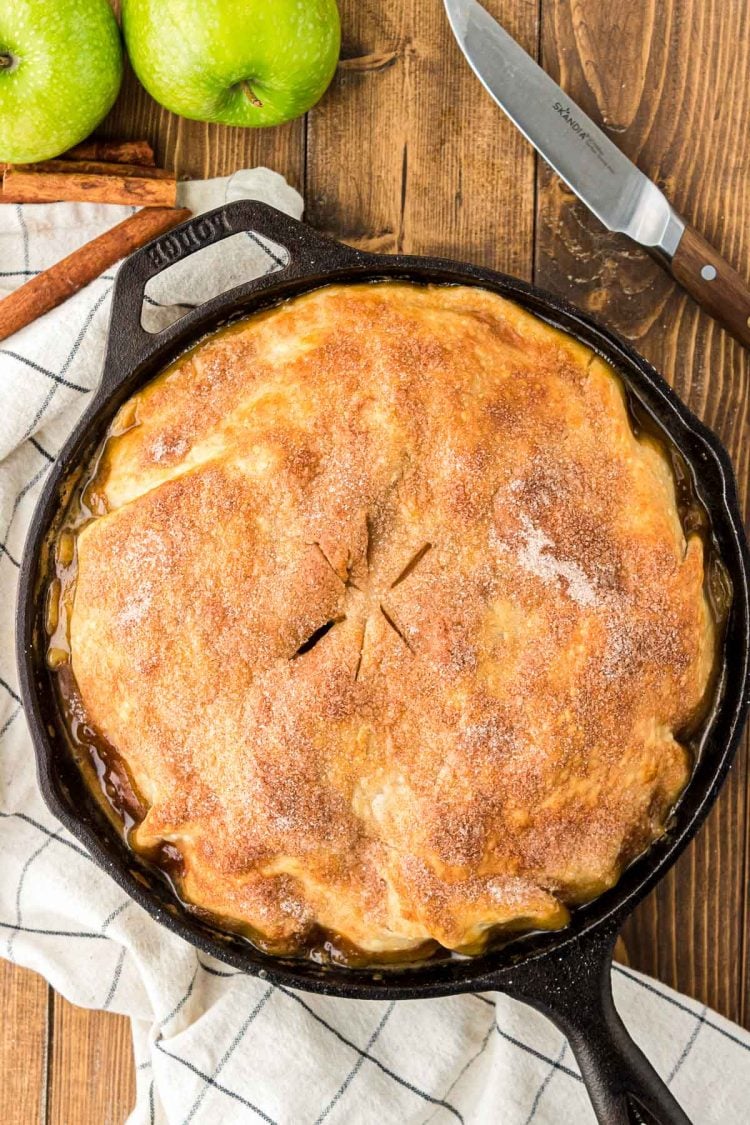
Step 10: Once the pandowdy is removed from the oven, immediately slice across the top of the crust in lines about 2 inches apart, then slice in the opposite direction, leaving square pieces on top of the pie.
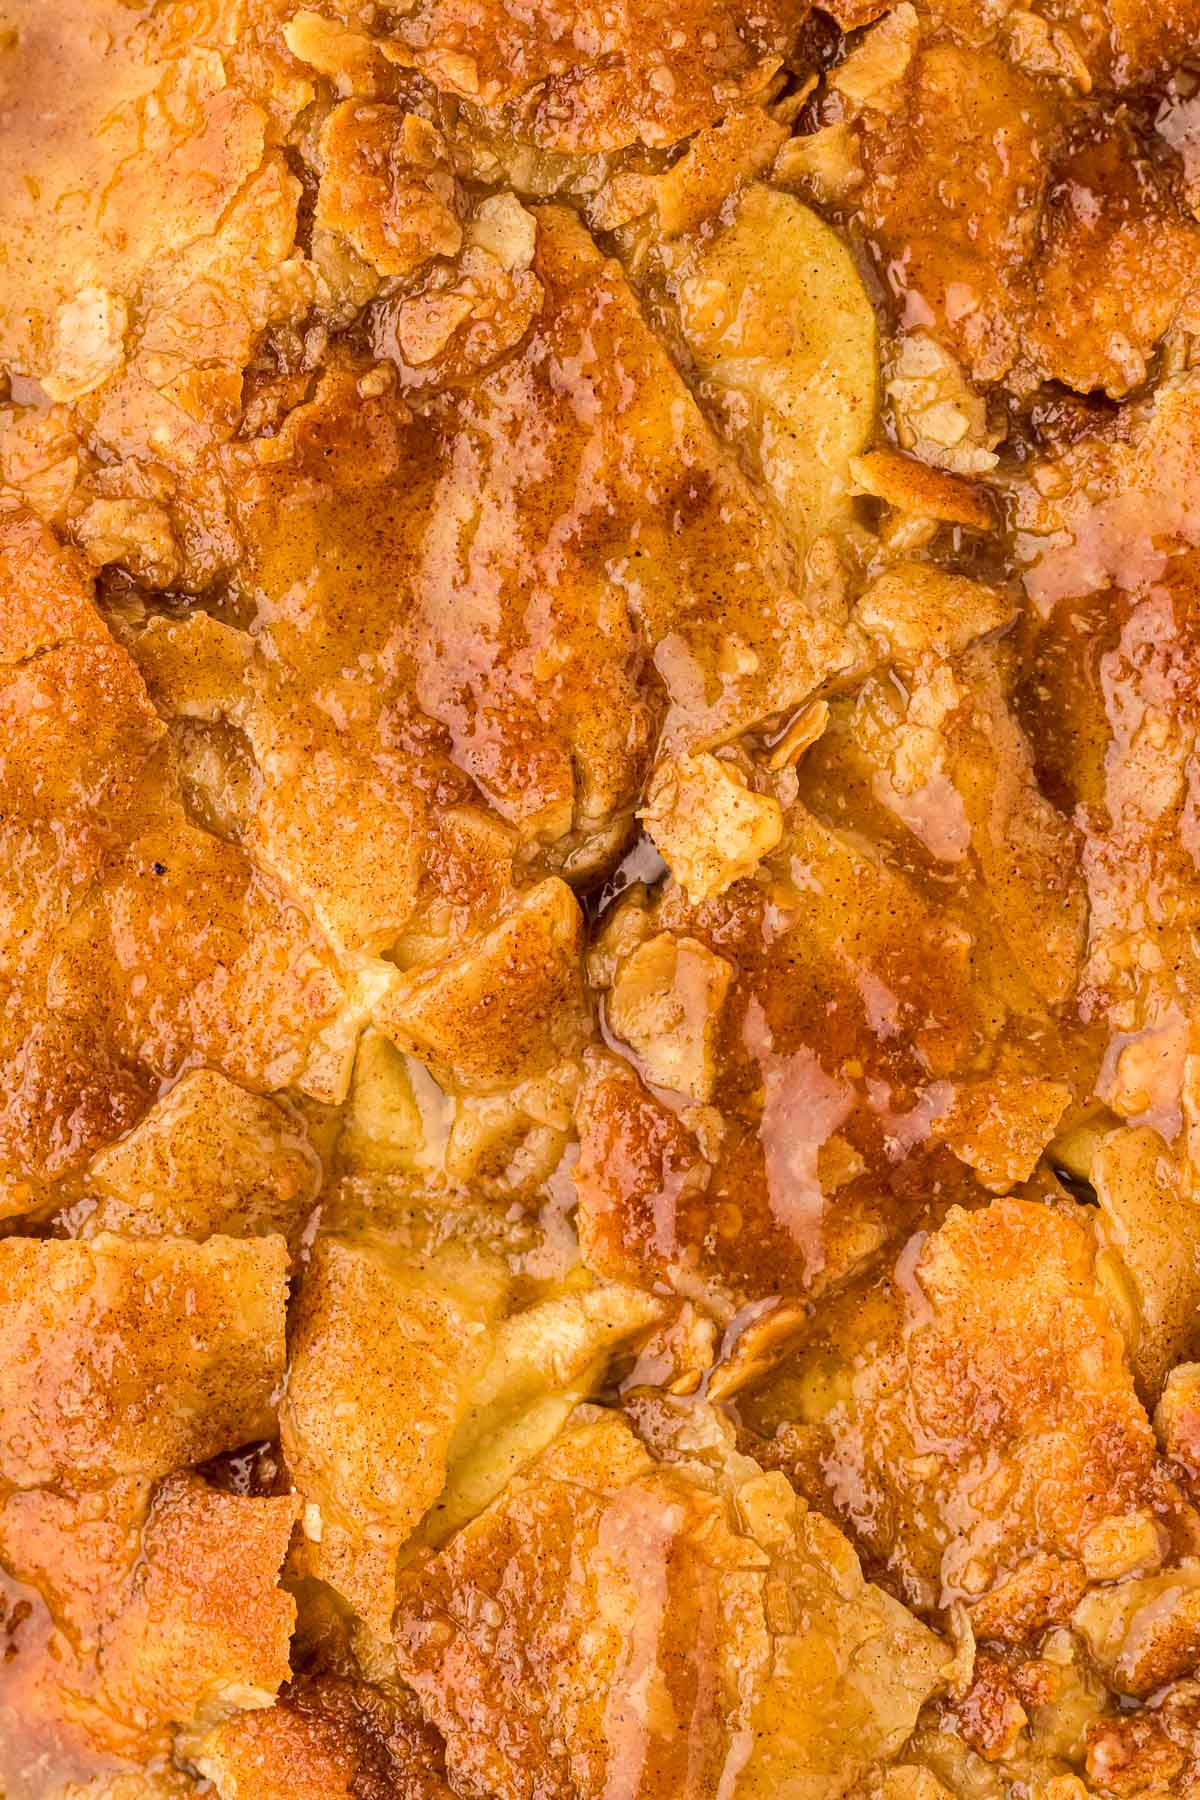
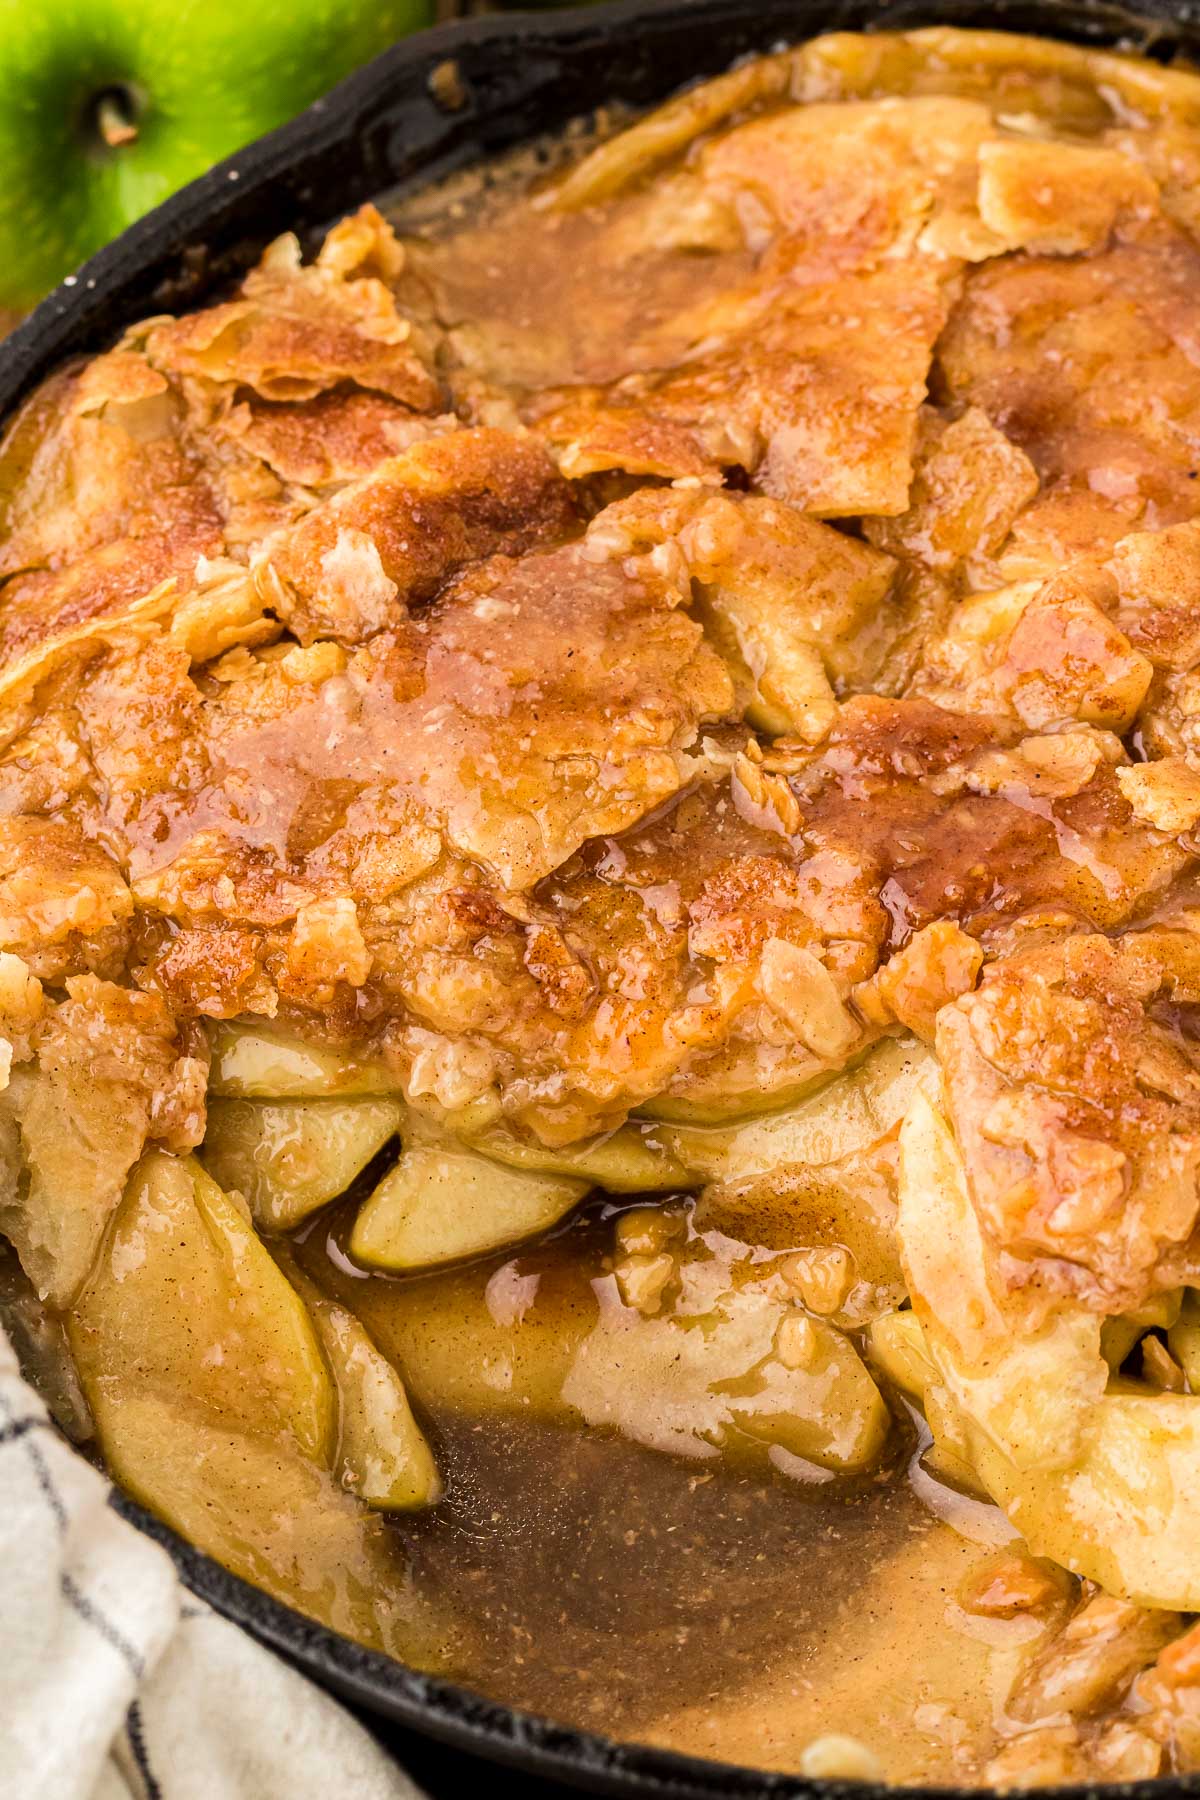
Step 11: Using a spoon, press the square pieces of crust down into the filling just enough for the sauce to run over the top of the crust. The sauce will dry over the crust, creating a glaze on top, giving the dessert its signature pandowdy appearance.
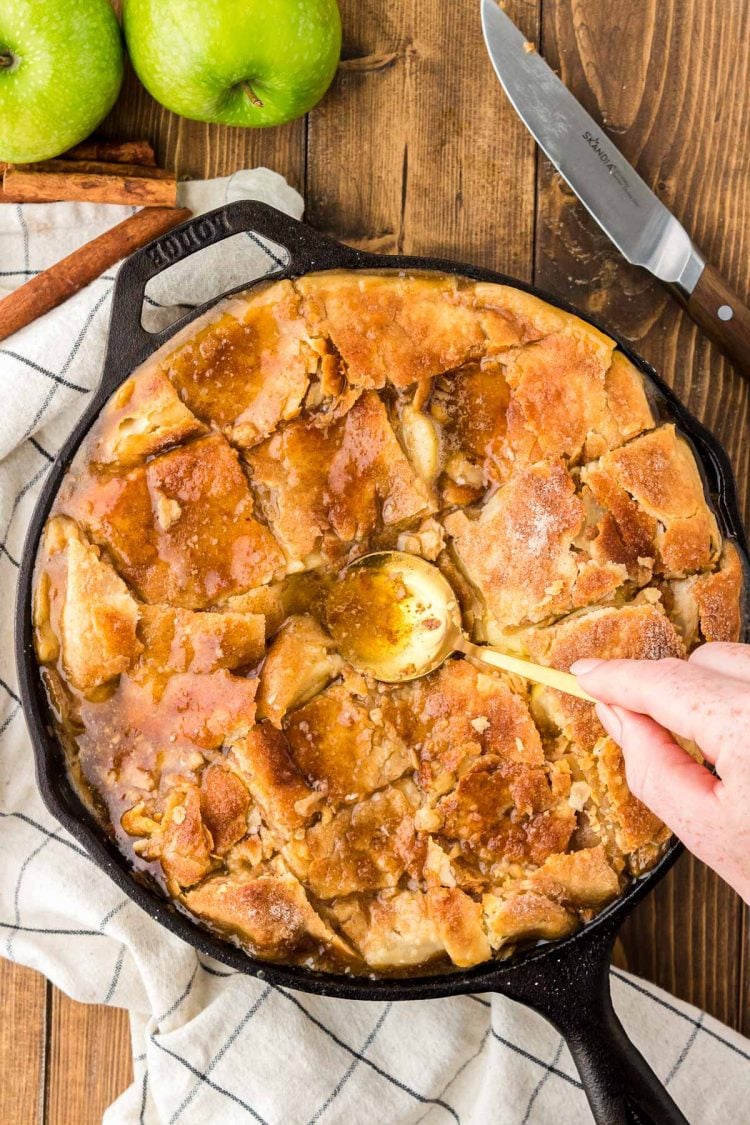
Step 12: Cool the pandowdy at room temperature for 2 hours to cool, allowing the juices to thicken. Then serve and enjoy!
How To Serve This Recipe For Apple Pan Dowdy
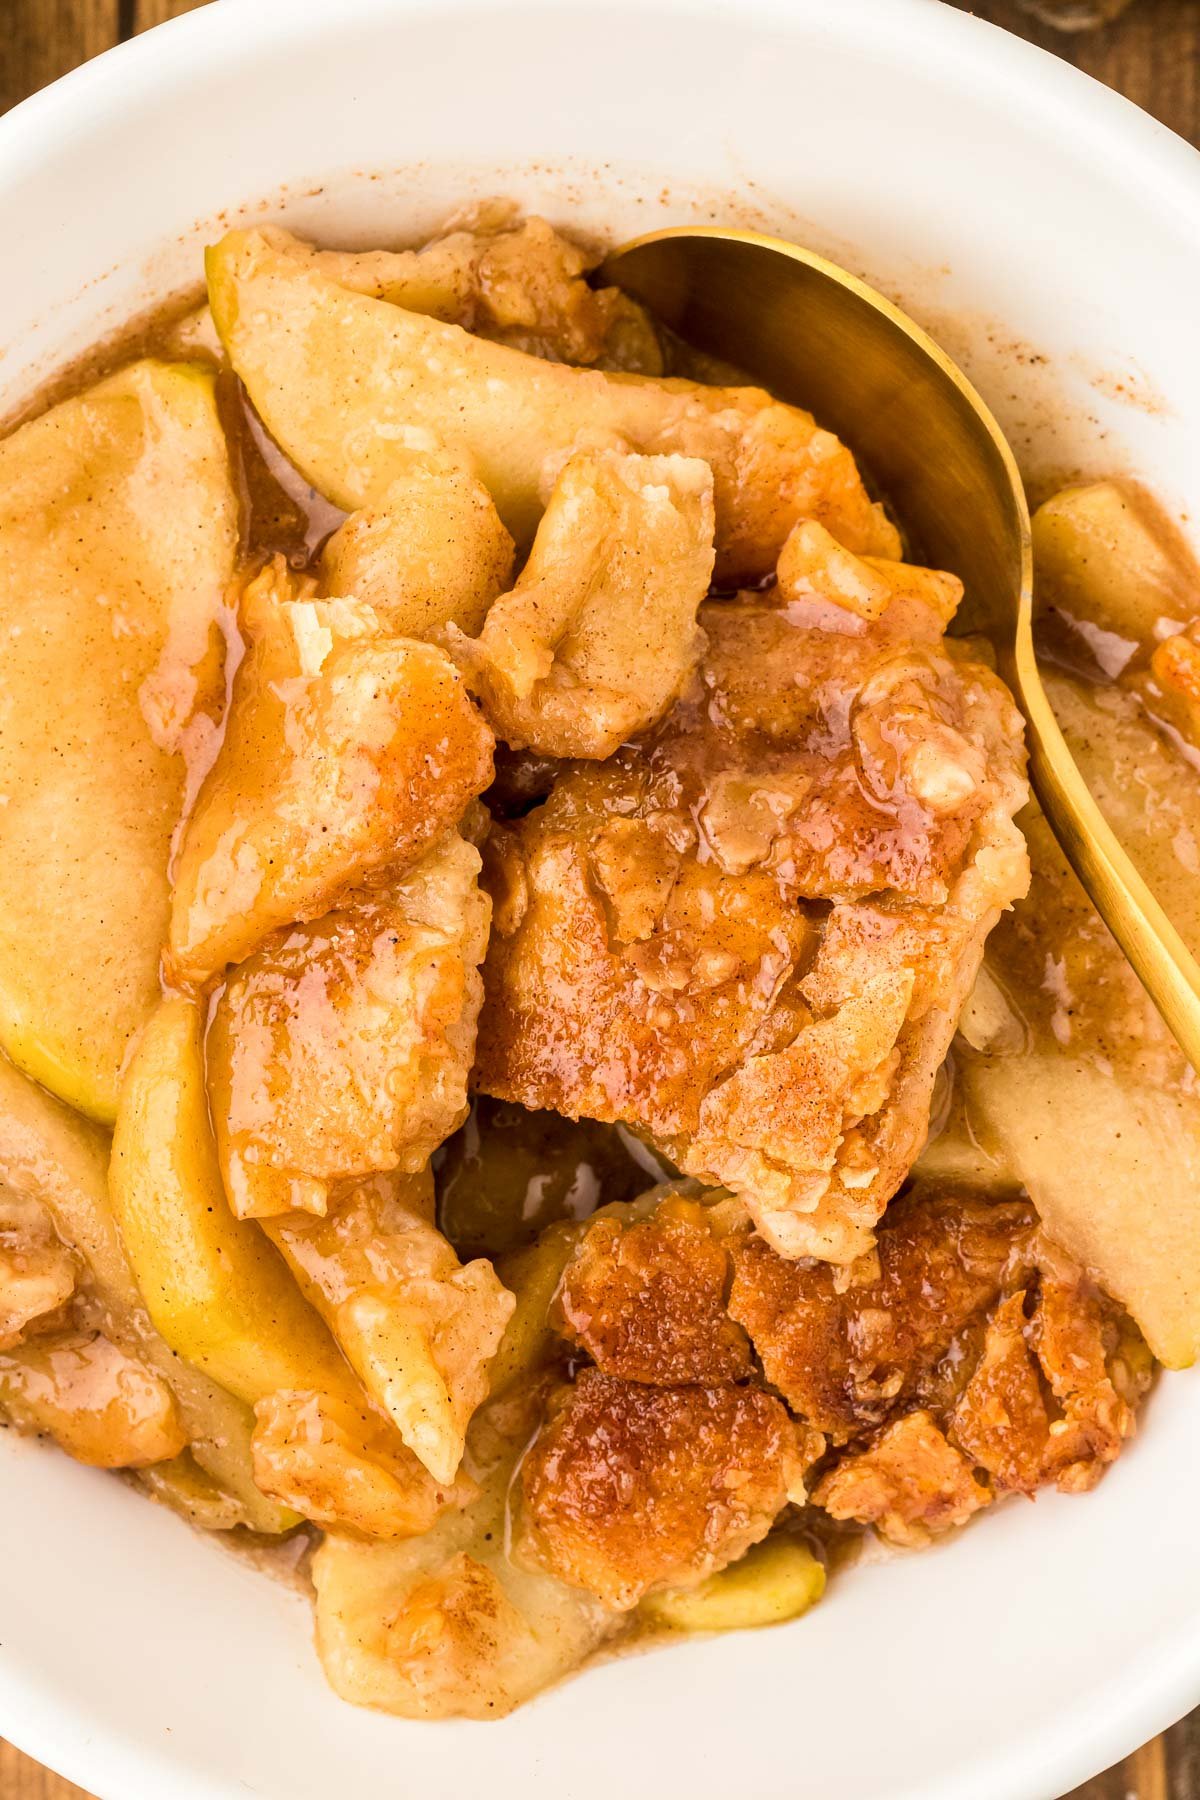
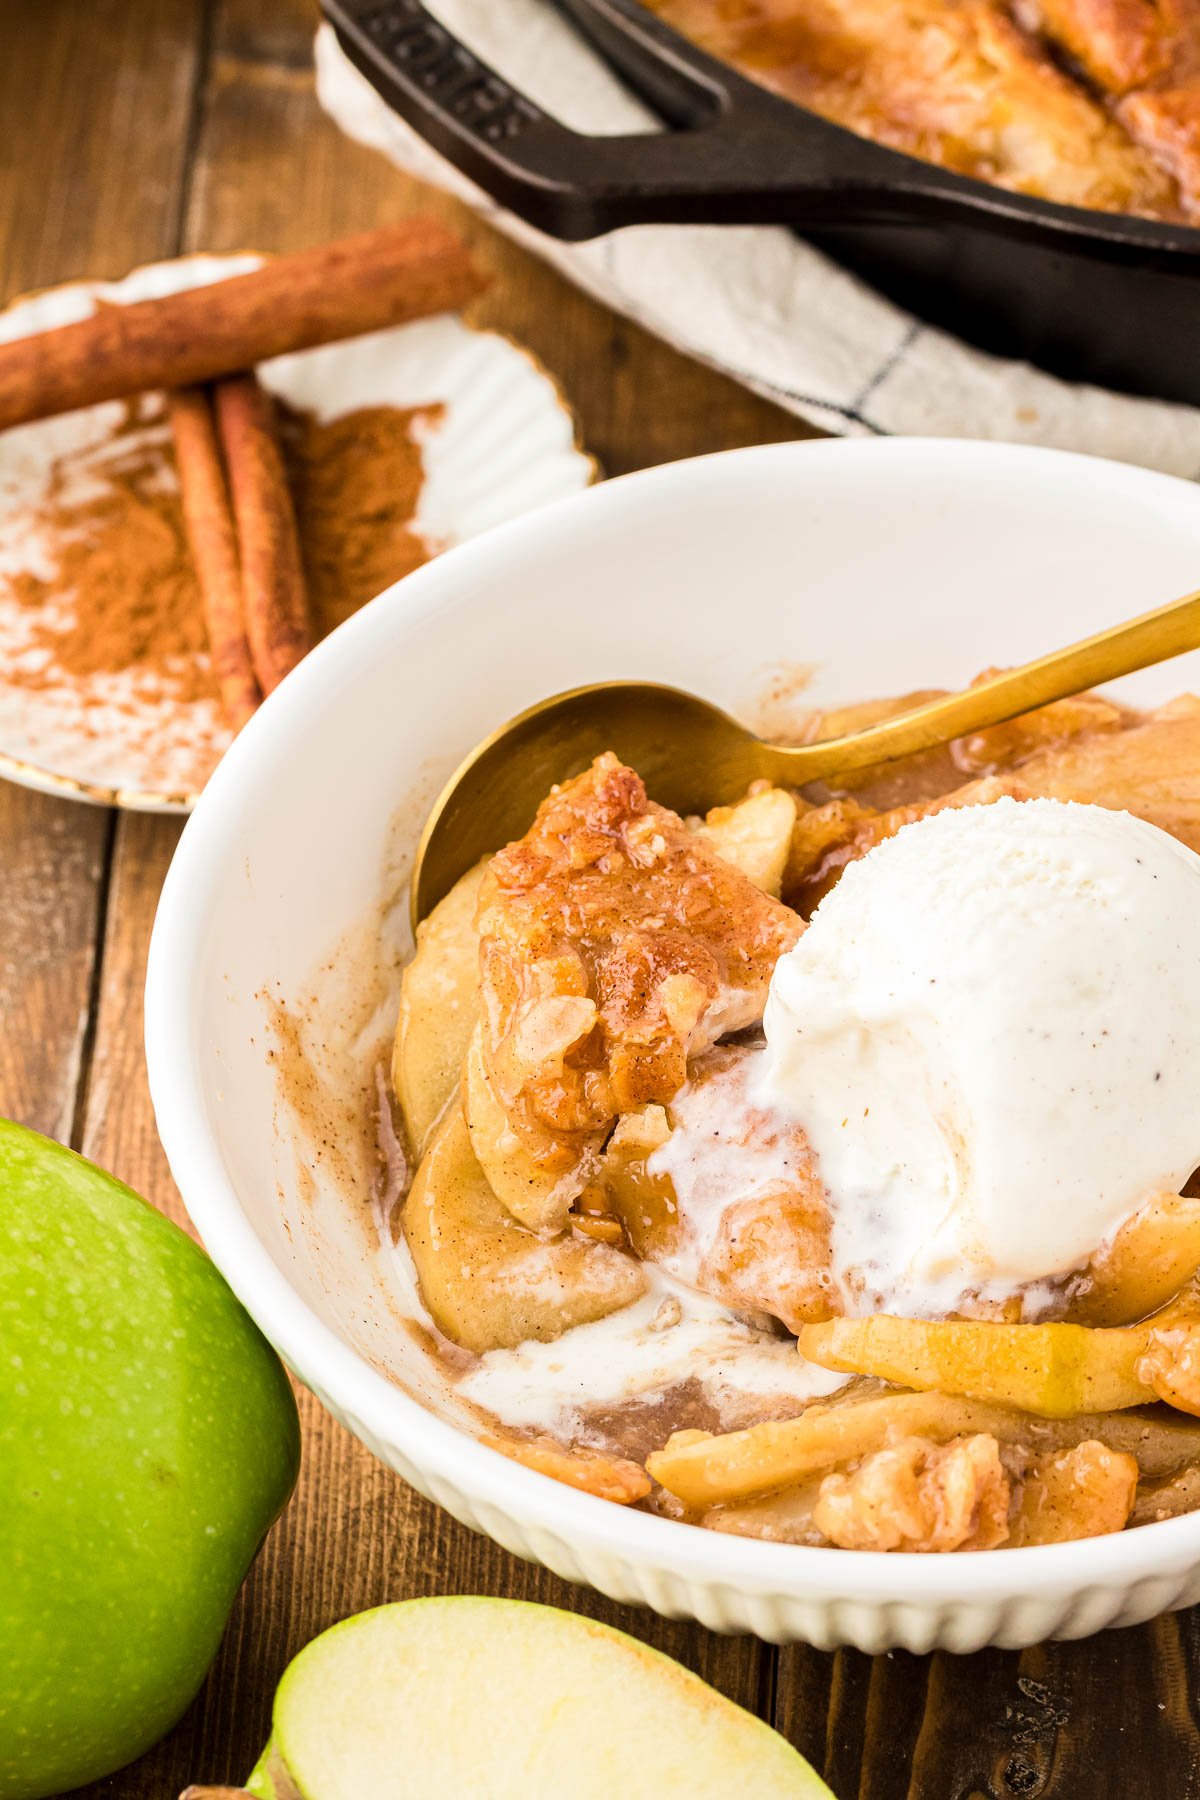
Serve this baked fruit dessert in a bowl while it’s still slightly warm from baking. Then top it with a scoop or two of vanilla ice cream, homemade whipped cream, a drizzle of caramel sauce, or even a splash of heavy cream.
Apple Pan Dowdy Recipe Storage
Store leftover Apple Pan Dowdy in an airtight container. Then, you can keep the leftovers at room temperature for up to 48 hours or store them in the fridge to enjoy for up to 5 days.
Apple Pan Dowdy FAQs
Pandowdy is pronounced pan-dow-dee, but some pronounce it pan-doe-dee.
Pandowdy and Cobbler are both baked fruit desserts. However, the difference between the two is found in their topping!
The topping on pandowdy is made with pie crust that covers the whole dessert and is then cut into slices to be pressed into the fruit filling. In contrast, cobblers have a sweet biscuit-like topping that’s dropped in dollops over the filling.
Pie has a bottom layer of crust that the filling sits on, and pandowdy has no bottom crust layer. Instead, the fruit filling just sits on the bottom of the baking dish and is scooped out.
For best results, heat the leftovers in the oven using a skillet. This will make the pandowdy taste like it’s been freshly baked!
You can also heat individual servings in the microwave using a microwave-safe bowl until warm.
This recipe was tested with a traditional deep cast iron skillet as well as a Staub skillet that’s a bit shallower. I found that the filling began to bubble out a little sooner when using the Staub skillet, so therefore I do prefer using a deep skillet.
If you don’t think your skillet is deep enough, then I’d recommend placing a rimmed baking sheet under the cast iron skillet. This will catch any overflow to prevent a mess in your stove!
Yes, instead of making this recipe in a skillet, you can make it in a Dutch oven, deep dish pie plate, or a casserole dish.
Yes, apple pandowdy can be made ahead of time to bake it off for a fresh treat later easily! I’d recommend assembling the recipe in the skillet (without baking it) and then storing it in the fridge overnight.
Then you can just slide it into the oven without the kitchen mess when you’re ready to enjoy it the next day!
Let’s Connect!
If you’ve tried this recipe, please let me know how you liked it in the comments below and leave a review. I love hearing from you!
Don’t forget to tag me – @sugarandsoulco – on Instagram and Pinterest with your photos or join our Sugar & Soul Show-offs Community and share them there, where you can join our recipe challenges!

Apple Pan Dowdy
Equipment
- 10-inch cast iron skillet
- Apple peeler
- chef knife
- Cutting board
- Large mixing bowl
- Rubber Spatula
- Measuring Cups
- Measuring spoons
- Rimmed baking sheet see notes
Ingredients
Filling
- 8 Honeycrisp or Granny Smith apples see notes
- ½ cup 100% pure maple syrup 156ml, see notes
- ⅔ cup light brown sugar 140g, packed
- 1 ounce lemon juice
- 2 tablespoons cornstarch
- 1 teaspoon vanilla extract
- 1 teaspoon ground cinnamon
- ½ teaspoon speculaas or apple pie spice see notes
- ¼ teaspoon salt
- ¼ cup salted butter 57g
Topping
- 1 (16 oz.) box Pillsbury refrigerated pie crusts
- 2 tablespoons milk
- 2 tablespoons granulated sugar
- ½ teaspoon ground cinnamon
Instructions
- Preheat the oven to 425°F.
- Peel, core, and slice 8 Honeycrisp or Granny Smith apples into ¼-inch thick slices and add to a large mixing bowl.
- Add ⅔ cup light brown sugar, ½ cup 100% pure maple syrup, 1 ounce lemon juice, 2 tablespoons cornstarch, 1 teaspoon vanilla extract, 1 teaspoon ground cinnamon, ½ teaspoon speculaas or apple pie spice, and ¼ teaspoon salt and toss to coat.
- Add the coated apple mixture to a 10-inch cast iron skillet. If you only have an 8-inch cast iron skillet, that's okay; just reduce the apples by 1!
- Cut the ¼ cup salted butter into small cubes and dot them all over the top of the apple mixture.
- Top with one crust from the 1 (16 oz.) box Pillsbury refrigerated pie crusts and press the edges of the pie crust down into the pan around the edges a bit.
- Brush the top of the pie crust with 1 of the 2 tablespoons milk.
- In a small prep bowl, stir together 2 tablespoons granulated sugar and ½ teaspoon ground cinnamon and sprinkle the crust with half of the cinnamon sugar mixture. Repeat with the other pie crust on top of the first.
- Cut 6 slits around the center of the pie crust.
- Bake for 35 to 40 minutes. The filling should be bubbling around the edges, and the crust should be golden brown. I recommend checking on the crust around the 30 minute mark to make sure it's not getting too brown, if it is, I would tent some aluminum foil over the top.
- Remove from the oven and immediately use a sharp chef's knife to slice across the top of the crust in lines about 2-inches apart, then slice in the opposite direction, leaving square pieces on top of the pie.
- Then use a spoon to press the pieces of crust down into the filling just enough for the sauce to run over the top of the crust. This is the signature pandowdy style; the sauce will dry to create a glaze on the crust.
- Let the pandowdy sit for 2 hours to cool so the juices thicken some. Then serve in a bowl with ice cream.
Notes
- You need about 3.5 lbs whole (around 1500g) or 2.5 lbs peeled (around 875g) and cored for the apples.
- Speculaas spice (Dutch Spice) is one of my favorites to use in baking. Popular in Europe, it’s the spice that gives Speculoos/Biscoff biscuits their distinct flavor. It is harder to locate in the US, but you can find it on Amazon or make your own blend with this recipe. Apple pie spice is a good substitute. If you don’t have either, then I would recommend adding an additional 1/4 teaspoon of cinnamon with tiny pinches of nutmeg, ginger, clove, and cardamom.
- We tested this recipe with two styles of 10-inch pans. My traditional deep cast iron skillet worked beautifully. My Staub skillet is just a bit shallower, and the filling began to bubble out a little around the 30-minute mark. If you feel your castiron skillet might be on the shallow side, I recommend baking this with a rimmed baking sheet under the cast iron.
- A homemade crust recipe can be used, but the idea of pandowdy is that it’s simple, so we opted to use storebought to make this fairly quick and easy in comparison with traditional apple pie.
Nutrition
Did You Make This Recipe?
Don’t forget to share it with me on Instagram @sugarandsoulco and follow on Tiktok @sugarandsoulco and Pinterest @sugarandsoulco for more!



Comments & Reviews
Paula A Connolly says
I love apple pie and I thought my mothers apple pie was the best I have trouble making crust so I made this for Thanksgiving. It was the best I have ever had . My husband and guests raved about the perfect seasoning of the appples and the crust flavored with cinnamon and sugar was delicious. I made it the day ahead and warmed it up. It was perfect.
Kathie says
Amazing taste and the crusty pieces are delicious!
Susan Faloon says
Delicious, easy and a new way to enjoy apple pie 🥧
Barbara Fozard says
Just delicious! Similar to apple pie, but I love cooking anything in my iron skillet! The crust was crunchy and the filling not overly sweet! It said to let it cool for 2 hours— which I did — but it also said to serve warm with ice cream. Well, it also said to serve warm with ice cream. Well, after two hours, even at room temperature near my stove, it was too cold to melt ice cream. I had to put it in the microwave a few seconds.
Rebecca Hubbell says
So glad you enjoyed it, and yes, you will likely have to reheat. You can enjoy it sooner, just note that the juices/sauce will be a bit runnier.