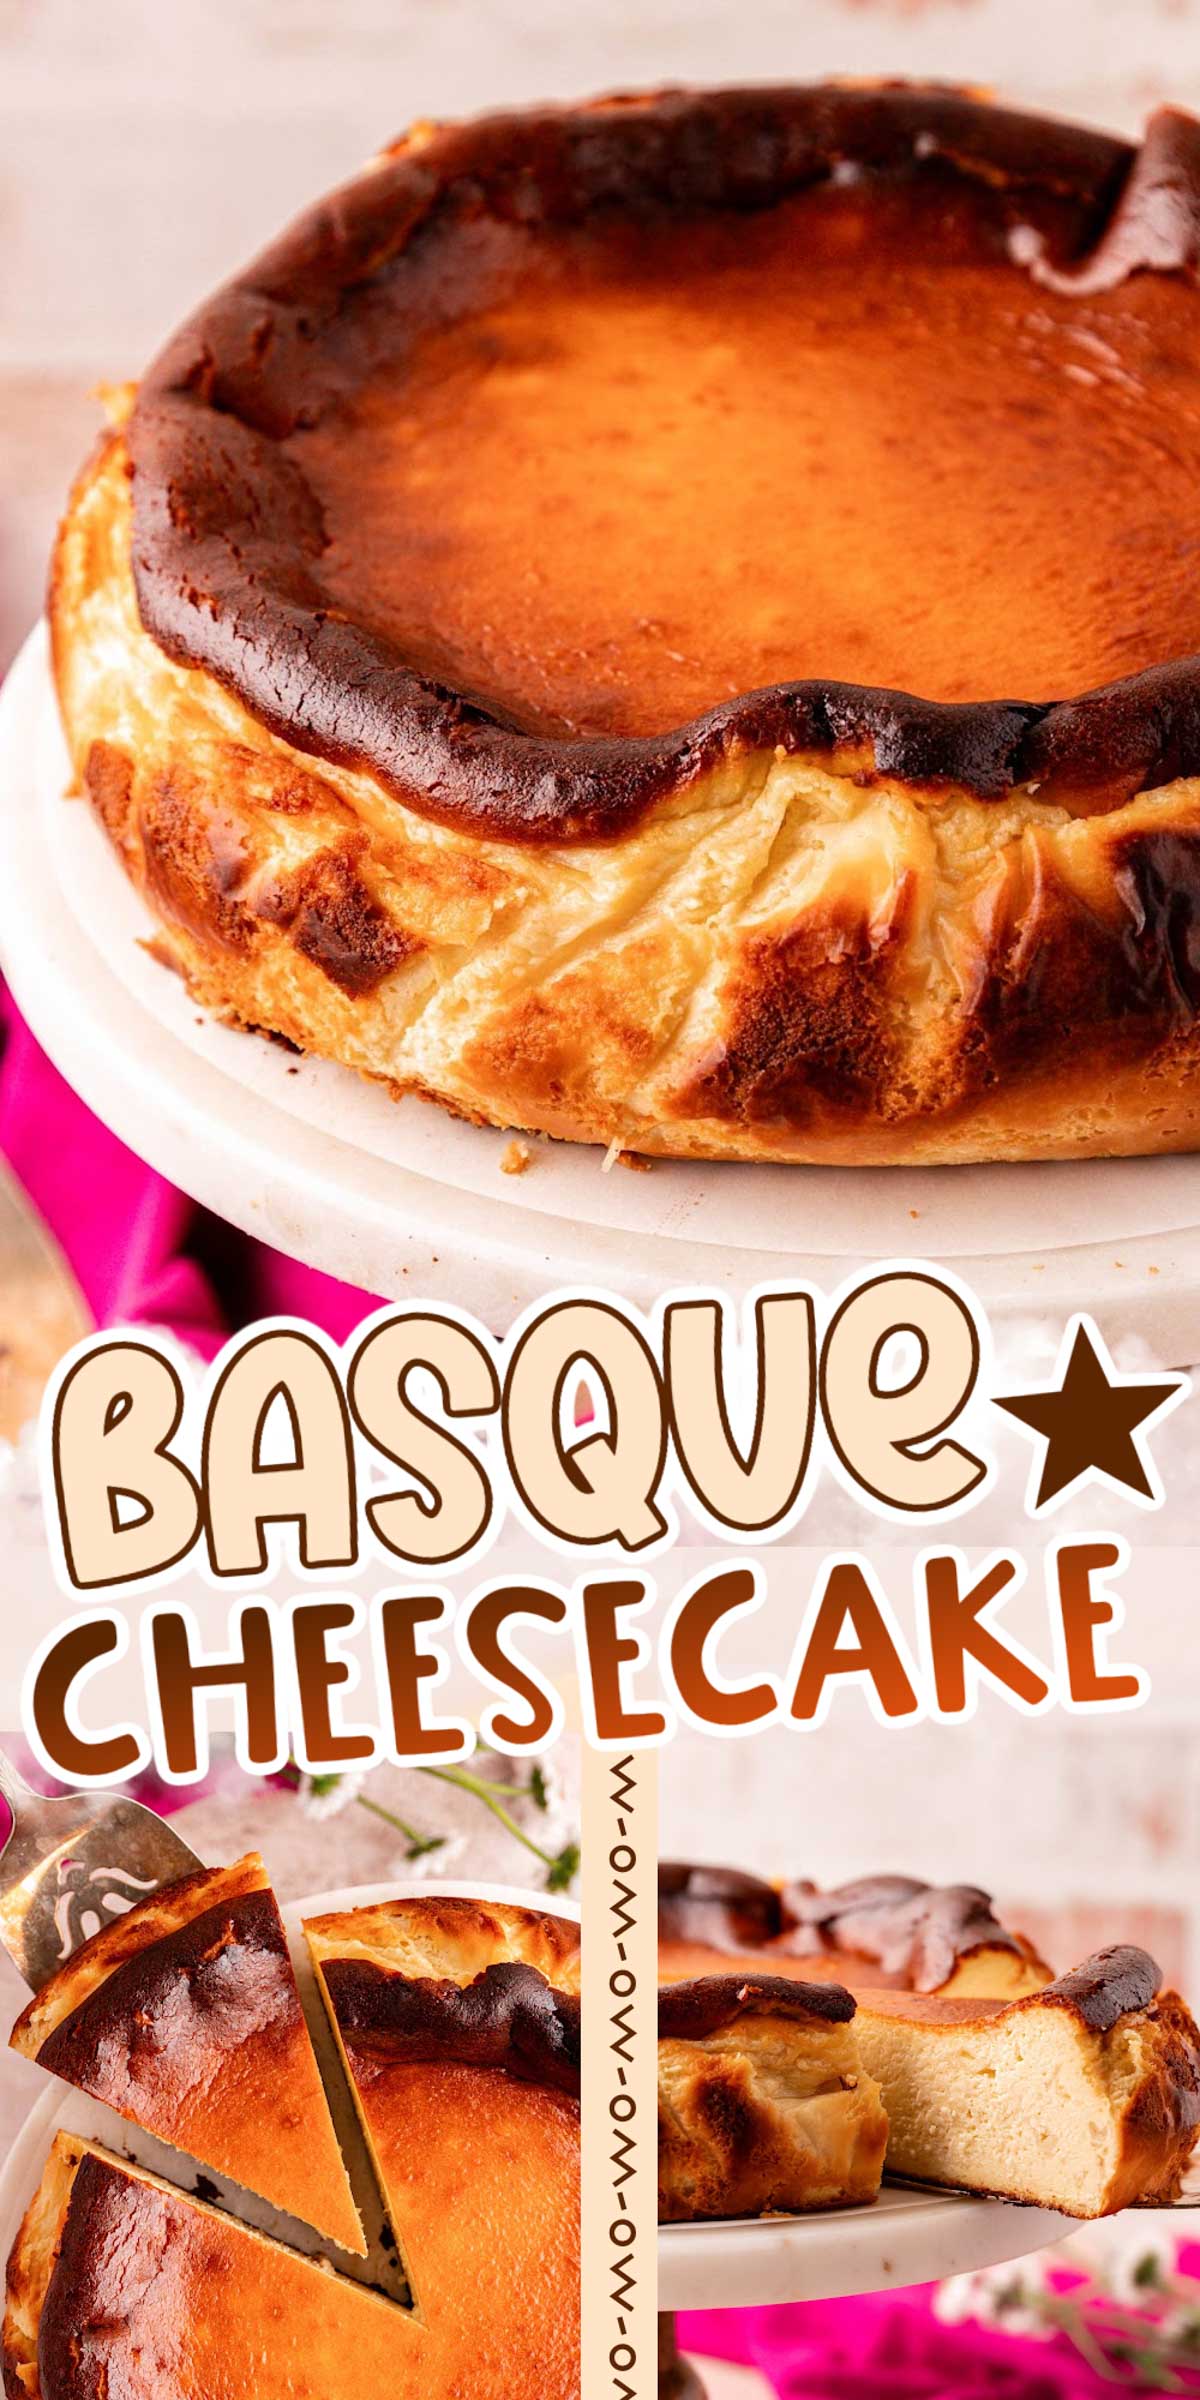
Basque Cheesecake is an easy-to-make, incredibly silky, and indulgent dessert that comes out of the oven perfectly caramelized every time! You’re going to love this extremely forgiving recipe that’s meant to have an imperfect, rustic look, making it the perfect party dessert that impresses!
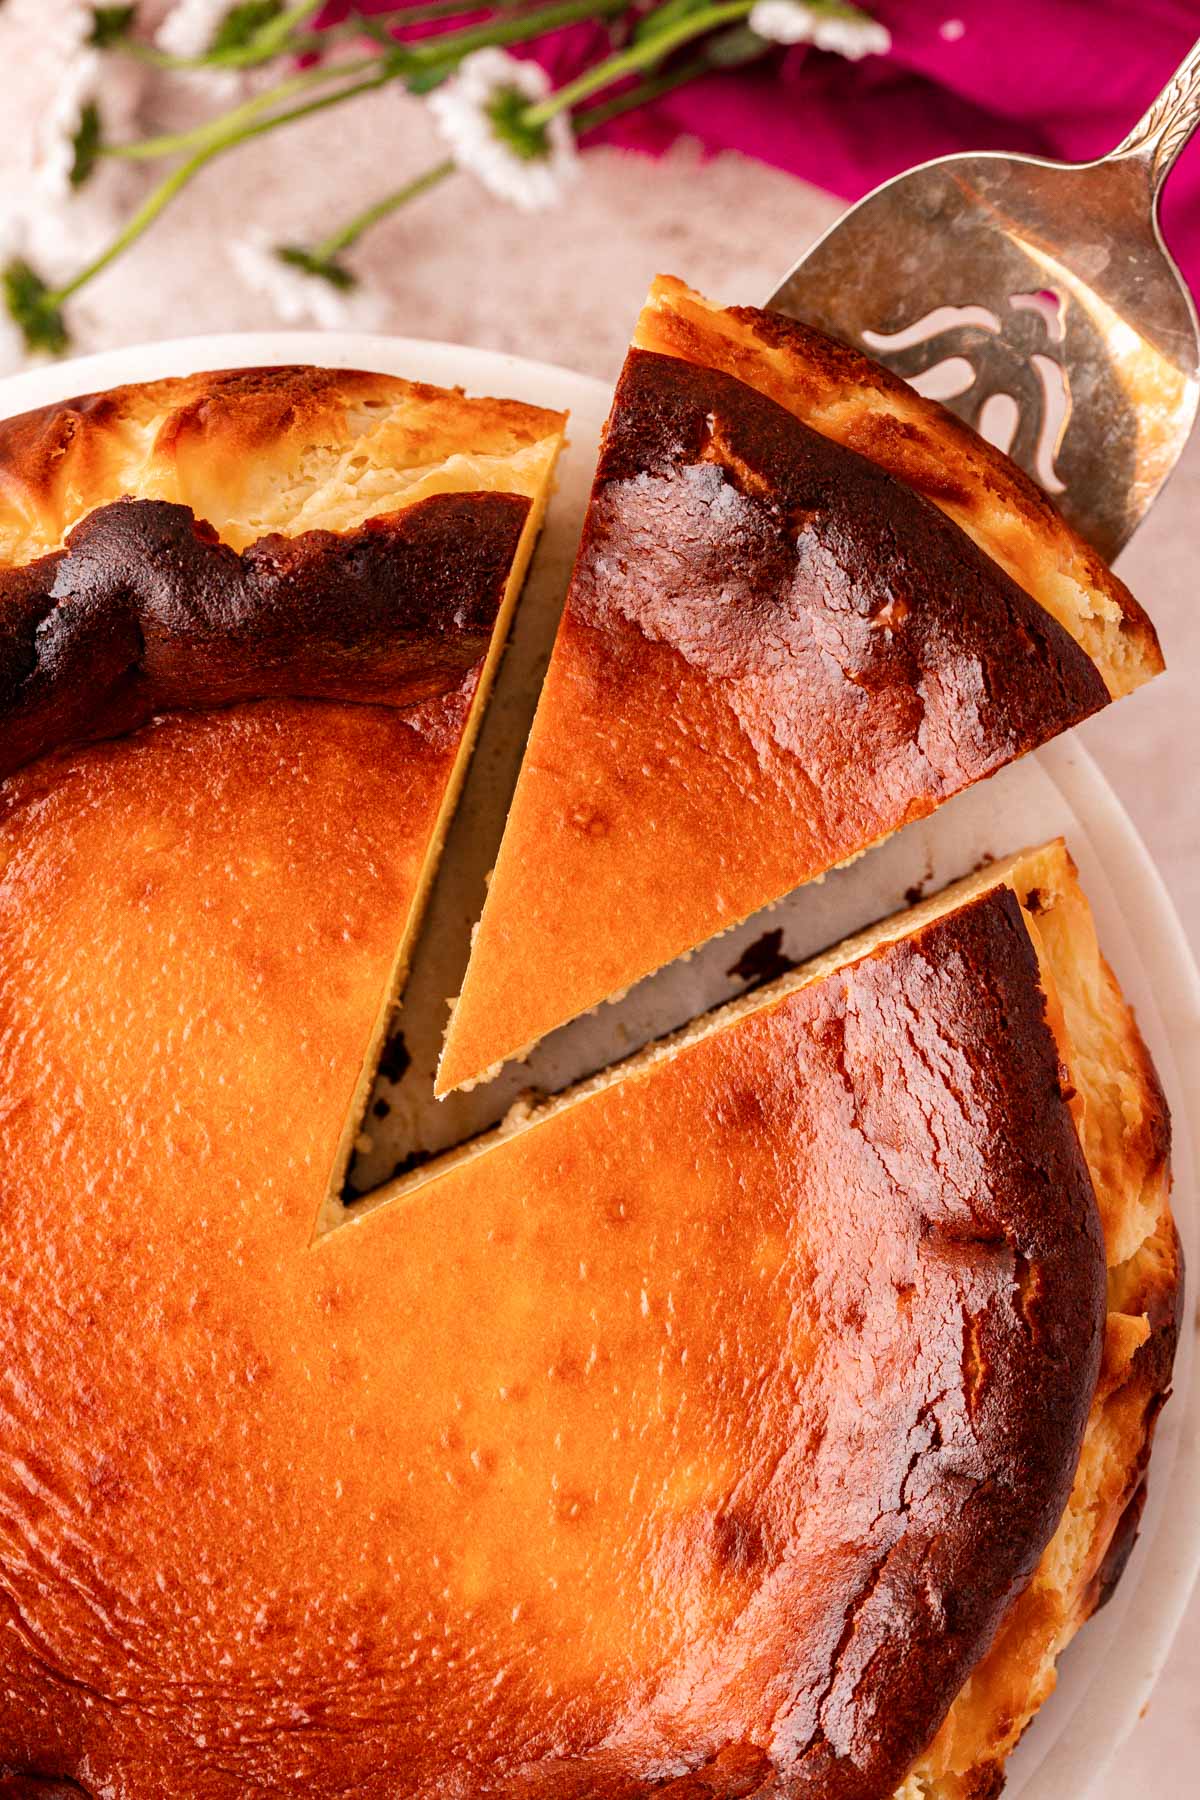
This Basque Burnt Cheesecake is a simple and rustic (yet elegant) dessert that will instantly be a crowd-pleaser for both its appearance and taste! It skips out on the normal tangy cheesecake flavor while being filled with a lovely balance of sweetness that’s finished off with a “burnt top” that tastes similar to a heavily toasted marshmallow!
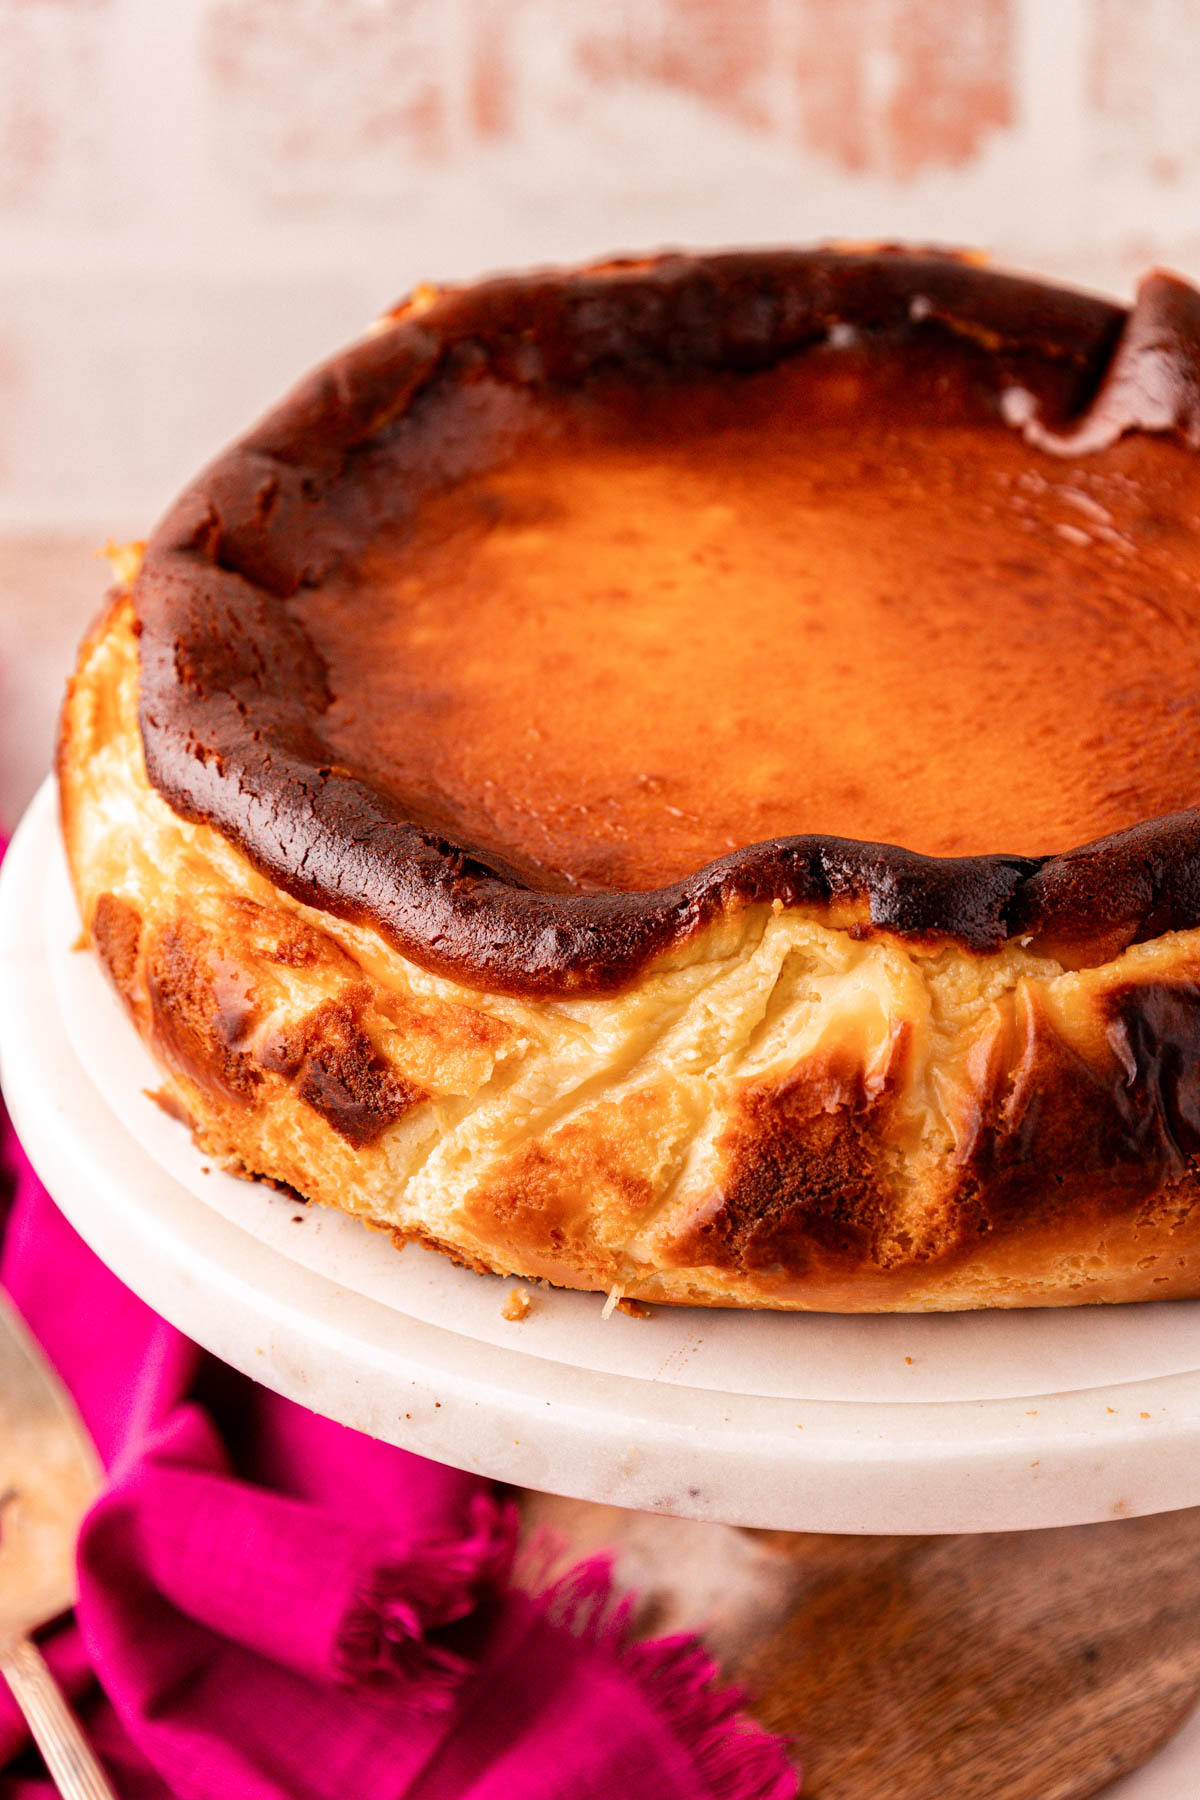
If the burnt top gives you some doubt just keep in mind that it’s definitely more of a sophisticated burnt sugar taste than that of something charred. Though the burnt aroma may be strong when it comes out of the oven once it’s chilled the smoky scent really mellows out and becomes one with the sweet cheesecake.
What Is Basque Cheesecake?
It’s a dessert that’s claimed to have originated in 1990 at the La Vina restaurant in San Sebastian, Spain. This Spanish Cheesecake is made without a crust, cooked at a high temperature, and comes out of the oven with a burnt top.
I personally love that this cheesecake skips the traditional crust and water bath. It makes the prep so much easier, and it bakes faster too! But yet I’m still left with the ultimate make-ahead dessert that will be an instant go-to for busy holidays and family gatherings!
Rebecca’s Recipe Review
Taste: Creamy vanilla flavor with a hint of burnt sugar.
Texture: Firm yet silky with a thicker burnt topping.
Ease: 5/10
Pros: Super simple to prepare and very forgiving.
Cons: It will brown up fast, so keep a close eye on it!
Would I Make This Again? Yes!
Ingredients For Basque Cheesecake
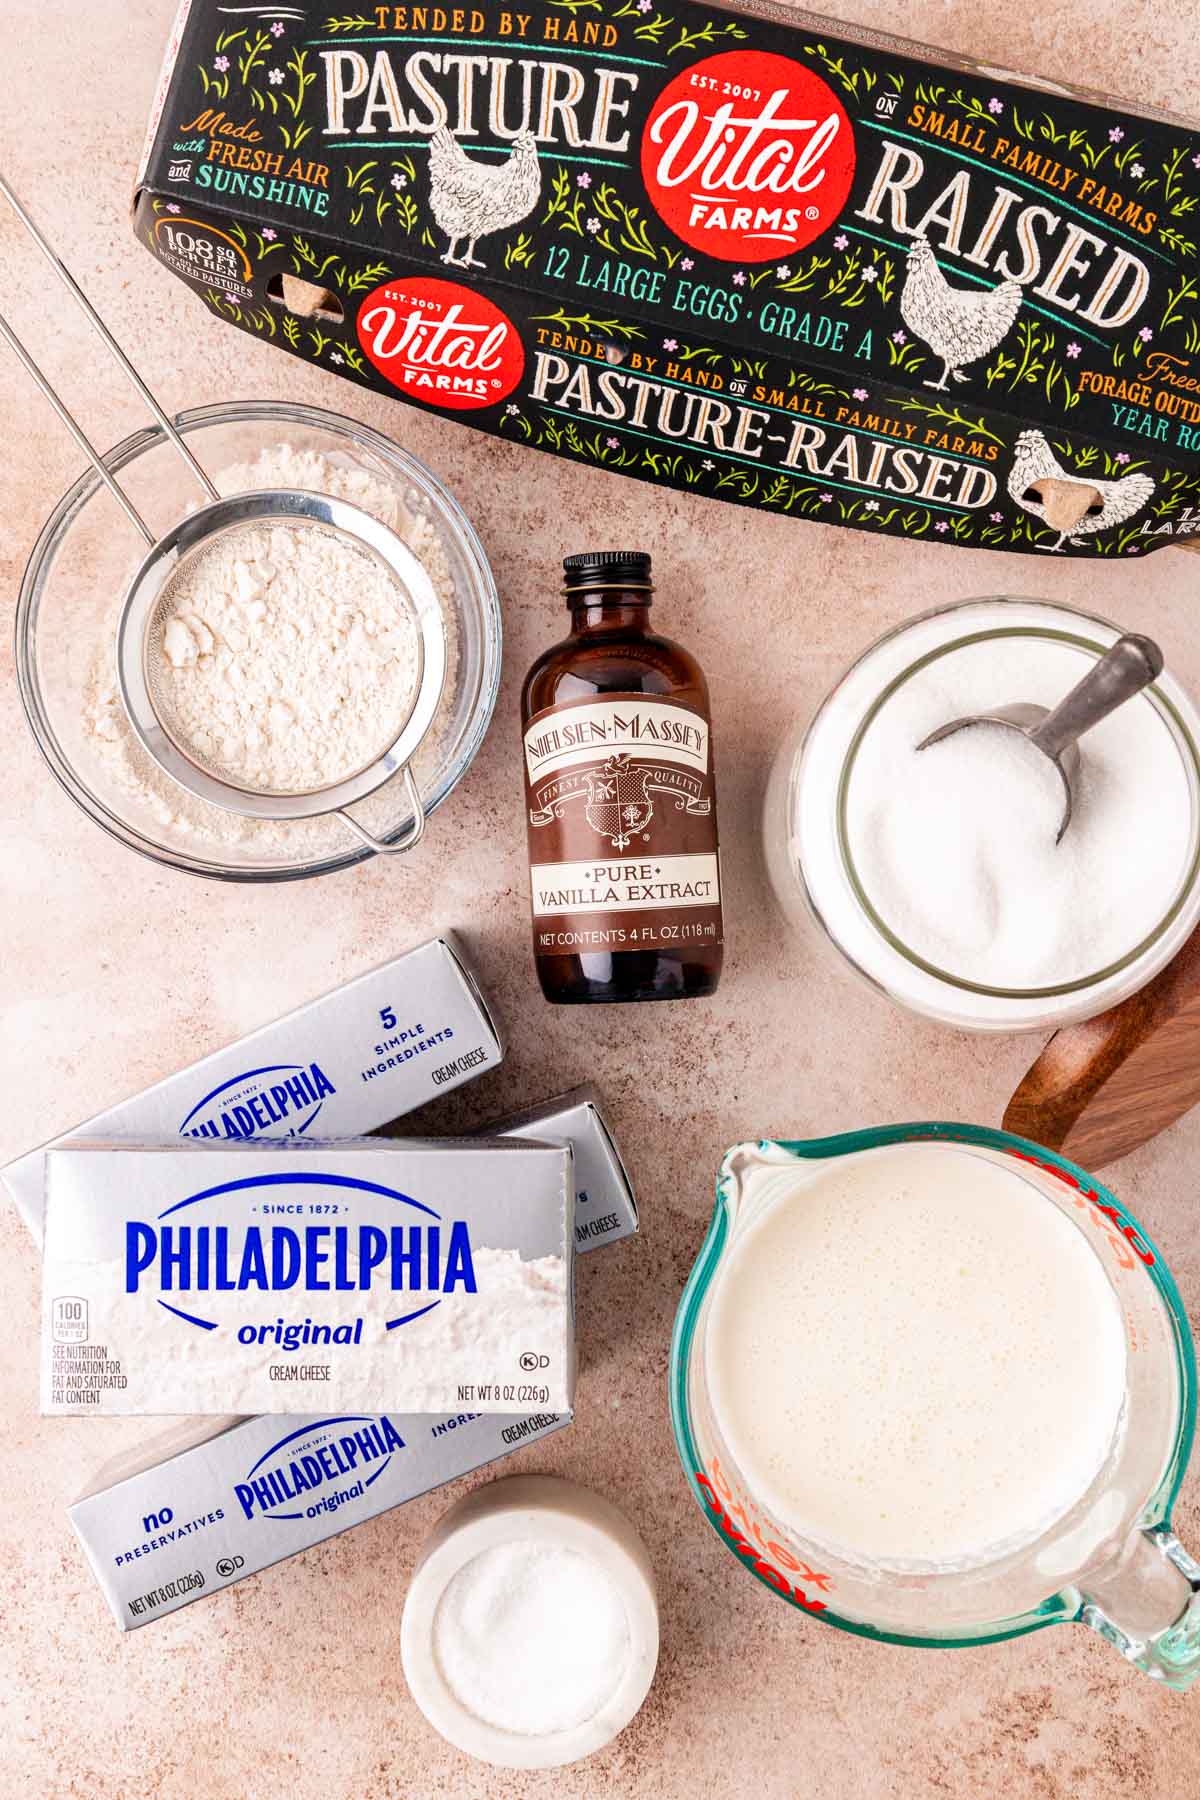
This simple Basque Cheesecake Recipe has minimal ingredients that may shock you after you taste how amazingly delicious it is! To start, the star ingredient of this cheesecake is the cream cheese. Therefore, for the best taste and texture, you’ll want to choose a high-quality brand that carries full-fat cream cheese.
The recipe then calls for (a lot!) of eggs! Again, try to choose them from a high-quality brand to achieve the best flavor in this cheesecake. To sweeten this dessert up and give it flavor you’ll then need granulated sugar and pure vanilla extract.
Next up is full fat heavy cream to help us accomplish the perfect creamy cheesecake texture. I actually prefer farm-fresh double cream if you can get your hands on it. Yes, it’s a little more expensive, but the results are worth it!
Lastly, to round off the list of ingredients you’ll also need salt and all-purpose flour.
How To Make Basque Burnt Cheesecake
- Preheat the oven and then prepare a springform pan with a crisscrossed double layer of parchment paper. You want the parchment paper to stick up above the top of the pan.
- Whip the cream cheese in a large bowl of a stand mixer that’s fitted with a whisk attachment.
- Add granulated sugar to the whipped cream cheese and then whip again on medium speed until the mixture becomes smooth. Scrape the sides of the bowl down as necessary.
- Mix in the eggs one at a time, ensuring only a little yellow remains from the previous egg before incorporating the next egg.
- Pour in the heavy cream and pure vanilla extract and then add in the salt. Mix again until the ingredients are fully incorporated.
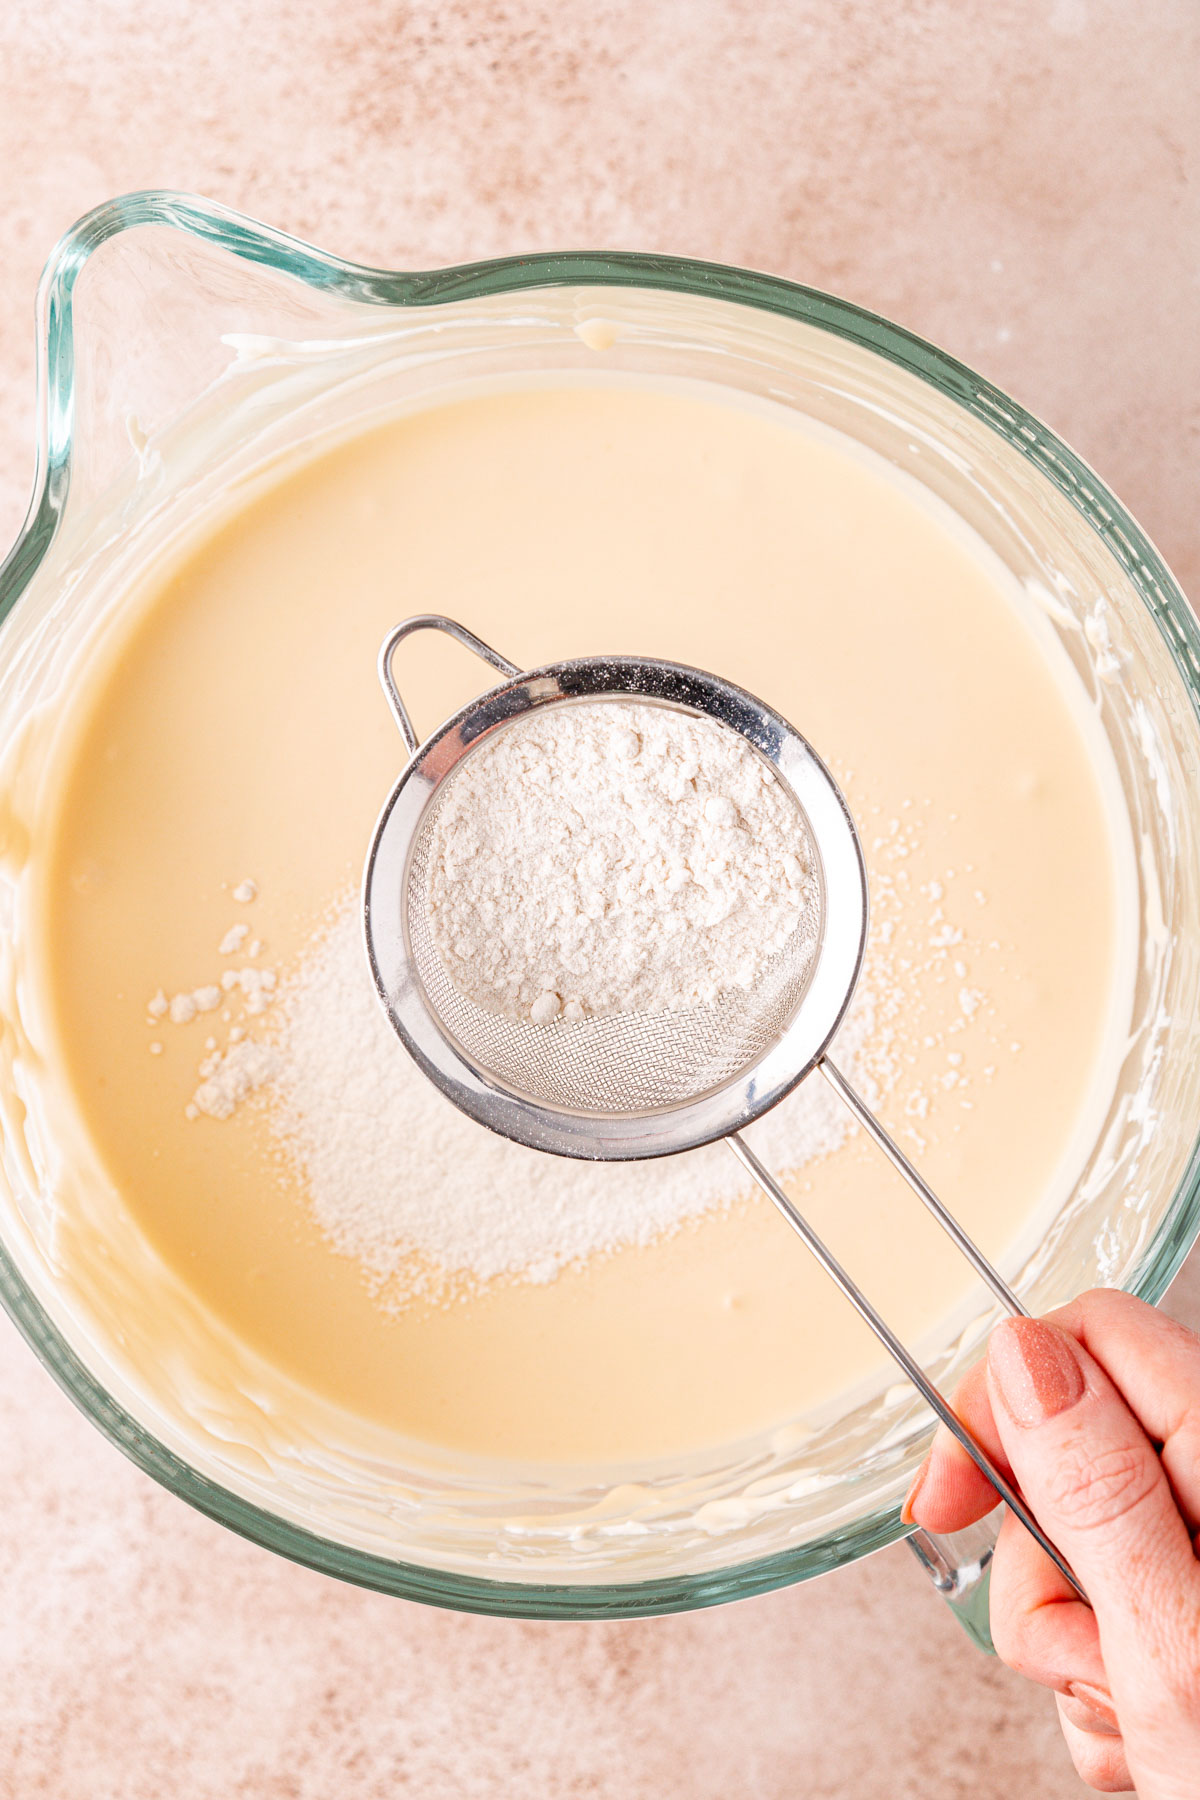
- Sift the all-purpose flour into the cheesecake batter and then fold it in with a rubber spatula.
- Pour the cheesecake batter into the prepared springform pan.
- Transfer the cheesecake onto a rimming baking sheet on the middle oven rack and bake.
- Remove the Basque Cheesecake from the oven once its top becomes a nice golden brown yet still has a pretty jiggly center.
- Place the pan of cheesecake onto a wire rack to cool until it reaches room temperature.
- Chill the Burnt Cheesecake in the fridge for at least 8 hours or preferably overnight.
- Serve the cheesecake plain or with delicious toppings!
- Use farm-fresh double cream heavy cream for best results.
- When lining the springform, wet the parchment paper with water and then scrunch it up and allow it to dry. This will make the parchment paper easier to work with, giving you a better lined pan.
- Be sure to scrape the sides of the bowl down and then mix the batter again afterward to eliminate any lumps in the cheesecake. We want a creamy, smooth batter that’s lump-free!
- Pay close attention to the mixing speeds and time when making this recipe as it’s important not to overwhip the eggs or cream. Doing so will result in air bubbles or a more souffle-like cheesecake texture. Therefore, slow and minimal mixing is the way to go to achieve that silky, creamy cheesecake texture our mouth waters for!
- For a flavor variation, you can reduce the vanilla extract to 1 teaspoon and then add in 1 to 2 teaspoons of another flavor extract. Try peppermint for the holidays!
- For a sweeter cheesecake, you can increase the granulated sugar to 2 cups, or for less sweetness, you can reduce the sugar to 1 1/4 cups.
- The center of the cheesecake will be very jiggly when done. Don’t overbake to avoid an actual burnt taste.
How To Serve Basque Cheesecake
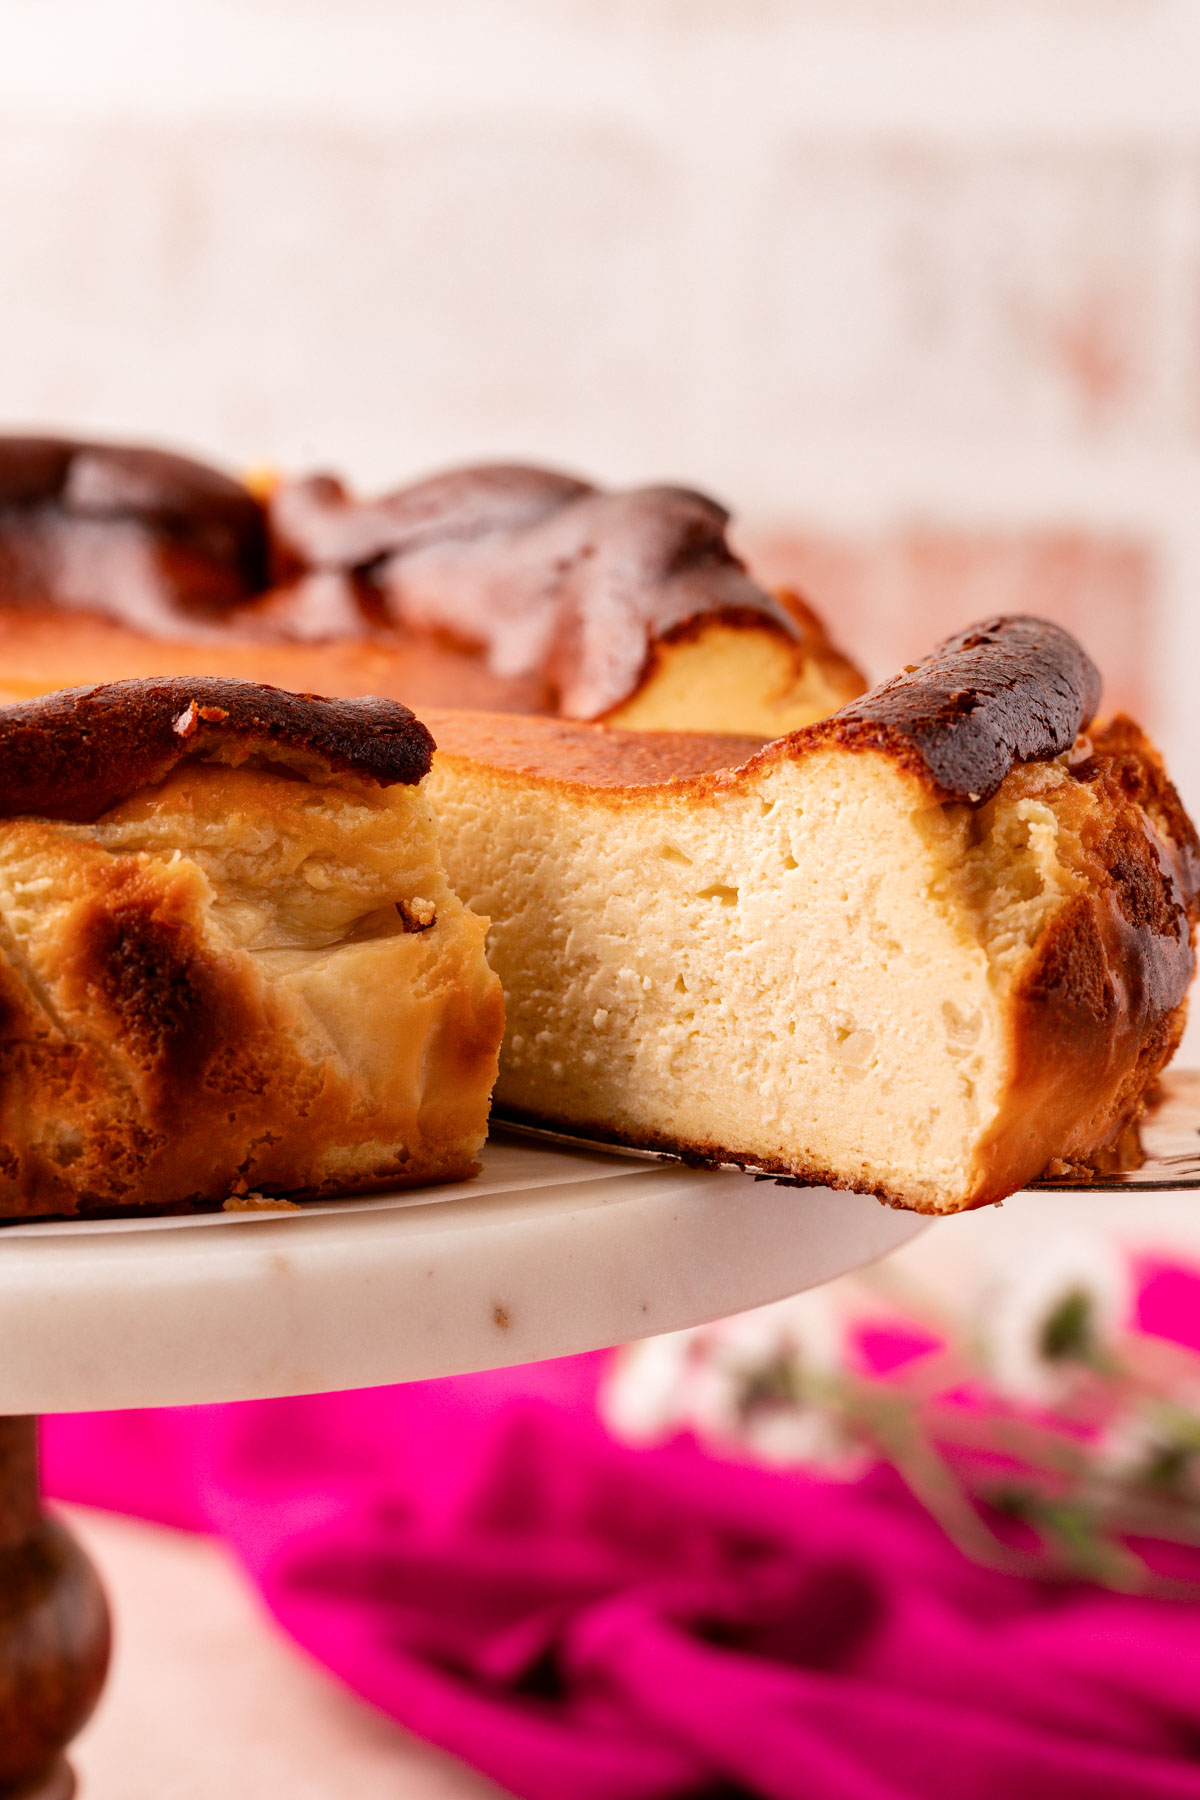
Once this cheesecake has chilled in the refrigerator for at least 8 hours it’s time to serve! To do so, remove the cheesecake from the pan by lifting it up by the parchment paper edges that are hanging over the sides.
Then for super clean cuts, first heat a large chef knife under hot water and slice into the cheesecake. If necessary, you can wipe the knife off in between cuts and re-heat it.
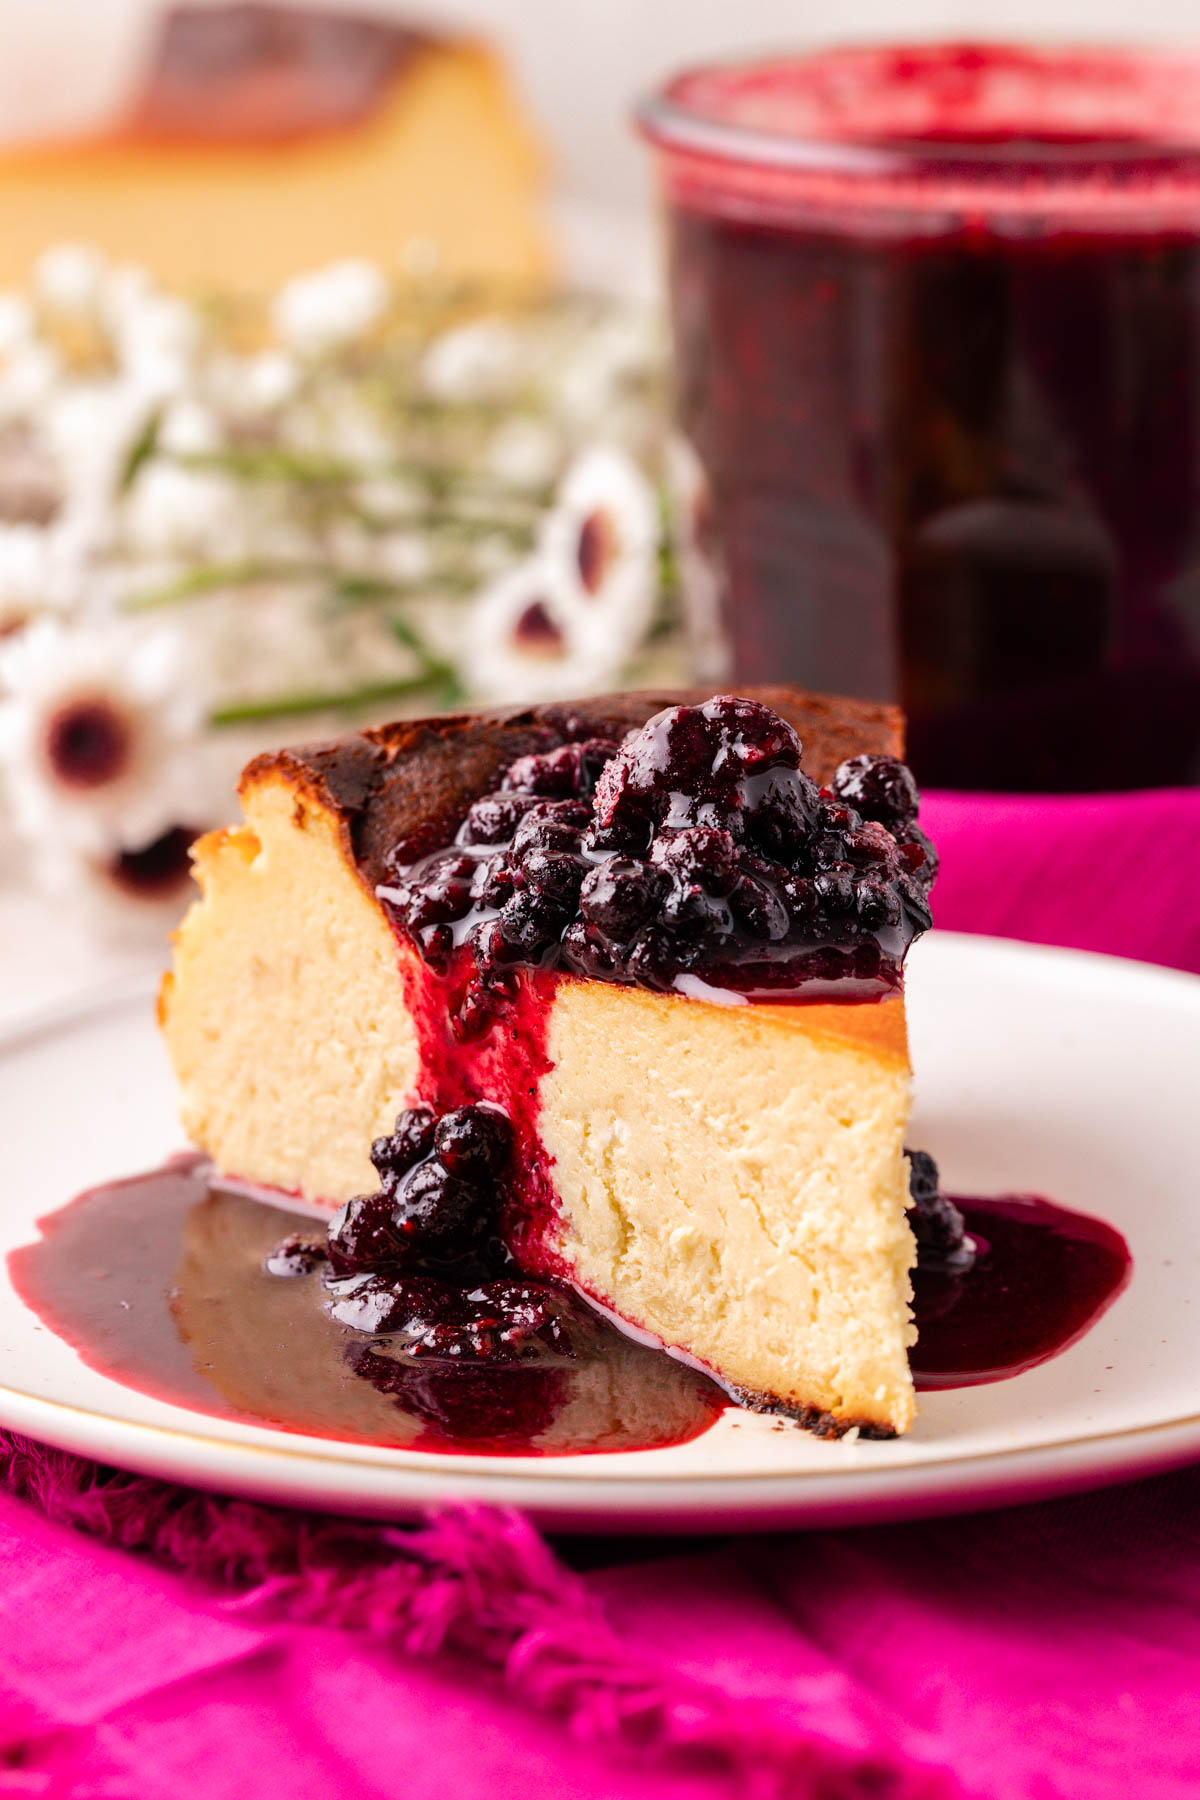
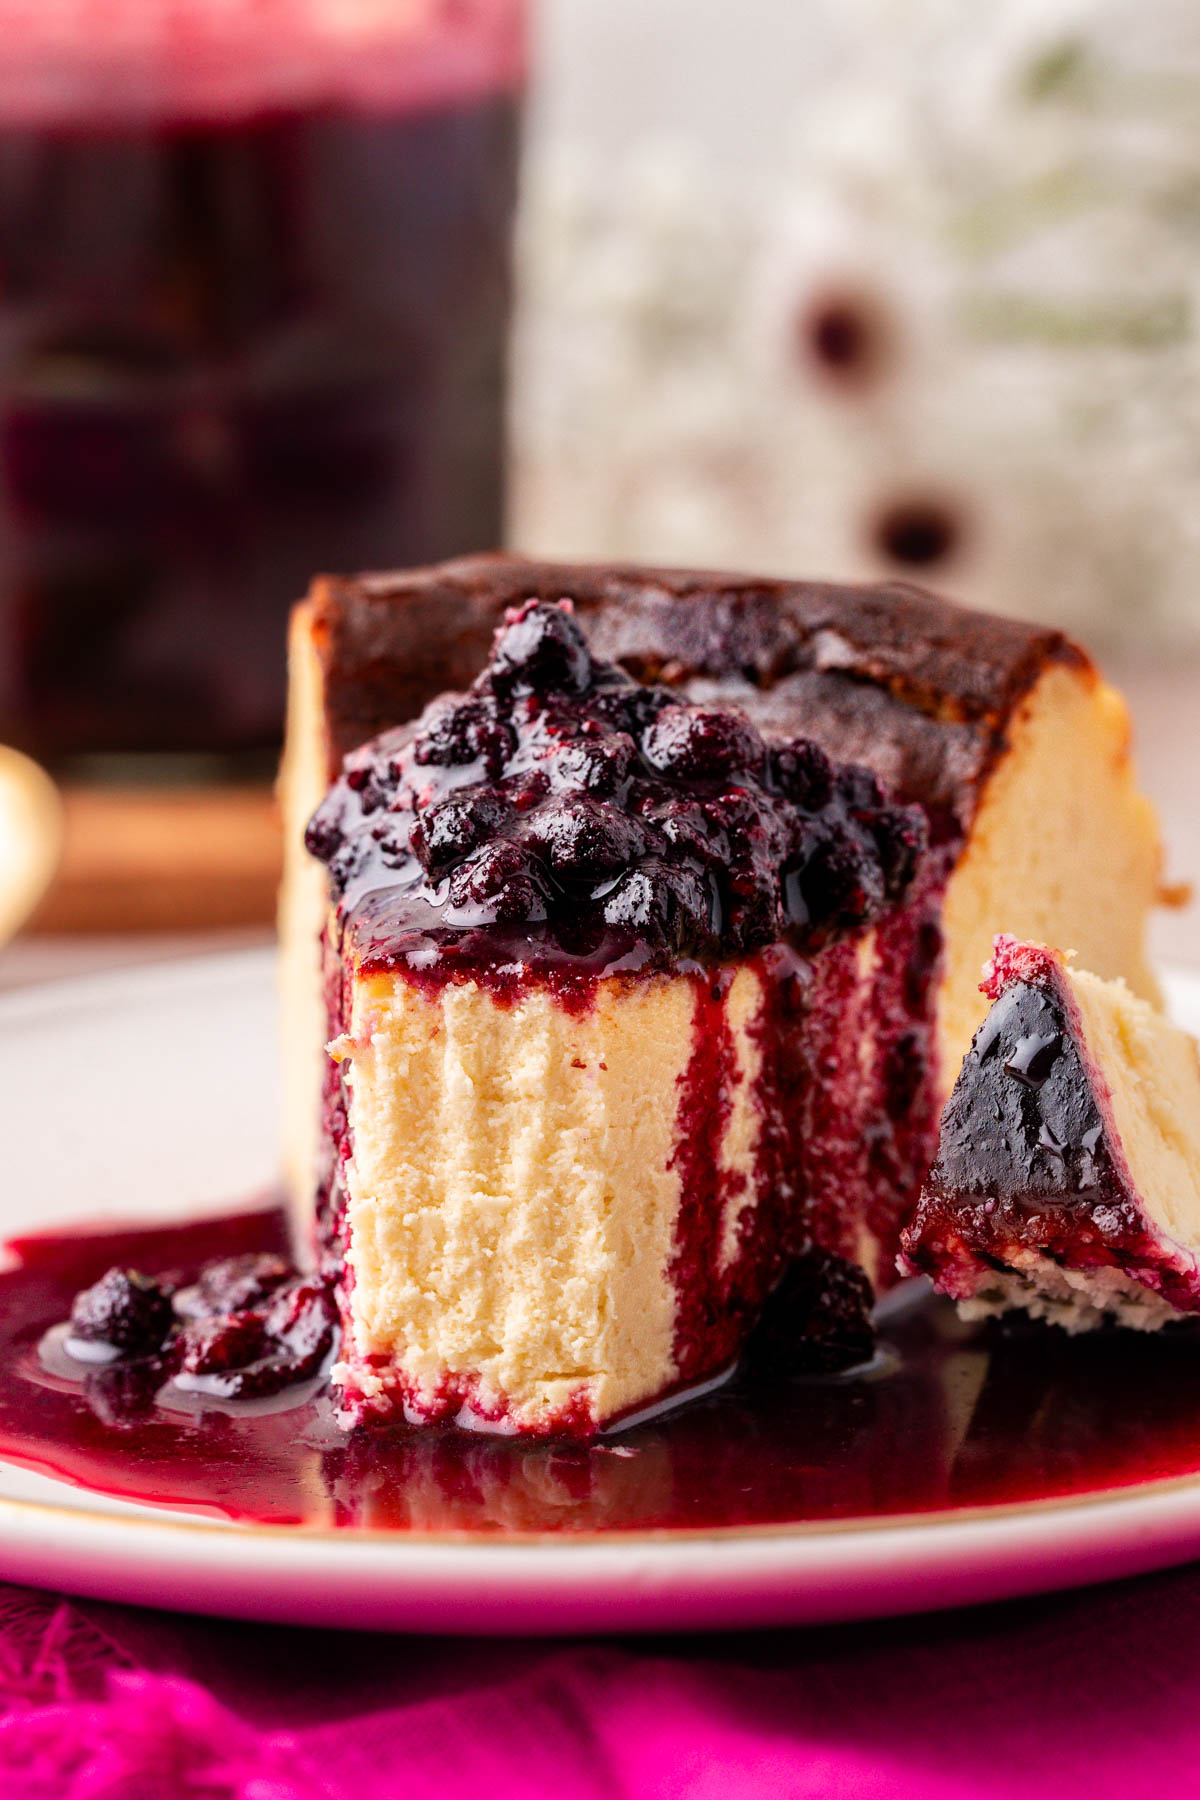
Though this cheesecake is traditionally served plain, feel free to finish it off with tasty toppings! We love it with Berry Compote (pictured), and here are some delicious ideas to try:
- Strawberry Sauce or Strawberry Puree
- Fresh fruit such as strawberries, raspberries, or blackberries
- Homemade Chocolate Syrup or Slow Cooker Dulce de leche Caramel Sauce
- A heaping dollop of Homemade Whipped Cream
Storage Instructions For Basque Cheesecake
Store Basque Cheesecake in an airtight container or on a dish wrapped with plastic wrap. Enjoy leftover cheesecake for up to one week.
How To Freeze Basque Cheesecake
This cheesecake freezes really well, making it a great dessert to make ahead for the holidays or any party! To freeze, first allow it to completely cool in the refrigerator. Then wrap the cheesecake with plastic wrap and again in aluminum foil.
To support the cheesecake, a cardboard cake round that’s used to support layered cakes would work great! Then transfer the cheesecake into the freezer to enjoy within 3 months.
More Cheesecake Recipes To Try!
- Triple Chocolate Cheesecake – Silky-smooth, creamy chocolate cheesecake topped with ganache, and chocolate chips!
- Caramel Pear Cheesecake Bars – A layered treat with homemade pear filling and topped with an oatmeal crumble!
- Gingerbread Cheesecake with Gingersnap Crust – Spiced creamy filling, gingersnap crust, and ginger whipped cream!
- No-Bake Peanut Butter Cheesecake – Filled with crunchy peanut butter flavor that take just 20 minutes to prep!
- Coffee Cheesecake – A rich, indulgent cheesecake that’s the perfect dessert for coffee-lovers!
Did You Make This Recipe?
If you’ve tried this recipe, please let me know how you liked it in the comments below and leave a review. I love hearing from you!
Don’t forget to tag me – @sugarandsoulco – on Instagram and Pinterest with your photos or join our Sugar & Soul Show-offs Community and share them there.
This recipe was originally published in August 2021 and was updated with new photos and recipe notes in November 2024.

Basque Cheesecake
Ingredients
- 32 ounces cream cheese 908g, room temperature and full-fat only
- 1½ cups granulated sugar 300g
- 5 large eggs room temperature
- 1½ cups heavy cream 360mL, room temperature, see notes
- 1 tablespoon vanilla extract
- 1 teaspoon salt
- ⅓ cup all-purpose flour sifted
Instructions
- Preheat the oven to 425°F and line a 9 or 10-inch springform pan with a criss-crossed double layer of parchment paper. Wetting, scrunching, and drying the parchment paper will make it easier to work with. You want the parchment to stick up about 2 inches above the top of the pan. Set aside.
- In a large bowl or stand mixer fitted with a whisk attachment, whip the 32 ounces cream cheese for 2 minutes.
- Add 1½ cups granulated sugar on medium speed until smooth, about 2 minutes. Scrape down the sides as necessary and make sure no lumps remain.
- Add 5 large eggs one at a time, mixing on low speed. Ensure only a little yellow remains from the previous egg before adding the next.
- With the mixer on low speed, add in 1½ cups heavy cream, 1 tablespoon vanilla extract, and 1 teaspoon salt and mix until fully incorporated.
- Sift the ⅓ cup all-purpose flour into the mixing bowl and mix in the flour for about 20 seconds.
- Pour the cheesecake batter into the prepared pan.
- Place the cheesecake on a rimmed baking sheet on the middle oven rack and bake for 50 to 65 minutes. The cheesecake will puff up when baking and then sink when it cools, this is normal. The cheesecake is done once the top has turned a nice golden brown, and the center is still pretty jiggly. It will continue to brown as it cools, and the center of the cheesecake will set up once chilled.
- Transfer the cheesecake (in the pan) to a wire rack to cool to room temperature.
- Transfer the cheesecake (in the pan) to the refrigerator to chill for at least 8 hours, preferably overnight. Remove the cheesecake from the refrigerator 1 to 2 hours before slicing and serving. Use the parchment edges to lift the cheesecake off of the pan base.
- For super clean cheesecake slices, heat a large chef knife under hot water and slice the cheesecake.
- Serve plain or topped with fruit compote or your favorite cheesecake topping.
Notes
- If you have farm fresh double cream available locally, use that in place of regular heavy cream in this recipe! It’s SO good!
- Do not remove the cheesecake from the pan until it has completely cooled.
- This cheesecake should be served at room temperature but stored in the refrigerator.
- Store in the refrigerator for up to 1 week.
- It’s extremely important that you pay attention to the mixing speeds and time in this recipe. You do not want to overwhip the eggs or cream as it will result in air bubbles or a more souffle-like texture. Slow and minimal mixing will help obtain the silky, creamy cheesecake texture.
- You can freeze this cheesecake for up to 3 months. Simply let it cool completely in the refrigerator, then wrap with plastic wrap and aluminum foil. If you have a cardboard cake round used to support layer cakes, this would also be great for supporting the cheesecake.
- This cheesecake recipe is extremely forgiving and is meant to have an imperfect and rustic look but is still impressive and perfect for a party.
- You can increase the sugar to 2 cups or reduce it to 1 1/4 cup depending on the sweetness level desired.
Nutrition
Did You Make This Recipe?
Don’t forget to share it with me on Instagram @sugarandsoulco and follow on Tiktok @sugarandsoulco and Pinterest @sugarandsoulco for more!


Comments & Reviews
diana says
is the parchment paper put into pan wet and then allowed to dry?
Rebecca Hubbell says
No, you dry the parchment with paper towels.