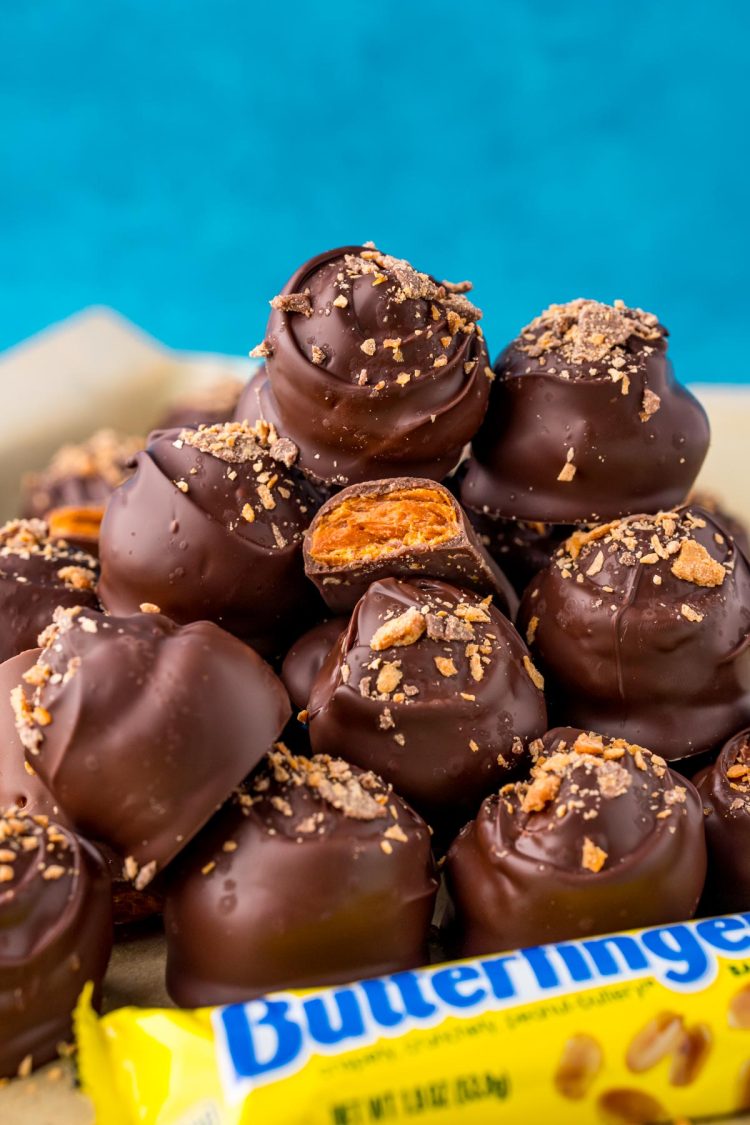
Butterfinger Balls have a 5 ingredient Butterfinger filling that’s dipped in melted chocolate and then sprinkled with Butterfinger Bits! A deliciously sweet treat that preps in only 30 minutes!
This handheld dessert will be a guaranteed hit at any gathering! For more delicious truffle recipes be sure to also try my Mint Cookie Truffles or Cookie Dough Truffles!
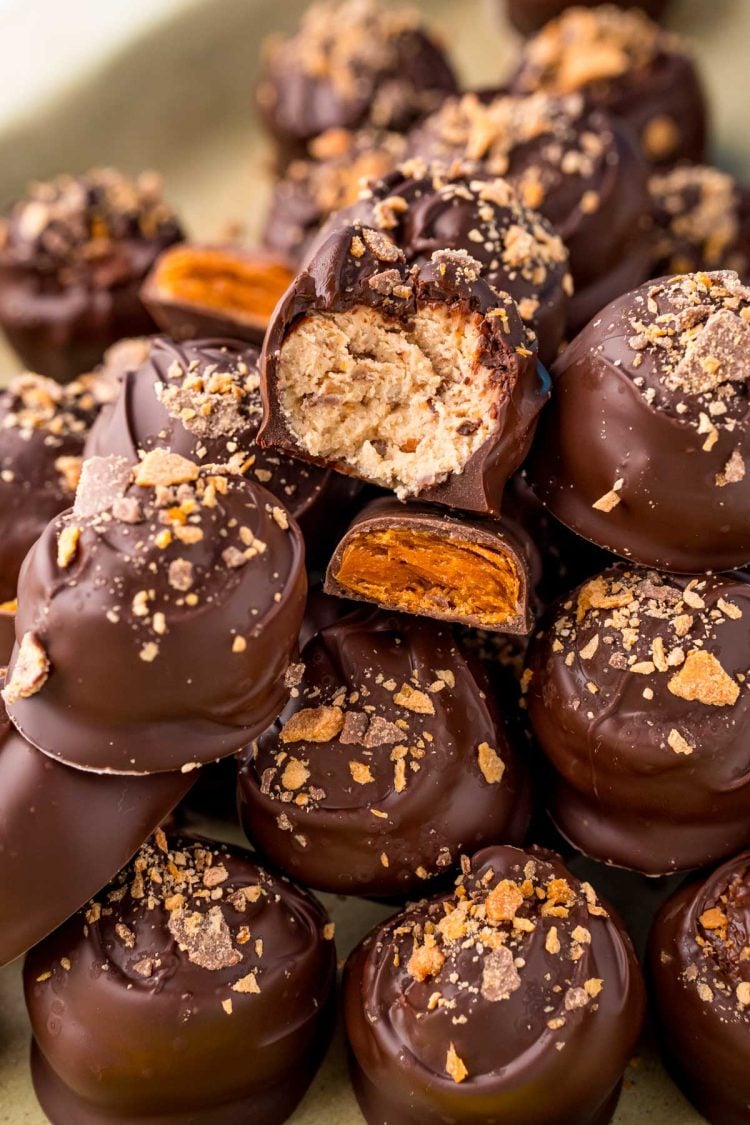
These Butterfinger Balls roll up everything you love about the classic crunchy Nestle candy bar into a tasty truffle! Each dessert bite is filled with an easy-to-make Butterfinger filling that’s then dipped in melted chocolate and topped with crunchy Butterfinger Bits!
I’m a big truffle fan when it comes to any type of gathering or holiday party! From Peanut Butter Buckeye Balls to Easy Oreo Chocolate Truffles, I’ve never found a dessert ball that I didn’t like!
I also really love the buttery crunchy sweet Butterfinger candy bar so I thought… why not roll one up into a truffle as well! Two of my favorite treats combined into one easy-to-eat dessert!
Why I Love This Recipe!
- Grab & Go! Don’t get me wrong, I enjoy biting into a slice of cake or pie any day of the week! However, sometimes I like to skip out on the mess of serving them. And these grab and go truffles allow me to do just that!
- Easy To Make! Simply mix up the filling, dip it in melted chocolate, and sprinkle on Butterfinger Bits! So easy anyone can truly make and enjoy them!
- Minimal Ingredients! These truffles taste like they have an extensive ingredients list when they’re actually just made with only 6!
- Plenty To Go Around! This recipe makes up just under three dozen truffles! Plenty enough to go around more than once at any type of party!
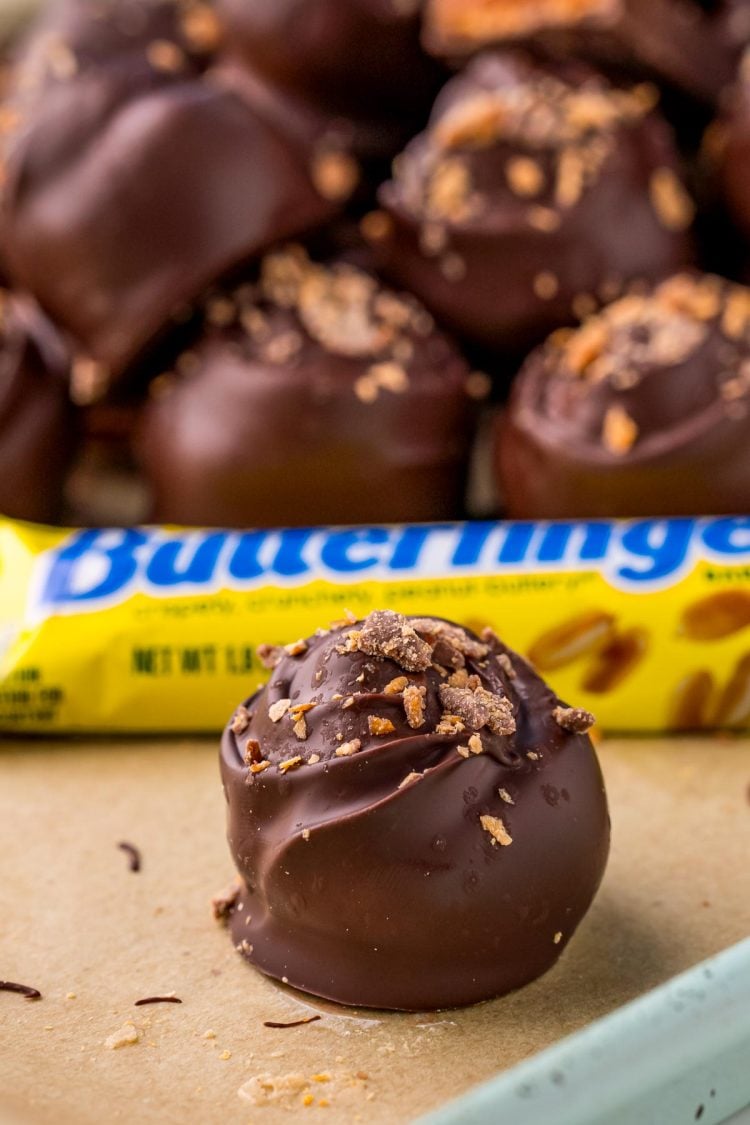
Ingredient Notes
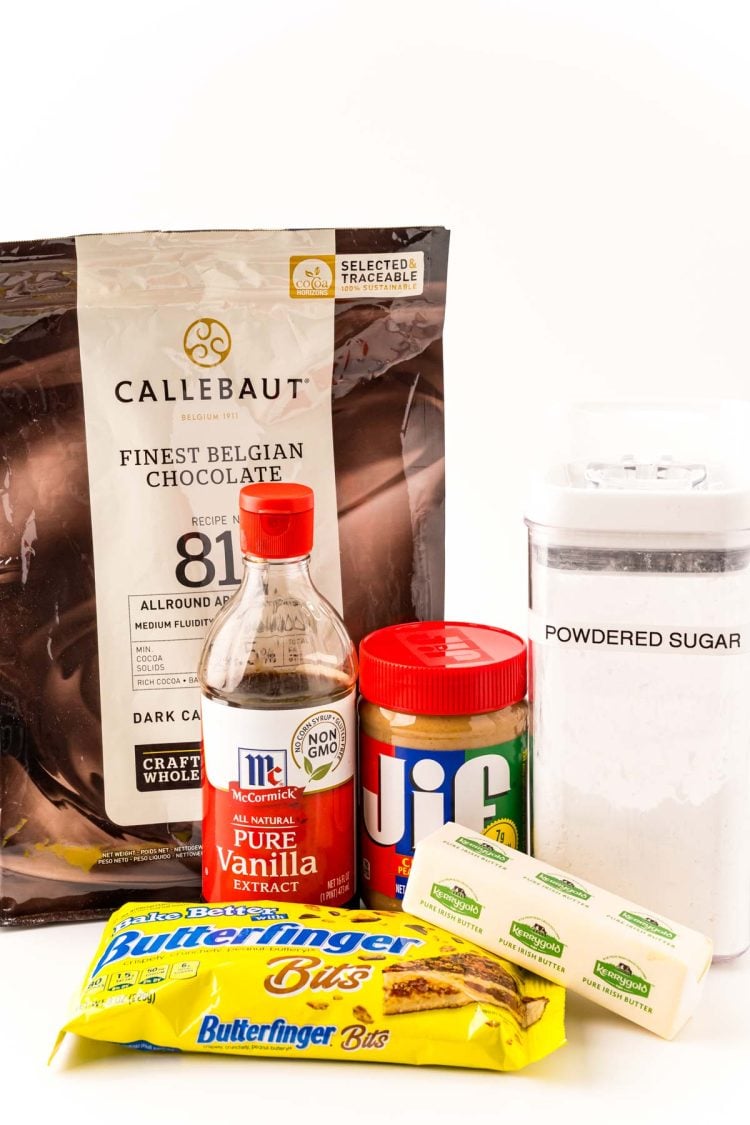
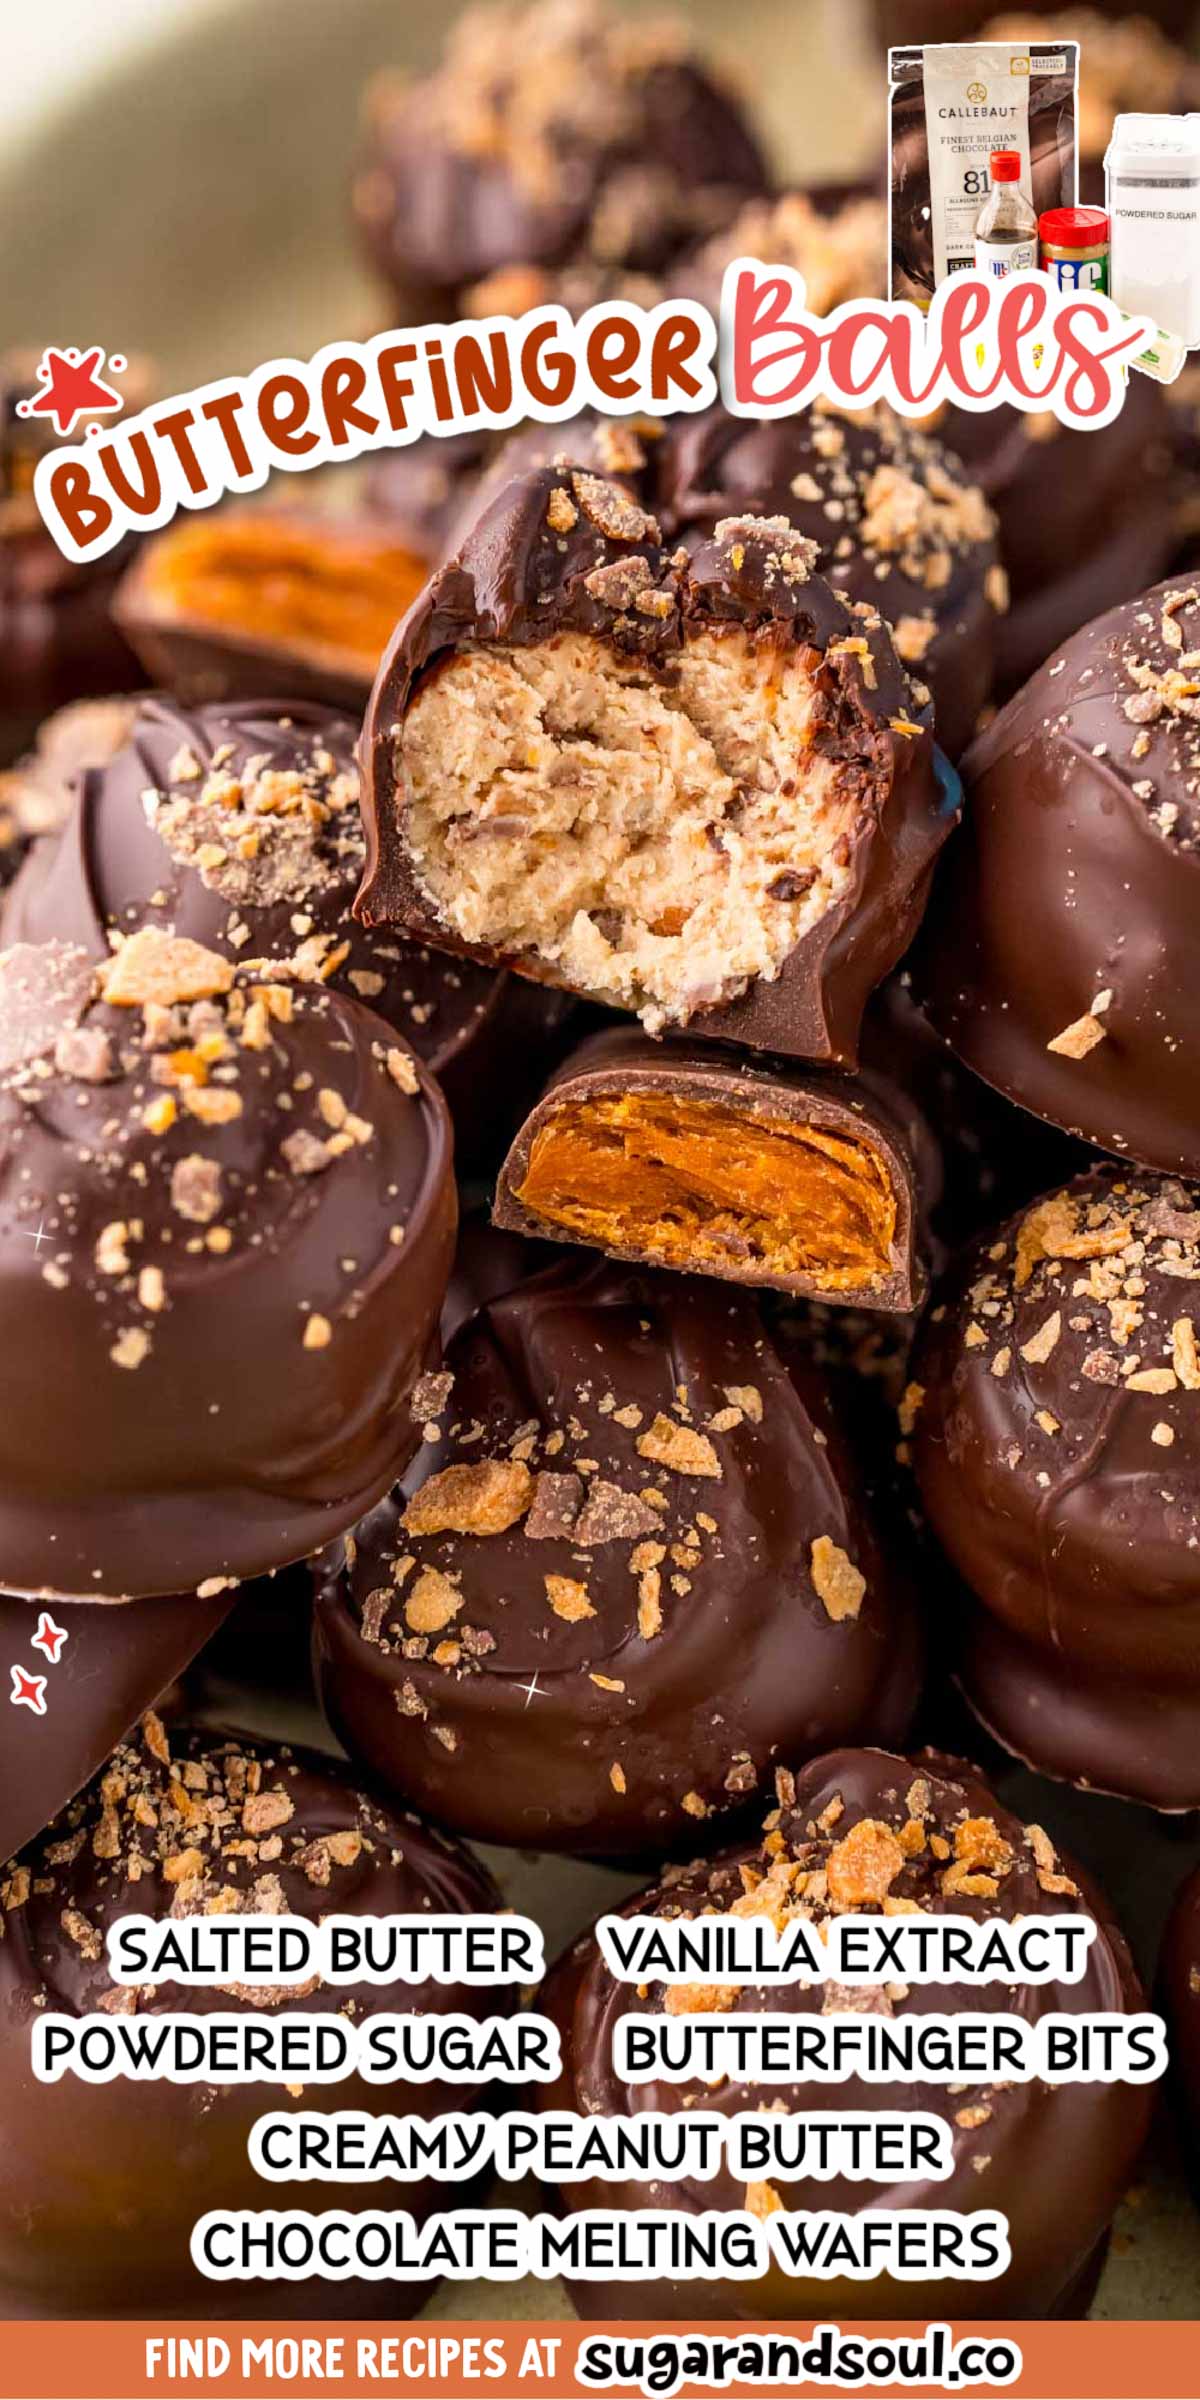
This Butterfinger Balls Recipe starts out with a filling that’s made by first mixing peanut butter, salted butter, powdered sugar, and vanilla extract together. Once that’s thoroughly combined the star of this recipe makes its appearance, Butterfinger Bits!
If you’ve never picked up a bag of Butterfinger Bits they can easily be found right at Walmart! If you don’t have luck getting your hands on a bag you could also crush up Butterfinger Candy Bars into bits.
Once the Butterfinger filling has been rolled into balls and chilled they’ll get their chocolate coating. This is made by simply melting chocolate melting wafers or Callebaut chocolate.
As soon as the truffles have been dipped each one gets sprinkled with Butterfinger bits to finish them off!
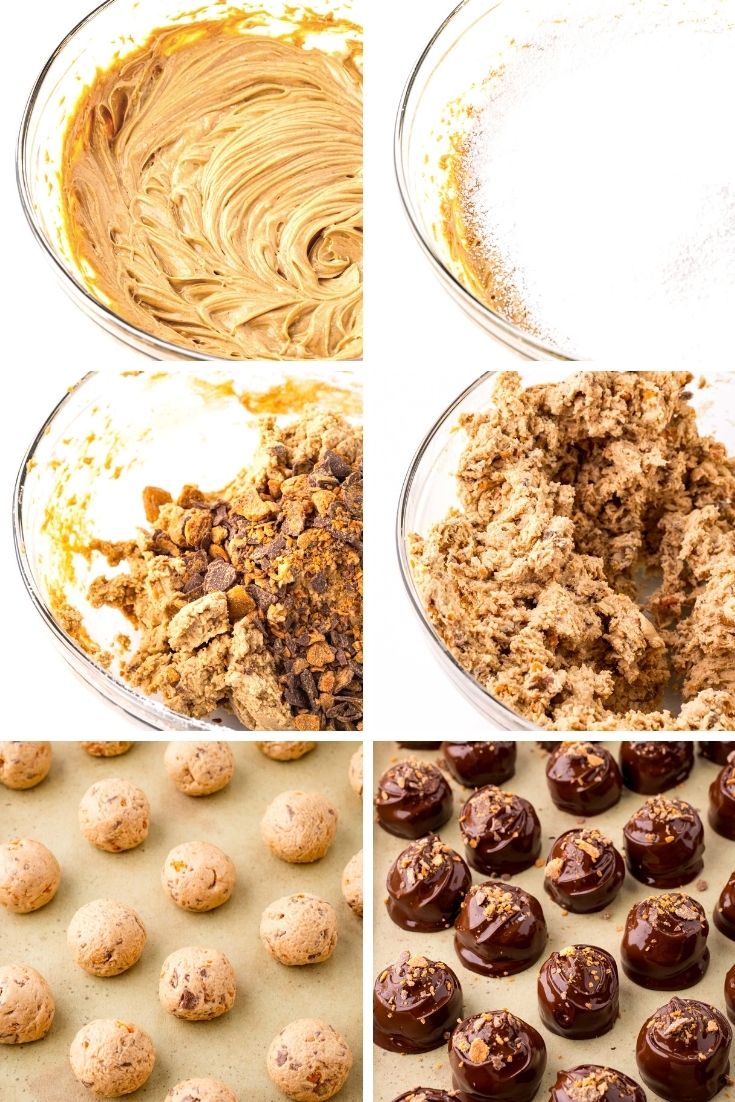
How To Make Butterfinger Balls
Cream the peanut butter, salted butter, and vanilla extract together in a large bowl.
Sift the powdered sugar into the bowl. Then beat the mixture until smooth.
Stir in the Butterfinger bits. Next, place the mixture into the refrigerator to chill.
Scoop out the filling mixture and roll it into balls. Afterward, place them on a parchment paper-lined baking sheet and transfer them to the freezer to chill.
Melt the chocolate melting wafers before removing the balls from the freezer.
Dip each Butterfinger ball into the melted chocolate and then place them back on the parchment paper.
Sprinkle the tops with Butterfinger Bits and then allow the chocolate to harden.
Frequently Asked Questions
How Do I Store These Butterfinger Truffles?
Place them in an airtight container and store them in the refrigerator. Enjoy the truffles for up to 7 days!
Do These Freeze Well?
Yes, they do! To do so, first place them on a baking sheet in a single layer and then freeze them. Then transfer them into a Ziploc freezer bag and squeeze out the excess air. Store the truffles for up to 3 months in the freezer!
Can I Use All-Natural Peanut Butter In This Recipe?
I’ve only ever tested this recipe with Jif creamy peanut butter so I’m not sure. You can certainly try though!
How Come I Have So Much Excess Chocolate Leftover?
The chocolate has to be deep enough at all times to be able to fully dip and cover the balls. Therefore you will need excess melted chocolate for depth and coverage.
How Long Can I Keep The Butterfinger Balls In The Freezer Before Dipping Them In Chocolate?
I don’t recommend freezing them for more than 30 minutes prior to dipping. If after 30 minutes you’re not ready to dip then you can transfer them from the freezer into the refrigerator.
Why Won’t The Chocolate Stick To The Balls?
It’s important that the Butterfinger balls don’t sit out too long before dipping since they’ll begin to sweat. Once they sweat the chocolate has a harder time sticking and coating the balls.
Can I Use Chocolate Chips Instead Of Melting Wafers?
Of course! Simply add 1/2 teaspoon of coconut oil to every cup of chocolate chips used. This will ensure that the melted chocolate is nice and smooth, perfect for dipping!
These hand-held Butterfinger Balls will be one of the most well-loved treats at any party or holiday gathering! Here are more decadent truffle recipes that are just as delicious as this one!
- Easy Oreo Chocolate Truffles – Prep this decadent treat in just 20 minutes!
- Muddy Buddy Balls – Everything we all love about classic Puppy Chow rolled into a ball and dipped in chocolate!
- Easy Peppermint Oreo Balls – This easy-to-make recipe makes up two dozen minty dessert bites!
- Homemade Cookie Butter Balls – A sweet treat that’s made with 4 ingredients in only 30 minutes!
- Peanut Butter Balls – Slightly crunchy peanut butter filling coated in melted chocolate then sprinkled with graham cracker crumbs!
Let’s Connect!
If you’ve tried this recipe, please let me know how you liked it in the comments below and leave a review. I love hearing from you!
Don’t forget to tag me – @sugarandsoulco – on Instagram and Pinterest with your photos or join our Sugar & Soul Show-offs Community and share them there, where you can join our recipe challenges!


Butterfinger Balls
Ingredients
- 1⅓ cup creamy peanut butter
- ½ cup salted butter softened
- 1 teaspoons vanilla extract
- 2 cups powdered sugar
- 1½ cups Butterfinger Bits plus more for topping (optional)
- 3 cups chocolate melting wafers
Instructions
- Add the peanut butter, butter, and vanilla to a large bowl or stand mixer and cream together for 30 seconds.
- Sift the powdered sugar into the bowl and beat until smooth.
- Mix in the butterfinger bits until incorporated.
- Chill the mixture in the refrigerator for 30 minutes.
- Line a cookie sheet with parchment paper and portion the peanut butter mixture out with a medium cookie scoop and roll into balls. Place them on the cookie sheet and chill in the freezer for 20 to 30 minutes.
- Just before removing the balls from the freezer, melt the chocolate melting wafers in a wide glass on 30-second intervals, stirring between each, until fully melted.
- Use a fork or dipping tool to dip them in the melted chocolate then place them back on the parchment paper.
- Sprinkle the tops of the balls with Butterfinger Bits and allow them to set until the chocolate hardens.
Notes
- Store in an airtight container in the refrigerator for up to 7 days or freeze in a freezer bag for up to 3 months.
- Jif creamy peanut butter was used in this recipe and I have never tested it with all-natural peanut butter.
- Chocolate chips may be used in place of the melting wafers. Add ½ teaspoon of coconut oil to every cup of chocolate chips for smoothness.
- There will be excess chocolate remaining since you need to be able to dip these balls almost fully without covering the tops, so you need the chocolate to be deep enough at all times for the balls to sink in.
- Don’t let the balls sit out too long before dipping because they can start to sweat and it will make it hard for the chocolate to stick.
- Do not freeze for more than 30 minutes prior to dipping. Place in the refrigerator if not ready to dip.
Nutrition
Did You Make This Recipe?
Don’t forget to share it with me on Instagram @sugarandsoulco and follow on Tiktok @sugarandsoulco and Pinterest @sugarandsoulco for more!


Comments & Reviews
June says
Best candy I’ve ever had in my 71 years. Thank you for this recipe.
Ginger says
I’ve never made candy before but always wanted to try. This one was my first attempt and it turned out amazing. Thank you.
Sara says
Sorry…didn’t care for these at all. Found them too soft like they needed something more.
Mamykjo Gee says
Chances are if they were too soft you did not add enough powdered sugar to the mix or used a really soft type of peanut butter. If I the natural peanut butter this happens to me. Better luck next time.
Barbara says
I love Butterfingers so this would be right down my alley
Bri Rhodes says
These are the best!!!! My family loves them!!!!