Chocolate Cinnamon Rolls are golden brown yeast rolls filled with a sweet chocolate cinnamon filling and topped with chocolate glaze! Make this breakfast treat using pantry staples in less than two and a half hours!
For a more classic take on the popular breakfast recipe, try my Easy Cinnamon Rolls that aren’t made with yeast or this Cinnamon Roll Casserole!
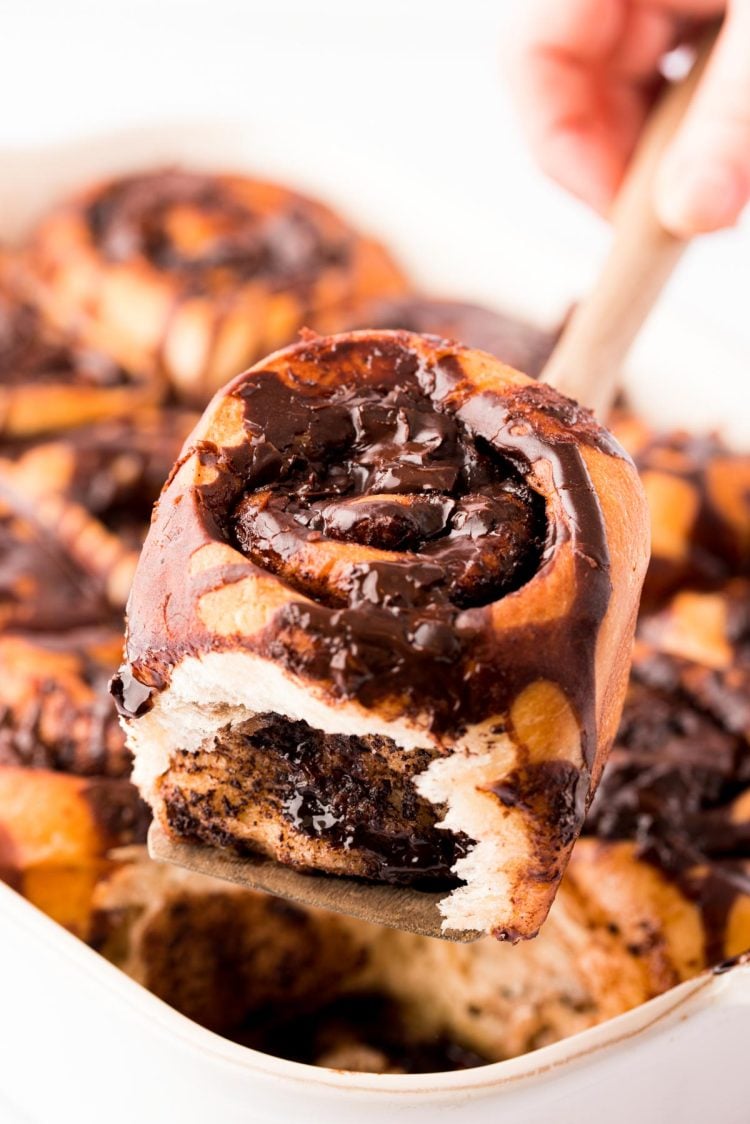
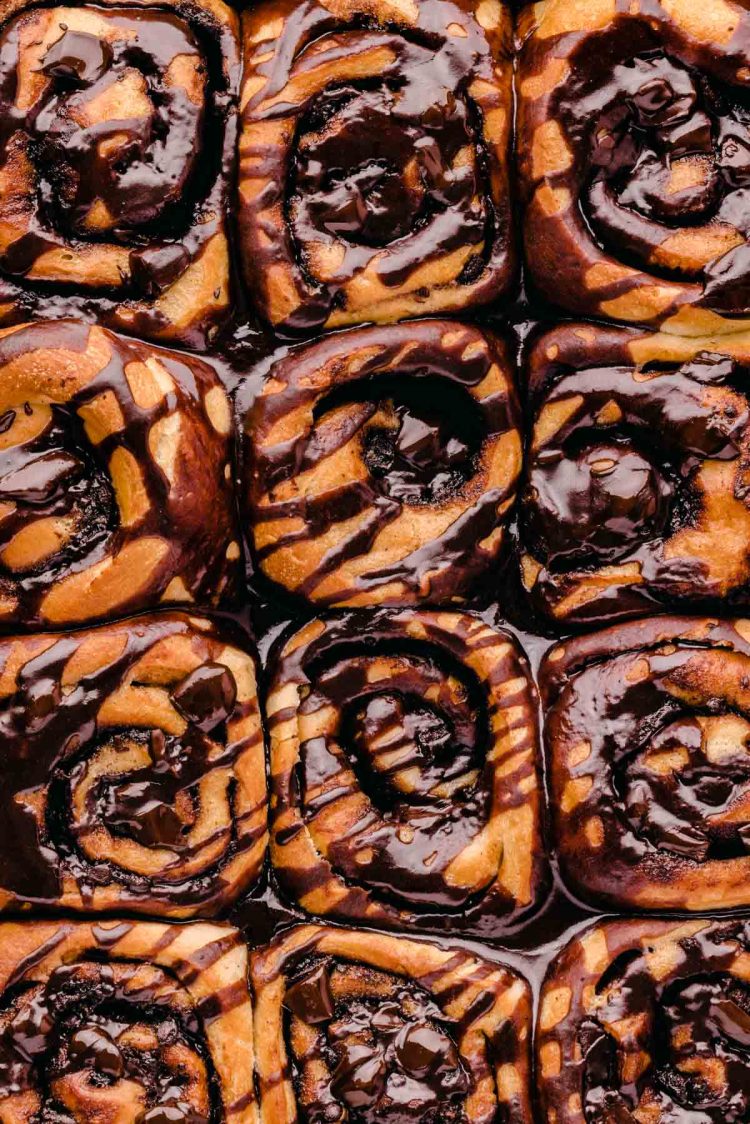
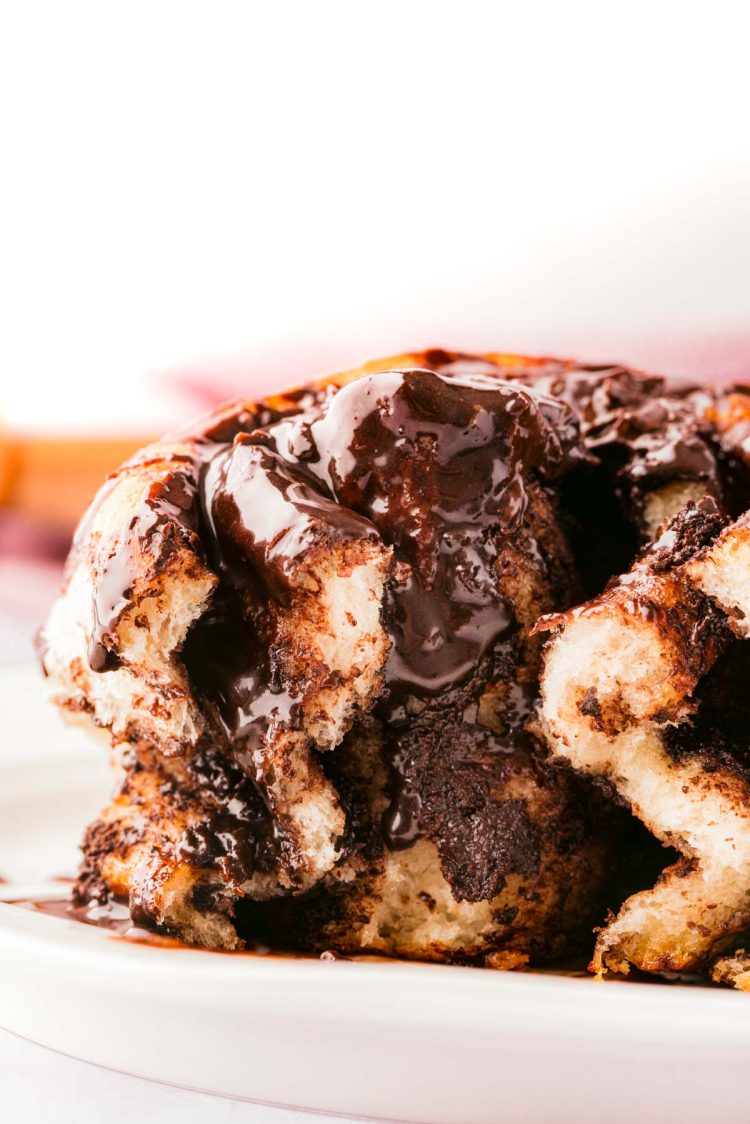
Surprise your family for breakfast by baking up a batch of these Chocolate Cinnamon Rolls! Get your fingers covered in the homemade chocolate glaze as you unravel it to devour its gooey goodness!
The chocolate takes these cinnamon buns to the next level! Making it more like dessert for breakfast – which will yield zero complaints from anyone lucky enough to enjoy them!
Do Chocolate And Cinnamon Go Together?
It absolutely does! When the warm, cozy spice pairs with chocolate, it creates a deep, rich flavor that’s divine! This combination is actually super popular in Mexico, and for good reason – ever had Mexican Hot Chocolate? It’s divine!
Chocolate Cinnamon Rolls Ingredients
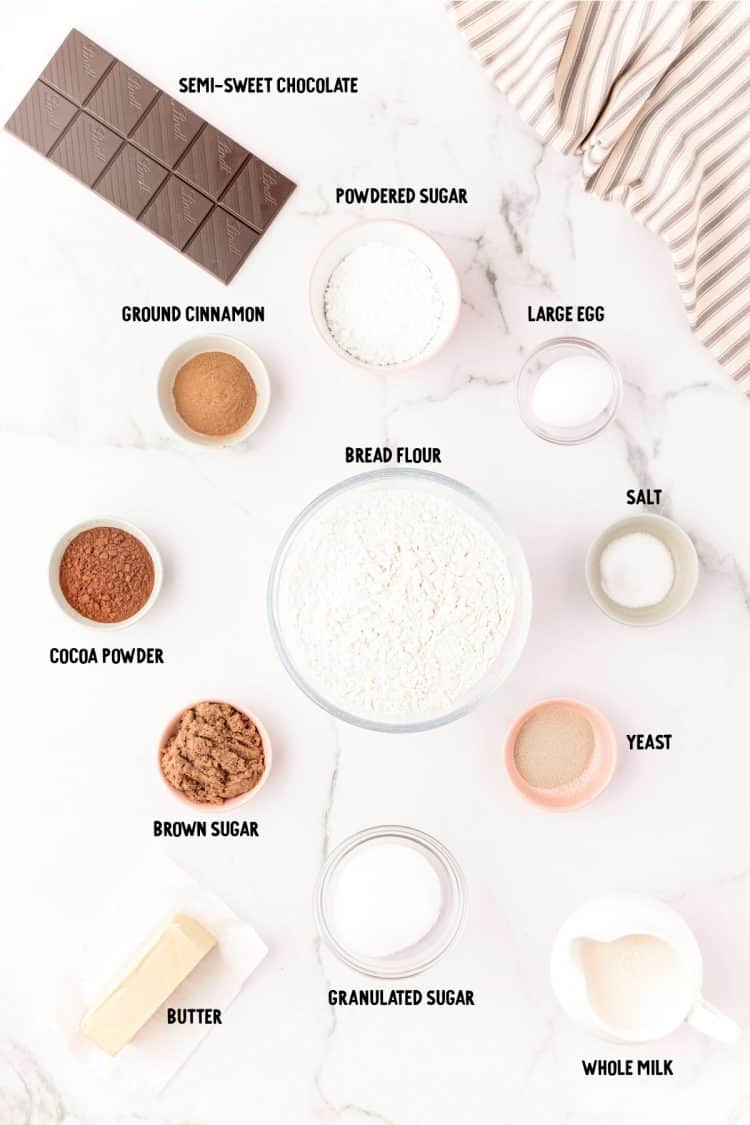
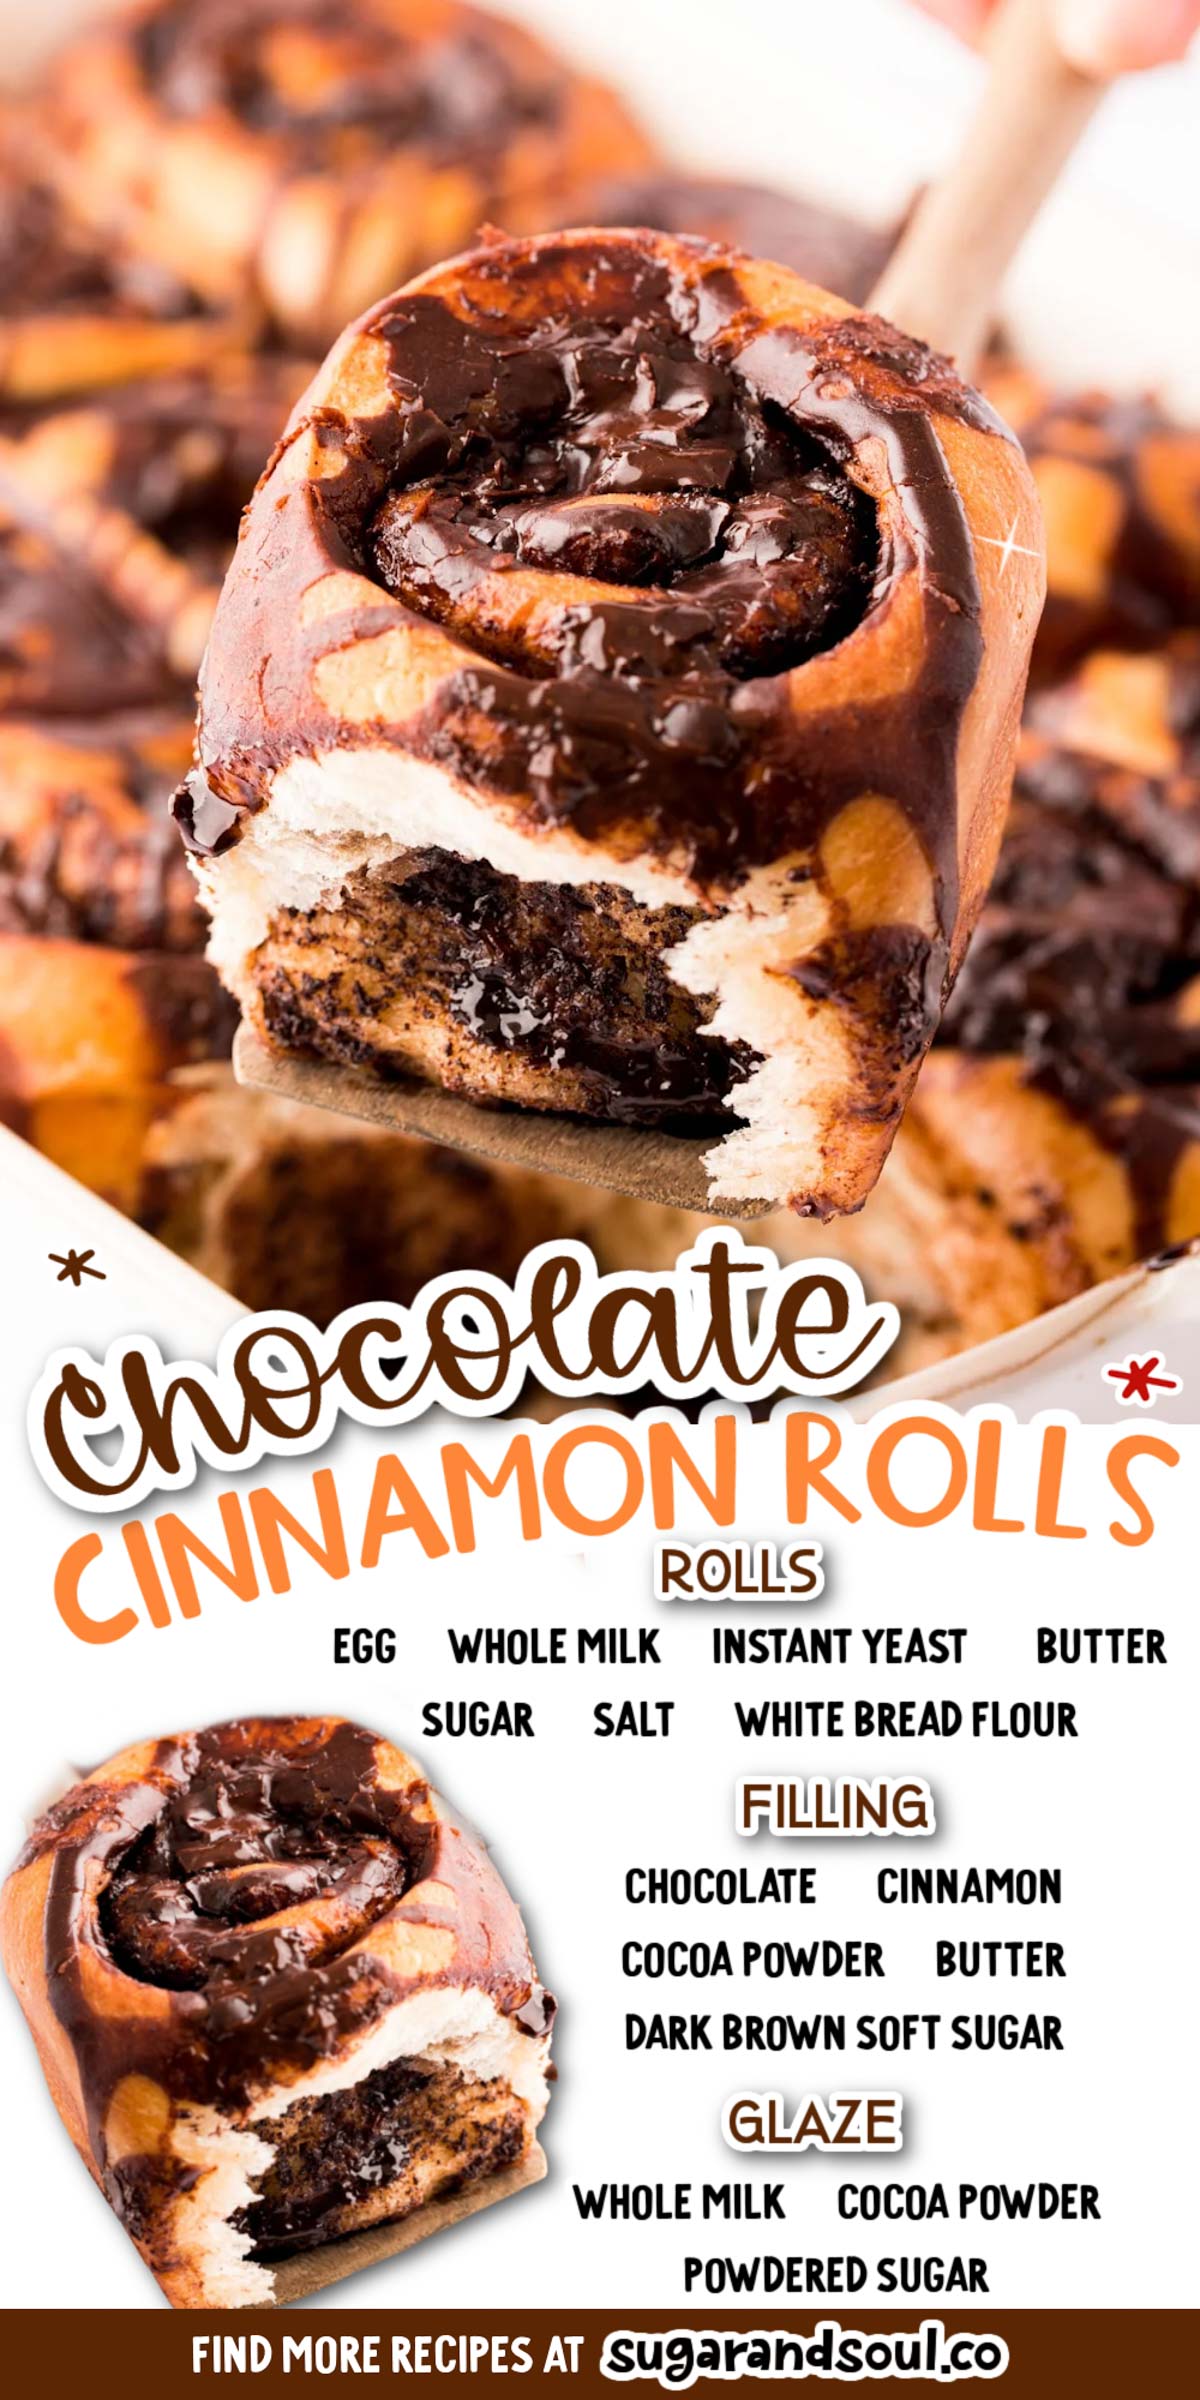
These cinnamon rolls are yeast-based, which requires warm whole milk to activate it. The activated yeast is then paired with sugar, an egg, salt, melted butter, and white bread flour.
Additional butter will also be used to grease the baking dish and to brush the tops of the rolls. Once the dough has doubled in size, it will be rolled out and filled with the sweet chocolate cinnamon filling.
To make the filling, dark brown sugar, ground cinnamon, Dutch-processed cocoa powder, and finely chopped semi-sweet chocolate are combined. After the rolls bake up to golden brown perfection, they get their glaze topping to complete this Chocolate Cinnamon Rolls Recipe.
For the glaze, more Dutch-processed cocoa powder is mixed with powdered sugar and whole milk.
You’ll also need a bit of vegetable or canola oil to coat the bowl for proofing.
How To Make Cinnamon Rolls with Chocolate Filling
Step 1: Prepare the dough in a large bowl of a stand mixer that’s fitted with a dough hook. Then stir together the warm milk, yeast, egg, sugar, salt, and melted butter in the bowl.
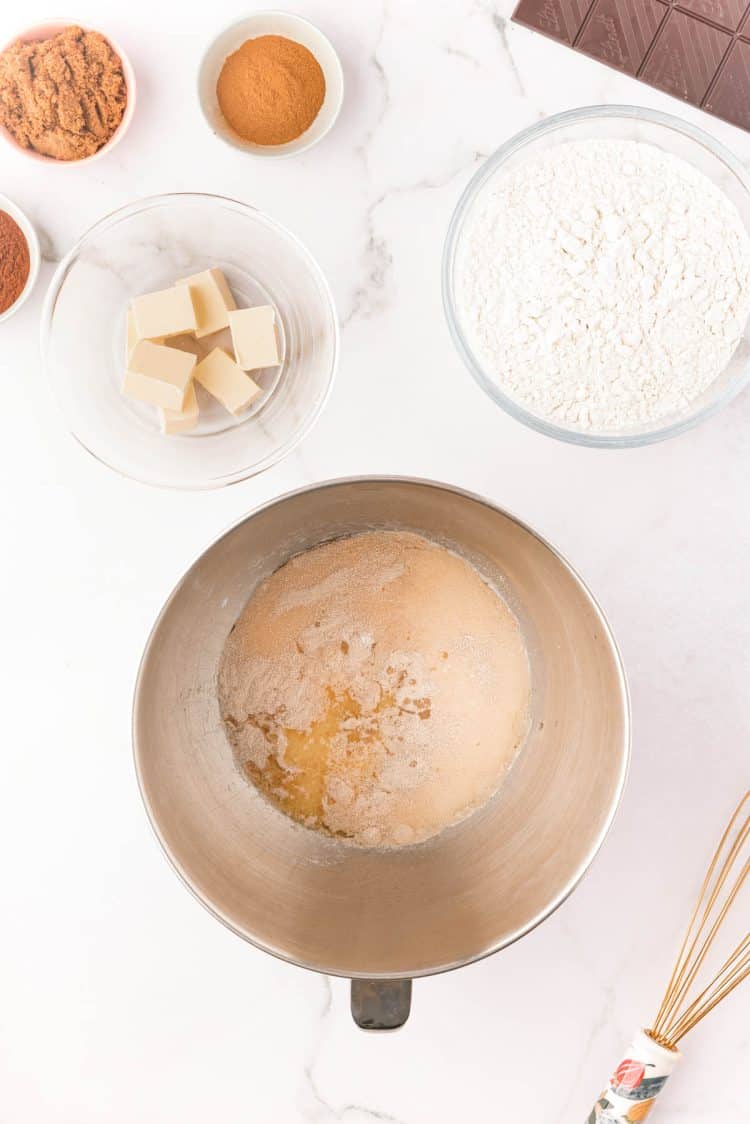
Step 2: Add in the flour and mix on the lowest speed, scraping the sides of the bowl down as necessary.
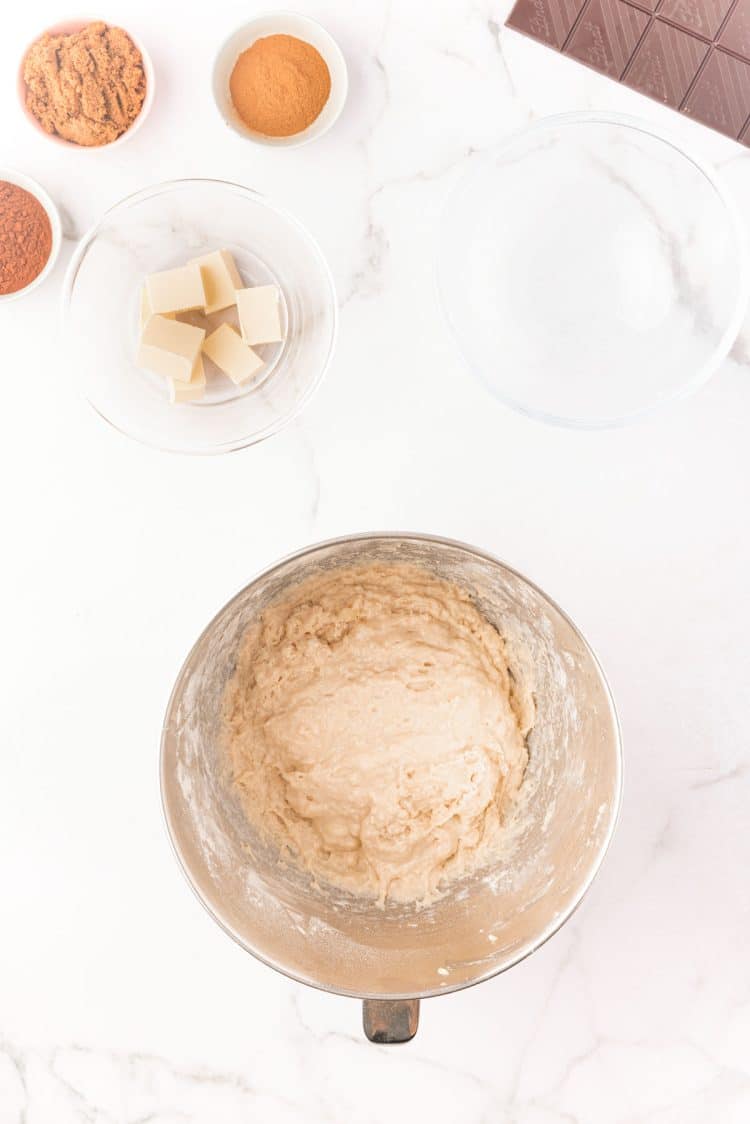
Step 3: Test the dough for doneness. When it’s ready, add a drizzle of oil to a large clean bowl and place the dough ball into it. Rotate the ball so it’s coated with oil, and then tightly wrap the bowl with plastic wrap. Place in a warm area to allow the dough to rise, doubling in size.
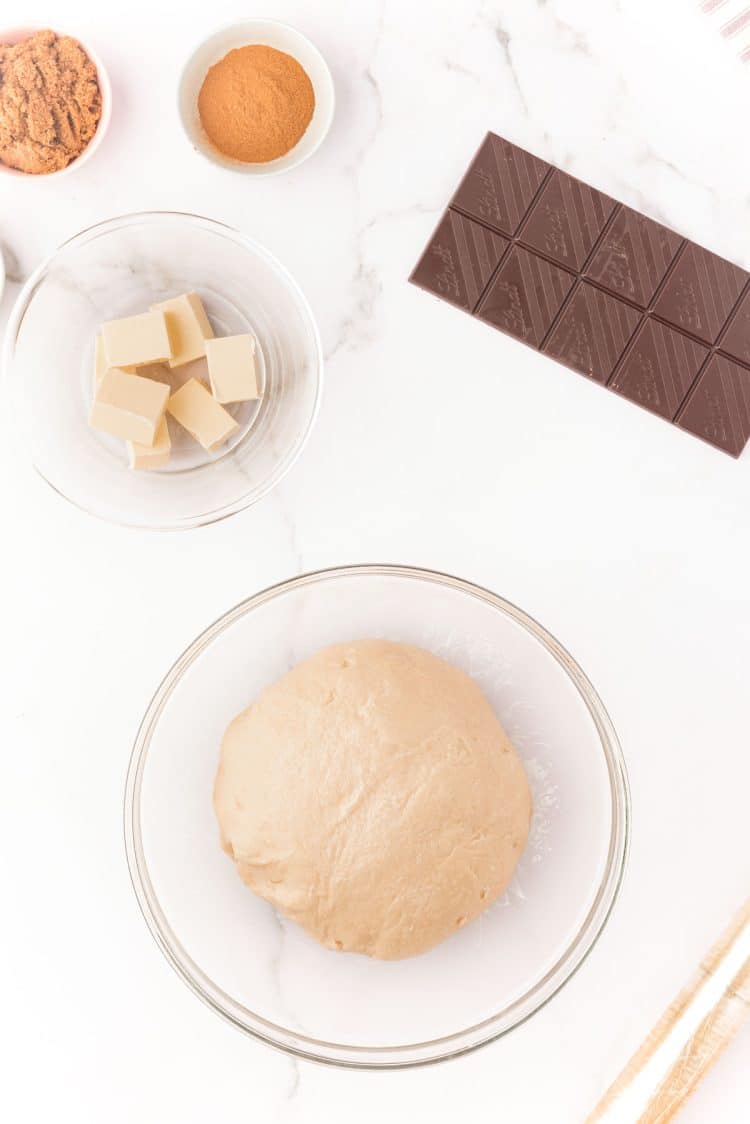
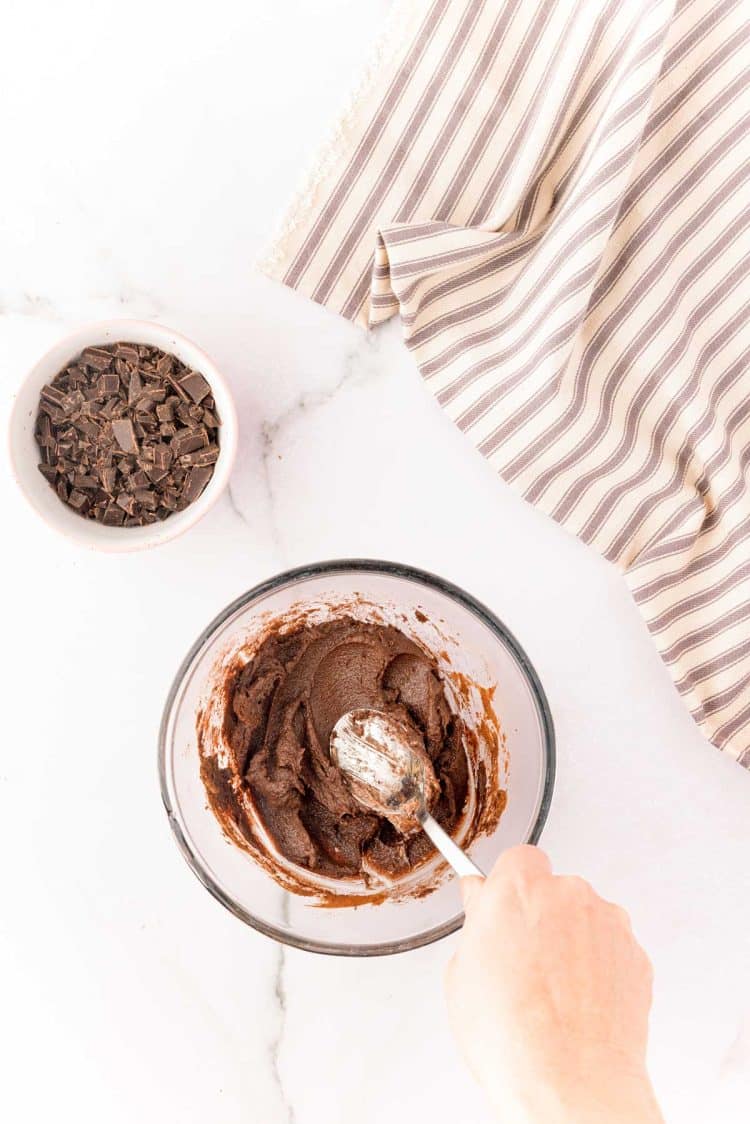
Step 4: Prepare the filling mixture by combining the softened butter, brown sugar, cinnamon, and cocoa powder.
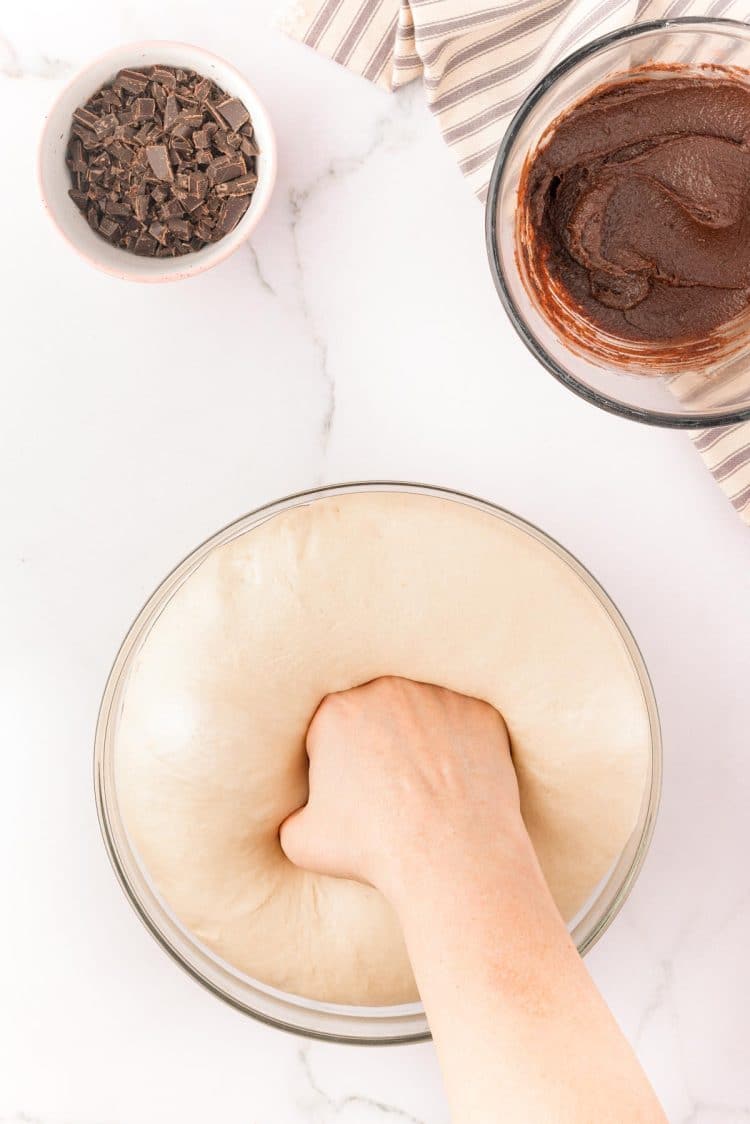
Step 5: Once risen, punch the air out of the dough.
Step 6: Then use a rolling pin to shape the dough into a large rectangle on a lightly floured surface.
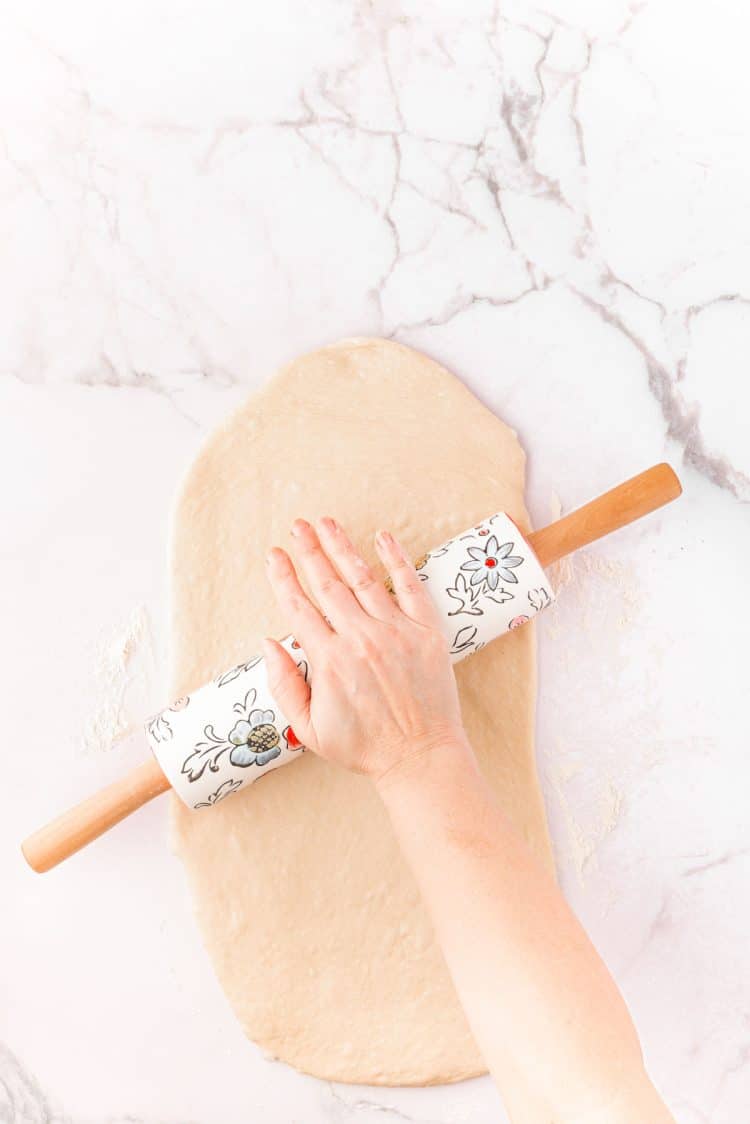
Step 7: Spread the chocolate cinnamon sugar filling over the rolled-out dough, leaving a gap around the edge. Sprinkle on the chopped chocolate, gently pressing it into the dough so that it doesn’t fall out when rolling.
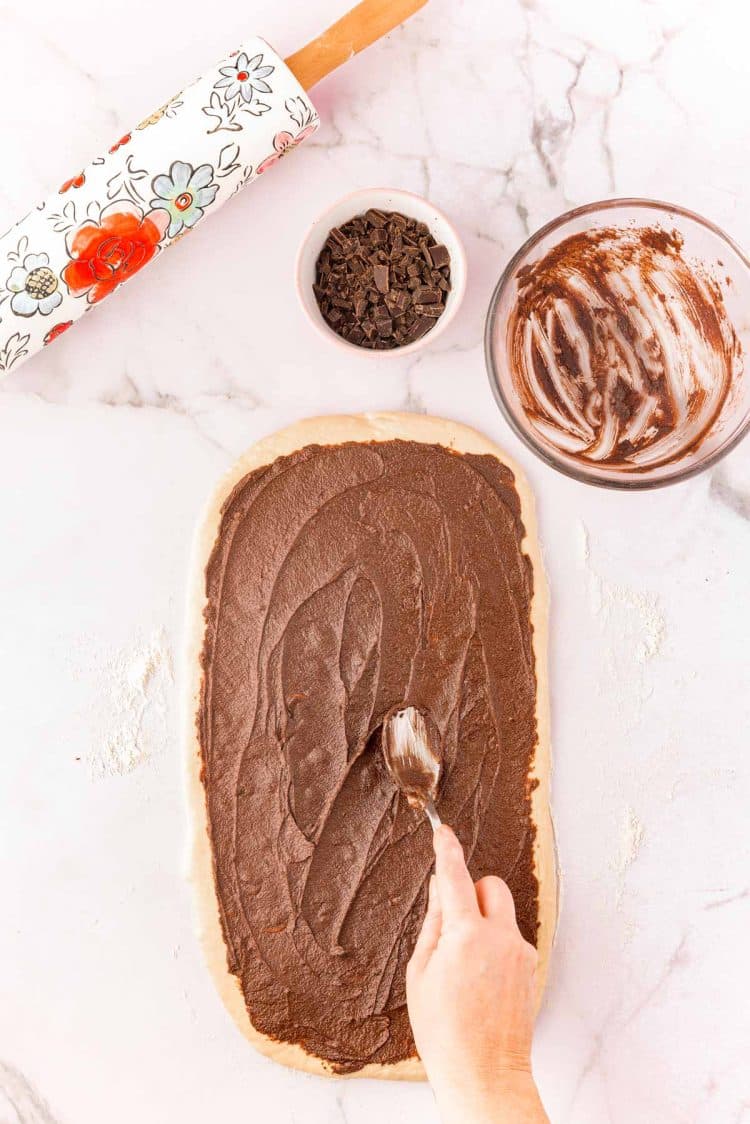
Step 8: Tightly roll up the dough into a log shape. Afterward, pinch the seam together and then cut the roll in half for easier handling.
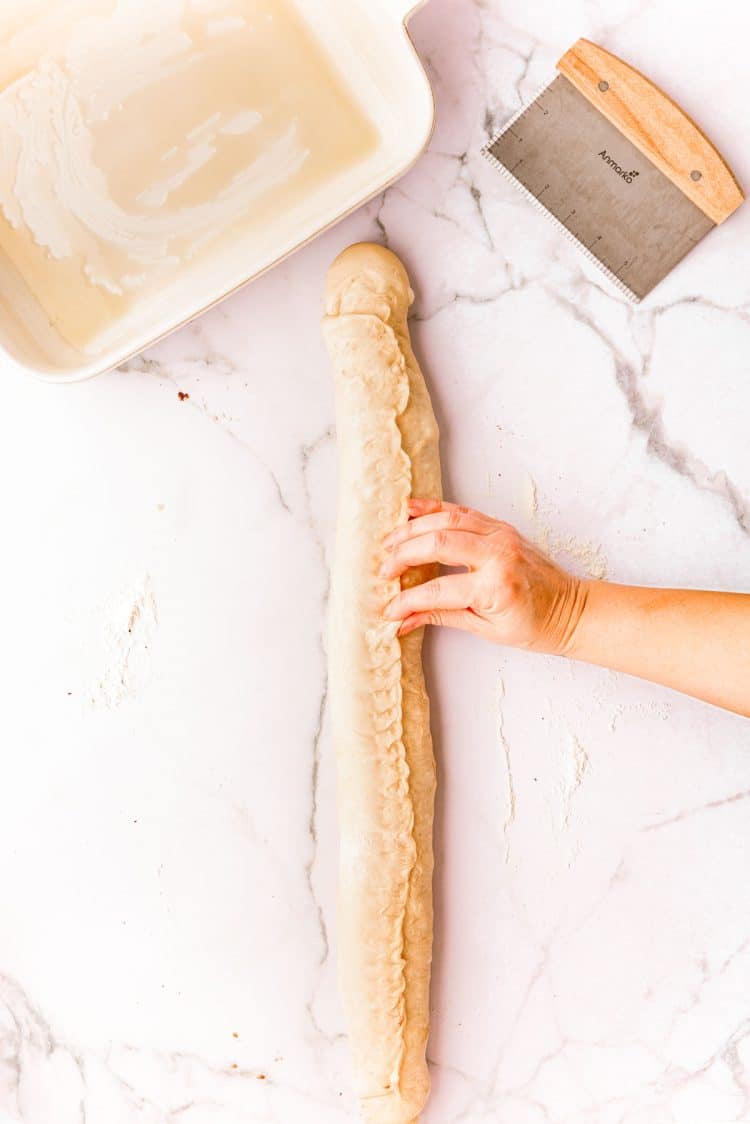
Step 9: Cut each section into slices and place them in a large, greased baking pan. Cover tightly with cling wrap and then leave them to rise.
When slicing the cinnamon rolls use unflavored dental floss for a clean cut that doesn’t squish the rolls! Simply lay the floss under the roll and pull the two ends together around the cinnamon roll log to cut a slice off.
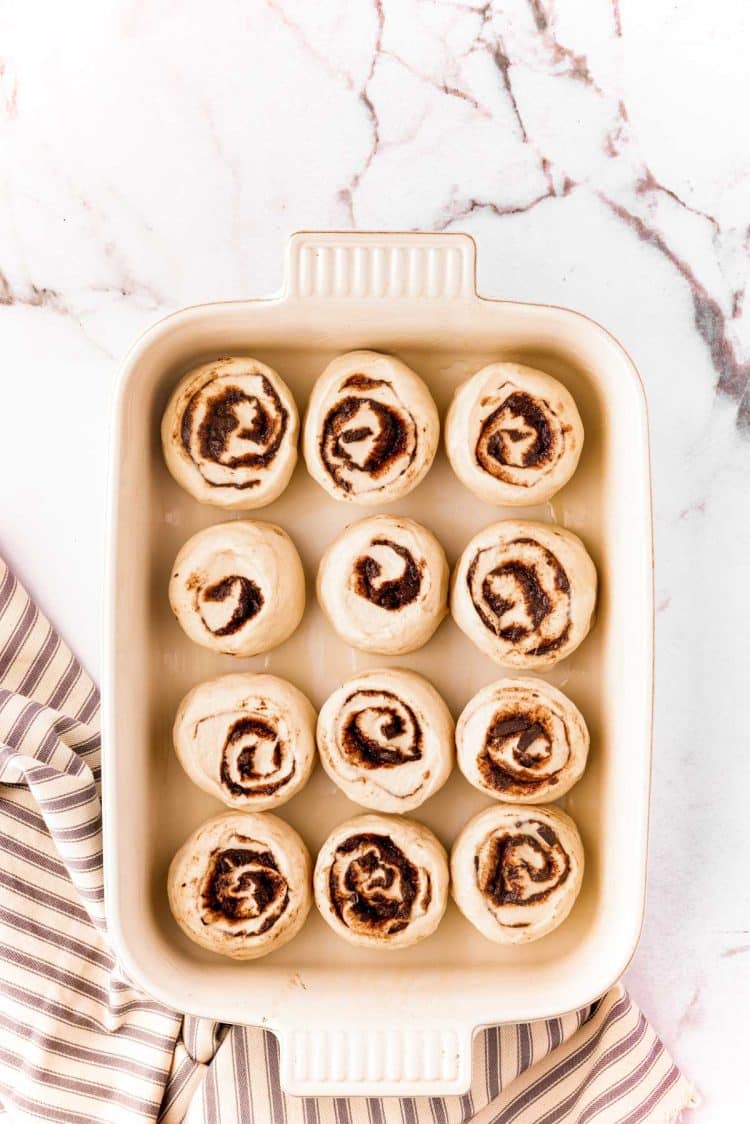
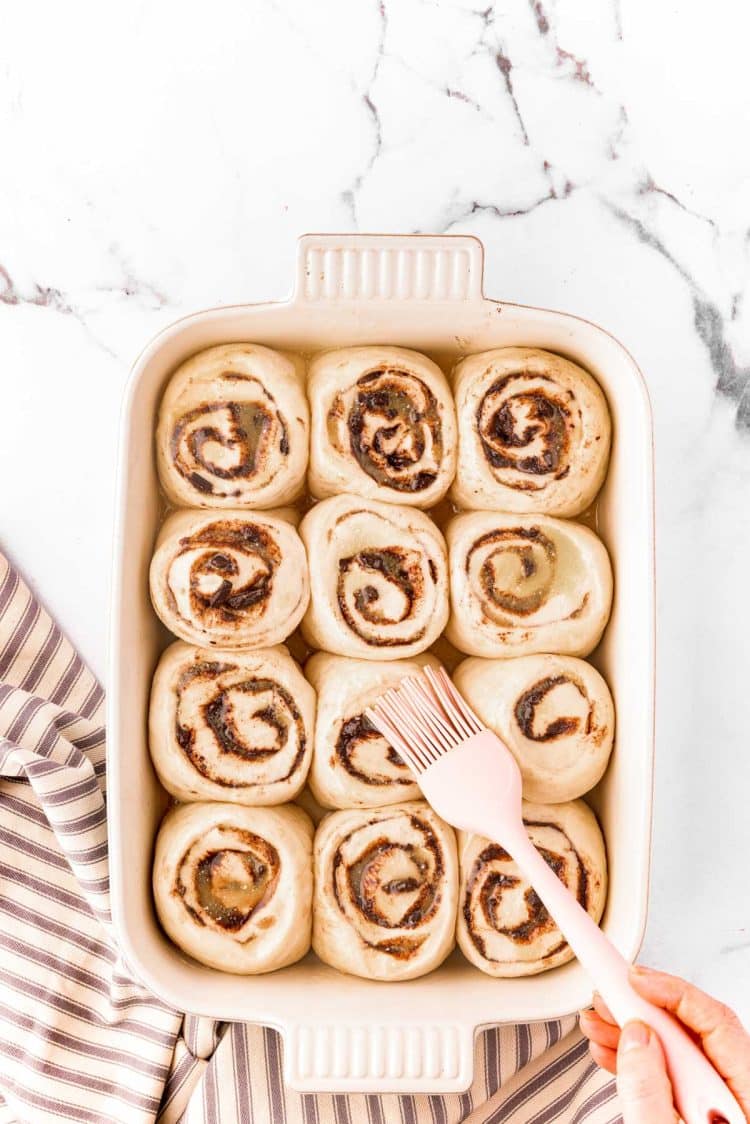
Step 10: Once they have risen, brush the rolls with melted butter and then bake them in a preheated oven until golden brown. Then, transfer the dish to a wire rack and allow them to cool.
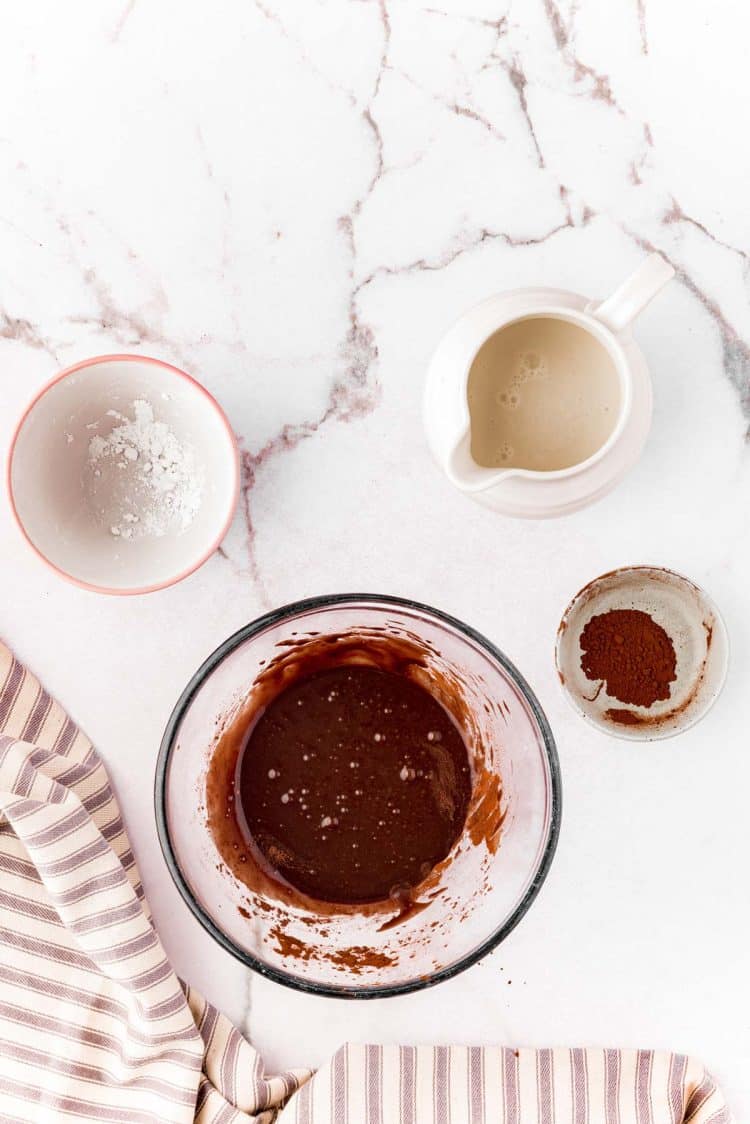
Step 11: Prepare the chocolate glaze by whisking together the cocoa powder, powdered sugar, and milk. Next, pour the glaze onto the rolls while they’re still in the baking dish.
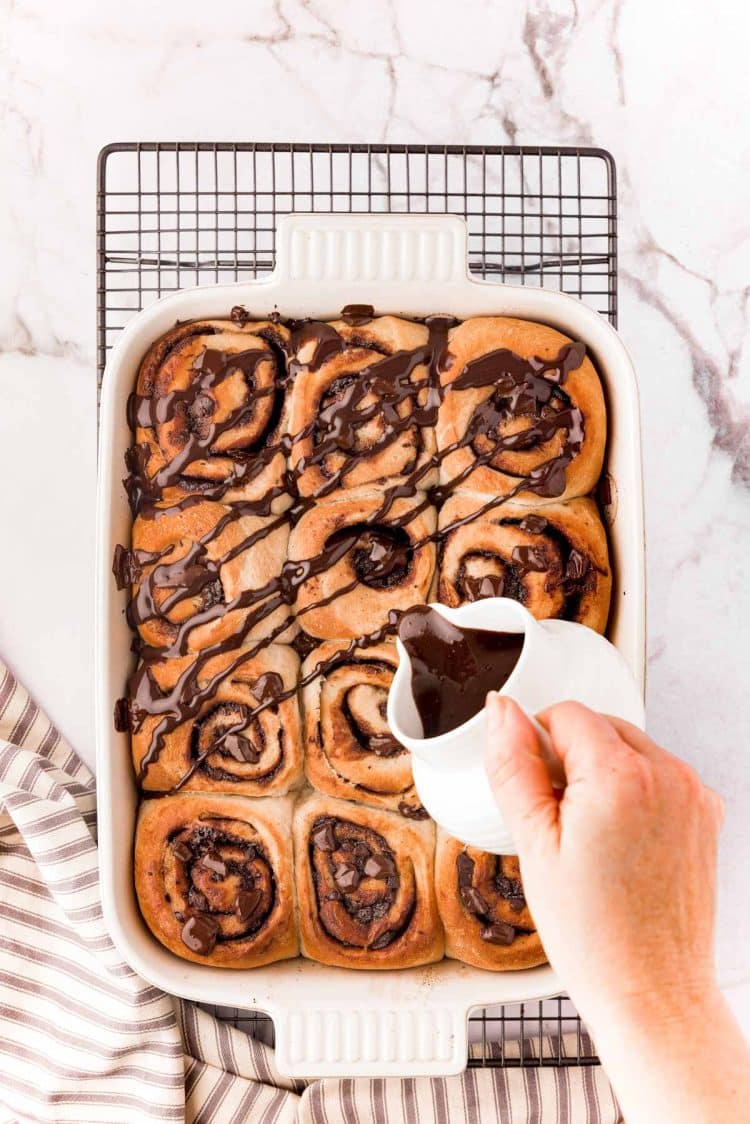
Remove the Cinnamon Rolls from the dish and then drizzle the remaining glaze over them. Serve and enjoy the warm Cinnamon Rolls with Chocolate!
Help Proofing Tips & Tricks!
Here are some tips I find helpful when proofing yeast dough!
- Be careful not to kill the yeast, resulting in the dough not rising. Inactive yeast happens when the milk is too hot! So use a digital kitchen thermometer to ensure the milk is 110 to 120 degrees.
- Use your oven if it has a “proof” setting.
- If your oven doesn’t have a proof setting, you can fill the baking dish with boiling water. Then, place the dish in the oven on the rack below the bowl of dough.
- You can also turn the oven on for about 5 minutes and then shut it off before placing the dough in the oven to rise. Make sure you use a glass or metal bowl and avoid plastic wrap for these oven methods.
- Cover your bowl well with plastic wrap so you can mark on the plastic wrap where your dough starts at. Then you’ll be able to track if it has been proofed or not visually.
- If you find the dough still hasn’t been proofed, give it some extra time. The area possibly wasn’t warm enough, and the extra time may be just what it needs!
Chocolate Cinnamon Rolls FAQs
Is There A Specific Temperature The Milk Should Be?
Yes, the milk should be between 110 and 120 degrees F to allow the yeast to bloom properly. It’s best to use a digital kitchen thermometer (affiliate link) to ensure it’s not too hot. I warm it up a little bit hotter when using instant yeast because the yeast doesn’t get added directly to the milk and the rest of the ingredients begin to cool the milk quickly, we still want to make sure the yeast is activated within the dough. So a little warmer than normal is okay here.
Can I Use Different Yeast To Make This Recipe?
Though this Chocolate Cinnamon Rolls recipe calls for instant yeast, you could also use quick, fresh, or active-dry yeast. Just be sure to check the packet instructions before using it.
If using dry active yeast, it needs to activate before using it. To do this, stir together the warm milk (only heated to 105-115 degrees F), yeast, and 1 tablespoon of sugar in a medium bowl until it dissolves. Let it sit for 5 to 10 minutes, it will begin to foam and almost double the original volume of the mixture. Then mix it into the dry ingredients where you would have added the milk.
How To Make These Chocolate Cinnamon Rolls Without A Mixer
Once the flour is added to the dough ingredients, just use a spatula to mix it until it becomes shaggy. If you have a Danish Dough Whisk (affiliate link), that will work best when making these by hand. Then, turn the dough out onto a floured surface and knead it with your hands. Once it becomes slightly tacky yet soft and pliable, you can transfer it to the oiled bowl.
Why Are My Cinnamon Rolls Hard And Dry?
If your Triple Chocolate Cinnamon Rolls turned out hard and dry, there could be a few reasons. First, you may have packed the flour in when measuring it out; make sure to measure your flour properly by scooping and leveling. Second, the dough may have gotten overworked, causing too much gluten to develop.
Can This Recipe Be Made With All-Purpose Flour?
This recipe has been tested using both types of flour, and while both work, the bread flour is just preferable since it has a higher percentage of protein, creating a softer dough and better rise. If you do use all-purpose flour, you may need to add an additional 1/4 cup of flour to the recipe.
How Do I Store These Chocolate Cinnamon Rolls?
They can be stored at room temperature for up to 3 days in an airtight container. They can also be stored in the freezer for up to one month.
To reheat the rolls to enjoy, just pop them in the microwave or oven.
Can I Just Use Chocolate Chips In The Filling?
Yes, that will work perfectly, although I do recommend using mini chocolate chips over regular ones.
What Should I Do If The Dough Sticks To my Finger When Checking It?
You will want to add 1/2 cup of extra flour a tablespoon at a time. Once the dough feels tacky but doesn’t stick to your finger, you can stop adding the flour.
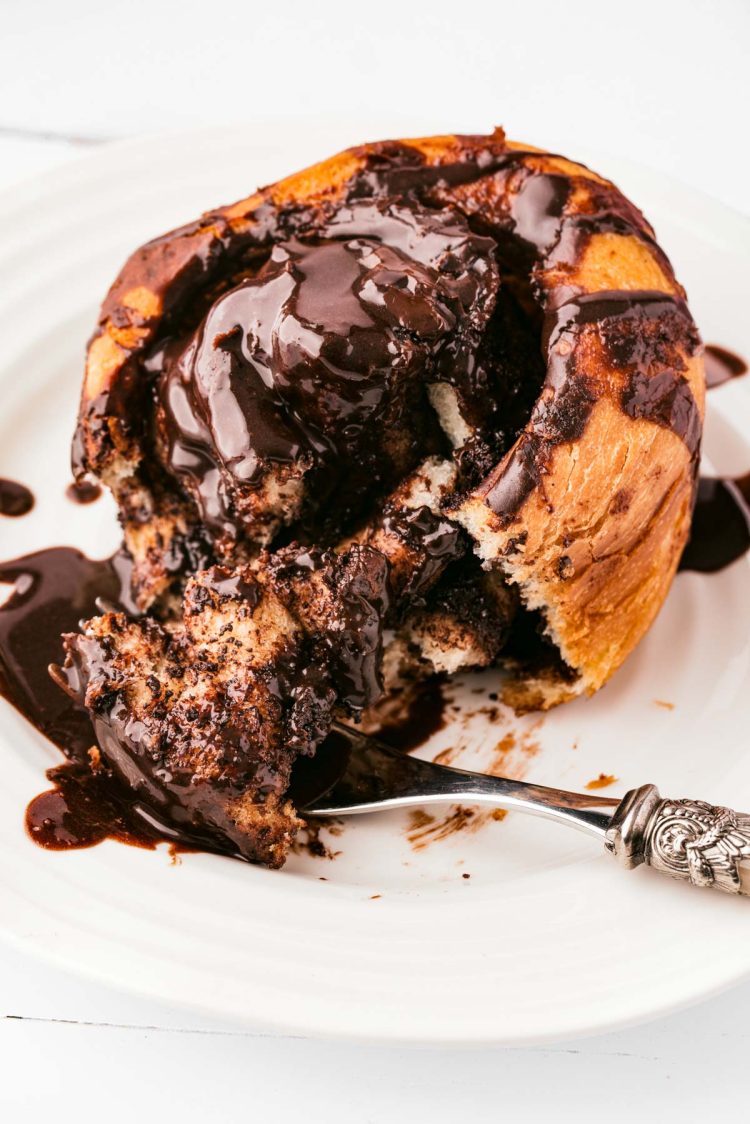
Chocolate Cinnamon Rolls gives everyone what they really want for breakfast – chocolate! Here are more breakfast recipes to try that are also made with chocolate!
- Chocolate Waffles – Delivering a dessert-like breakfast in only 30 minutes!
- Air Fryer Chocolate Donuts – Soft, fluffy donuts made from scratch!
- Chocolate Chip Muffins – The homemade version of everyone’s favorite muffin!
- Boston Cream Donuts – Made with refrigerated biscuits in just 25 minutes!
Let’s Connect!
If you’ve tried this recipe, please let me know how you liked it in the comments below and leave a review. I love hearing from you!
Don’t forget to tag me – @sugarandsoulco – on Instagram and Pinterest with your photos or join our Sugar & Soul Show-offs Community and share them there, where you can join our recipe challenges!

Chocolate Cinnamon Rolls
Ingredients
Dough
- 1¾ cups whole milk warmed to 110-120°F
- 2¼ teaspoons instant yeast 1 packet
- 1 large egg room temperature
- 3 tablespoons granulated sugar
- ½ teaspoon salt
- 6 tablespoons salted butter divided
- 4½ cups bread flour spooned and leveled, plus extra if the dough is sticky
- 1 tablespoon vegetable or canola oil for coating the proofing bowl
Filling
- ¼ cup salted butter softened
- 3 tablespoons dark brown sugar packed
- 2 tablespoons ground cinnamon
- 2 tablespoons dutch-processed cocoa powder
- ¾ cup semi-sweet chocolate finely chopped
Chocolate Glaze
- 4 tablespoons dutch-processed cocoa powder
- 1 cup powdered sugar
- 4 tablespoons whole milk
Additional Ingredients
- 1 tablespoon salted butter melted, for greasing the dish
- 2 tablespoons salted butter melted, for brushing the rolls
Instructions
- In a stand mixer fitted with a whisk attachment, thoroughly combine the warm milk, yeast, egg, sugar, salt, and 3 tablespoons of melted butter in the bowl.1¾ cups whole milk, 2¼ teaspoons instant yeast, 1 large egg, 3 tablespoons granulated sugar, ½ teaspoon salt, 6 tablespoons salted butter
- Switch to a dough hook and add in the bread flour and mix on "stir" speed for 3 minutes. You will need to scrape down the sides of the bowl once or twice, while mixing.4½ cups bread flour
- After 3 minutes, touch the dough with a clean dry finger. If the dough doesn’t stick to your finger, it is ready. If it does, add additional flour 1 tablespoon at a time, mixing as you go until the dough doesn’t stick to your finger when you test it. (SEE NOTES ON CHECKING DOUGH)
- When the dough is ready, it should feel tacky and pliable. Add a small drizzle of vegetable or canola oil to a large clean bowl and turn your dough out into it. Rotate the dough so that it’s oiled on all sides then cover it with cling wrap and let rise somewhere warm for 1 hour. It should double in size within that time.1 tablespoon vegetable or canola oil
- Meanwhile, prepare the filling by mixing together the softened butter, brown sugar, cinnamon, and cocoa powder in a bowl until thoroughly combined. Set aside.¼ cup salted butter, 3 tablespoons dark brown sugar, 2 tablespoons ground cinnamon, 2 tablespoons dutch-processed cocoa powder
- Once the dough has doubled in size, punch it down in the center, then transfer it to a lightly floured surface. Use your hands to shape the dough into a rectangular shape, then roll it out into a 16×8-inch rectangle measuring; it doesn’t have to be exact.
- Spread the chocolate and cinnamon filling over the surface of the dough, leaving a border of about ¼-inch around the edge.
- Sprinkle the chopped chocolate over the top of the cinnamon mixture and use your hands to gently press the chocolate into the dough so that it doesn’t escape when you roll it up.¾ cup semi-sweet chocolate
- Wash your hands before you begin rolling so none of the chocolate transfers to the outside of the rolls. With the longest edge facing you, tightly roll up the dough into a log shape. When you’re done rolling, pinch the seem together with your fingertips, then cut the dough log in the middle. I like using unflavored dental floss to cut the dough. Simply slide it under the log, bring the floss up around the side, cross it, and then pull it to cut through the dough – this prevents squeezing the dough and helps it hold its circular shape.
- Cut each half of the log into 6 equal pieces using the dental floss for best results. You can eyeball it or measure it with a ruler for accuracy. Our rolls were 1¾-inch each.
- Grease a large 9×13-inch baking dish with 1 tablespoon of melted butter, then arrange the Chocolate Cinnamon Rolls so that there is a little room in between each one. Cover with cling wrap and leave somewhere warm for 30 minutes. The rolls will puff up in size during that time.1 tablespoon salted butter
- Meanwhile, preheat the oven to 350ºF.
- Once risen, brush the rolls with 2 tablespoons of melted butter.2 tablespoons salted butter
- Bake the dish on the center of the oven and bake for 22 minutes or until golden brown. The center of the rolls should read 190°F on an instant-read thermometer when done. Transfer the dish to a wire rack to cool.
- While the rolls cool, prepare the chocolate glaze by adding cocoa powder, powdered sugar, and milk to a bowl. Whisk until thoroughly combined. The glaze will be a thin, pourable consistency.4 tablespoons dutch-processed cocoa powder, 1 cup powdered sugar, 4 tablespoons whole milk
- Pour about ¾ of the glaze directly on top of the Chocolate Cinnamon Rolls while they are still in the baking dish.
- Remove from the dish and drizzle extra chocolate glaze over them and serve while still warm and gooey from the oven!
Notes
- Milk Temperature: The milk should be between 110 and 120 degrees F to allow the yeast to bloom properly. It’s best to use a digital kitchen thermometer (affiliate link) to ensure it’s not too hot. I warm it up a little bit hotter when using instant yeast because the yeast doesn’t get added directly to the milk and the rest of the ingredients begin to cool the milk quickly, we still want to make sure the yeast is activated within the dough. So a little warmer than normal is okay here.
- Can I Use Different Yeast? Though this recipe calls for instant yeast, you could also use quick, fresh, or active-dry yeast. Just be sure to check the packet instructions before using it. If using dry active yeast, it needs to activate before using it. To do this, stir together the warm milk (only heated to 105-115 degrees F), yeast, and 1 tablespoon of sugar in a medium bowl until it dissolves. Let it sit for 5 to 10 minutes, it will begin to foam and almost double the original volume of the mixture. Then mix it into the dry ingredients where you would have added the milk.
- Why Didn’t My Dough Rise? If the rolls don’t rise, it’s probably because they weren’t warm enough. Simply wait longer than the time stated so that the yeast has a chance to work. It’s also possible that the milk was too hot and killed the yeast.
- How Do I Make These Cinnamon Rolls Without A Mixer? Once the flour is added to the dough ingredients, just use a spatula to mix it until it becomes shaggy. Afterward, turn the dough out onto a floured surface and knead it. Once it becomes slightly tacky yet soft and pliable, you can transfer it to the oiled bowl.
- Why Are My Cinnamon Rolls Hard And Dry? If your cinnamon rolls turned out hard and dry, there could be a few reasons. First, you may have packed the flour in when measuring it out – make sure you properly measure your flour. Second, the dough may have gotten overworked, causing too much gluten to develop.
- Can This Recipe Be Made With All-Purpose Flour? This recipe has been tested using both types of flour, and while both work, the bread flour is just preferable since it has a higher percentage of protein, creating a softer dough and better rise. If you do use all-purpose flour, you may need to add an additional 1/4 cup of flour to the recipe.
- Can I Just Use Chocolate Chips In The Filling? Yes, that will work perfectly! Mini chocolate chips would be best!
- What Should I Do If The Dough Sticks To my Finger When Checking It? You will want to add 1/2 cup of extra flour a tablespoon at a time. Once the dough feels tacky but doesn’t stick to your finger, you can stop adding the flour.
- How To Store: They can be stored at room temperature for up to 3 days in an airtight container. They can also be stored in the freezer for up to one month. To reheat the rolls to enjoy, just pop them in the microwave or oven.
Nutrition
Did You Make This Recipe?
Don’t forget to share it with me on Instagram @sugarandsoulco and follow on Tiktok @sugarandsoulco and Pinterest @sugarandsoulco for more!


Share your thoughts!
Love this recipe? Share your thoughts with me below and leave a review! And don’t forget to connect on your favorite social platform below!