This Cream Cheese Pie Crust is a light, tender homemade pie crust that has the best flaky layers, perfect for any pie filling! Made with only 7 ingredients!
Take your favorite pies to the next level by making them with another homemade crust like my Best Graham Cracker Crust Recipe!
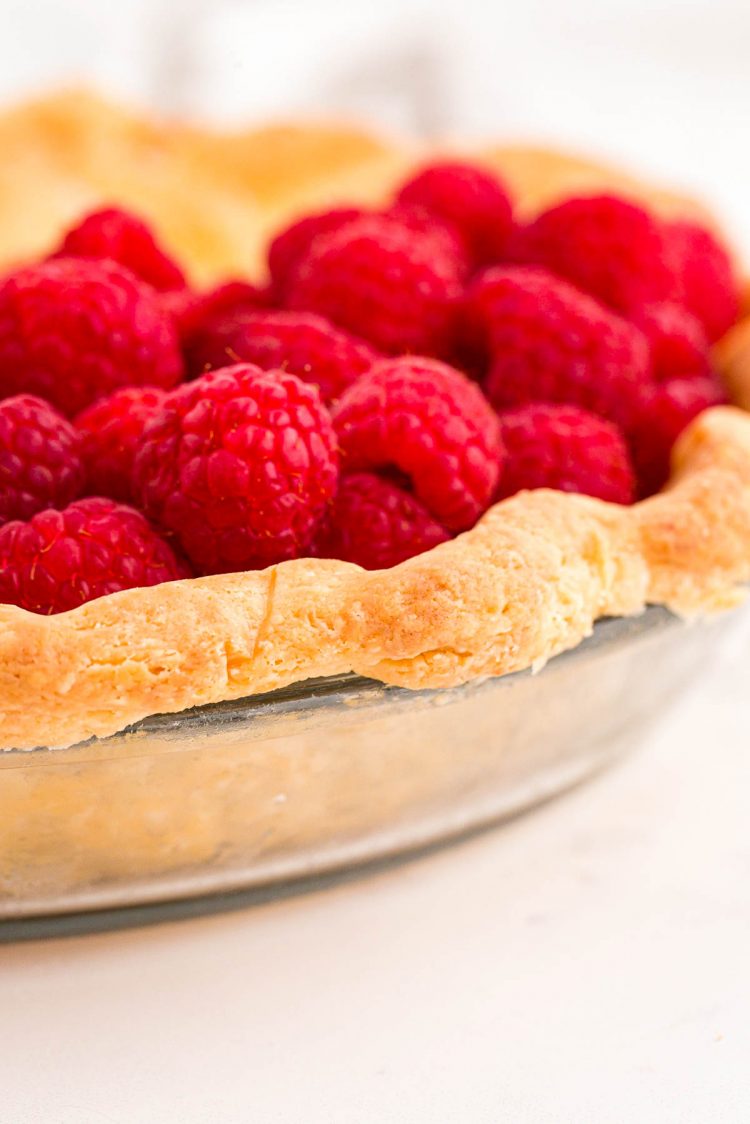
This Cream Cheese Crust will be a delicious, lovely compliment to all of your favorite pie fillings! Whether the filling is pumpkin, blueberry, raspberry, or even a chocolate cream pie, this is the crust you want holding it all together!
Cream Cheese Crust has tons of flaky, buttery layers thanks to the method of using cold ingredients. Pair that with the cornstarch that gives it a lighter, more tender crust and you’ve just found your go-to homemade pie crust!
If you’re like me, I’m quick to grab a store-bought refrigerated crust to get to a slice of the homemade pie even faster. But this crust and its flavor make it totally worth the time and effort of skipping the store!
After all, this Cream Cheese Pie Crust recipe is only 7 ingredients and takes less than 60 minutes of your time!
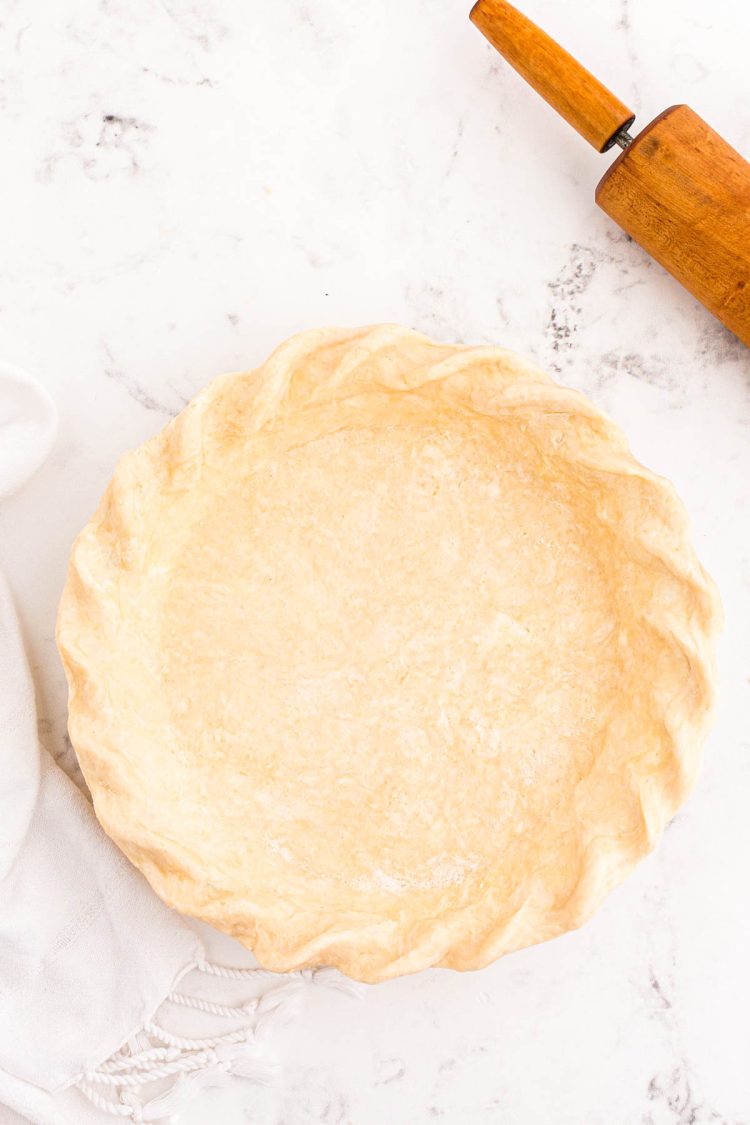
Ingredient Notes
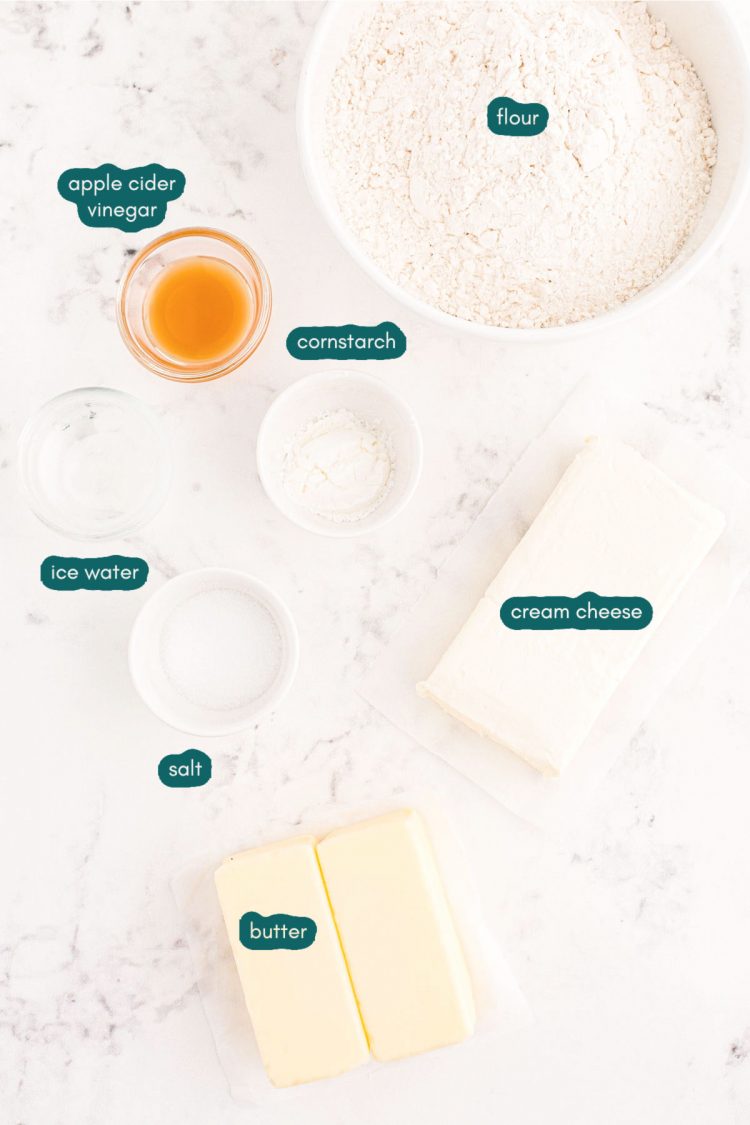
Whip up this homemade Cream Cheese Pie Crust by gathering up all-purpose flour, cornstarch, salt, unsalted butter, cream cheese, ice water, and apple cider vinegar. For this recipe, it’s very important to keep the ingredients as cold as possible at all times.
This is because when the cold butter melts in the hot oven as the crust bakes it leaves pockets that become those flaky layers that we love and strive for in a homemade crust!
When making this pie crust I also use a few essential kitchen items such as:
- Plastic Wrap – To wrap the sections of dough up to press them into a disc shape and bring the dough together.
- Parchment Paper – I roll the dough out onto parchment paper. I find this makes transferring the crust to the pie plate a bit easier.
- Rolling Pin – That’s floured.
- Aluminum Foil – To layer in the crust as it bakes.
- Pie Weights – Can be actual pie weights or just uncooked rice or dried beans.
How To Make A Cream Cheese Pie Crust
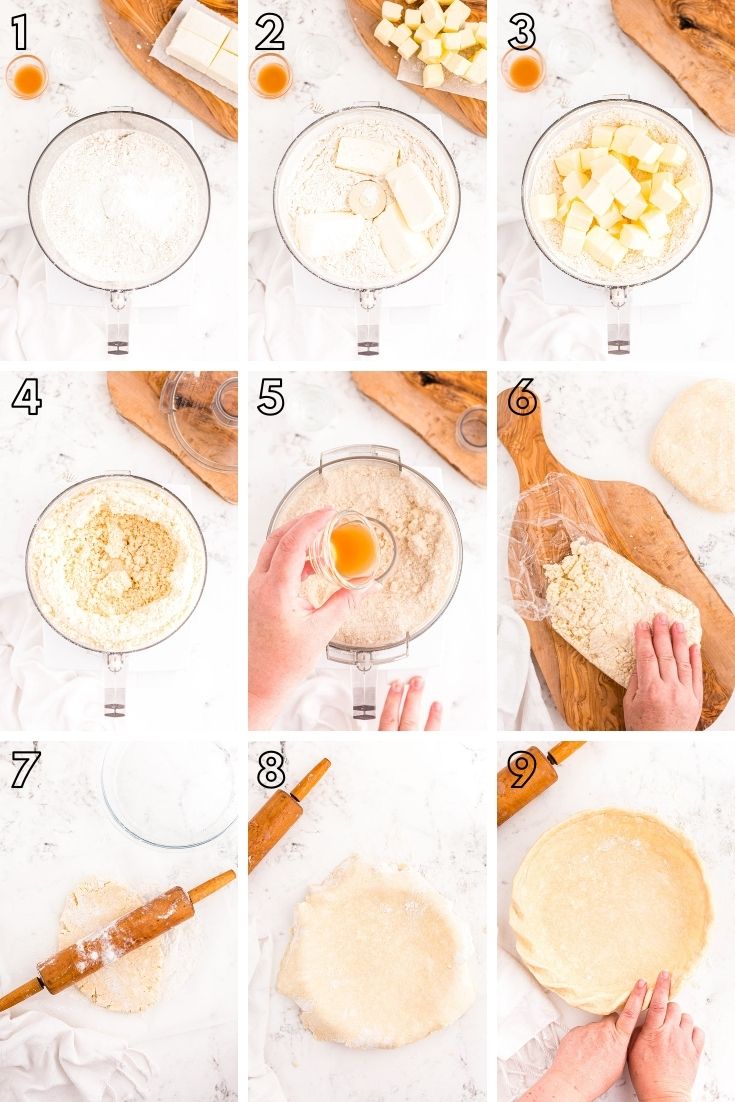
- Pulse flour, cornstarch, and salt together in a food processor.
- Add chunks of cream cheese into the food processor. Pulse until the mixture forms a cornmeal consistency and chunks of cream cheese are no longer visible.
- Add in the cold/frozen butter cubes. Pulse again until the butter is broken down with pea-size pieces still remaining.
- Pour the ice water and apple cider vinegar into the food processor. Pulse until just combined, but the dough will still be a bit crumbly, this is fine, just work it together as you wrap it.
- Divide the dough into two sections and wrap each with plastic wrap. Press them into disc shapes until the crumbles come together to form a single piece of dough.
- Chill the dough in the refrigerator.
- Place one section of chilled dough onto a sheet of parchment paper. Use a floured rolling pin to roll the Cream Cheese Pie Dough into a circle that’s slightly larger than a pie plate.
- Lift the parchment paper genetly and flip it over onto the pie plate. Centering it the best you can.
- Peel off the parchment paper and tuck the sides of the pie dough down around the inside of the pie plate.
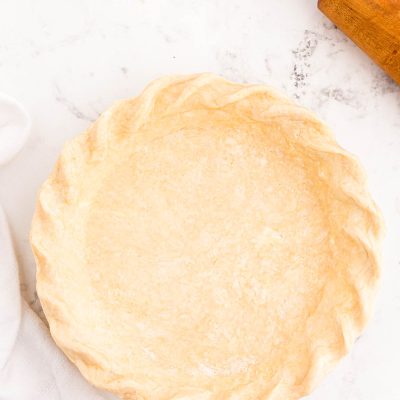
- Fold the excess dough under itself at the rim then pinch dough or press edges with a fork to make a finished edge. You could also use the other section of dough to create strips that can be twisted or braided together for a decorative edge.
- Preheat the oven and carefully place aluminum foil down into the pie crust and up the sides. Fill the foil with pie weights.
- Bake until the crust begins to look dry and flaky. Remove the pie weights and aluminum foil.
- Prick the bottom and sides of the pie crust with a fork and then continue to bake until the crust is golden brown.
Frequently Asked Questions
How To Store
Store this Cream Cheese Pie Dough in the refrigerator for up to 2 to 3 days.
Can I Freeze This Pie Dough To Use Later?
Absolutely! When I make this recipe I like to double it or even triple it so that I can tuck crusts away in the freezer for later. You can store the pie dough in the freezer for up to one month.
Then just thaw it completely in the refrigerator before rolling it out to use!
Is This Pie Crust Easy To Use For Lattice Crust?
It can be a little more difficult to work with since the cream cheese crust is softer and a bit more delicate. I think you could certainly try making a lattice crust with it but I’d recommend staying away from making decorative accents with it.
What Are Pie Weights?
They are small ceramic or metal balls that you place into the bottom of the pie dough when you blind bake the crust. This keeps the crust from puffing up or shrinking in the oven while it’s baking.
You can easily find them on amazon. You could also just use dried beans or uncooked rice.
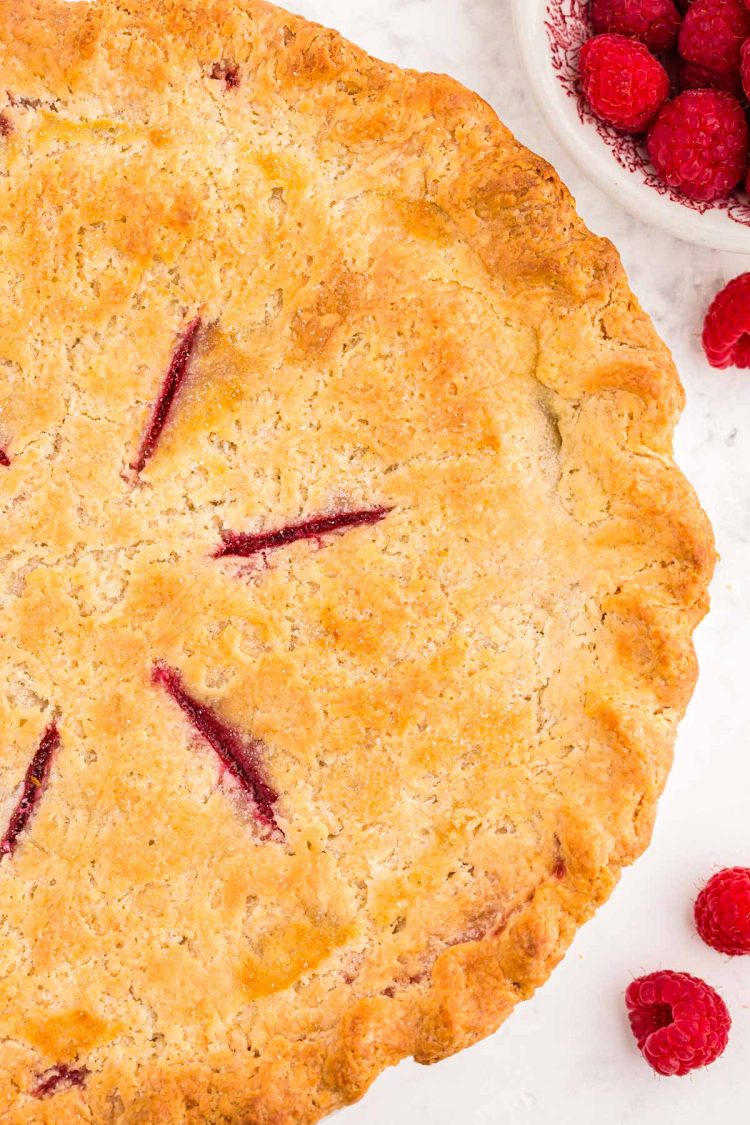
Fill this Cream Cheese Pie Crust up with wonderful homemade pie filling for an amazing dessert everyone will love! Here are some of my favorite pie recipes that would pair beautifully with this delicious crust!
- Classic Blueberry Pie (With Lattice Crust) – Prep this fresh blueberry pie in just 15 minutes, bake it, and then devour a slice covered in vanilla ice cream or whipped cream!
- Chocolate Toll House Pie – This chocolate cookie filling is loaded with chocolate chips and walnuts, enjoy this pie with whipped cream or vanilla ice cream!
- Dutch Apple Pie – Spiced apple filling fills a flaky pie crust and then gets finished off with a delicious homemade crumb topping!
- French Silk Pie – Velvety, chocolatey mousse-like filling gets piled high and topped with homemade whipped cream!
- Berry Pie – The sweet and tart flavors of blackberries, strawberries, raspberries, and blueberries fill up a single layer pie crust!
Let’s Connect!
If you’ve tried this recipe, please let me know how you liked it in the comments below and leave a review. I love hearing from you!
Don’t forget to tag me – @sugarandsoulco – on Instagram and Pinterest with your photos or join our Sugar & Soul Show-offs Community and share them there, where you can join our recipe challenges!

Cream Cheese Pie Crust
Ingredients
- 2 ½ cups all-purpose flour
- 1 tablespoon cornstarch
- 1 teaspoon salt
- 1 cup unsalted butter cut into cubes and placed in freezer
- 8 oz. cream cheese cold
- 1 tablespoon ice water
- 1 tablespoon apple cider vinegar
Instructions
- Mix together flour, cornstarch, and salt by pulsing several times in the food processor. You may also whisk in a large bowl.
- Cut the cream cheese into several large chunks and add to the food processor with the flour mixture. Pulse several times until flour forms a cornmeal consistency and chunks of cream cheese are not visible. (You can use a pastry blender or two forks to cut the cream cheese into the flour mixture by hand.)
- Add the cold/frozen butter cubes.
- Pulse again in the food processor until the butter is broken down, but there are still pea-size pieces of butter remaining. (This can also be done by hand with a pastry blender.)
- While pulsing the food processor, add the ice water and apple cider vinegar , just until combined and the mixture starts to come together . (If working by hand, sprinkle the water and vinegar over the mixture and lightly mix together.)
- Divide the dough into two sections and place each section on a sheet of plastic wrap (mixture will be very crumbly). Wrap the plastic wrap around the dough and press into a disc shape with your hands – press to bring the crumbles together into a single piece of dough. Chill the dough in the refrigerator for 30 minutes.
- Place one chilled disc of dough onto a sheet of parchment paper . Use a floured rolling pin to roll dough into a circle slightly larger than your pie plate and about ⅛” thick.
- Gently lift the sheet of parchment paper and flip it centered over onto the pie plate.
- Peel away the parchment paper. Lift the sides of the pie dough and tuck them down around the inside of the pie plate so that the dough is flush across the bottom and sides of the pie plate.
- Fold excess dough under itself at the rim (trim if there is more than enough to fold under. Pinch dough or press edges with a fork to make a finished edge. Or use the other disc of dough to create strips that can be twisted or braided together to form a decorative edge.
- To make a “rope” effect, build up an even border all the way around the crust perimeter at least ½” tall. Press two fingers side by side into the dough at an angle. Work in a circle to continue pressing two angled lines into the dough to form the rope-look border.
- Alternately, pinch dough or press edges with a fork to make a finished edge. Or use the other disc of dough to create strips that can be twisted or braided together to form a decorative edge.
- For pies that do not require blind-baking, follow the instructions in the pie recipe.
To pre-bake or “blind bake” the crust:
- Preheat oven to 375°F.
- Carefully place aluminum foil down into the pie crust and up the sides. Fill foil-covered crust with pie weights (dry beans or dry rice also work).
- Bake for 15 min. until the crust is beginning to look dry and flaky.
- Remove the pie weights and aluminum foil.
- Prick the bottom and sides of pie crust with a fork and return to the oven to bake 15-20 minutes longer or until the crust is golden brown.
Notes
- Nutritional information is an estimate for each layer of crust (top and bottom).
- Keep ingredients as cold as possible at all times. When the cold butter melts in the hot oven, it leaves pockets in the crust that become those flaky layers we love.
- The cornstarch in the recipe makes a bit lighter, more tender crust similar to using cake flour.
- The apple cider vinegar prevents gluten development and keeps the crust tender.
- A lot of cream cheese pie crust recipes have you soften the cream cheese and butter and just beat them together. The method in this recipe gives you a delicious cream cheese crust with all the buttery crisp flakiness you want in a pie crust.
- Cream cheese crust is softer and more delicate than a typical pie crust recipe, making it a little more difficult to work with or make decorative accents.
- The dough can be stored in the refrigerator for 2-3 days or frozen for up to 1 month.
Nutrition
Did You Make This Recipe?
Don’t forget to share it with me on Instagram @sugarandsoulco and follow on Tiktok @sugarandsoulco and Pinterest @sugarandsoulco for more!


Share your thoughts!
Love this recipe? Share your thoughts with me below and leave a review! And don’t forget to connect on your favorite social platform below!