Spruce up your holiday season with these Dried Orange Slices that are made right in the oven! These beautiful, dried slices of citrus can be used in many festive ways, from being strung onto garlands or used for cocktail garnishes to dressing up your holiday desserts!
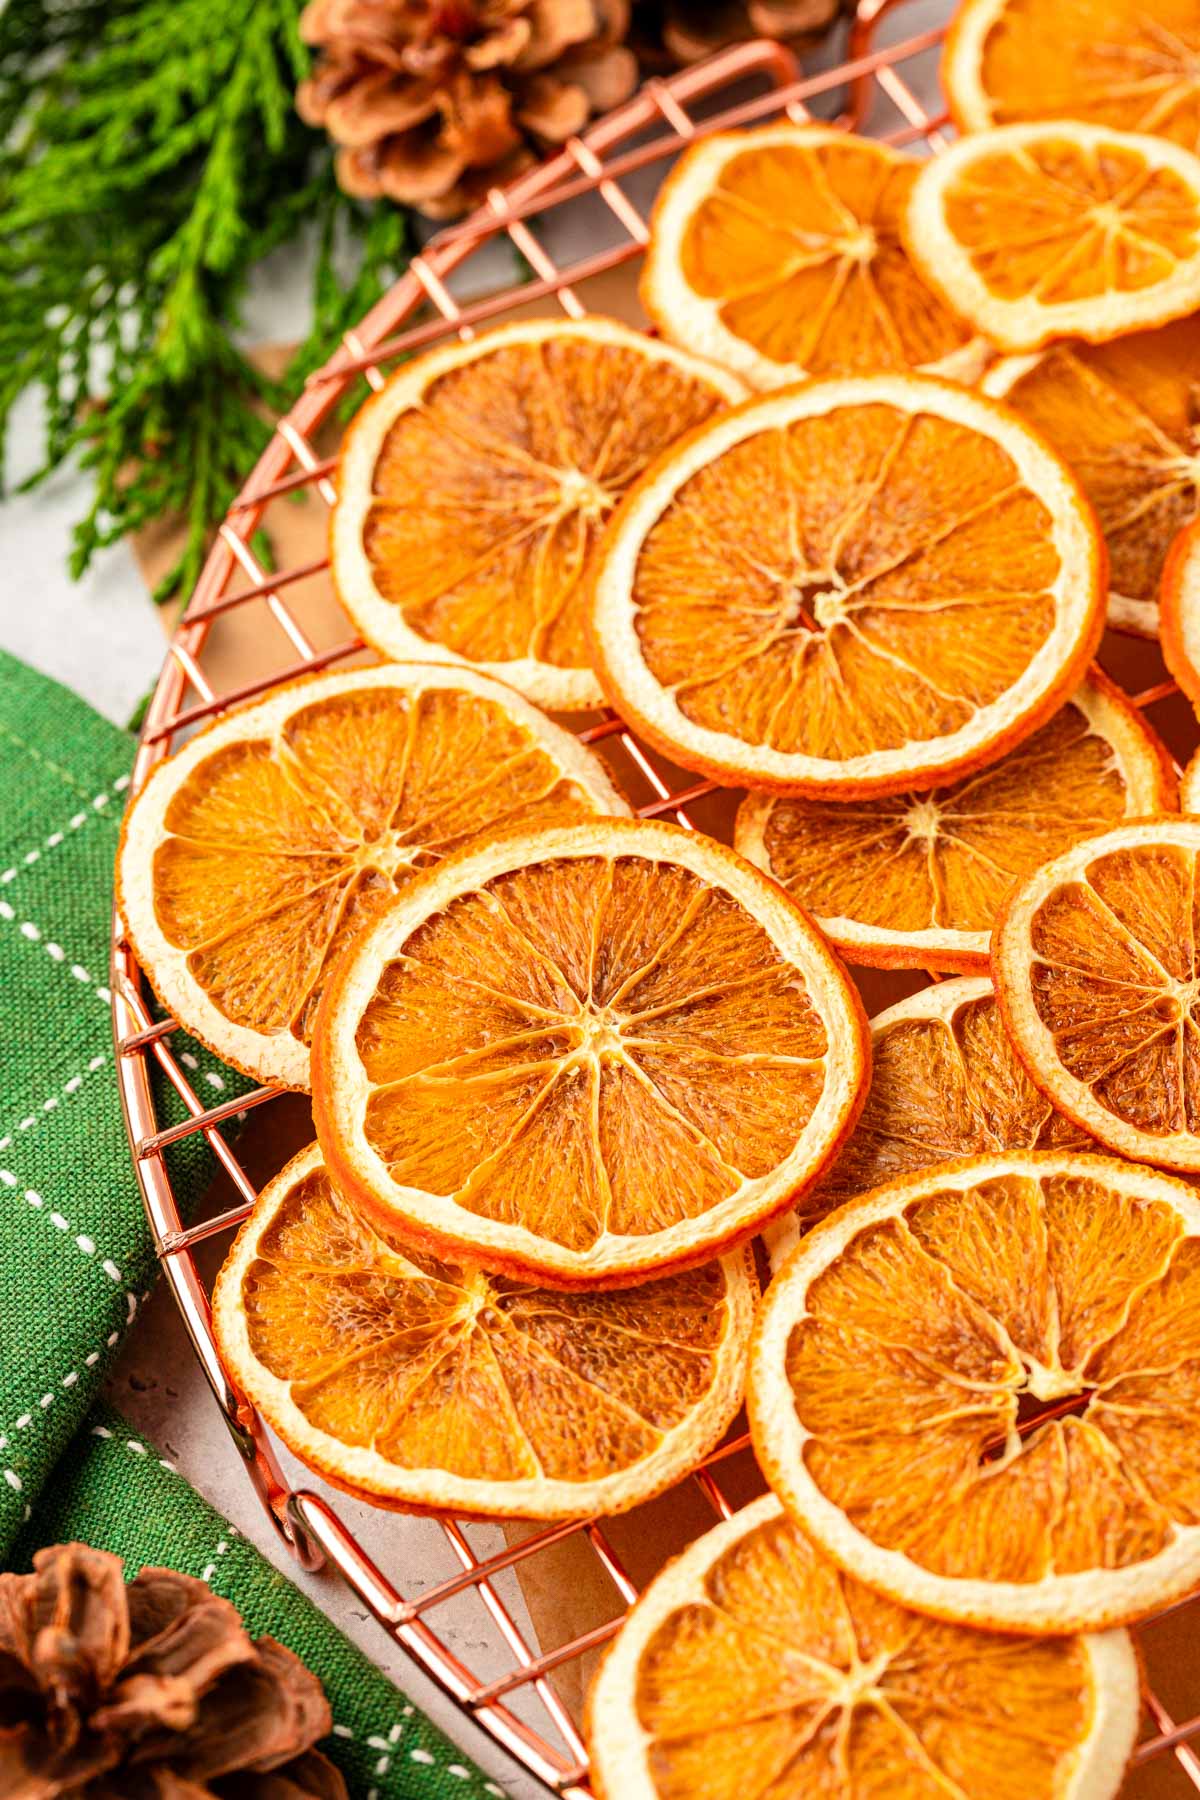
Dried Orange Slices Are So Versatile!
If you’re going to spend time doing a DIY project, then what better one to choose than these Dried Orange Slices! When you’re done, your dried orange slices can be used in a handful of ways to show you’ve gone the extra mile this holiday season!
These Dried Oranges can be used anywhere that needs a festive touch! From gift tags to stringing them on the garland to use on your Christmas tree or mantle, to even garnishing your cocktails or desserts with them – the ideas are truly endless, giving you lots of creative freedom!
I’ve also found that dried oranges along with Sugar Coated Cranberries make for an excellent filler on seasonal Charcuterie boards! So, slide a batch in the oven and pop your TV on the Hallmark Channel and by the end of the day you’ll have dried orange slices to use however you please!
Rebecca’s Recipe Review
Taste: Dried orange, bitter rind. While they’re perfectly safe to eat, I don’t recommend it, use them more decoratively.
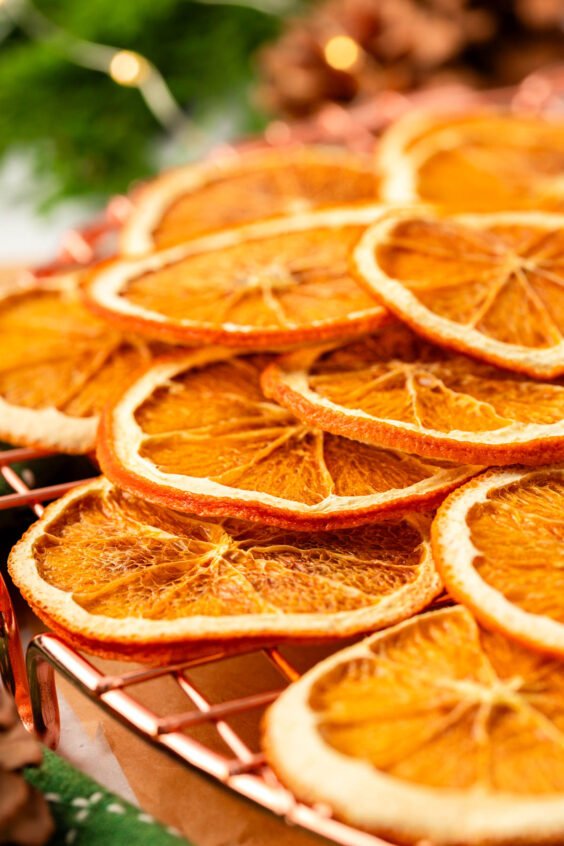
Texture: Dry and crisp
Ease: 1/10
Pros: Simple DIY that results in beautifully dried citrus for decor and garnishes!
Cons: Even though this is a really easy recipe, it does take a long time to bake.
Would I Make This Again? Yes, it’s such a lovely holiday DIY project that you can use for so many things!
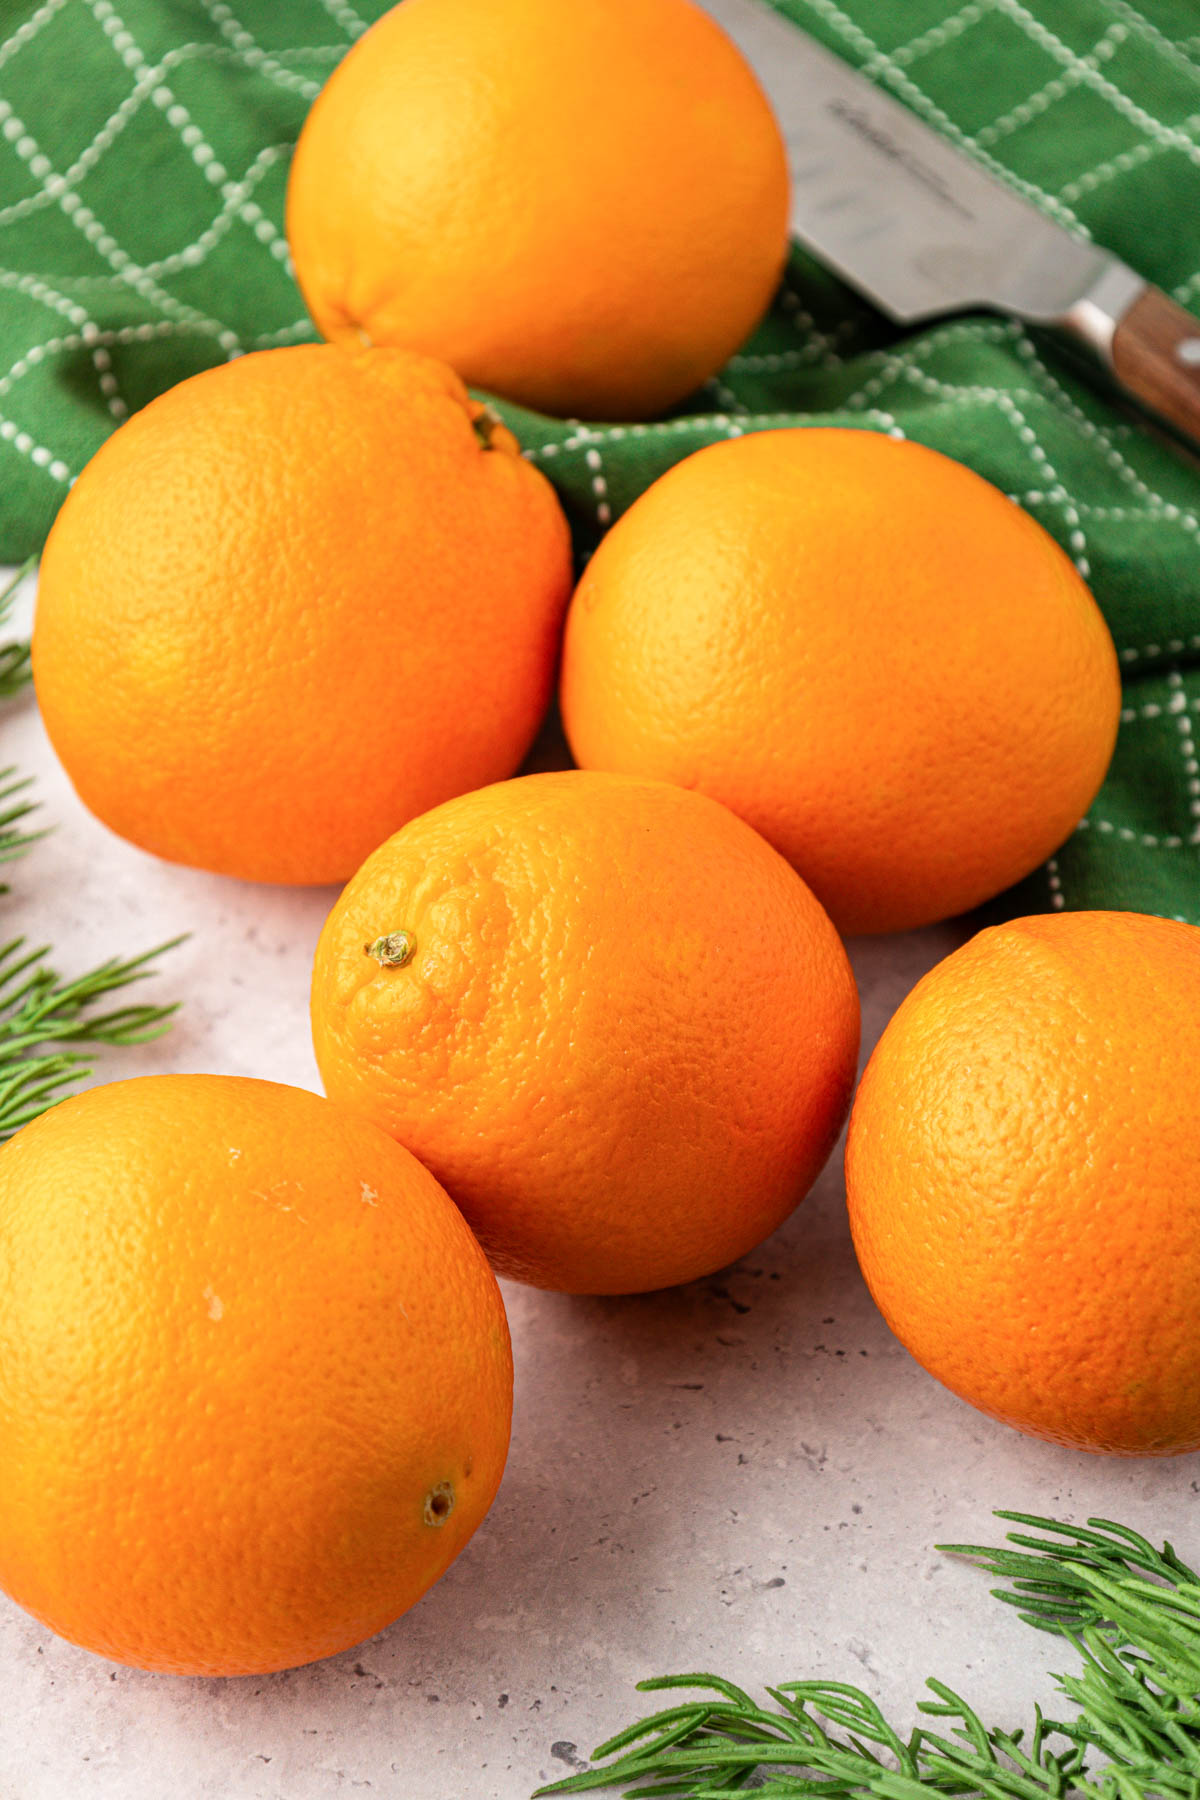
Ingredients & Tools To Make Dried Slices Of Orange
The only ingredients you need to make dried orange slices in the oven are the oranges themselves! I chose to use navel oranges, but feel free to use blood oranges or Cara Cara oranges to have a variety of colors.
Regardless of the type of orange you choose, you’ll want to select firm ones. It’s best to avoid soft oranges, as those are likely to be the juiciest, which will increase the amount of time it takes to dry them in the oven.
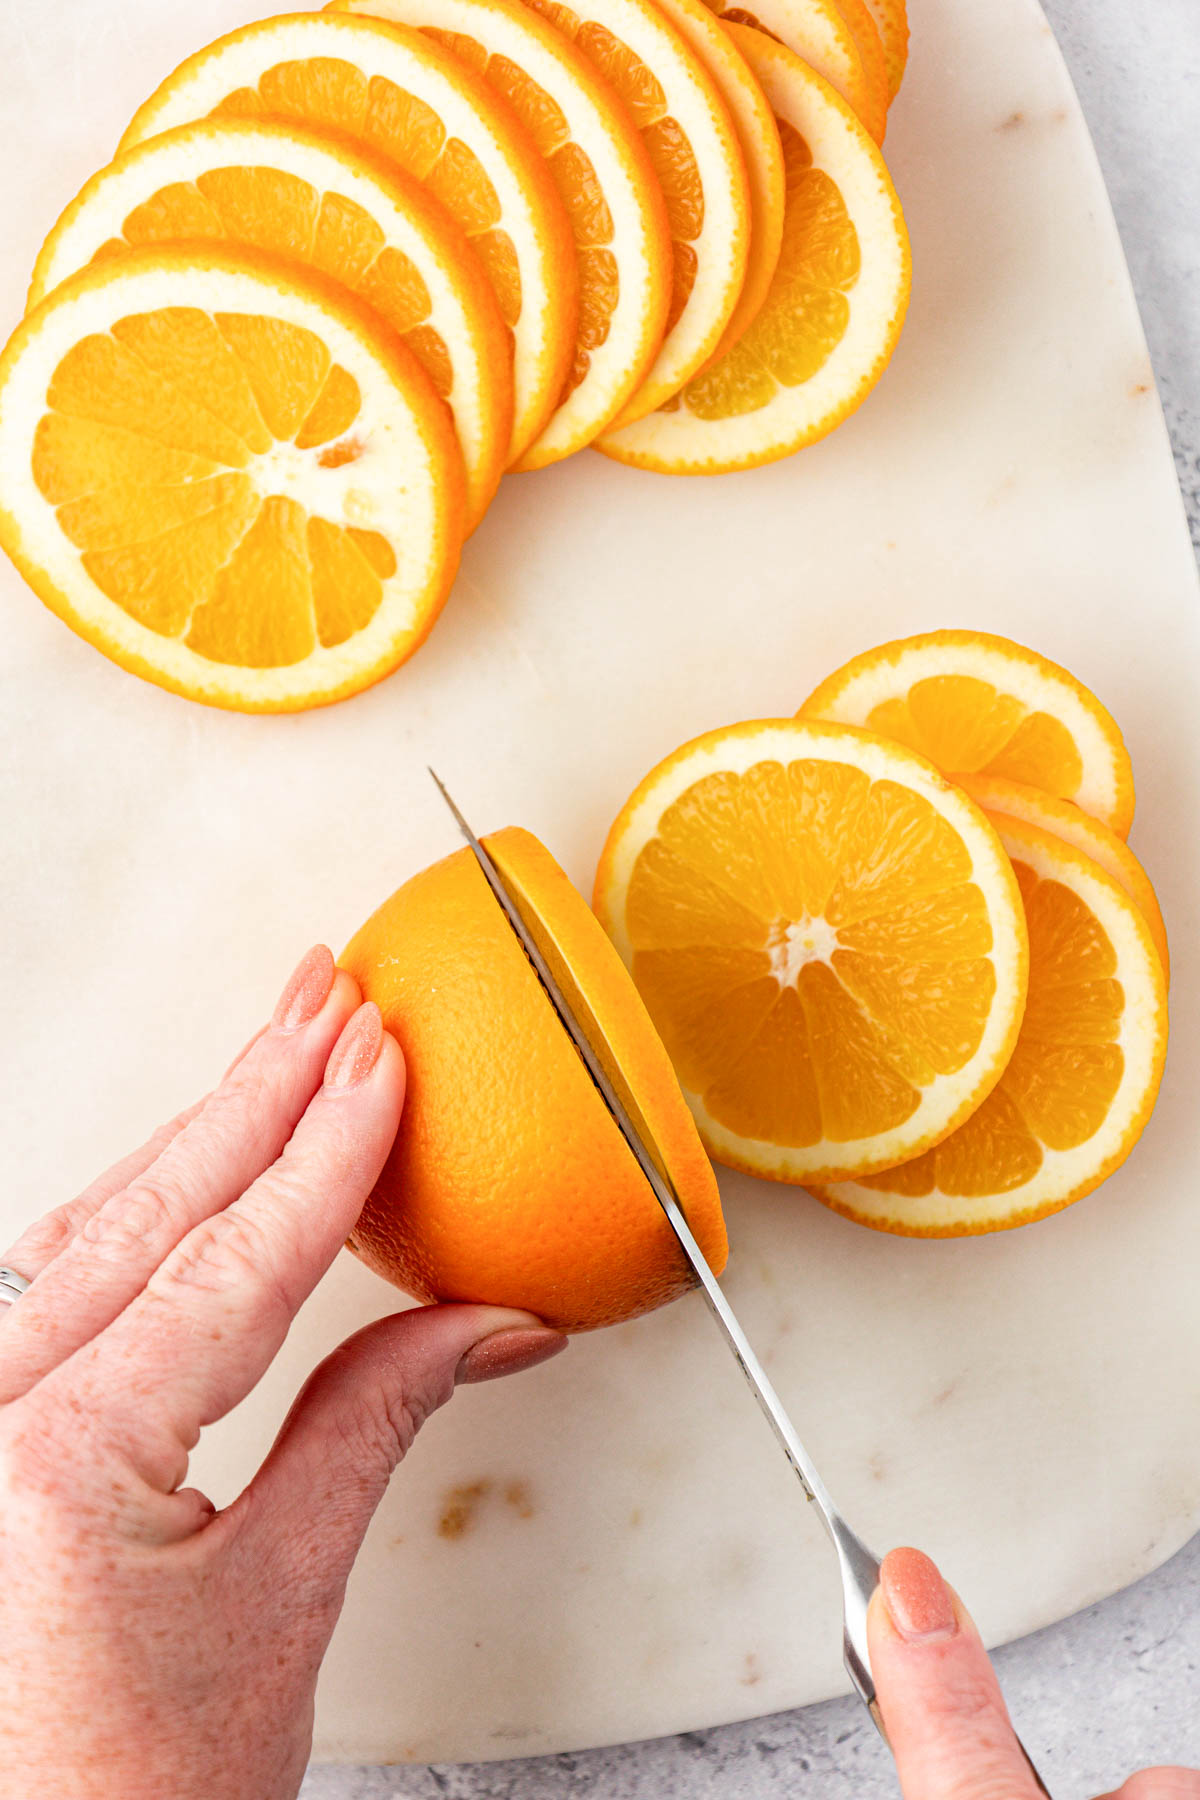
As for tools, a sharp chef’s knife is needed to cut clean, even orange slices. Once the oranges are sliced, you’ll need paper towels to dab them to absorb any juices to reduce the baking time as much as possible.
Lastly, you’ll also need large baking pans and parchment paper. If you have them, large wire racks are also ideal when drying the oranges to reduce the baking time. However, if you don’t have any you can make this recipe work with parchment paper alone.
How To Make Dried Orange Slices (Without A Dehydrator)
- Preheat the oven.
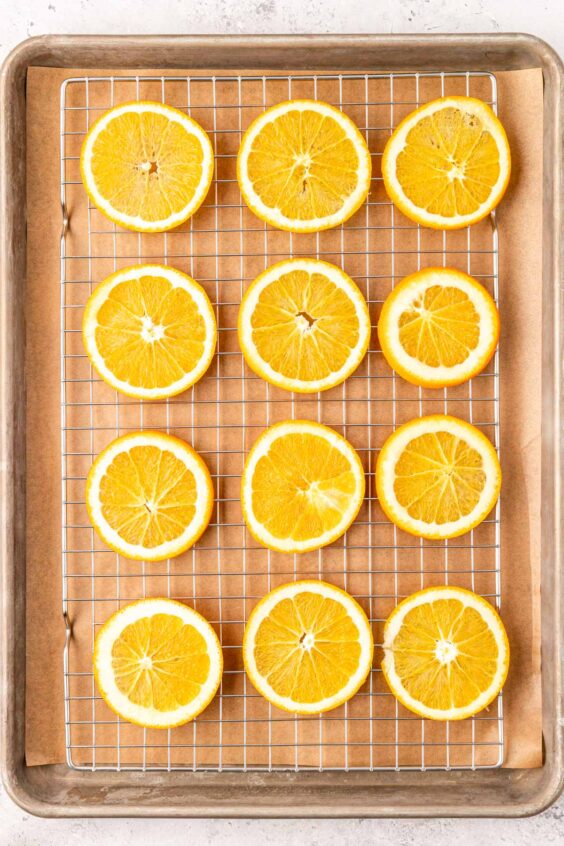
- Line two large baking pans with parchment paper. Afterward, place a wire rack on top of each lined pan.
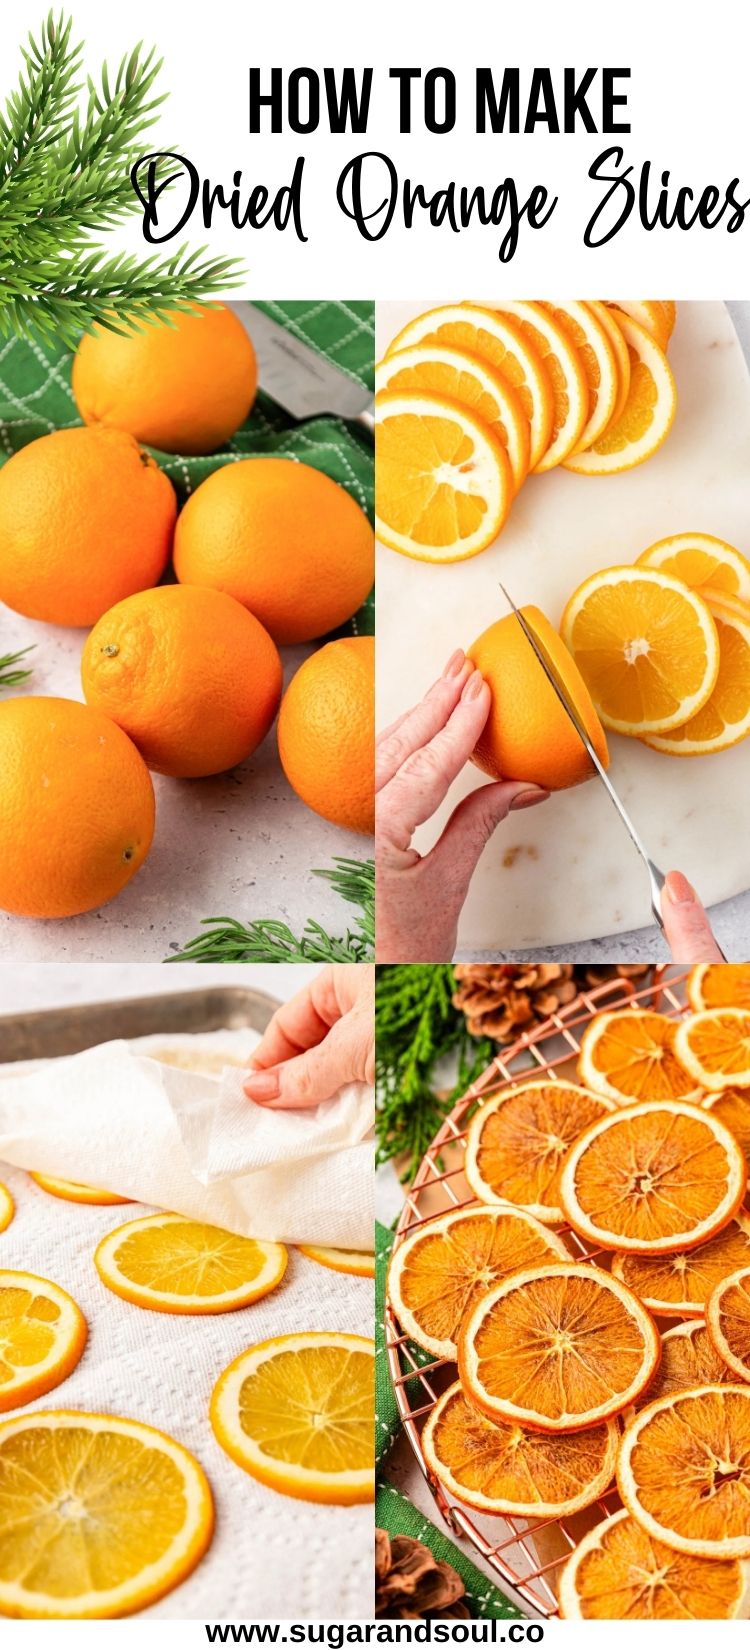
- Slice the oranges into thin slices using a sharp chef’s knife.
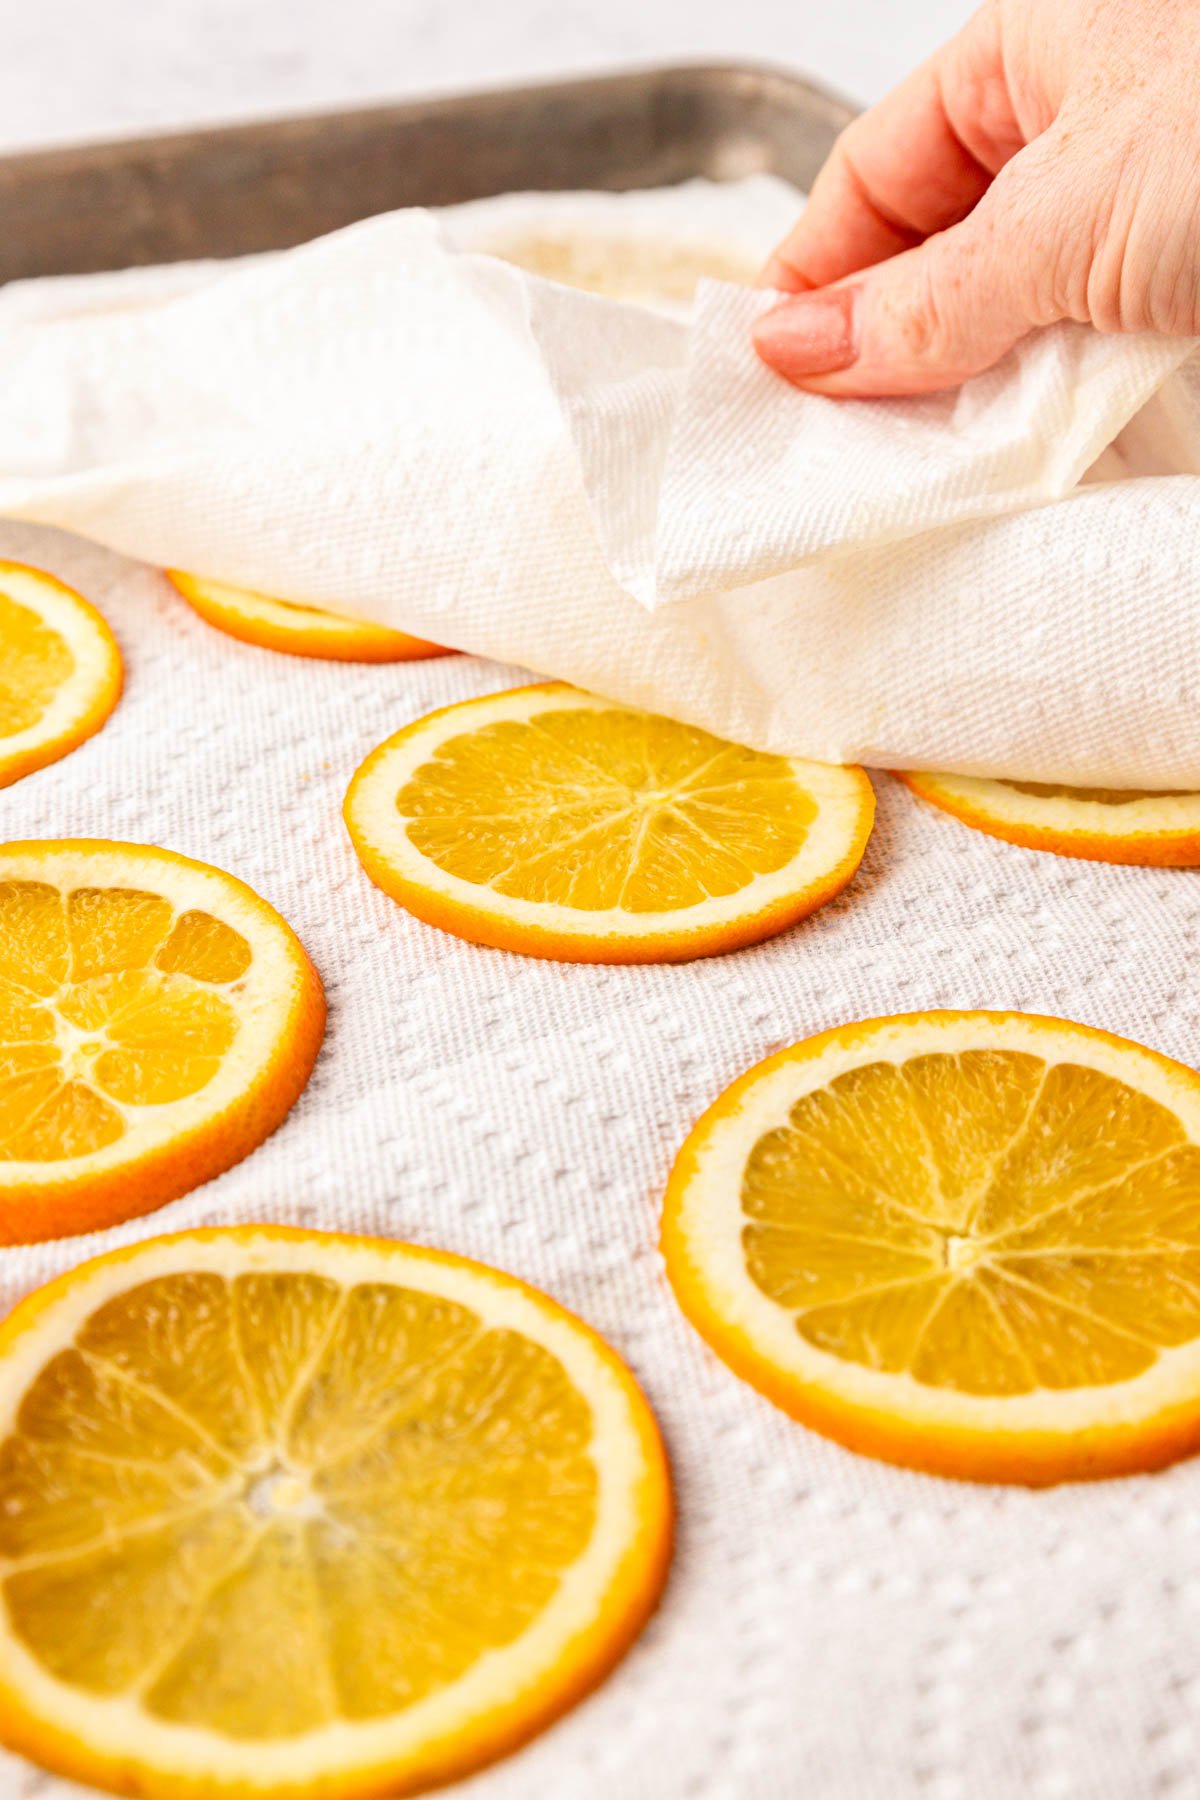
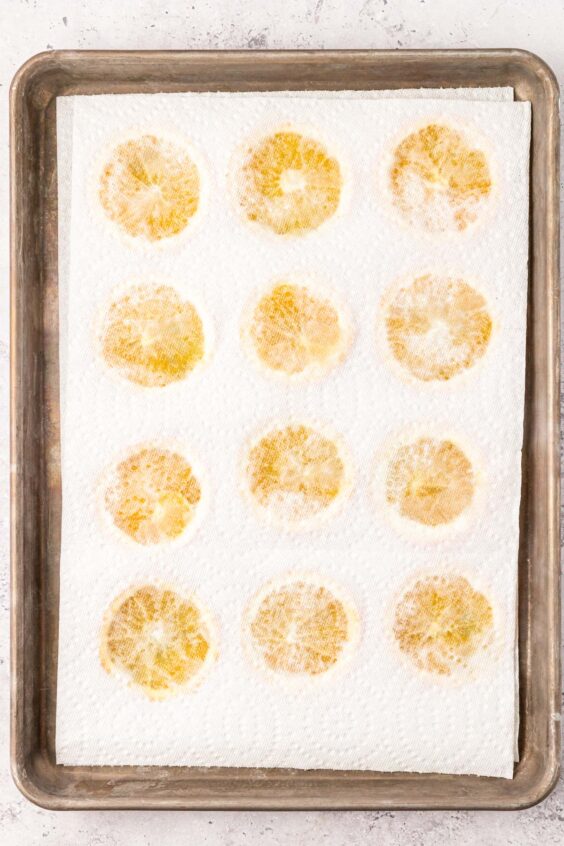
- Lay the thin slices onto the paper towels in a single layer. Then use a paper towel to press down onto the oranges to absorb as much juice from the slices as possible.
- Transfer the orange slices onto the wire racks that are on the lined baking sheets. Then bake the slices, flipping them after every hour of baking time.
- Check the slices after the recommended amount of oven time. Transfer any dried slices onto a plate and then slide any remaining oranges back into the oven at 30-minute increments. Repeat this process until all of the orange slices are fully dried.
- Cool the orange slices to room temperature and then enjoy using them for garnishes or decorations!
- If your oven has a convection option, please use it! The convection setting will work best as it dries out the citrus faster and more evenly.
- If you don’t have wire racks that fit your baking pans, then you can just bake the orange slices right on the parchment paper. However, keep in mind that it will take longer to dry the fruit out!
- Be sure to cut the oranges into thin slices! The thicker the slice the longer it will take to dry them out in the oven.
- Really press the orange slices into the paper towels yet be careful not to damage the slices in the process. This will help reduce the baking time, making for a quicker process.
- Any slices that still look plump or are a bit sticky need more time in the oven.
- Please note that if you’re using a non-convection oven or are baking the orange slices directly on parchment paper, then your bake time could increase by 1 to 2 hours.

How To Use Dried Oranges
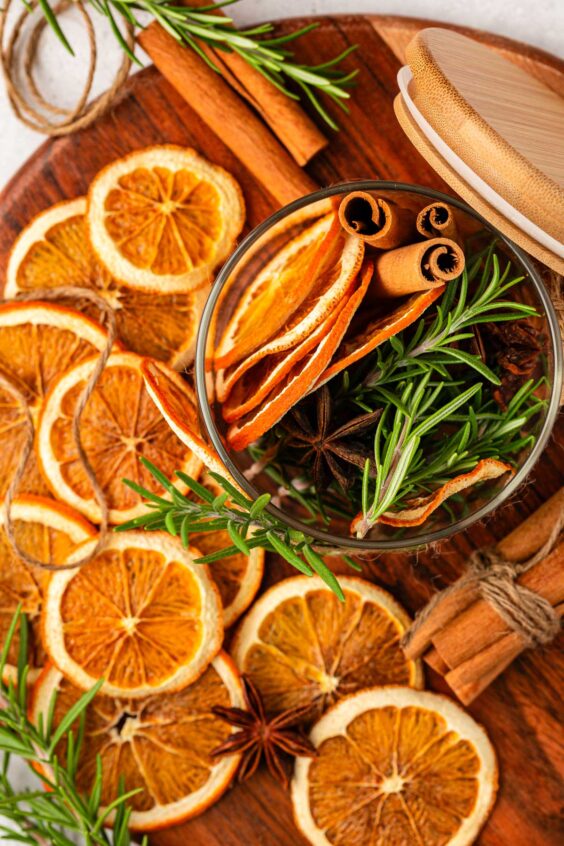
Decor – Make cute homemade ornaments with your dried oranges using twine, beads, and ribbon! Or use thin string or twine to thread through these orange slices to make an orange garland that you can hang on your Christmas tree!


Gift Tags – These dried orange slices make a nice finishing touch on packages and gifts! Arrange them with your gift tag with ribbon, twine, or spruce boughs.
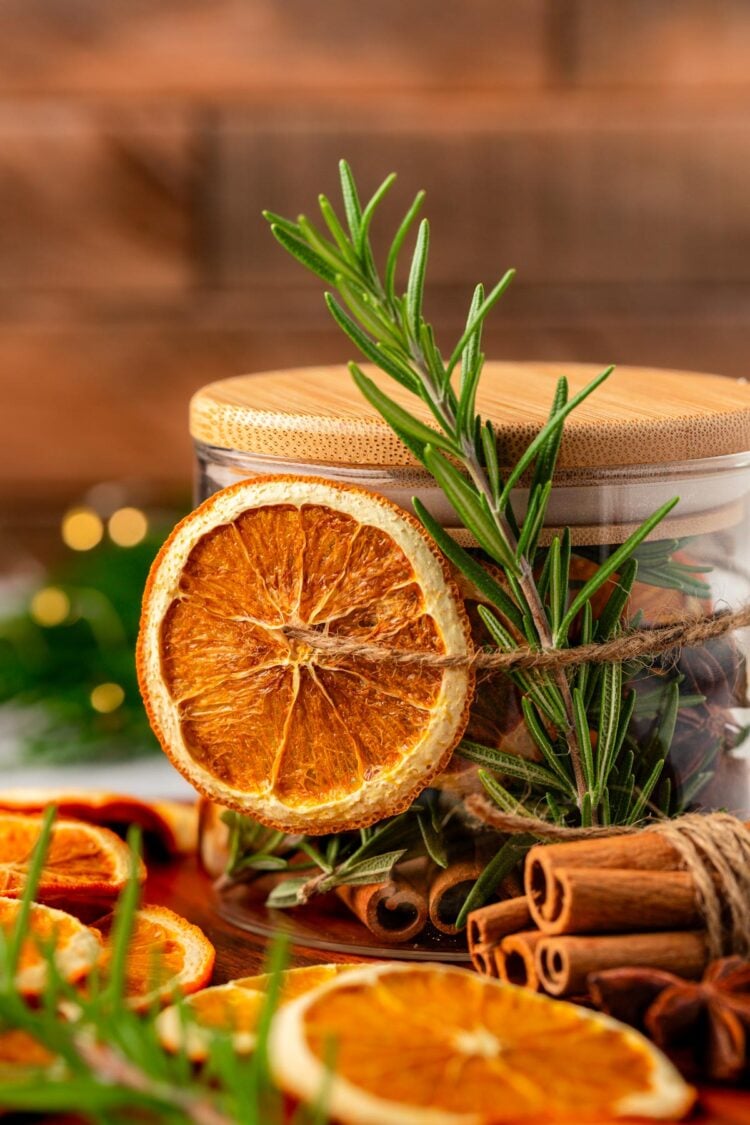

Cocktail Garnish – Whip up a batch Cranberry Orange Christmas Mimosa Punch or Christmas Sangria and then garnish each drink with these festive dried orange slices! You could also add them to a cocktail pick with other garnishes such as Sugar Coated Cranberries, fresh cranberries, or other fresh fruit. Here are more drink options you can garnish with dried orange slices:
- Thanksgiving Punch
- Autumn Punch
- Mulled Wine
- Easy Orange Pomegranate Mimosa
- Easy Party Punch (non-alcoholic)
- Sparkling Holiday Punch (Non-alcoholic) Recipe

Dessert Garnish – Use these dried orange slices to dress up your freshly baked pies, homemade cakes, or even cheesecakes! You can also use them to fill in spaces on your charcuterie boards!
Simmering Potpourri – Add these dried oranges to your simmering DIY Holiday Crock Pot Potpourri while family and friends are visiting!
This year, I used hot glue to attach mini clothespins to my dried orange slices and clipped them to my tree branches and garland!

How To Store Dried Orange Slices
Once the oranges are fully dried and cooled, you can string them up to use for decoration or transfer them into a gallon Ziploc bag until you’re ready to use them.
When dried orange slices are dried thoroughly, they can last for up to 2 years!

Did You Make This Recipe?
If you’ve tried this recipe, please let me know how you liked it in the comments below and leave a review. I love hearing from you!
Don’t forget to tag me – @sugarandsoulco – on Instagram and Pinterest with your photos or join our Sugar & Soul Show-offs Community and share them there.
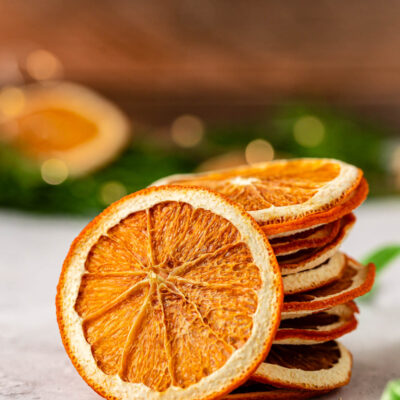

Dried Orange Slices
Equipment
- chef knife
- paper towels
- Large baking pan
- Parchment paper
- large wire rack that fits in baking pan
Ingredients
- 3 navel oranges preferably very firm
Instructions
- Preheat the oven to 175°F (if you have a convection option on your oven, this works best as it dries out the citrus faster and more evenly).
- Line two large baking pans with parchment paper and then place a wire rack on top of each of the parchment paper-lined pans. If you don't have wire racks that fit your pans, you can bake them right on the parchment, but it will take longer.
- Slice the 3 navel oranges into thin slices (you can easily use more or less depending on how much you want to make; three regular oranges fill two 12×17-inch baking pans perfectly.) You should get about 12 slices per orange after removing the ends where the slices are mostly pith.
- Lay the slices out between layers of paper towels and press to absorb as much of the juice as possible; this will help reduce the baking time.
- Arrange the prepared orange slices on the wire racks and bake for 1 hour. Flip the slices and bake for 1 hour. Flip again and bake for 1 more hour for 3 hours total.
- Check the slices after the initial 3 hours of baking. Transfer any slices that are fully dried to a plate. Any that sill look plump or that are still a bit sticky can be flipped and go back in the oven for 30 minutes.
- Check the slices again, remove the slices that are done, and bake the rest for another 30 minutes. Repeat this process until all of the slices are fully dried. Note that if using a non-convection oven or baking directly on the parchment could add 1 to 2 hours to the baking time.
- Use as drink or dessert garnishes or decor.
Nutrition
Did You Make This Recipe?
Don’t forget to share it with me on Instagram @sugarandsoulco and follow on Tiktok @sugarandsoulco and Pinterest @sugarandsoulco for more!


Share your thoughts!
Love this recipe? Share your thoughts with me below and leave a review! And don’t forget to connect on your favorite social platform below!