These Heart-Shaped Red Velvet Whoopie Pies are a sweet and festive hand-held treat that is filled with a 3-ingredient cream cheese frosting! Prep this easy dessert for your favorite Valentine in just 20 minutes!
Try some of my other moist and delicious red velvet recipes such as my 5-Ingredient Red Velvet Cupcakes or Red Velvet Cake with Cream Cheese Frosting!

These Heart-Shaped Red Velvet Whoopie Pies are a treat that’ll please your loved ones and their taste buds! With their homemade tender red velvet cookies and creamy cream cheese filling, they’re sure to be a hit with anyone lucky enough to receive one!
Whether you’re getting dolled up for a fancy night out or eating your favorite dinner at home while watching one of the 60 Best Romantic Comedies this is the dessert to polish the night off with! Its heart shape gives off all the romantic vibes while simultaneously enjoying their bakery-level taste!
If you’re making these for Valentine’s Day, try these Heart Jam Cookies, too!
What I Love About This Recipe!
- Take A Shortcut! Trade in the pantry staple ingredients and instead just use a boxed red velvet cake mix! Then feel free to take another shortcut by grabbing a can of prepared cream cheese frosting from the store!
- Easy To Make! Don’t let the heart shape make you think that these treats are out of your league! All you do is trace a heart onto parchment paper and then trace it with a piping bag of batter! So easy that literally, anyone can do it!
- Make Them Ahead Of Time! Prepare the batter and filling up to 3 days ahead of time and then store them in the refrigerator. When you’re ready to make your Valentine’s treats just pull them out of the fridge!
- Everyone Loves Them! Whether they’re for your special someone, kids, or co-workers EVERYONE will want one of these festive hand-held treats to enjoy!

Ingredient Notes
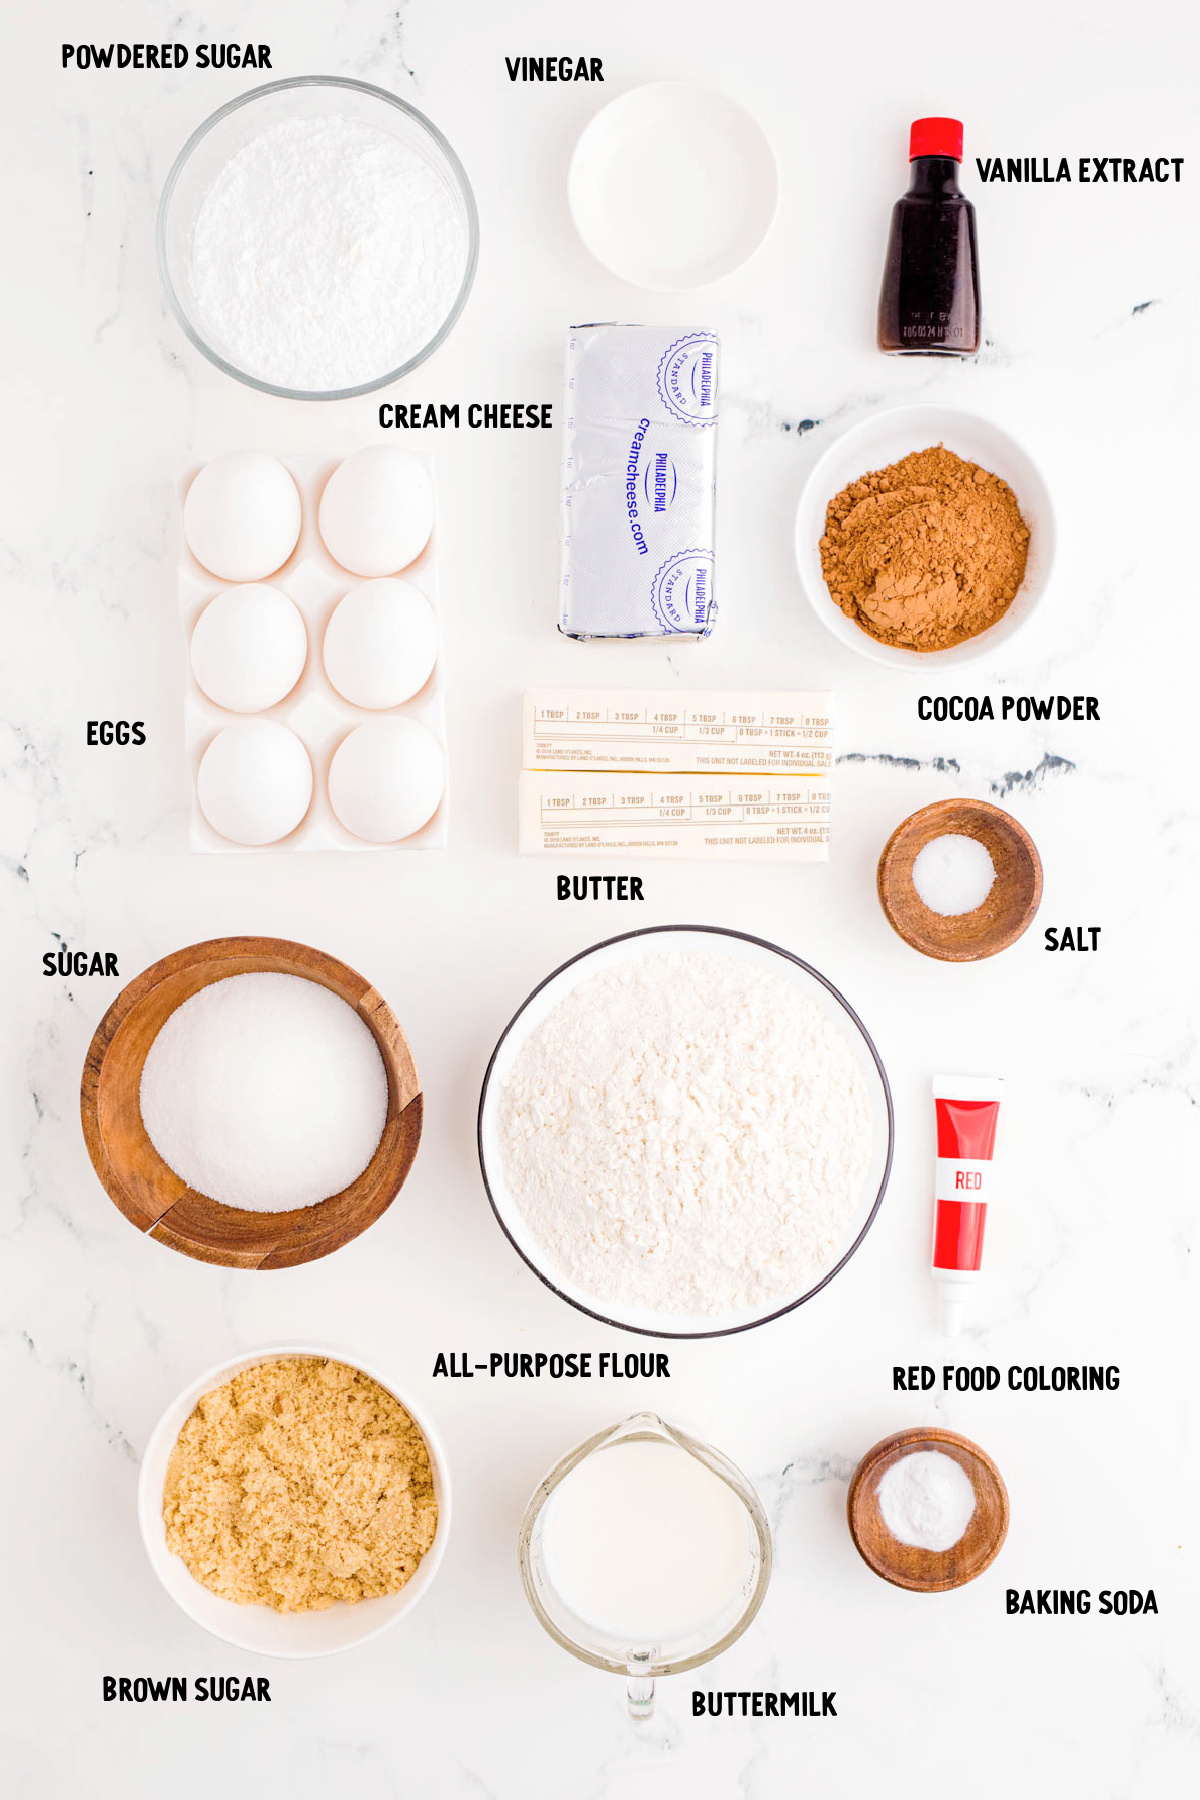
When making this Red Velvet Whoopie Pie Recipe you’ll notice that the majority of the ingredients are pantry staples! Making it even easier to assemble a batch to share!
First, you’ll need all-purpose flour, unsweetened cocoa powder, baking soda, and salt. Then you’ll cream the butter with white sugar and brown sugar before adding in eggs and buttermilk.
Once the dry ingredients are added to the wet ingredients you’ll finish off the recipe with the last two ingredients, vanilla extract, and white vinegar.
After the red velvet cakes have baked and cooled it’s time to whip up the cream cheese filling! To make this all that’s needed is cream cheese, salted butter, and powdered sugar.
How To Make Heart-Shaped Red Velvet Whoopie Pies
Stencil heart shapes all over parchment paper. Then flip it over and place it on the baking sheet. This way, the batter doesn’t go directly onto the pencil markings.
The hearts should be all the same size so that they pair up better when assembling the whoopie pies. That being said, I’ve found the best way to reach that goal is to use a small heart-shaped cookie cutter.
All I do is trace around the cookie cutter onto the parchment paper. If you don’t have a heart-shaped cutter you can just make your own template to use!

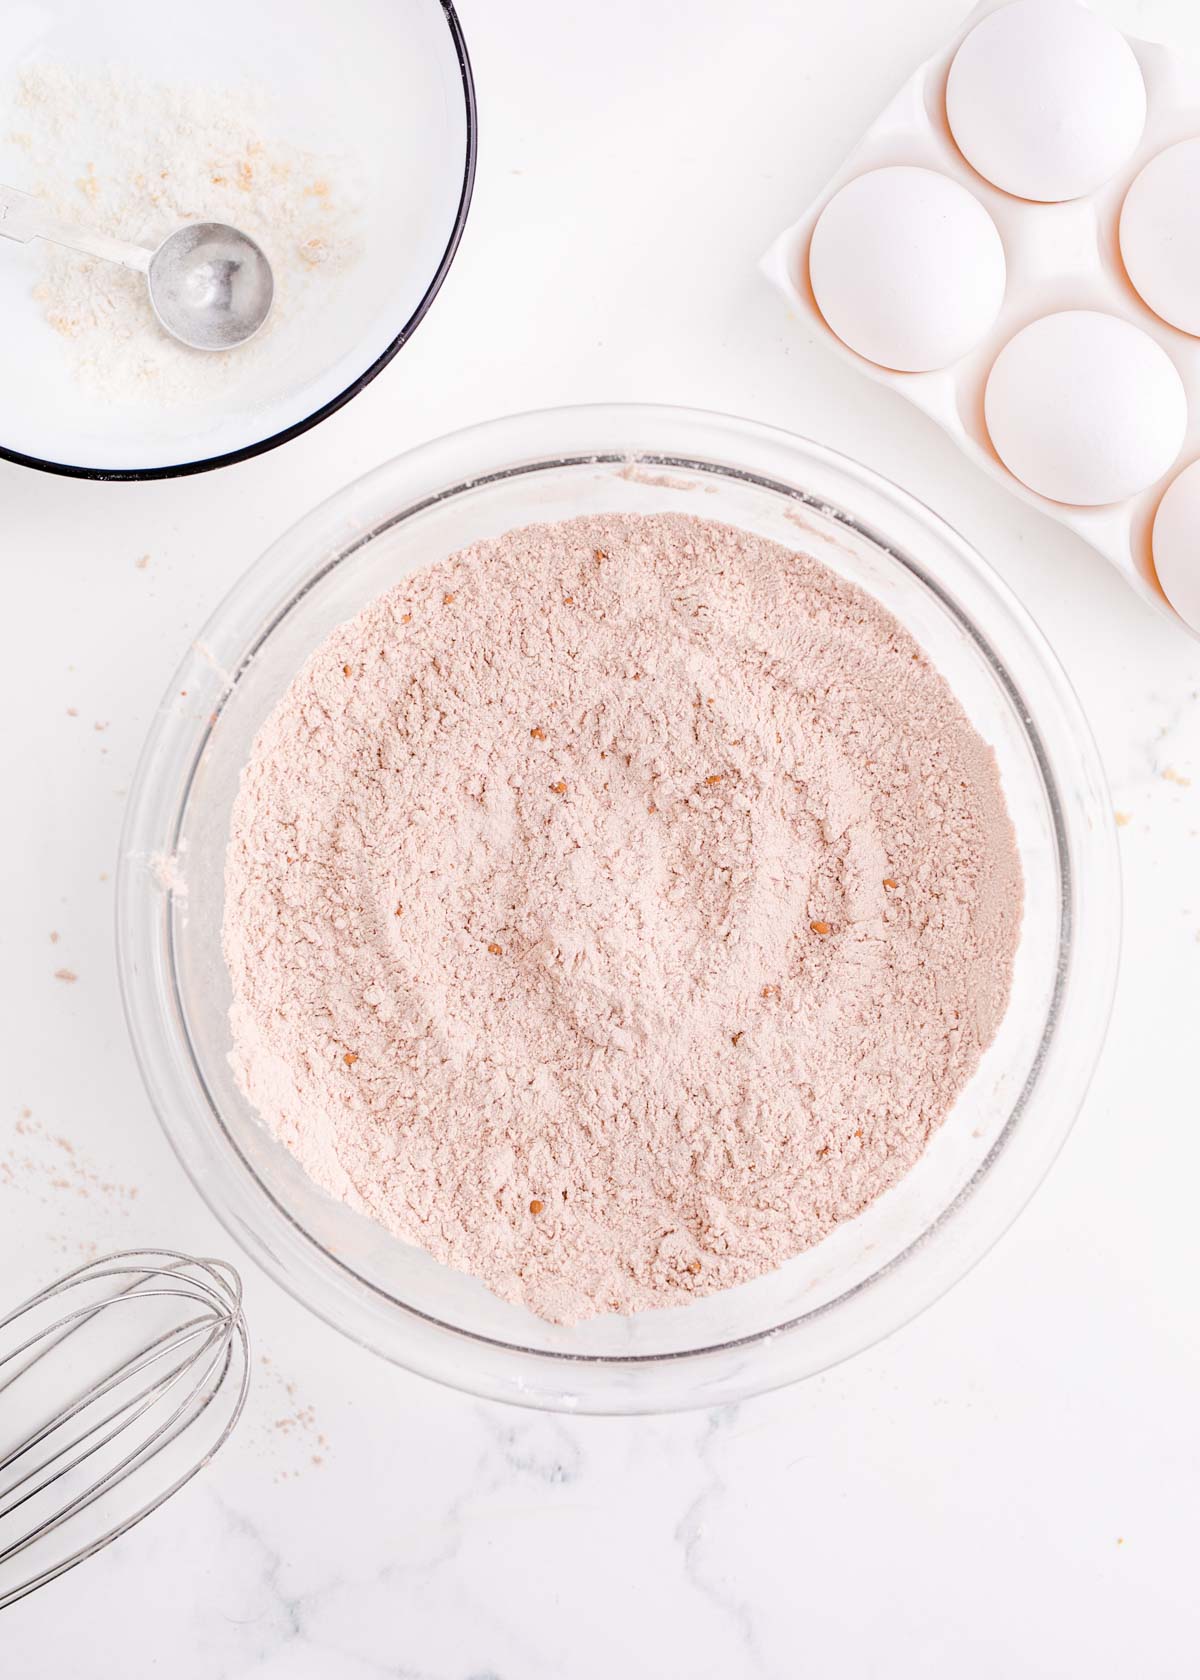
Whisk the flour, cocoa, baking soda, and salt together in a medium bowl. Set this aside.
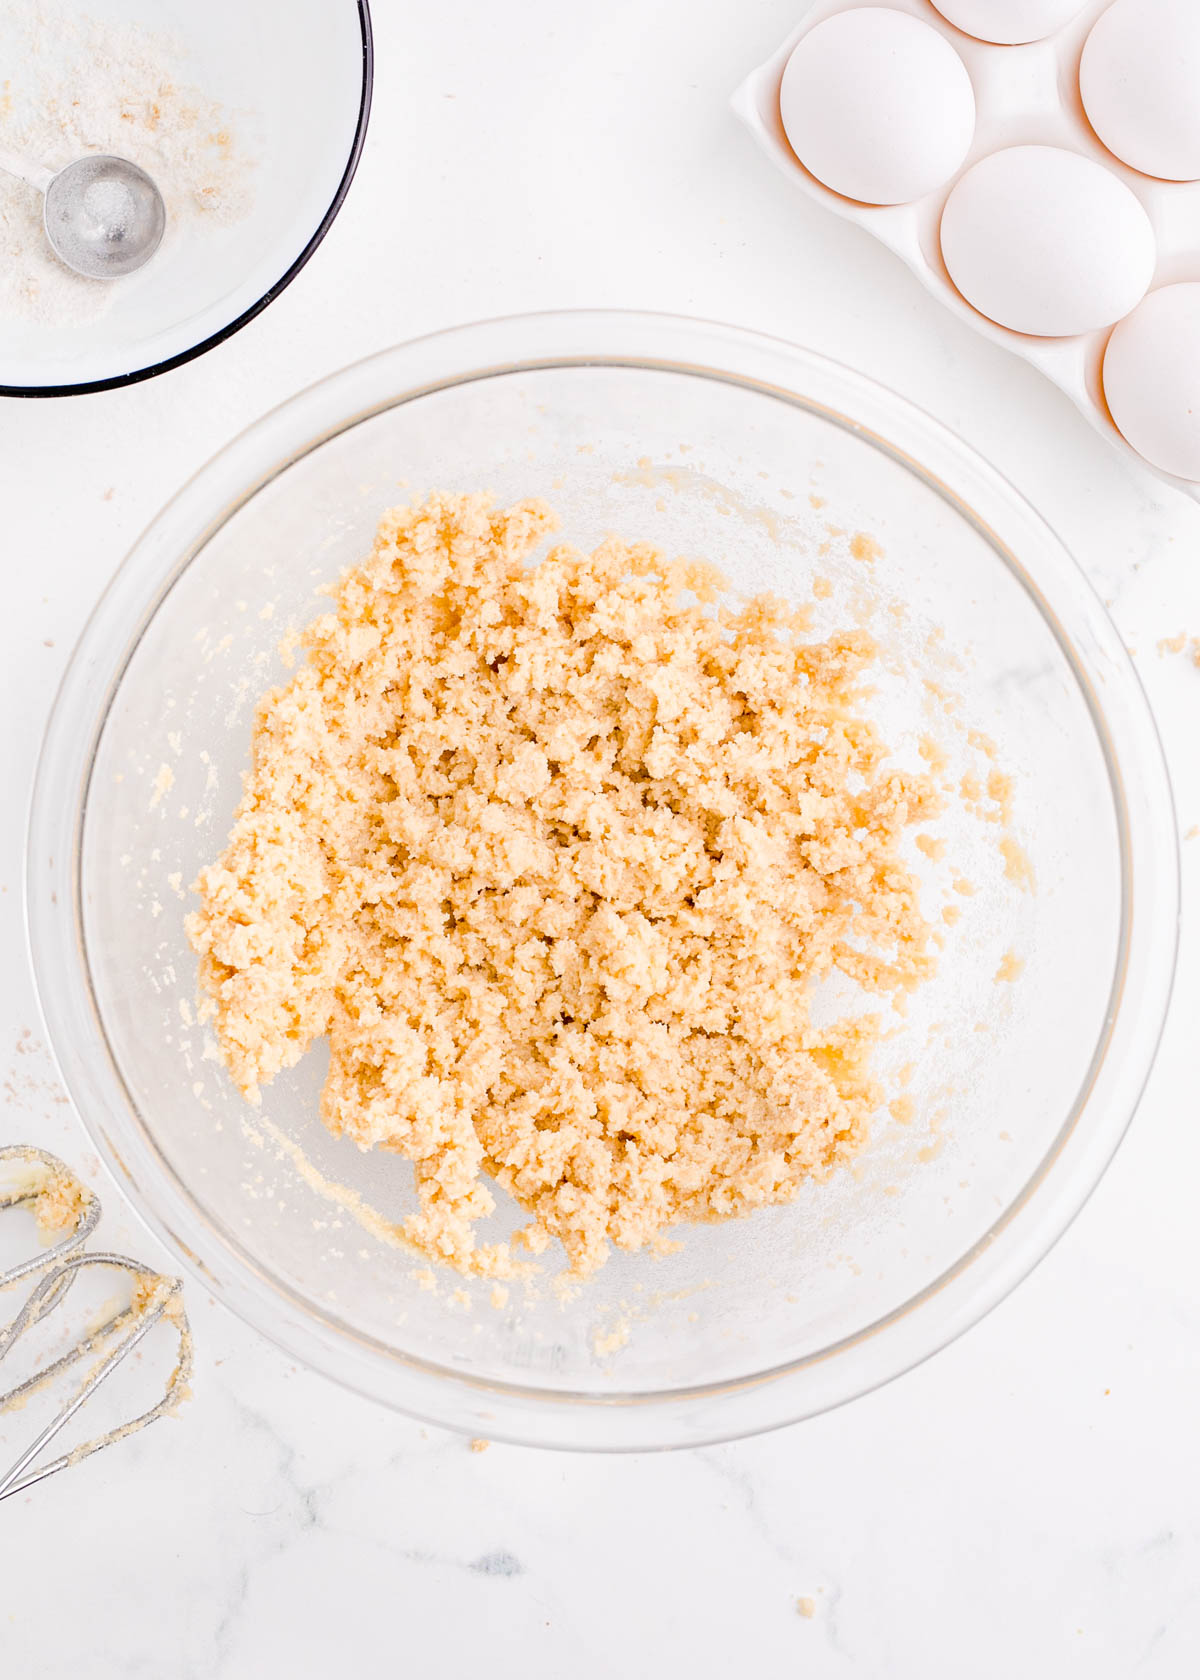
Cream the butter on high power until it becomes creamy. Then add in the granulated sugar and brown sugar, beating again until fluffy.
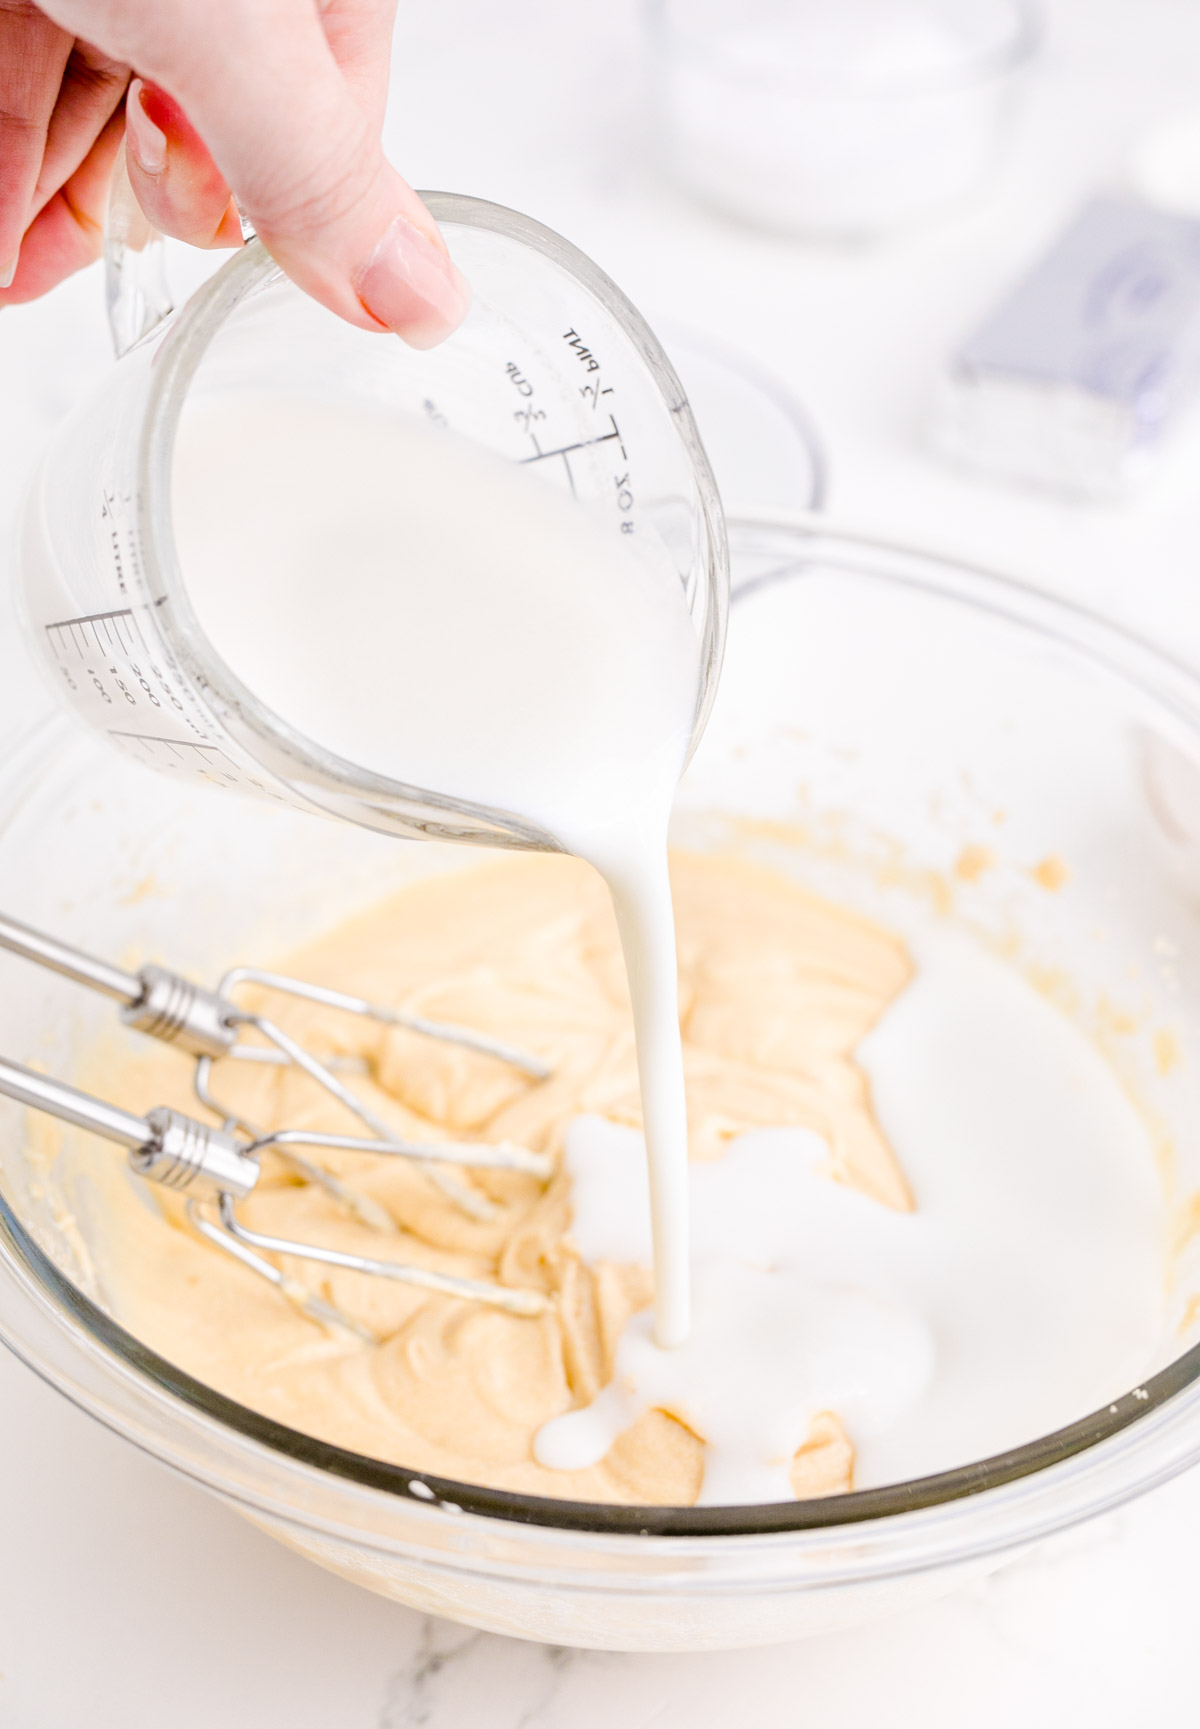
Beat in the eggs until smooth. Then pour in the buttermilk and mix just until combined.
Add the red food coloring and mix until combined.
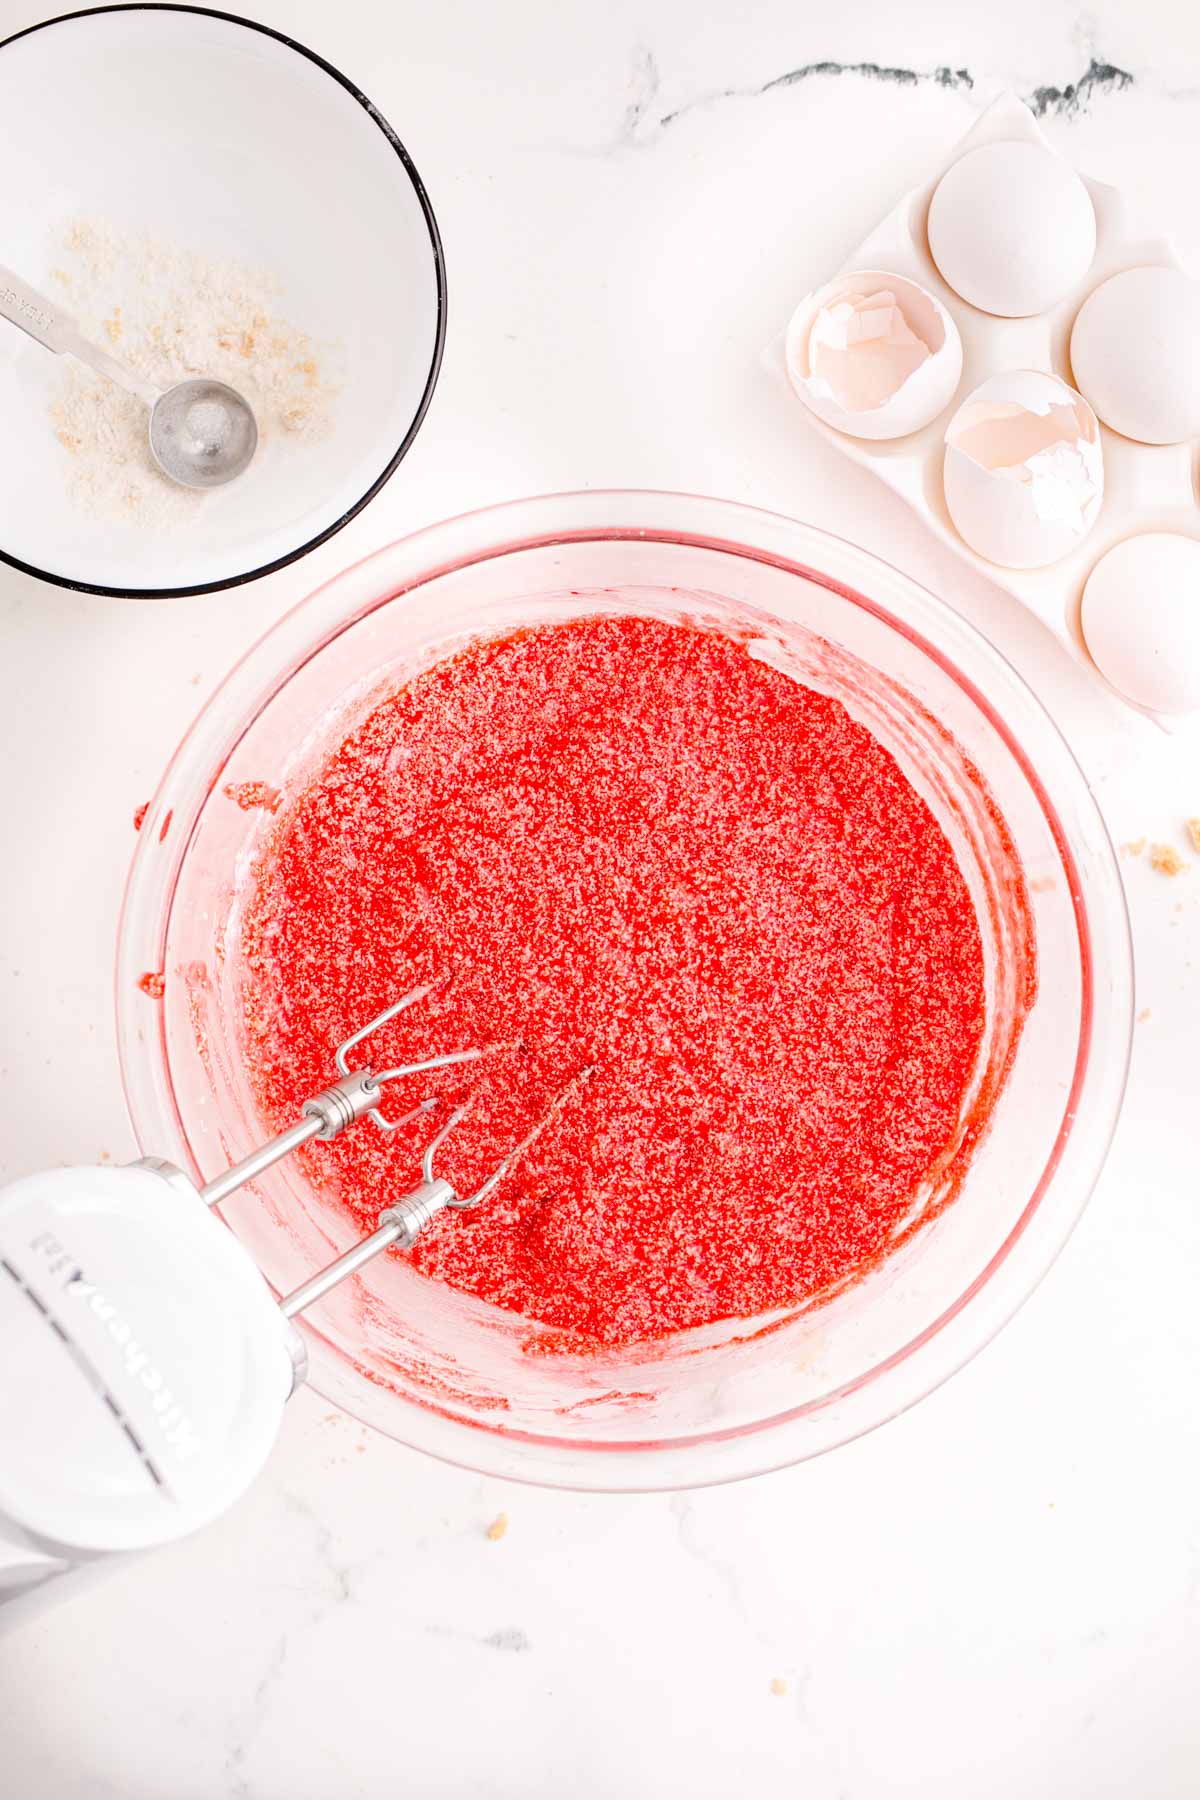
Combine the flour mixture into the wet ingredients and then mix at low speed.
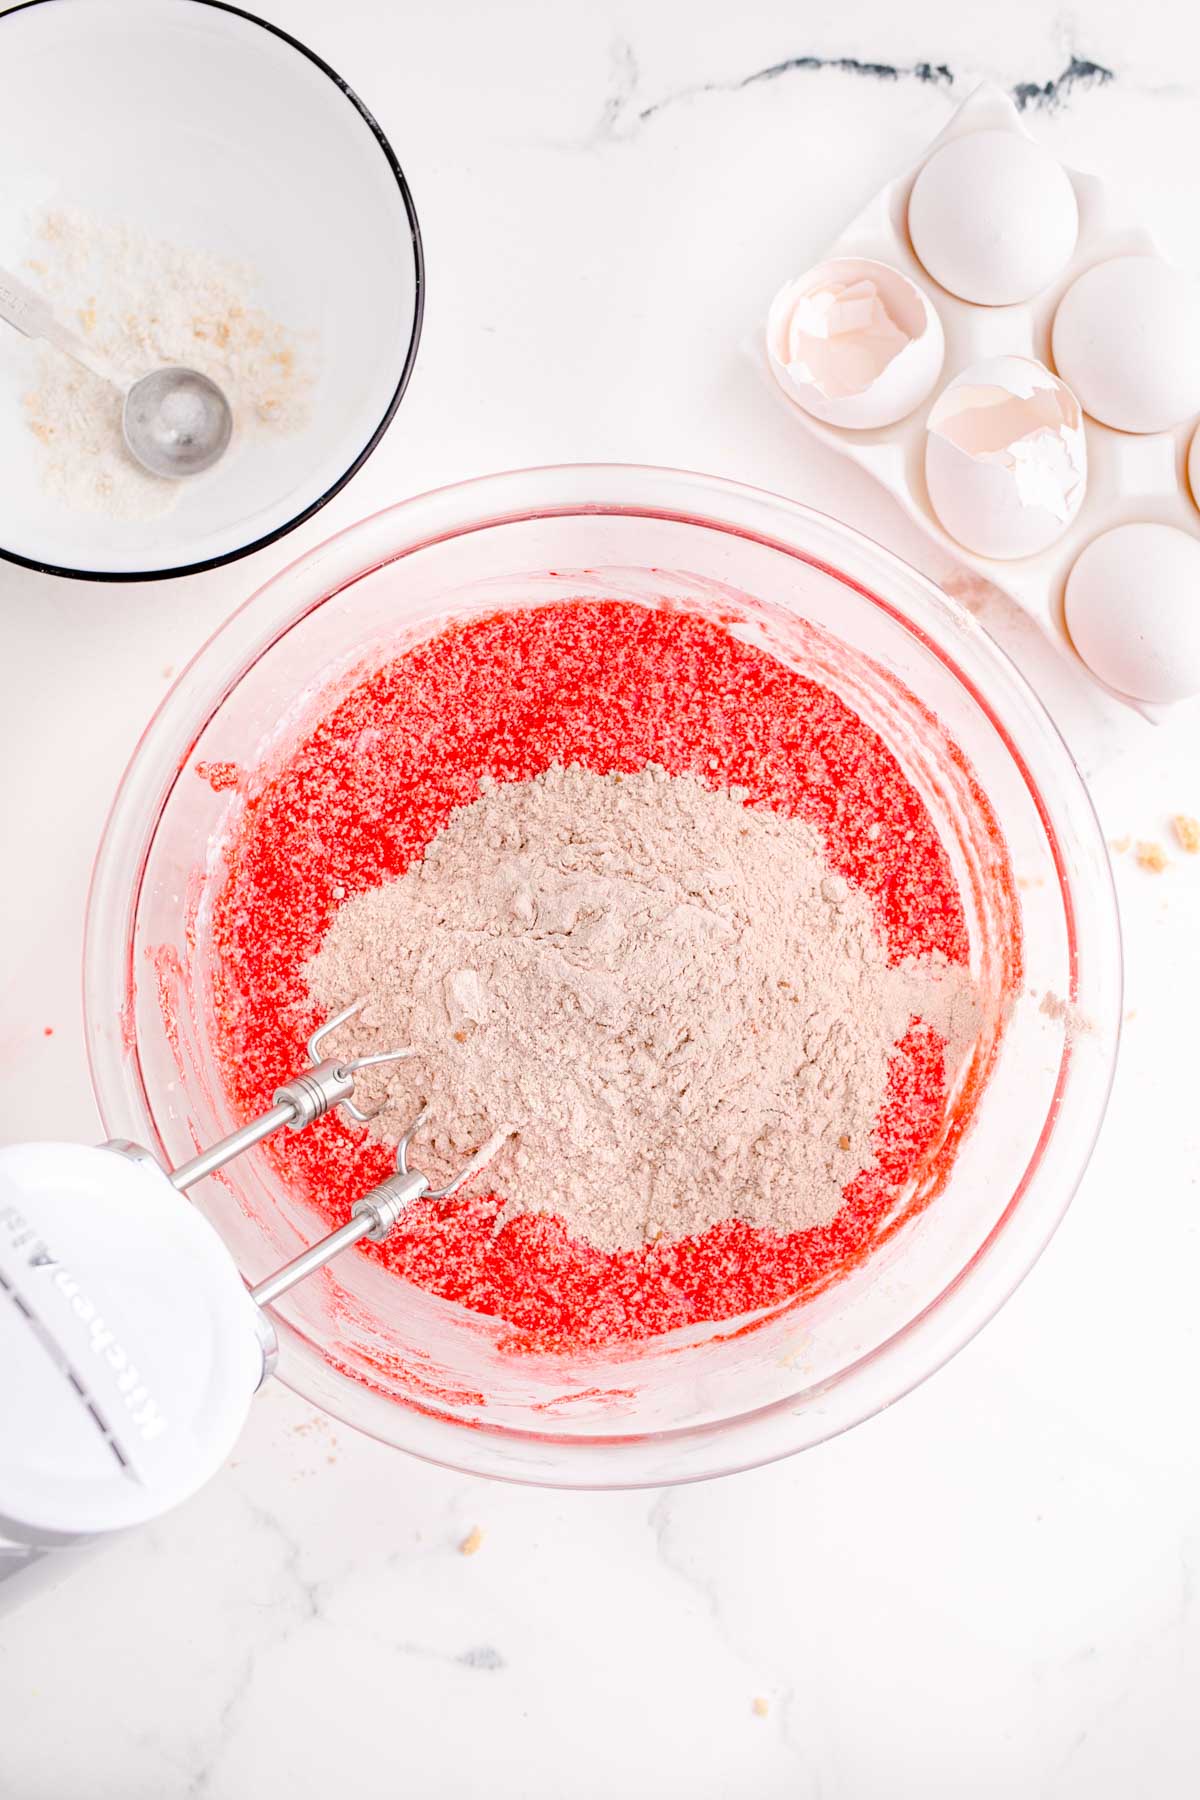
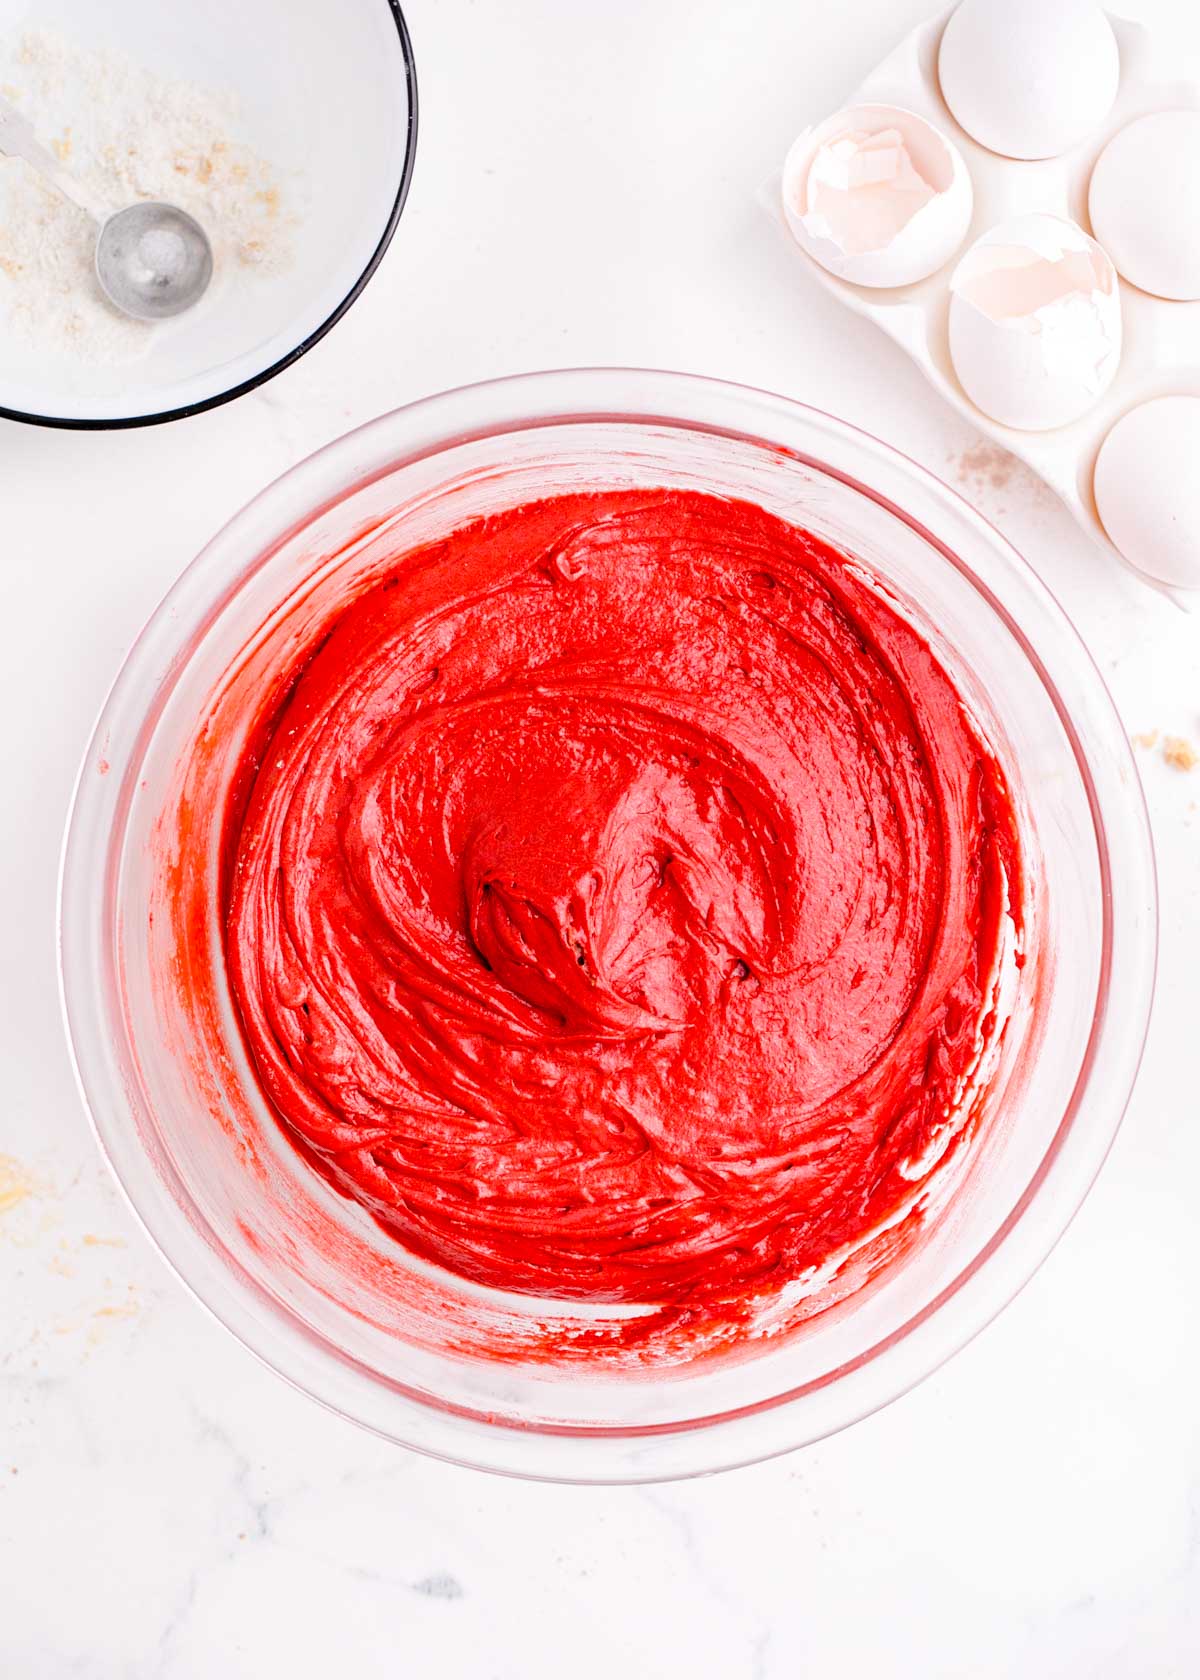
Add in the vinegar and vanilla extract. Mix again until just combined.
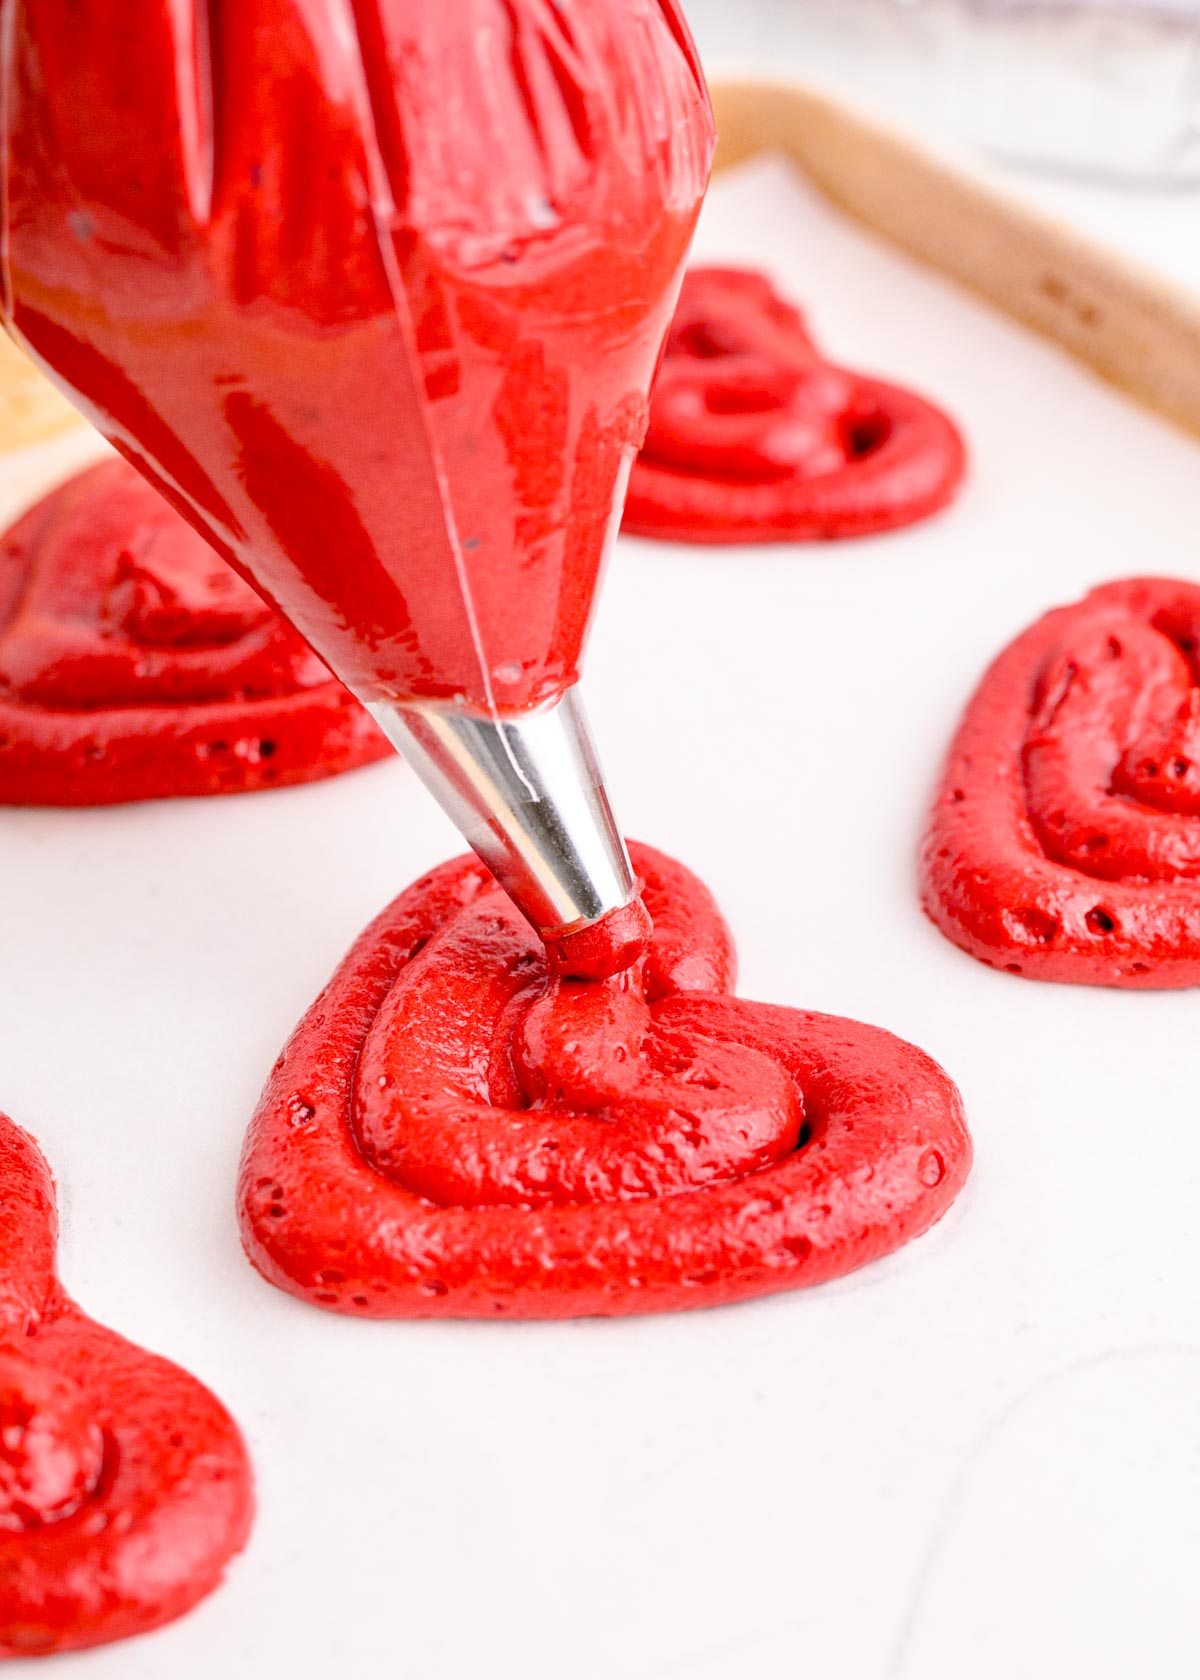
Transfer the thick batter into a piping bag and pipe it into the traced heart shapes. If you don’t have a piping bag, just use a large Ziploc bag by cutting one of the corners off with scissors.
I find that it works best to pipe the outline of the heart first and then fill it in. Afterward, I smooth the batter out carefully with a spatula.
Bake the cakes until they’re no longer shiny. Then allow them to cool on the pan before moving them to a wire rack.

Make the filling by beating the cream cheese with the butter until it becomes light and fluffy. Then add the powdered sugar in 1 cup at a time, beating after each addition.

Pair up the cooled cookies that are similar in shape and size. Next, pipe the creamy filling onto the flat side of one of the cakes and then top it with the matching cake. Continue this assembly process until all the whoopie pies are finished. Then enjoy!

How To Store These Red Velvet Whoopie Pies
Place these Whoopie Pies in an airtight container and then store them in the refrigerator. Enjoy them for up to a week! Or you could also freeze them! Just individually wrap each one in plastic wrap and then place them in the freezer.
When frozen, the Whoopie Pies can be saved for up to 3 months!
Can I Use Liquid Food Coloring Instead Of Gel?
Of course! I just find that gel coloring creates a more intense color.
Could I Use Buttercream Frosting Instead Of This Cream Cheese Filling For These Whoopie Pies?
You can; I love my classic American Buttercream recipe! However, I do find the cream cheese adds such a nice flavor when combined with the red velvet cookies.

Who wouldn’t feel a gush of love when given one of these Heart-Shaped Red Velvet Whoopie Pies?! Treat your loved ones to another delicious Valentine’s Day treat by checking out another recipe!
- Chocolate Covered Strawberries – A dozen and a half juicy strawberries get covered in sweet chocolate!
- Chocolate Mousse Cups – An incredible 3-ingredient mousse piped into delicious store bought chocolate cups!
- Easy Cherry Hand Pies – Sweet, tart cherry filling tucked inside of a heart-shaped crust, ready in just 35 minutes!
- Chocolate Covered Strawberry Cupcakes – Homemade chocolate cupcakes topped with smooth strawberry cream cheese frosting and a chocolate covered strawberry!
- Chocolate Hershey Kiss Cookies – Chocolate cookies rolled in Valentine sprinkles then baked before being finished off with a Hershey Kiss!
Did You Make This Recipe?
If you’ve tried this recipe, please let me know how you liked it in the comments below and leave a review. I love hearing from you!
Don’t forget to tag me – @sugarandsoulco – on Instagram and Pinterest with your photos or join our Sugar & Soul Show-offs Community and share them there.


Heart-Shaped Red Velvet Whoopie Pie
Equipment
- Baking sheets
- Parchment paper
- Heart shaped cookie cutter
- Whisk
- Medium mixing bowl
- Large mixing bowl
- Stand mixer or electric hand held mixer
- Piping bag
- ½ inch round tip
- Wire rack
Ingredients
Whoopie Pies:
- 2½ cups all-purpose flour
- ¼ cup unsweetened cocoa powder
- 1 teaspoon baking soda
- ½ teaspoon salt
- ½ cup salted butter softened
- ⅔ cup granulated sugar
- ⅔ cup light brown sugar packed
- 2 large eggs room temperature
- 1¼ cups buttermilk room temperature
- 1 teaspoon white vinegar
- 2 teaspoons vanilla extract
- 2 Tablespoons red gel food coloring or more depending how red you want your pies to be
Filling:
- 8 ounces cream cheese softened
- ½ cup salted butter softened
- 2½ cups powdered sugar
Instructions
- Preheat the oven to 350°F and line two baking sheets with parchment paper.
- Stencil heart shapes all over the parchment paper (leaving about an inch of space between each). I find it easiest to trace a small heart-shaped cookie cutter, but you may make a template for yourself. You want all of the hearts to be the same size. Then flip the parchment paper over so that you can still see the hearts but will not be placing batter directly on the pencil markings.
- Whisk together the flour, cocoa, baking soda, and salt in a medium mixing bowl.
- In a separate, large bowl, use a stand mixer or hand mixer to cream the butter. Add the sugars and beat for 3 minutes on medium-high speed until fluffy.
- Then beat in the eggs until smooth and add the buttermilk and red food coloring and mix just until incorporated.
- Add the dry ingredients to the wet ingredients, mixing at low speed just until combined.
- Then add the vinegar and vanilla, again mixing just combined. You do not want to over mix the batter. The batter should be thick but still able to pipe.
- Transfer the batter into a piping bag fitted with a Wilton 1A round tip. If you don’t have one, you could cut the corner out of a large ziplock bag instead.
- Pipe the batter onto stenciled heart shapes leaving about an inch of space between them. The cakes will spread a bit while baking. I find it easiest to pipe an outline of the heart and then fill it in then smooth out the batter a bit with an offset spatula.
- Bake the cakes for 8 to 10 minutes or until no longer shiny and spring back slightly when touched. Allow them to cool on the pan for a couple of minutes before transferring them to a wire rack to cool completely.
- Prepare the filling by beating together the cream cheese and softened butter until light and fluffy, about 2 minutes.
- Next, add the powdered sugar 1 cup at a time and beat for another minute or two after each addition until silky smooth. Transfer the frosting to a piping bag fitted with a Wilton 1A tip.
- Match up pairs of cakes that are similar in shape and size. Pipe about 2 tablespoons of filling onto the flat side of one cookie and gently top it with a matching cookie. Repeat for the remaining sets.
Notes
- How To Store These Red Velvet Whoopie Pies: If not consumed within a few hours of making, place the Whoopie Pies in an airtight container and then store them in the refrigerator. Enjoy them for up to a week! Or you could also freeze them! Just individually wrap each one in plastic wrap and then place them in the freezer. When frozen the Whoopie Pies can be eaten for up to 3 months!
- Can I Use Unsalted Butter In This Recipe? Definitely, just add in an extra 1/4 teaspoon of salt to the recipe.
- What If I Don’t Have Brown Sugar? No worries, just use all granulated sugar! If you don’t have both sugars you can even use all brown sugar as well.
- Can I Use Liquid Food Coloring Instead Of Gel? Of course! I just find that gel coloring creates a more intense color.
- Could I Use Buttercream Frosting Instead Of This Cream Cheese Filling For These Whoopie Pies? You can! However, I do find the cream cheese adds such a nice flavor when combined with the red velvet cookies.
- What’s The Best Way To Stencil Hearts Onto The Parchment paper? The hearts should be all the same size so that they pair up better when assembling the whoopie pies. That being said, I’ve found the best way to reach that goal is to use a small heart-shaped cookie cutter. All I do is trace around the cookie cutter onto the parchment paper. If you don’t have a heart-shaped cutter you can just make your own template to use!
- How Do I Pipe The Batter Onto The Traced Hearts? I find that it works best to pipe the outline of the heart first and then fill it in. Afterward, I smooth the batter out carefully with a spatula.
- What Can I Use If I Don’t Have A Piping Bag? Easy! Just use a large Ziploc bag by cutting one of the corners off with scissors.
Nutrition
Did You Make This Recipe?
Don’t forget to share it with me on Instagram @sugarandsoulco and follow on Tiktok @sugarandsoulco and Pinterest @sugarandsoulco for more!



Share your thoughts!
Love this recipe? Share your thoughts with me below and leave a review! And don’t forget to connect on your favorite social platform below!