Homemade Bread
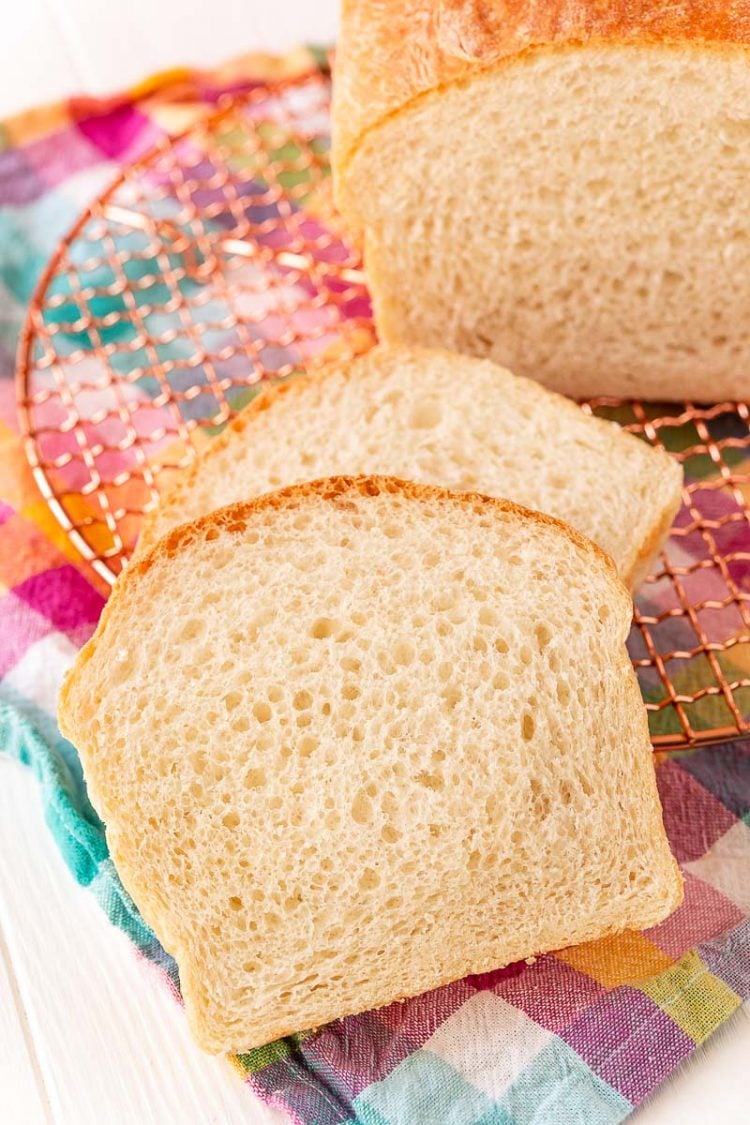
If you’re looking for an easy Homemade Bread Recipe with step-by-step instructions, photos, and tips, this is it! The result is fluffy, tender, and delicious white bread that can be used for sandwiches, French toast, and more!
You’ll love how this one dough recipe can be used to make loaves, rolls, or even cinnamon buns! it’s super versatile and the whole family will love it! I also used a version of this recipe to make my Cinnamon Swirl Bread!
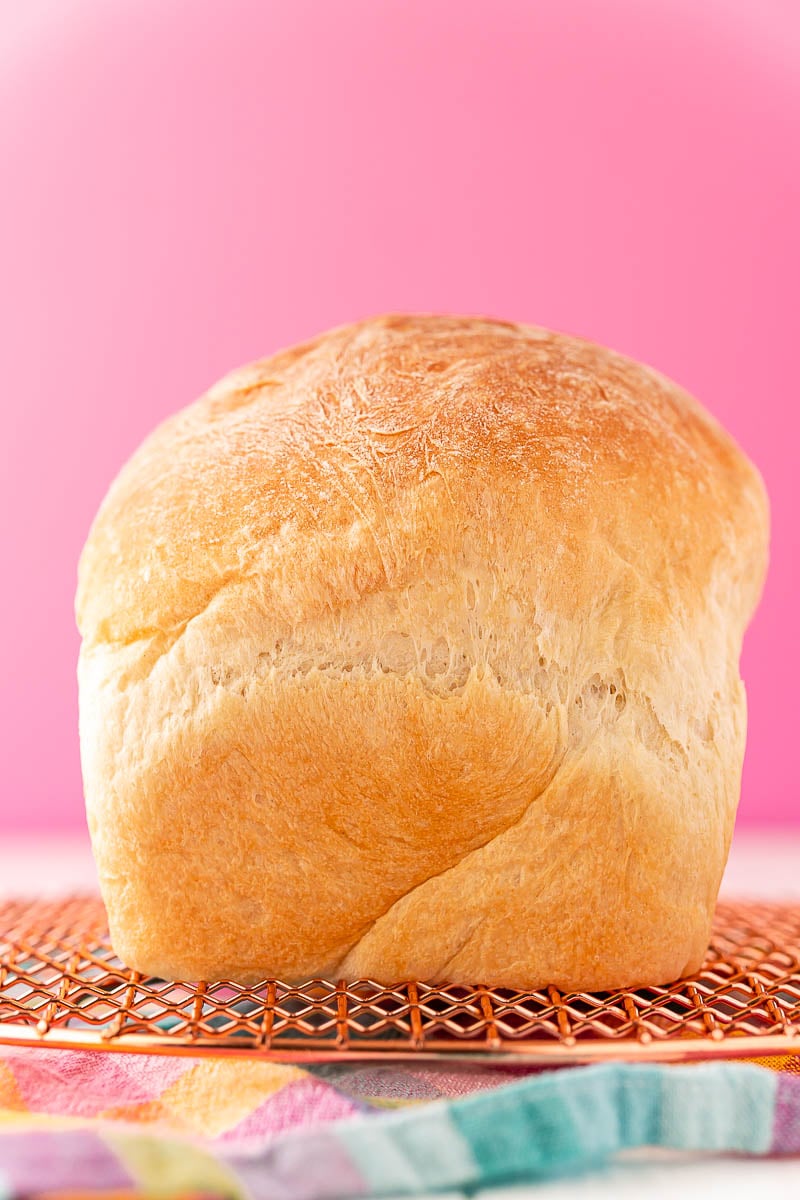
If the idea of making homemade bread scares you, just push all those worries away because I promise this recipe is EASY!
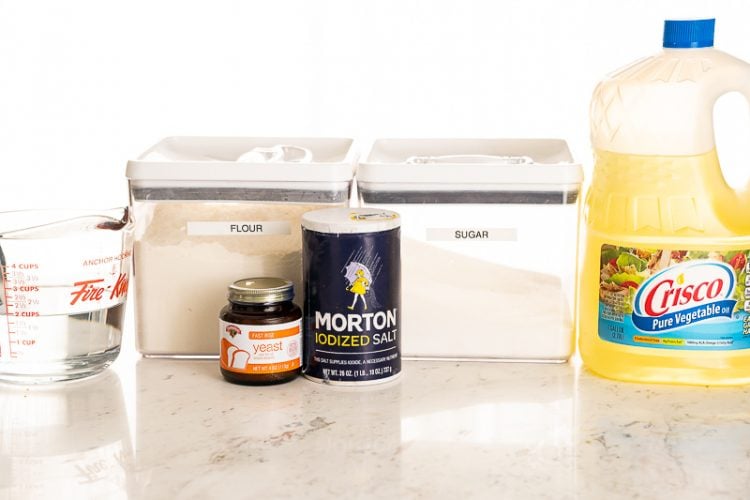
What You Need
- Yeast – You can use either instant yeast or dry-active yeast for this recipe, but the process will change slightly if you use active yeast. Instant yeast is easier and a little bit quicker to use. See the notes section of the recipe card for details.
- Flour – I highly recommend using bread flour because after testing I found that it yielded better results. However, all-purpose flour can be used but you’ll need to add an additional 1/4 cup.
- Sugar – This is absolutely essential to the recipe because the yeast needs the sugar to create carbon dioxide which is what will cause the dough to rise.
- Salt – For flavor.
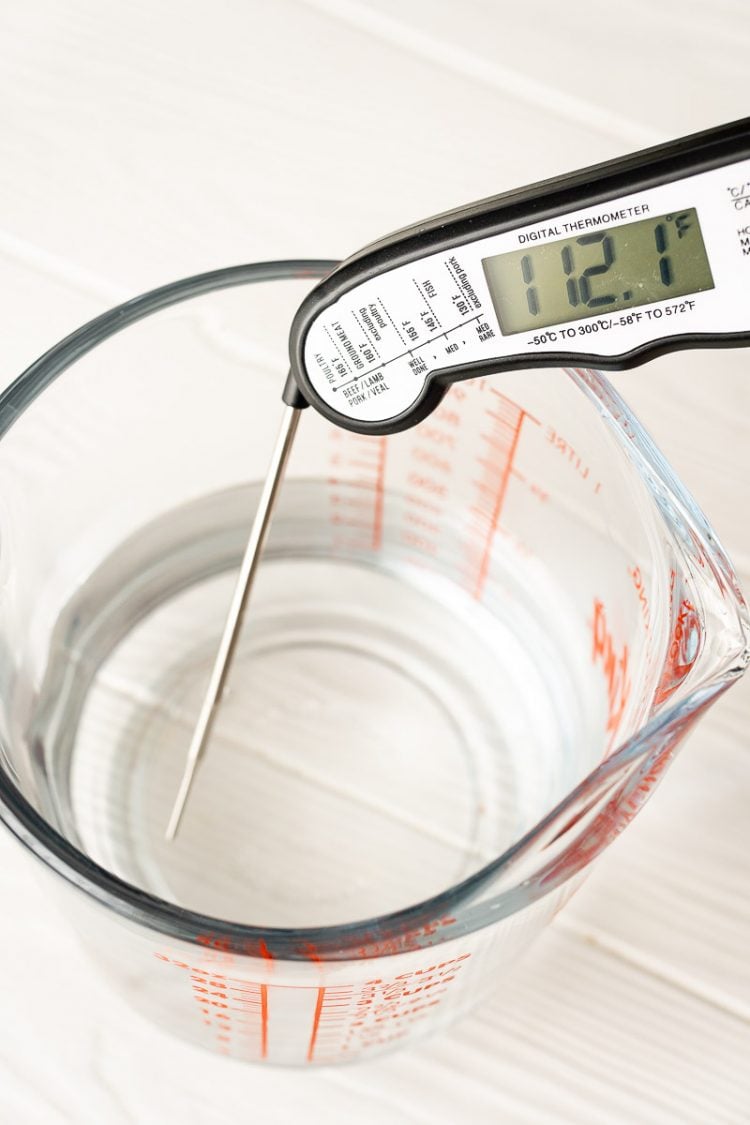
- Water – To activate the yeast, make sure the water is at least 105 degrees F, however, it needs to be under 115 degrees F or it will kill the yeast and the dough will not rise.
- Oil – Helps make the dough easier to handle, the texture better, and prolongs shelf life.
How To Make It
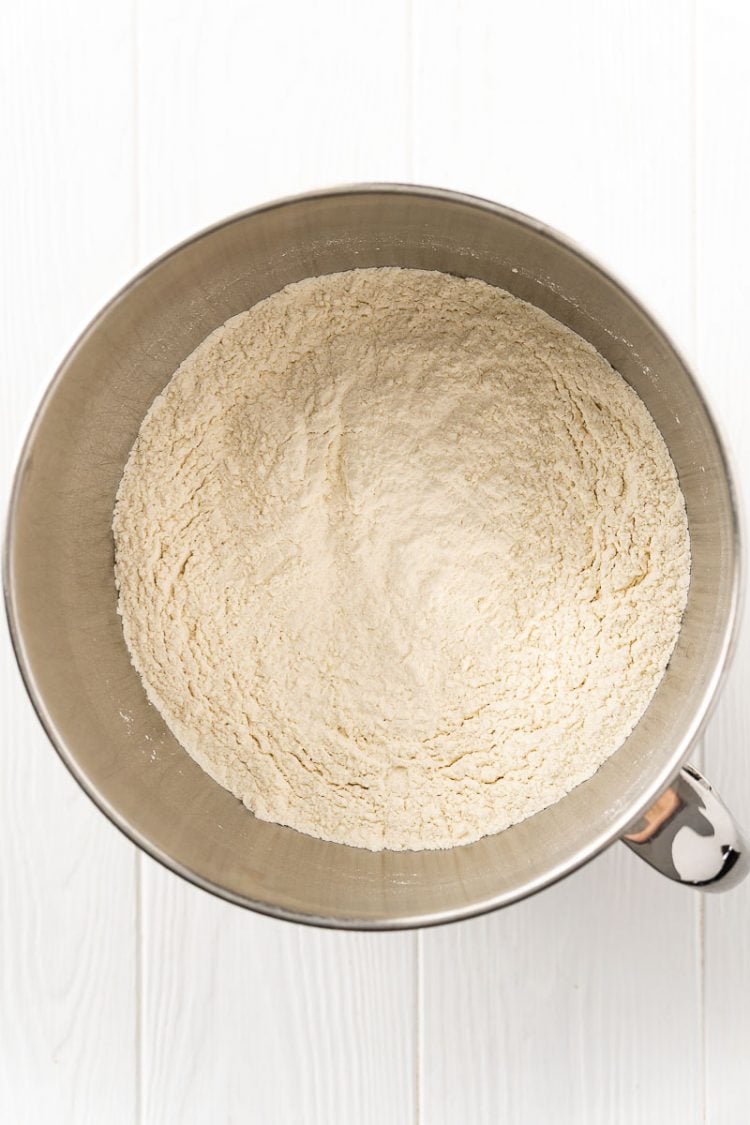
Begin by combining your instant yeast, flour, sugar, and salt in a large mixing bowl or stand mixer bowl. I highly recommend using a stand mixer fitted with a dough attachment for ease and efficiency, but you can mix and knead by hand.
Make sure your water is between 105 and 115 degrees F, I use this digital thermometer (affiliate link). Then add it and the oil to the dry ingredients and mix on medium speed with a dough hook for about 5 minutes.
After 5 minutes, the dough should be fully mixed and should pull completely away from the edges of the bowl like in the photo below. You can mix it for an additional 1 to 2 minutes longer than this if you’d like to really build the gluten up – this would make it a great texture for pizza dough.
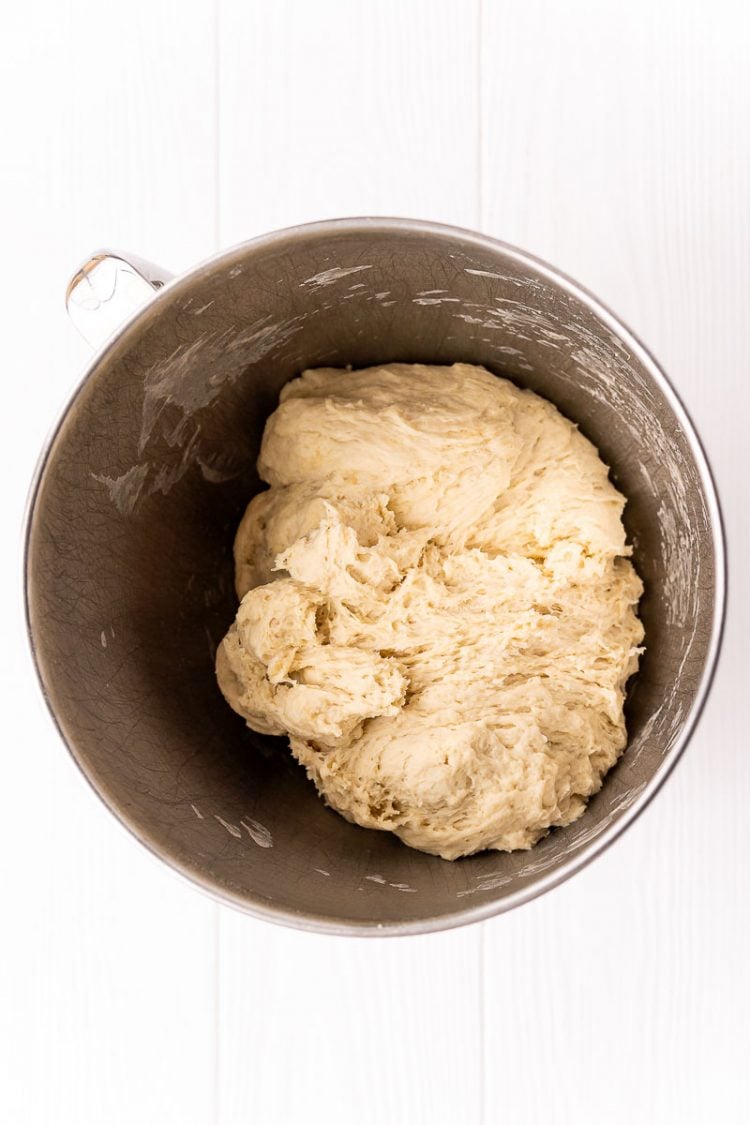
Transfer the dough to a large glass or metal bowl that’s been sprayed with non-stick spray or brushed with vegetable oil. I used this 5qt mixing bowl (affiliate link).
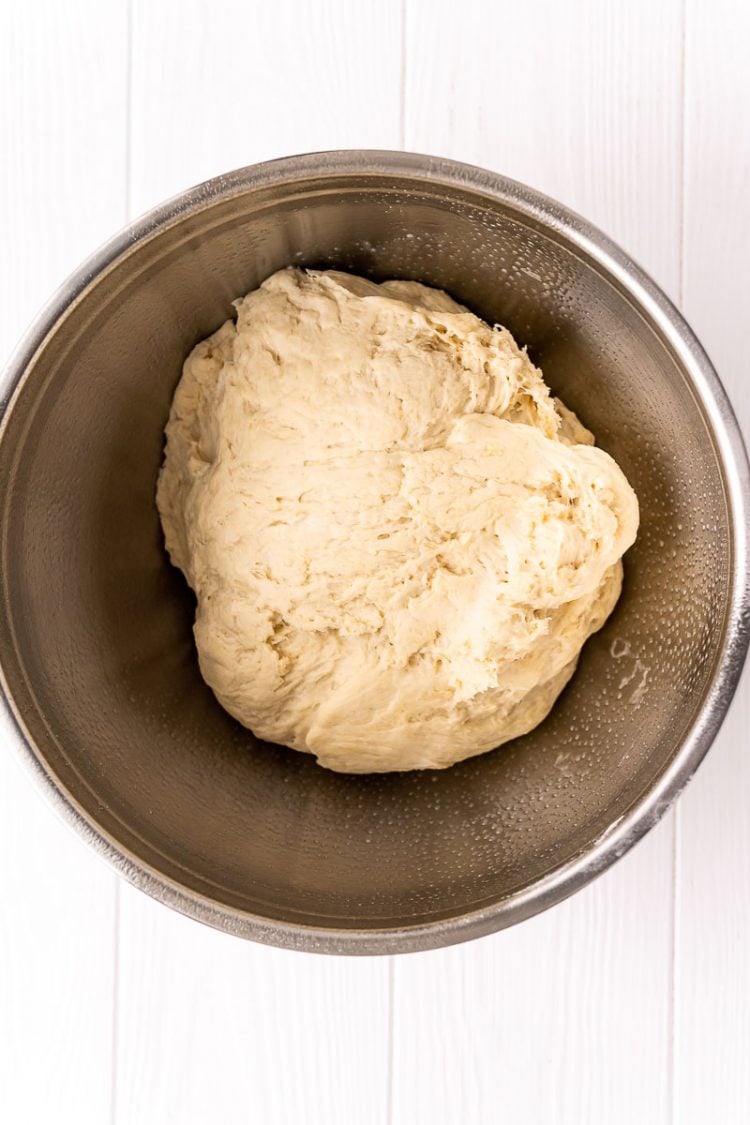
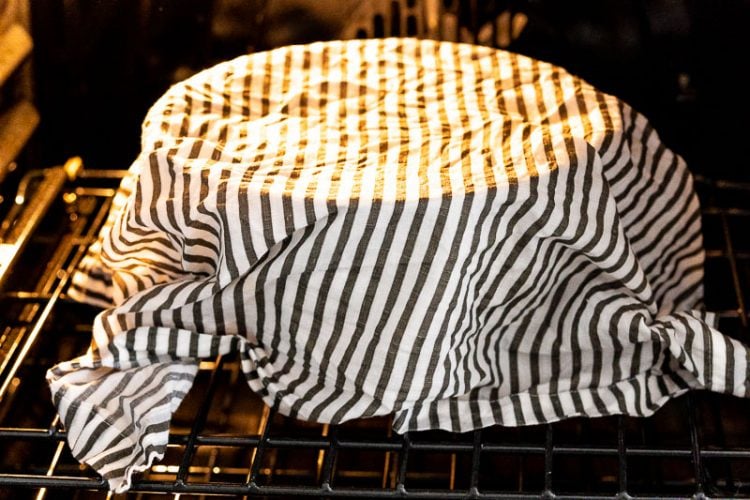
Time to proof it. Cover it with a damp (but not dripping) dishcloth and place it in a warm area of your house. If your house is normally cooler, you can turn the oven on for about 5 minutes before putting the bowl in to warm it up, then shut the oven off when you put it in.
You can also put a baking dish filled with 3 cups of boiling water on the rack below the dough bowl. Also, your oven may have a “Proof” setting like mine does and you can just use that. Let it rise for 1 hour.
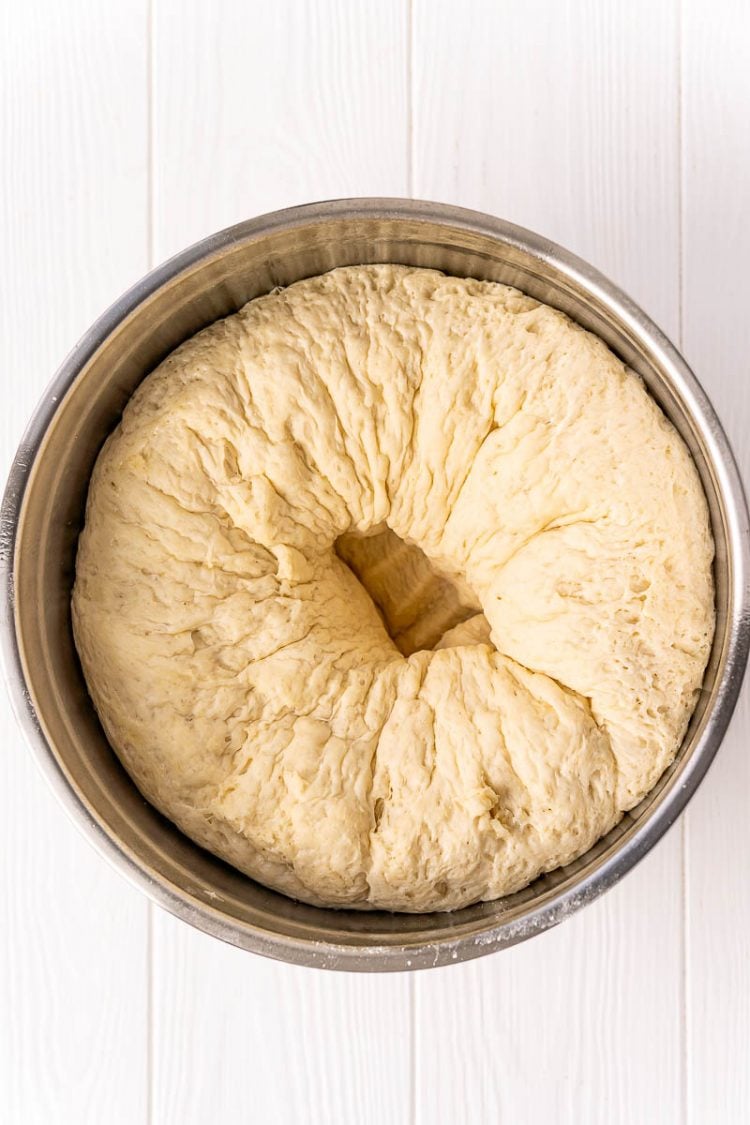
Once the dough has risen, it should double in size and start rising above the lip of the bowl. Remove the cloth and punch down the dough to release any excess air.
Transfer the dough to a lightly floured surface and divide the dough in half. I like using a bench scraper (affiliate link) for this step. then flatten the dough out to remove any excess air bubbles.
Then knead the to halves of dough for 30 to 45 seconds and shape into loaves. Use flour as needed to make sure the dough doesn’t stick to the surface but don’t add more than you have to.
I like to pinch the edges into the middle and flip them onto the bottom of the pan so you have a nice tight and rounded top. You can also roll your dough out with a floured rolling pin into a rectangular shape and then tightly roll it up into a loaf shape (similar to what you might do with cinnamon rolls, but without the cinnamon).
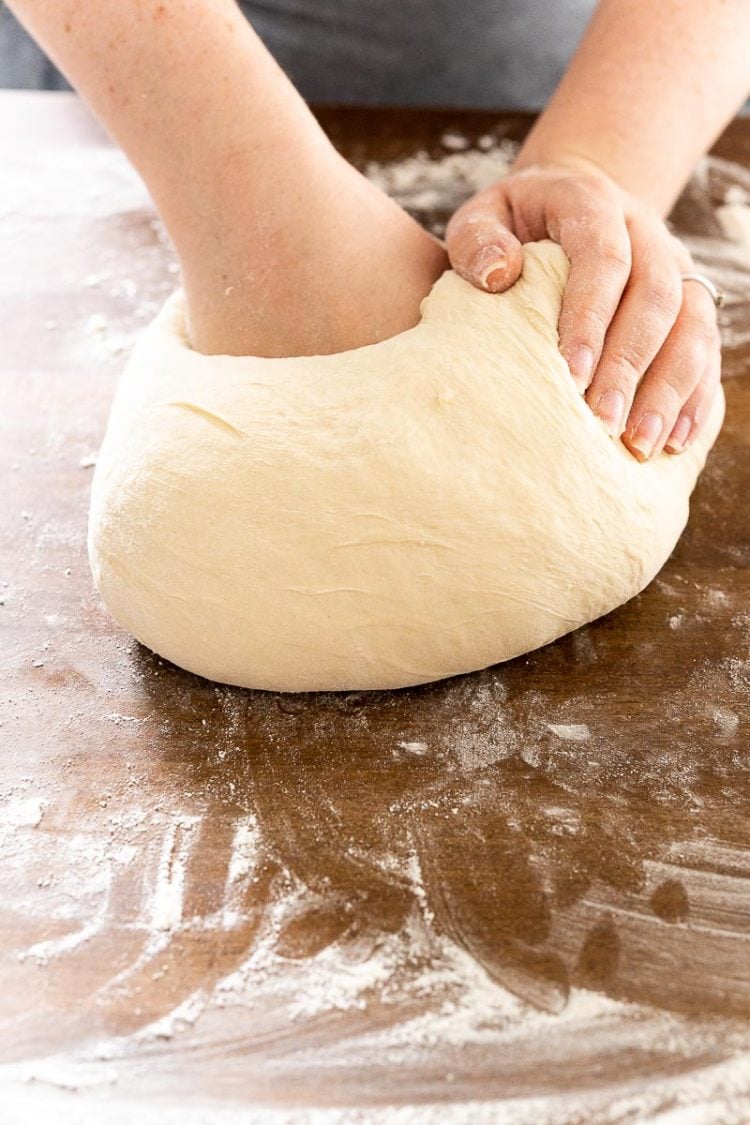
Place the loaves back in your proofing area (rewarming the oven beforehand if that’s the method you’re using) and proof for 1 more hour or until the dough has risen about 1 to 1.5 inch above the top of the loaf pan (affiliate link).
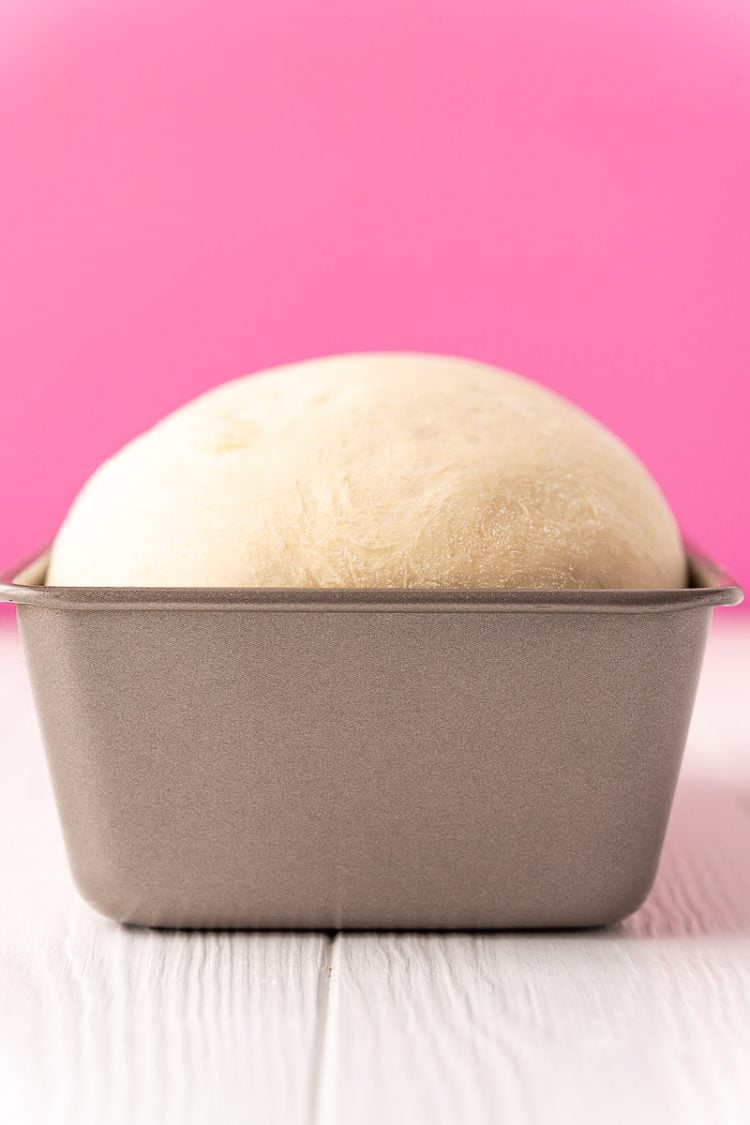
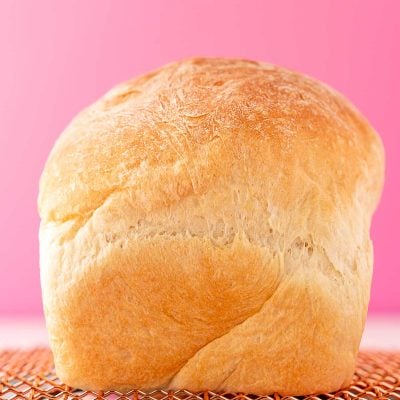
Bake the bread for about 35 minutes. The bread will rise up even more as it bakes and will turn a lovely golden brown.
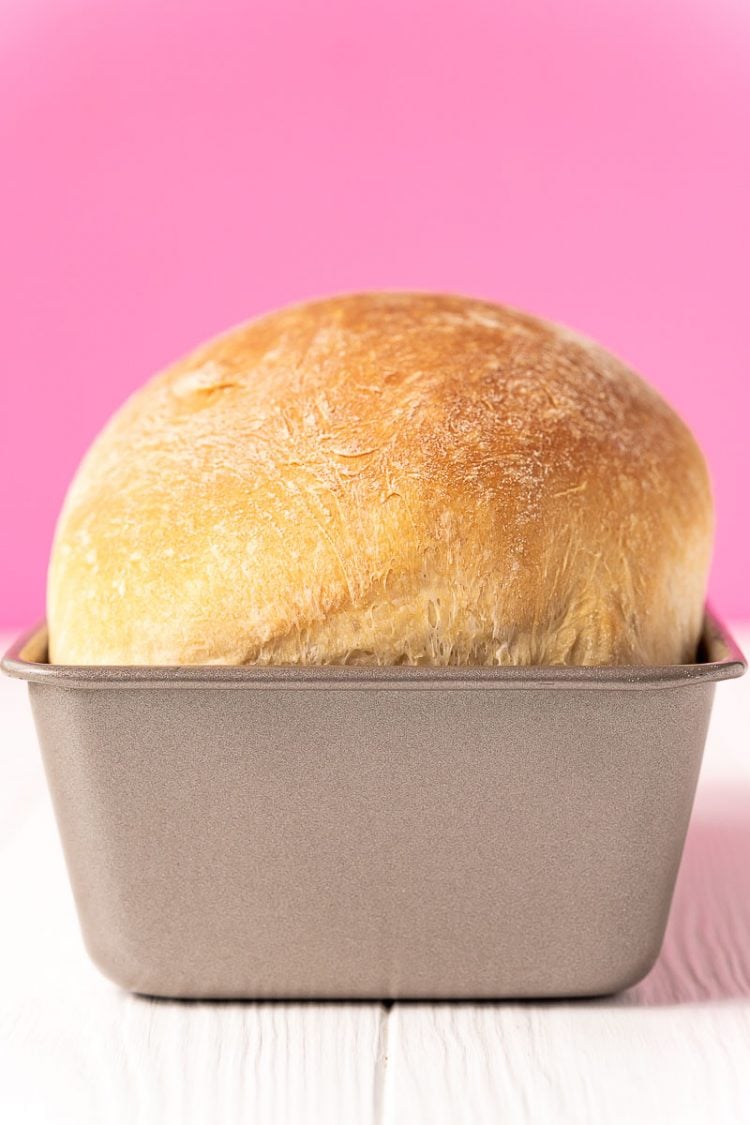
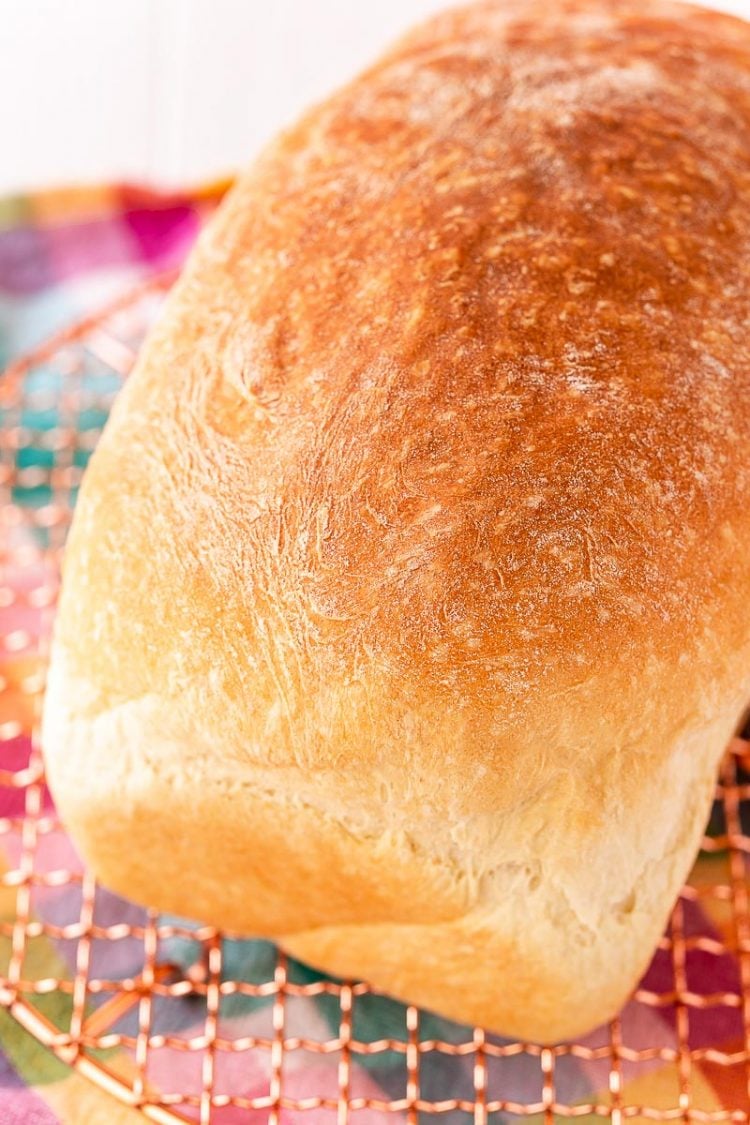
And there you have it—you just made bread! See, it wasn’t so bad! But you might be wondering how long it will last. Unfortunately, its shelf life isn’t as long as that of store-bought bread (but it tastes so much better!). Use it for toast or sandwiches to use it up in just a few days—we love to make this Cranberry Pecan Chicken Salad to go with it!
Shelf Life: This loaf of bread will last about 3 days at room temperature when placed in a large Ziploc bag or wrapped in plastic wrap.
How To Freeze: Allow the homemade bread to cool completely before placing it in a large freezer bag and squeezing out as much air as possible. Freeze for up to 3 months.
Why I Love This Recipe!
Okay, guys, so that best this about this Homemade Bread recipe is that it can also be used to make dinner rolls and cinnamon rolls without any changes to the dough itself. So from one batch of dough, you can make any of the following combinations:
- 2 loaves of bread
- 24 dinner rolls
- 16 cinnamon rolls
- 1 loaf of bread and 8 cinnamon rolls
- 1 loaf of bread and 12 dinner rolls
- 12 dinner rolls and 8 cinnamon rolls
To Make Dinner Rolls: Simply divide the dough into two portions and then make smaller equally sized portions of dough (about 1.8 – 2 ounces each) and pinch the dough into the center, flip them over and swirl them around on a well-floured surface to help seal them. place them in a greased baking dish to proof for 1 hour and then bake for 30 to 35 minutes.
To Make Cinnamon Rolls: Divide the dough in half and then roll one half out on a lightly floured surface. The over it with the same filling recipe from my No-Yeast Cinnamon Roll Recipe, roll the dough up, slice, place in a greased 9×13-inch baking pan and proof for 1 hour and bake for 30 to 35 minutes. Top with my vanilla Icing Recipe!
More Bread Recipes
Let’s Connect!
If you’ve tried this recipe, please let me know how you liked it in the comments below and leave a review. I love hearing from you!
Don’t forget to tag me – @sugarandsoulco – on Instagram and Pinterest with your photos or join our Sugar & Soul Show-offs Community and share them there, where you can join our recipe challenges!
Homemade Bread
Ingredients
- 1½ tablespoons instant yeast or active-dry yeast
- 5 cups bread flour spooned and leveled
- ¼ cup granulated sugar
- 1½ teaspoons kosher salt
- 2 cups warm water between 105° and 115°F
- ¼ cup vegetable oil
Instructions
- If working with instant yeast, you can whisk together all of the dry ingredients in a large mixing bowl or stand mixer fitted with a dough hook attachment (easiest). If using dry active yeast, see the recipe notes.2
- Add the water and oil to the bowl (make sure your water is between 105° and 115°F) and beat on medium speed for 5 to 6 minutes, the dough should form and pulls away from the edges of the bowl about halfway through the process, but continue to beat the dough for the full time period to build the gluten.
- Transfer the dough to a large metal or glass bowl (I use the 5qt bowl from this set) that has been lightly greased either with cooking spray or oil. Cover with a clean damp dishcloth and place it in a warm area to proof for 1 hour. If not using a proofing method that requires the oven (see notes)3 you can also use plastic wrap to cover the bowl, but be sure to spray the underside with non-stick spray so the dough doesn't stick to it. The dough should double in size.
- Once the dough has risen, quickly punch it down in the center to release any excess air.
- Then transfer it to a clean and lightly floured surface and divide the dough in half. Then knead the to halves of dough for 30 to 45 seconds and shape into loaves. Use flour as needed to make sure the dough doesn’t stick to the surface but don’t add more than you have to. I like to pinch the edges into the middle and flip them onto the bottom of the pan so you have a nice tight and rounded top. You can also roll your dough out with a floured rolling pin into a rectangular shape and then tightly roll it up into a loaf shape (similar to what you might do with cinnamon rolls, but without the cinnamon).
- Place it in a greased 9×5-inch loaf pan4 and repeat with the other half of the dough.
- Allow the loaves to proof from an additional 40 to 60 minutes. The dough should rise about 1-inch above the edge of the pan when it's done.
- Bake at 350°F for about 35 minutes. To be precise, your bread is done when the internal temperature is between 190° and 200° F. I think it is pretty easy to tell when it's done by eyeballing it because the top will be a nice golden brown and when you tap on the top it will be hard and sound hollow.
- Once the loaves are done baking, remove them from the oven and immediately turn them out onto a wire rack. If you leave the loaves in the pan they will get soggy.
- Allow the bread to cool fully before slicing.
Video
Notes
- I have tested this recipe with both all-purpose and bread flour and the bread flour was far and away superior (better rise & texture). However, if all you have is all-purpose flour, it will still result in a delicious loaf of bread. You will need to add an additional 1/4 cup of flour to the recipe if you use all-purpose.
- If you’re using dry-active yeast, you’ll need to activate it before using it. To do this, you’ll stir together the water, yeast, and 1 tablespoon of the sugar in a medium bowl until the yeast appears to dissolve. Let it sit for 5 to 10 minutes, it will begin to foam and almost double the original volume of the mixture. Then mix it into the dry ingredients where you would have added the water.
- My oven have a proof setting built in and some houses are naturally quite warm or you might have a stove that puts off a lot of warmth, however, if none of those fit you, here are a couple of tricks for proofing dough.
- You can turn the oven on for about 5 minutes and then shut it off before placing the dough in the oven to rise. Make sure you use a glass or metal bowl and avoid plastic wrap for these oven methods.
- You can place the dough in the oven and on the rack below it, add a baking dish with about 3 cups of boiling water, the heat and steam will help the dough proof.
- Any loaf pan sized between 8×4-inches and 10×5-inches should work.
- Shelf Life: This loaf of bread will last about 3 days at room temperature when placed in a large Ziploc bag or wrapped in plastic wrap.
- How To Freeze: Allow the bread to cool completely before placing it in a large freezer bag and squeezing out as much air as possible. Freeze for up to 3 months.
-
Okay, guys, so that best this about this recipe is that it can also be used to make dinner rolls and cinnamon rolls without any changes to the dough itself. So from one batch of dough, you can make any of the following combinations:
- 2 loaves of bread
- 24 dinner rolls
- 16 cinnamon rolls
- 1 loaf of bread and 8 cinnamon rolls
- 1 loaf of bread and 12 dinner rolls
- 12 dinner rolls and 8 cinnamon rolls
- Nutritional information is an estimate per loaf of bread.
Nutrition
Did You Make This Recipe?
Don’t forget to share it with me on Instagram @sugarandsoulco and follow on Tiktok @sugarandsoulco and Pinterest @sugarandsoulco for more!
Share your thoughts!
Love this recipe? Share your thoughts with me and leave a review! And don’t forget to connect on your favorite social platform below!





Can you add vwg to AP flour to make it more like bread flour?
I’m not sure what vwg is?