These Hot Chocolate Rice Krispie Treats are loaded with sweet marshmallows and chocolate flavor! It’s a super fun twist on a classic dessert and they even have hot cocoa mix in them!
The whole family will go crazy for this sticky, sweet, chocolate twist on Rice Krispie Treats! They’re the perfect winter or holiday treat and go perfectly with a mug of my Crockpot Hot Chocolate!
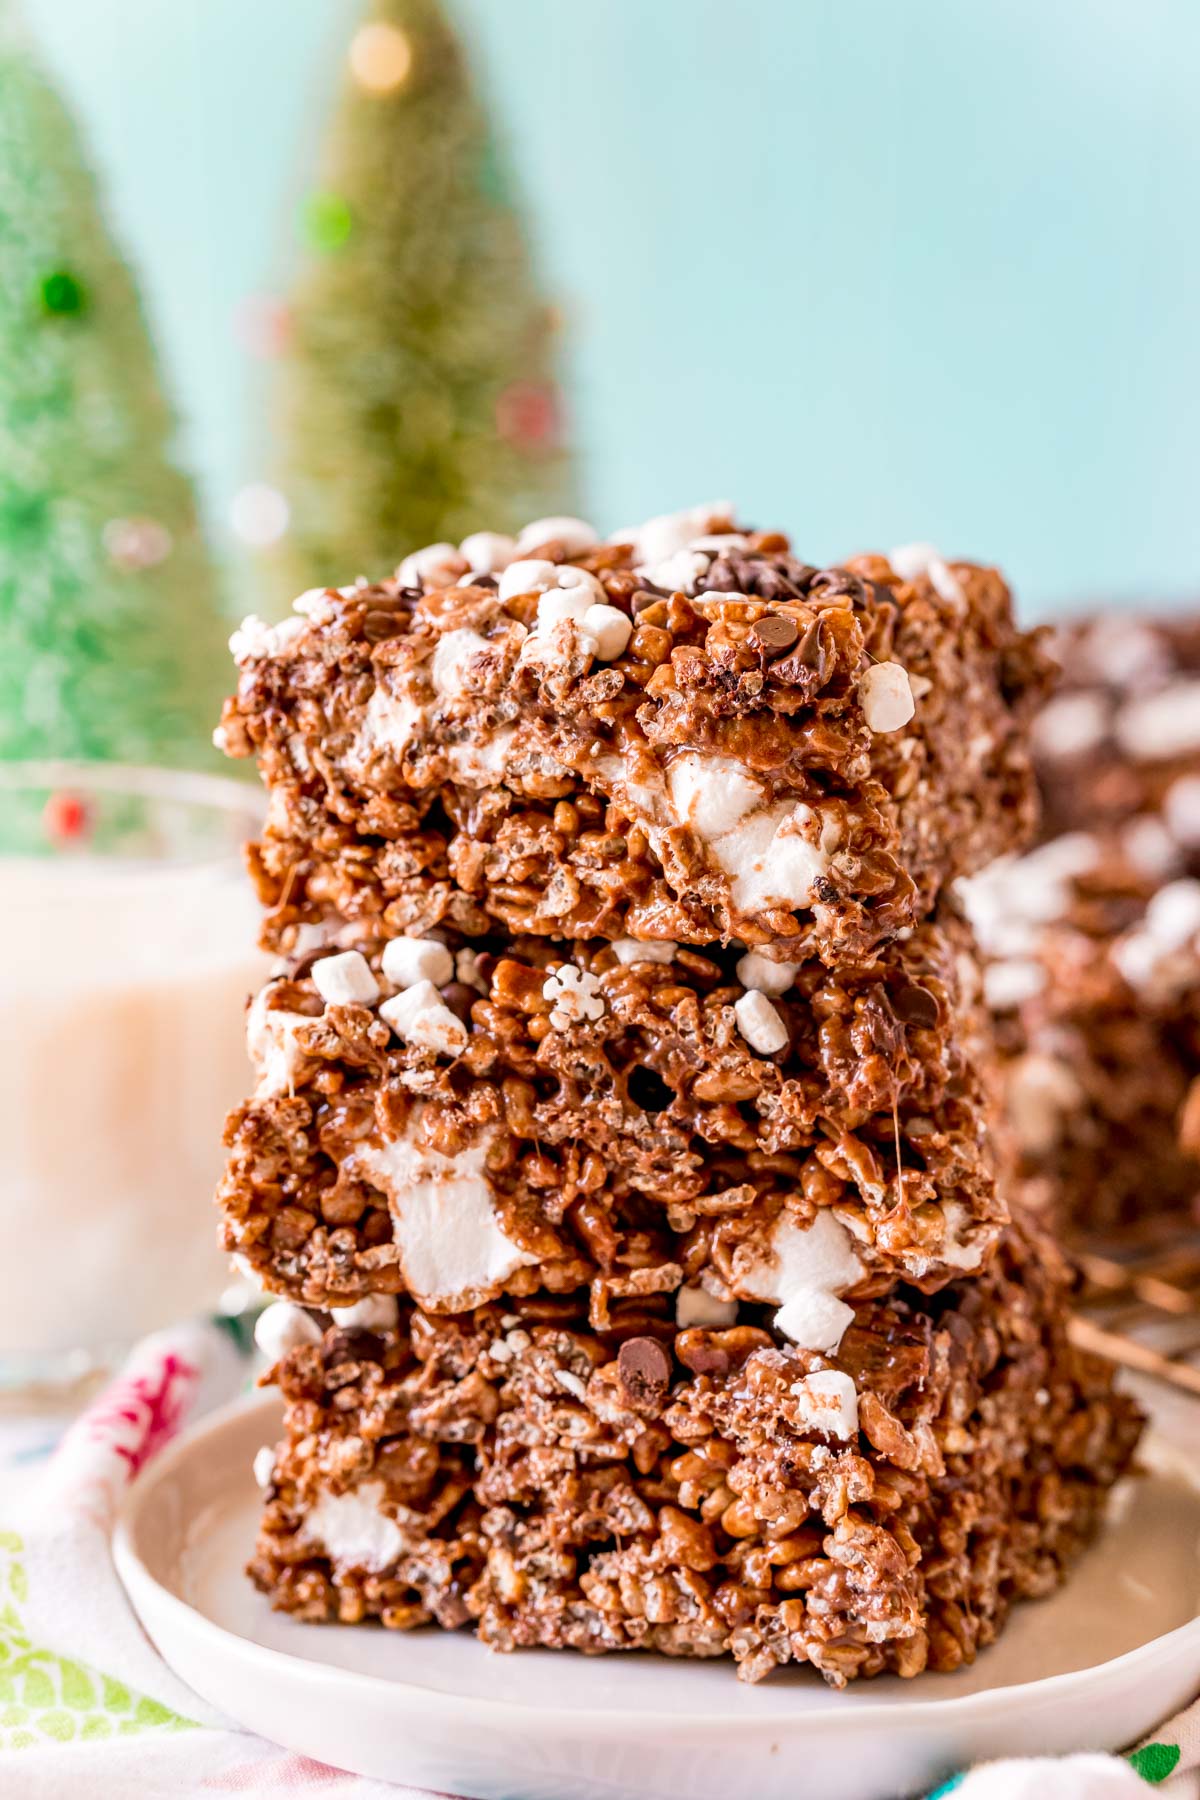
Need an easy last-minute treat to make for the holidays? Or looking for something fun and new to try on a snow day? Whip up a batch of these Hot Chocolate Rice Krispie Treats that are ready to go in just 30 minutes!
This recipe is so easy that even the kids can help make it! And everyone is guaranteed to help eat them! They are rich and chocolaty with tons of sweet marshmallows and sure to be a new family favorite!
Why This Recipe Is The Best!
Tried & True – I have made rice krispie treats hundreds of times and I always use the same base recipe! They are usually what I get asked to bring to gatherings because they are a crowd favorite that no one can resist!
Tastes Delicious – This recipe really is like your favorite bowl of cereal meets your favorite no-bake treat! It’s sweet and delicious and slightly crunchy!
Easy & Quick – With so many Cookies to make during the holiday season, it’s nice to have a treat that doesn’t need to be baked or even chilled! This recipe requires only 10 minutes of prep and is ready to be enjoyed in about 30 minutes!
Popular No Bake Treats: Peanut Butter Balls | No Bake Cookies
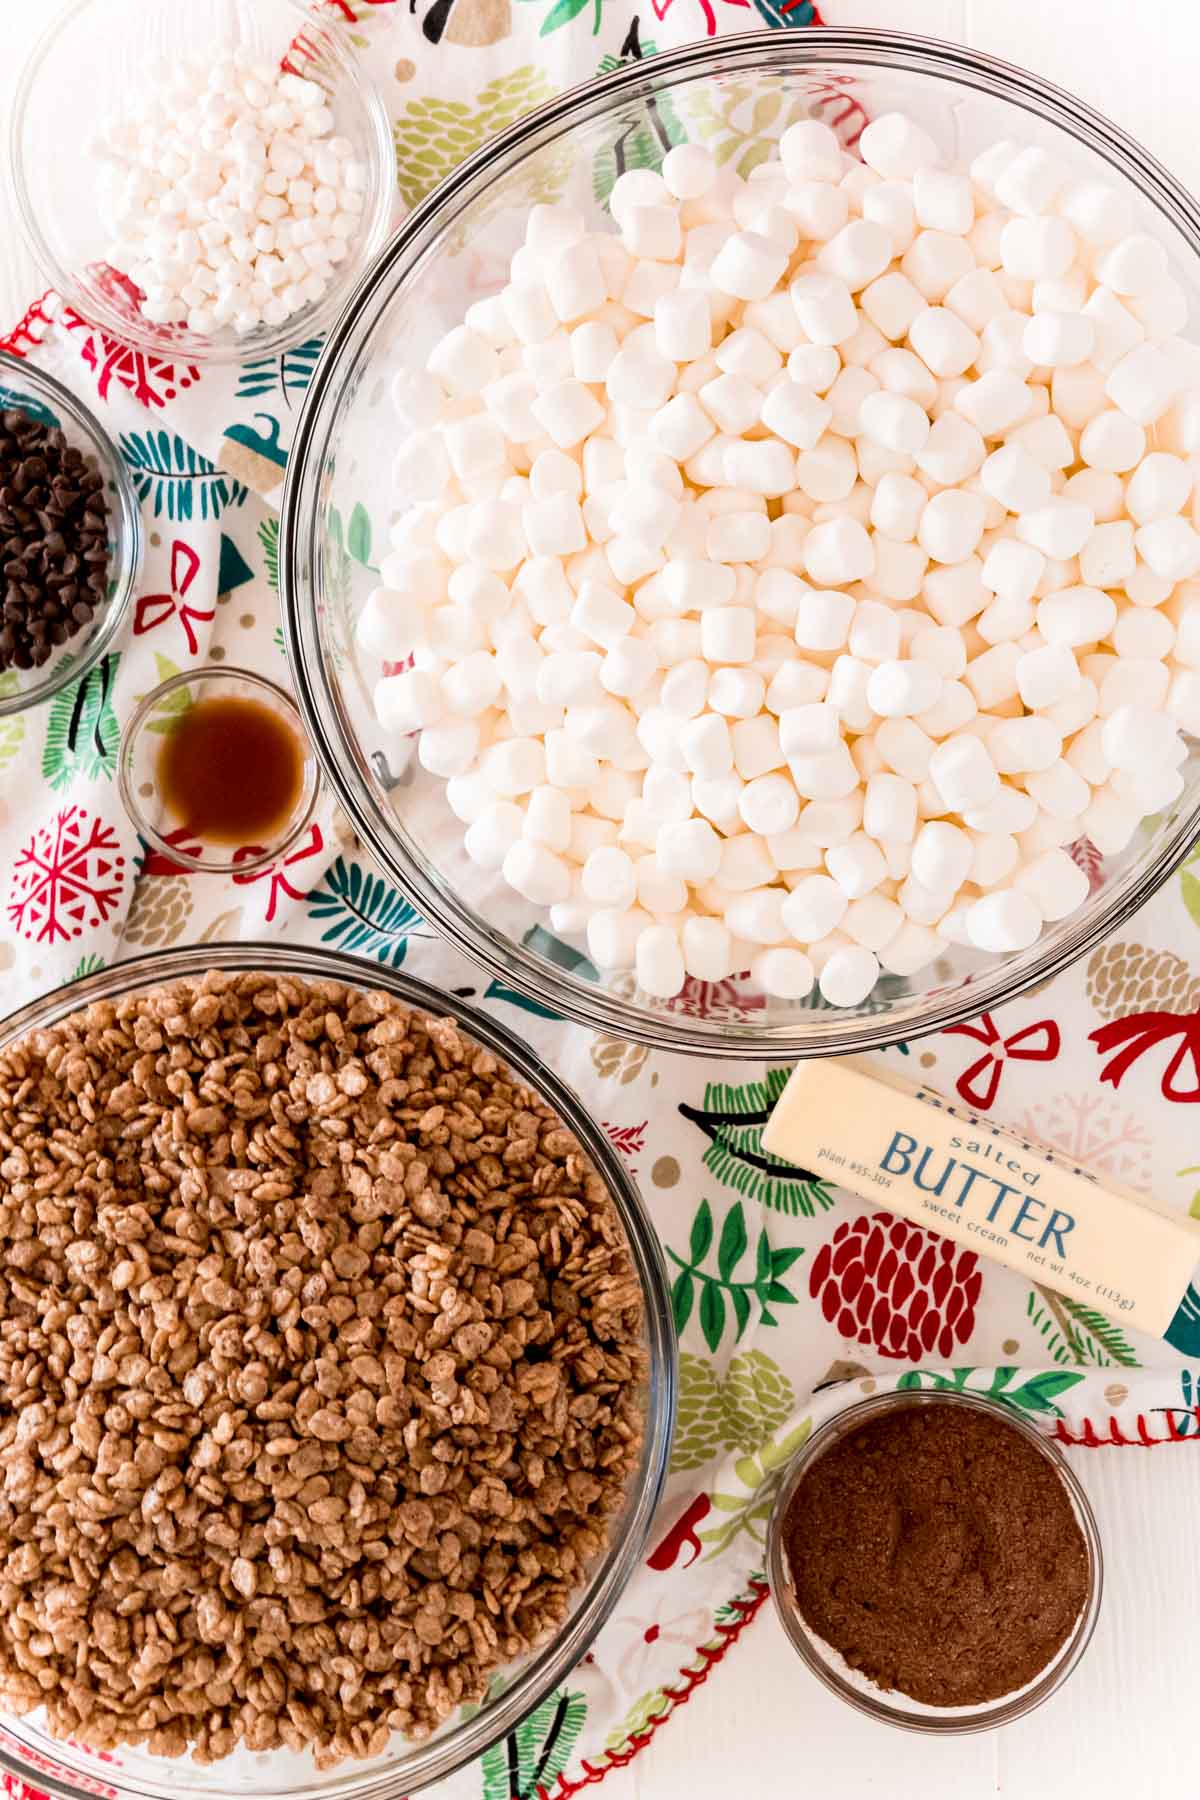
Ingredient Notes
Salted Butter – Normally unsalted butter is used when making desserts. But when it comes to Rice Krispie Treats, I prefer to use salted, because half the deliciousness is from the salty buttery taste. However, you can use unsalted and add salt as needed or sprinkle the treats with sea salt just before serving.
Vanilla Extract: This isn’t an overly common ingredient in Rice Krispies Treats, but it should be because it amplifies the flavor of the marshmallows and makes them taste that much better! It’s also an ingredient that I always add to my hot chocolate recipes!
Hot Cocoa Mix – If you’re going to make a hot chocolate themed recipe, then you better have hot cocoa in it, amirite? Use your favorite premade hot cocoa powder in this recipe! I like Godiva, Guittard, or Cadbury Drinking Chocolate mixes but even Swiss Miss will work great in this recipe!
Cocoa Krispies – Why not double the chocolate flavor and use cocoa krispies instead of traditional rice krispies in this fun recipe!
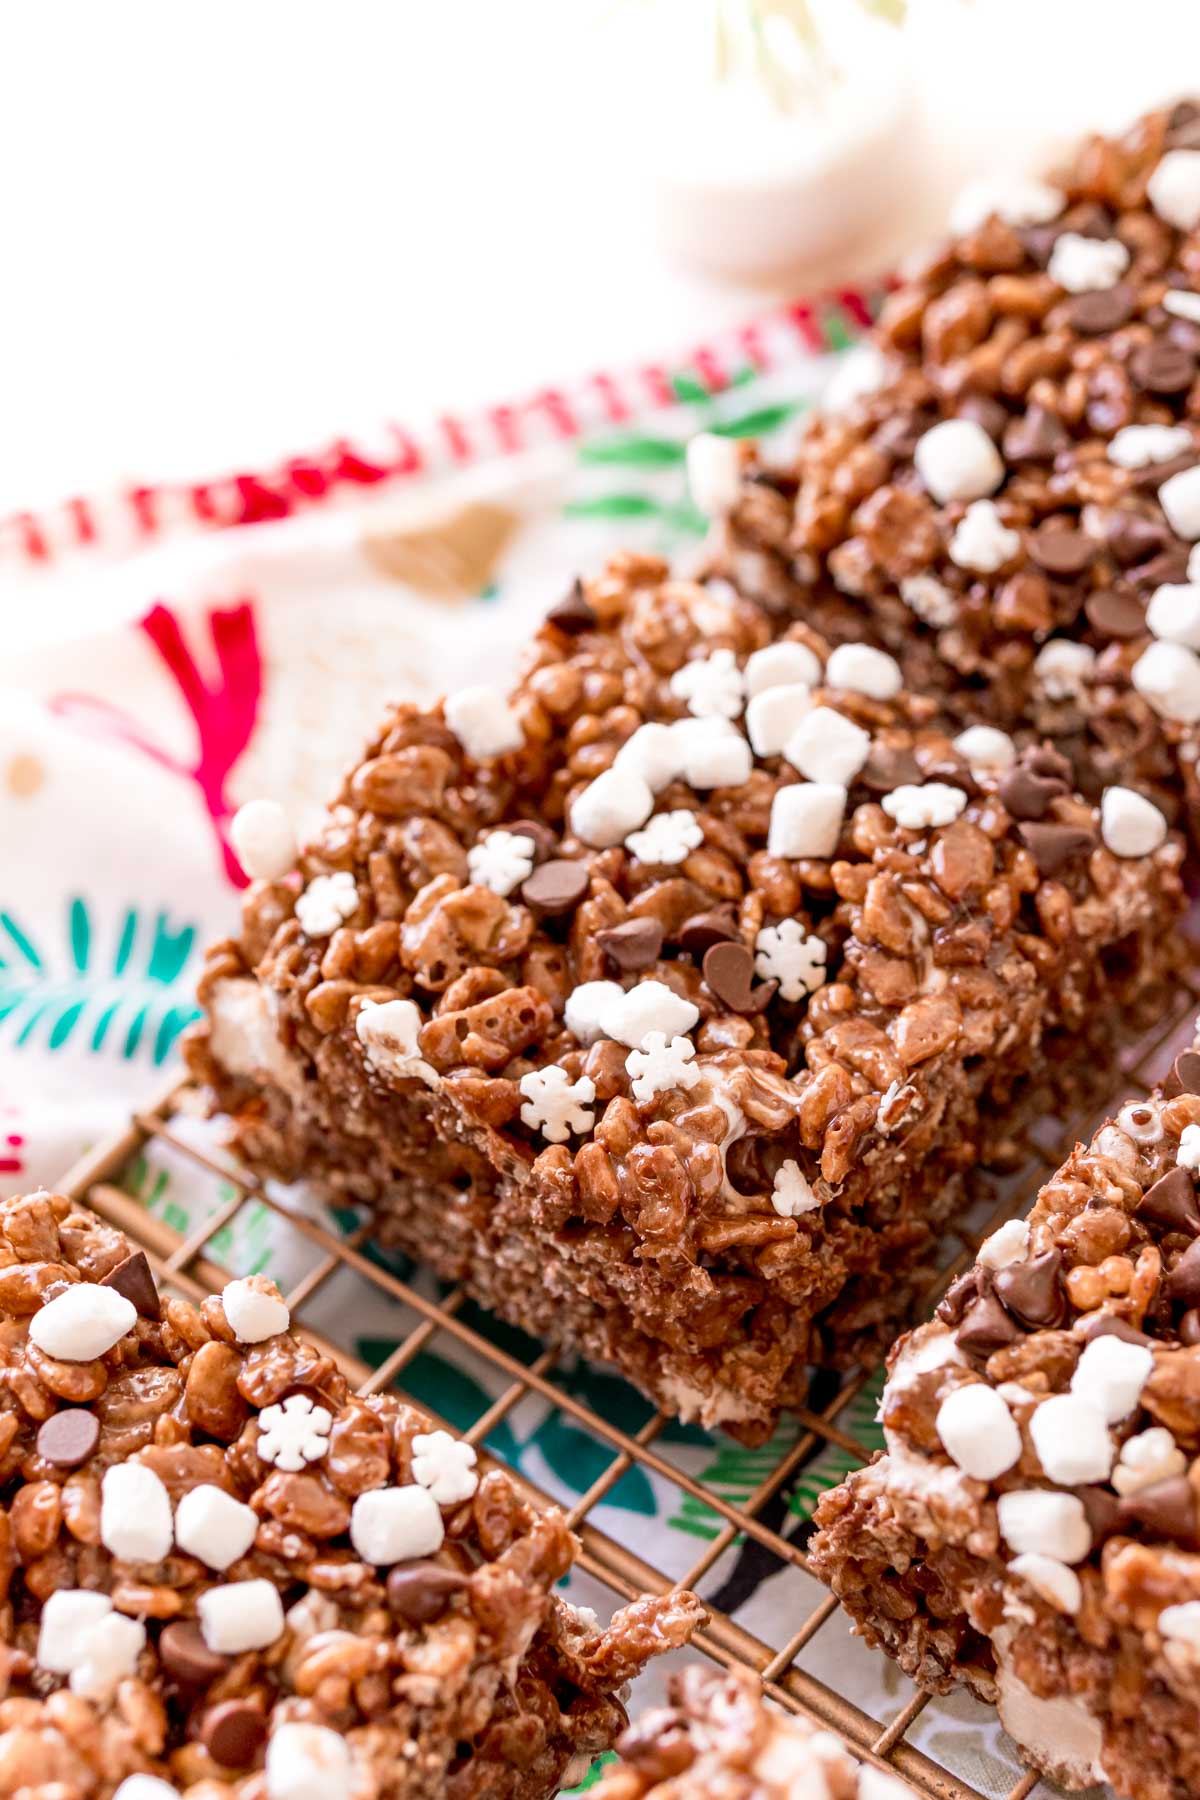
Chocolate Chips – You don’t want to mix these into the treats but they make a great addition to the top and add a little extra boost of chocolate!
Marshmallows – Even though there’s already a lot of mini marshmallows in rice krispie treats – this recipe adds even more! Specifically, dehydrated marshmallows/mallow bits that won’t melt into the mixture.
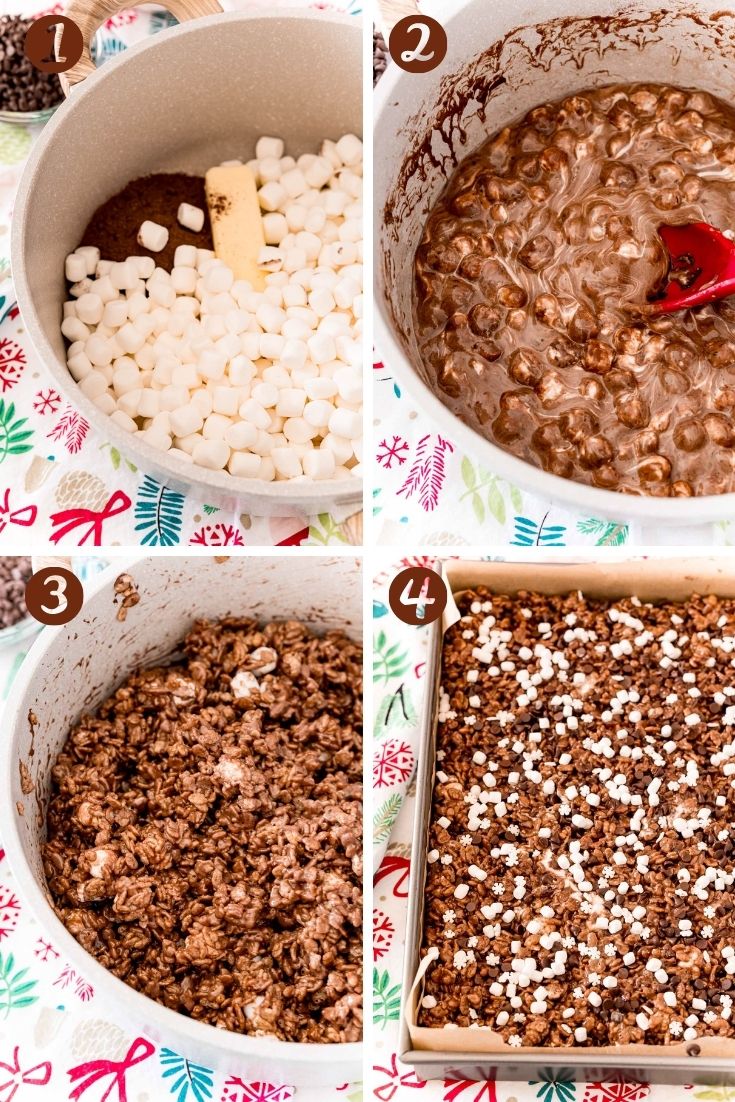
Easy Recipe Directions
You’ll want to prepare your pan and ingredients for these Hot Cocoa Rice Krispie Treats before you start cooking.
This recipe requires you to move quickly so line a 9×13-inch baking dish with parchment paper and cooking spray and measure out all of your ingredients in advance.
- Melt the butter, 8 cups of marshmallows, and the hot chocolate mix in a large saucepan over medium heat.
- Continue stirring regularly until fully melted.
- Add in the remaining marshmallows, vanilla extract, and cocoa krispies cereal and stir quickly until combined.
- Transfer the mixture to the prepared baking pan and gently press down to fill the pan. Sprinkle the top with mini chocolate chips, mallow bits, and sprinkles and let set.
Hot Chocolate Krispie Treat Recipe Tips
- Use Parchment: This helps prevent the treats from sticking. You could use greased aluminum foil but I don’t like running the risk that it gets stuck to it. Also, using the parchment to press the mixture keeps your hands clean and puts a light barrier between your fingers and the heat of the mixture.
- Don’t Press Too Hard: You want your treats to be firm, but still chewy. Pressing too hard on the mixture when you put it in the pan will cause treats to become tough.
- Extra Marshmallows: I don’t like to melt all of the marshmallows into the mixture, I always reserve 2 cups to go in with the cereal because this leaves little pockets of marshmallow goodness throughout the treats. You can add in a couple more cups if you really want to load these babies up with marshmallows!
- Slice Just Before Serving: To ensure that your treats to get dried out or crispy around the edges, slice them just before serving!
- Shelf Life: Once they have been cut up, any that are not enjoyed immediately can be stored in an air-tight container at room temperature for up to 3 days.

Looking for more cereal treat recipes? I love these Christmas Krispie Treats and these S’mores Golden Graham Bars are always a hit too!
Let’s Connect!
If you’ve tried this recipe, please let me know how you liked it in the comments below and leave a review. I love hearing from you!
Don’t forget to tag me – @sugarandsoulco – on Instagram and Pinterest with your photos or join our Sugar & Soul Show-offs Community and share them there, where you can join our recipe challenges!


Hot Chocolate Rice Krispies Treats
Ingredients
- 8 tablespoons salted butter
- ½ cup hot cocoa powder mix
- 10 cups mini marshmallows divided
- 9 cups Cocoa Krispies Cereal
- 1 teaspoon vanilla extract
- ¼ cup dehydrated marshmallows
- ¼ cup mini chocolate chips
- 1 tablespoon sprinkles optional
Instructions
- Line a 9×13-inch baking dish with parchment paper and spray with cooking spray and set aside.
- Melt the butter, hot chocolate powder, and 8 cups of mini marshmallows in a large pot, stirring continuously with a wooden spoon or rubber spatula until the marshmallows have melted.
- Add in the Cocoa Krispies, vanilla, and the remaining 2 cups of marshmallows and stir until the cereal is evenly coated.
- Transfer the mixture to the prepared baking dish, use another piece of parchment to put on top of the treats and gently press the mixture into the pan, don't press down too hard or you'll end up with hard treats.
- Sprinkle the dehydrated marshmallows, chocolate chips, and sprinkles on top of the treats and lightly press them in.
- Allow the treats to cool for about 20 minutes before removing from the pan and slicing into 24 pieces.
Video
Notes
- Use Parchment: This helps prevent the treats from sticking. You could use greased aluminum foil but I don’t like running the risk that it gets stuck to it. Also, using the parchment to press the mixture keeps your hands clean and puts a light barrier between your fingers and the heat of the mixture.
- Don’t Press Too Hard: You want your treats to be firm, but still chewy. Pressing too hard on the mixture when you put it in the pan will cause treats to become tough.
- Pick Your Butter: Normally you use unsalted butter when making desserts. But when it comes to Rice Krispie Treats, I prefer to use salted, because half the deliciousness is from the salty buttery taste. However, you can use unsalted and add salt as needed or sprinkle the treats with sea salt just before serving.
- Add Vanilla: This isn’t an overly common ingredient in Rice Krispies Treats, but it should be because it amplifies the flavor of the marshmallows and makes them taste that much better!
- Reserve Some Marshmallows: I don’t like to melt all of the marshmallows into the mixture, I always reserve 2 cups to go in with the cereal because this leaves little pockets of marshmallow goodness throughout the treats. You can add in a couple more cups if you really want to load these babies up with marshmallows!
- Slice Just Before Serving: To ensure that your treats to get dried out or crispy around the edges, slice them just before serving!
- Shelf Life: Once they have been cut up, any that are not enjoyed immediately can be stored in an air-tight container at room temperature for up to 3 days.
Nutrition
Did You Make This Recipe?
Don’t forget to share it with me on Instagram @sugarandsoulco and follow on Tiktok @sugarandsoulco and Pinterest @sugarandsoulco for more!






Share your thoughts!
Love this recipe? Share your thoughts with me below and leave a review! And don’t forget to connect on your favorite social platform below!