Sourdough Starter has step-by-step instructions with photos to easily help you make the starter for all of your favorite sourdough recipes! Only takes 10 minutes twice a day to feed!
For more detailed easy-to-follow bread recipes be sure to try my fluffy classic Homemade Bread or lightly sweet Challah Bread that’s braided!
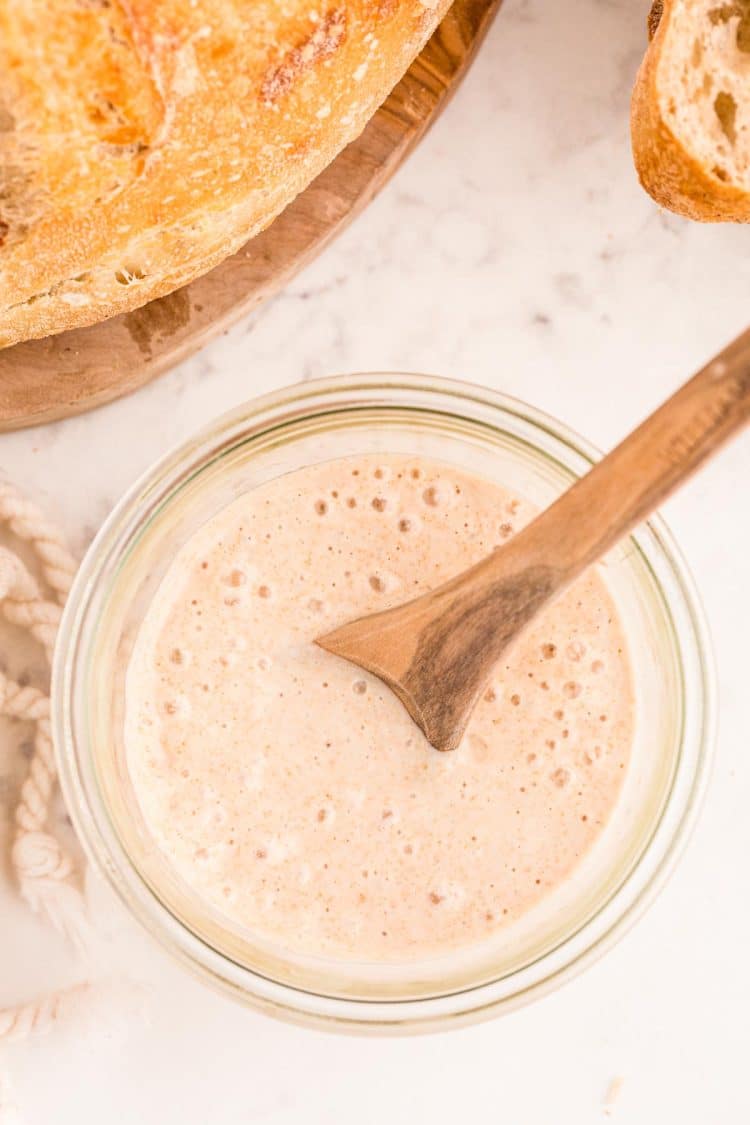
This Easy Sourdough Starter Recipe thoroughly walks you through how to begin your starter from scratch as well as how to feed and maintain it! A good and healthy active starter is the key to producing delicious sourdough recipes in the form of bread, pizza dough, and even homemade pretzels!
Over the last year, I think we’ve all learned the inconvenience of relying on commercial yeast. This Sourdough Starter ensures you can still have fresh loaves of bread and baskets of rolls even if there’s no yeast to be found on the shelves!
What Is A Sourdough Starter?
Sourdough Starter combines flour and water to naturally cultivate ‘wild yeast’. This starter is then used in sourdough recipes to leaven (rise) the baked goods up to perfection!
What I love about Sourdough Starter is that it takes just 10 minutes or less twice a day to feed and maintain it! That’s a small price to pay for incredibly delicious baked goods that everyone loves!
What’s even better is that you can use the discard in other recipes such as dinner rolls, cinnamon rolls, and even pancakes! This means minimal waste and MORE baked goods, what’s not to love?!
Ingredient Notes
To begin making your own Sourdough Starter you need just a couple of ingredients. All of which you may even have on hand already! You’ll need:
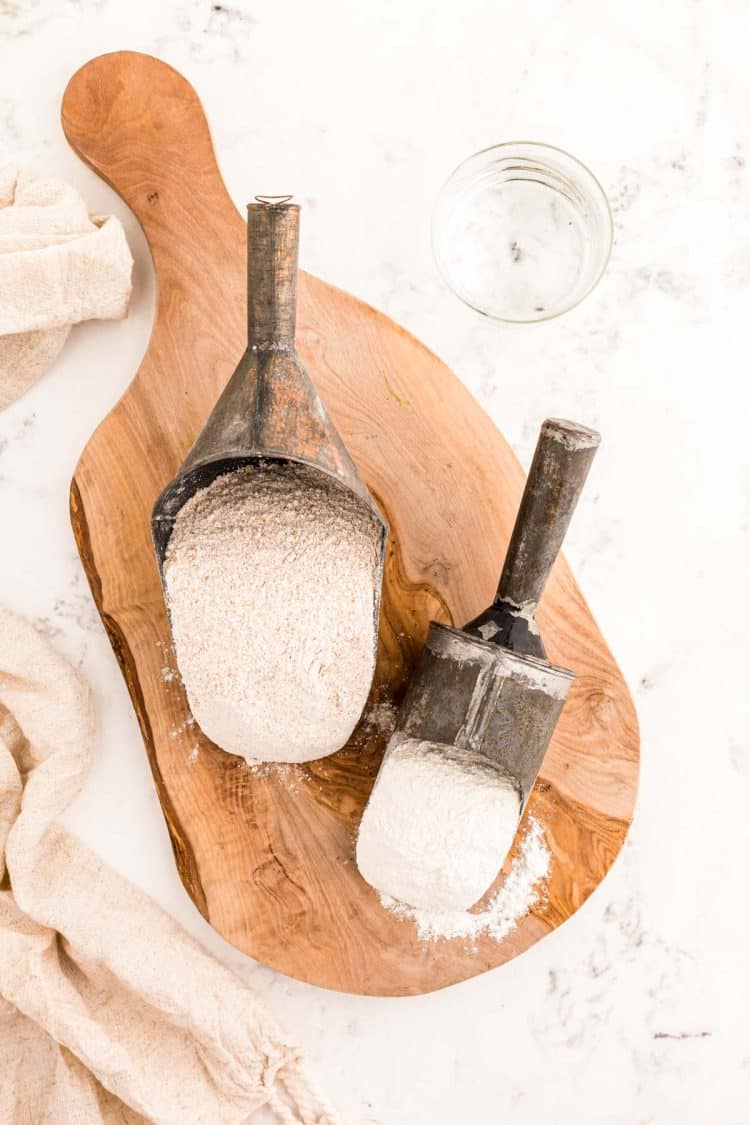
- Whole Wheat or Rye Whole Grain Flour – I find that either of these works best to get the starter going.
- All-Purpose Flour – After the initial fermentation begins, I find it works great to switch over to half all-purpose flour and half whole wheat for each feeding.
- Filtered Water – For best results, I recommend using bottled water, specifically distilled water, which you can get by the gallon inexpensively at most grocery stores. Chlorine in city tap water can kill the yeast and decrease or completely prevent fermentation.
There are also three kitchen essentials that you’ll need to complete this Sourdough Starter Recipe:
- Kitchen Scale – Using a scale (affiliate link) allows for precise measurements to get the best results on making this Sourdough Starter.
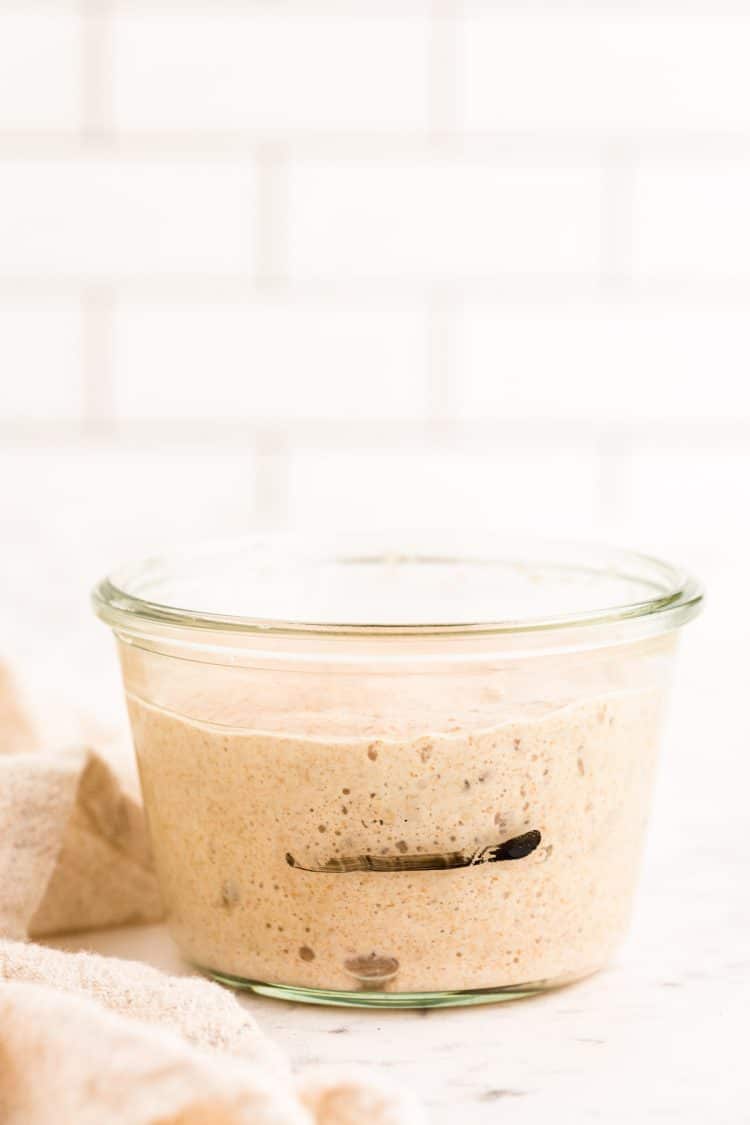
- Clean Jar – I prefer using a tall glass jar with straight sides so that I can mark a line on the outside of the jar with a dry-erase marker. This makes it easier to track how much the mixture rises throughout the 12 hours in between feedings. Also, a wide-mouth jar is a must for easy discard removal and stirring. I like this Weck Canning Jar or these Wide Mouth Mason Jars, I also really like this Sourdough Starter Tool Kit (affiliate links).
- Plastic Wrap – Used to cover the top of the glass jar in between feedings.
How To Make A Sourdough Starter From Scratch
Day One: Combine equal parts of flour and water together in a small bowl.
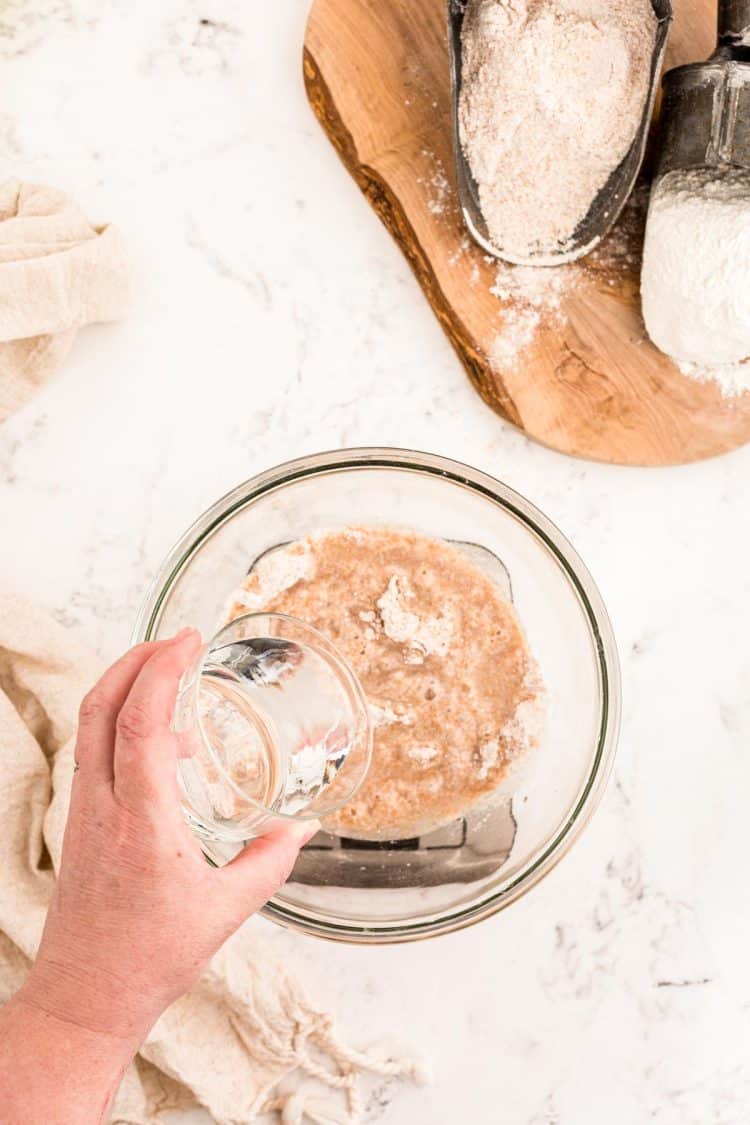
Stir the ingredients together until even paste forms. Then cover it with plastic wrap and place it in a warm room temperature location in your home.
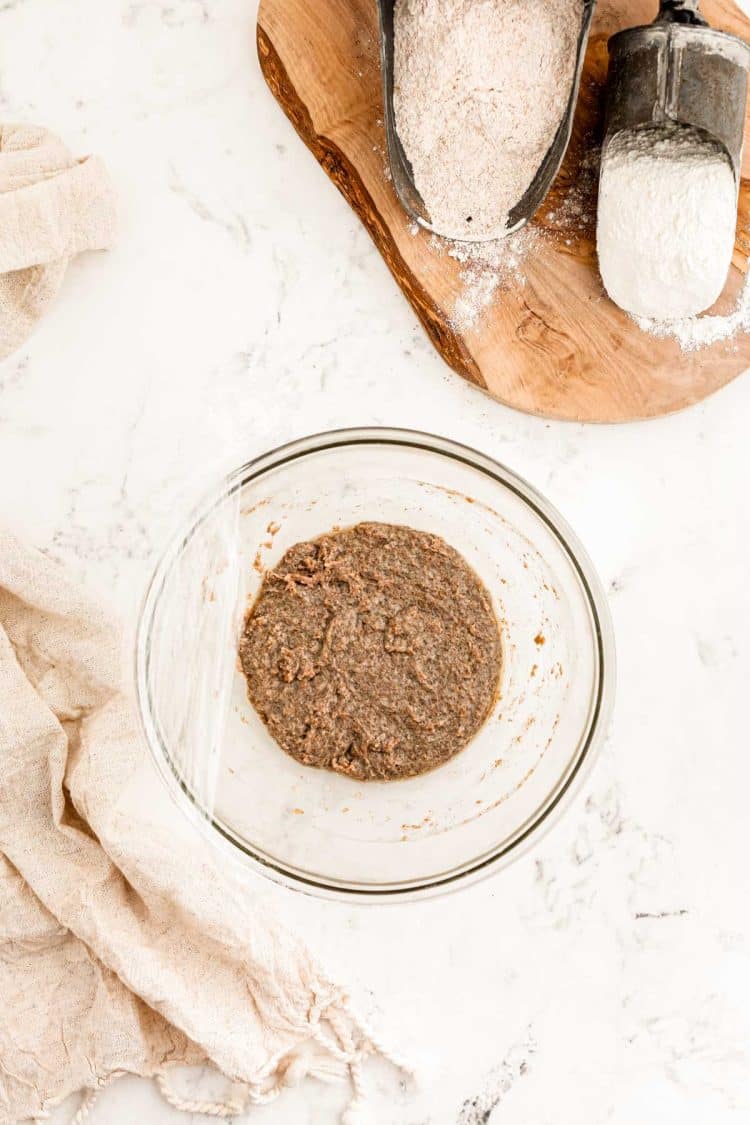
Day Two: Stir the starter after it has been set out at room temperature for 24 hours. Afterward, remove 100 grams of the mixture to a clean container.
The new container will be what you keep, and what’s left in the old container is called the discard. This can be thrown away or used in discard recipes.
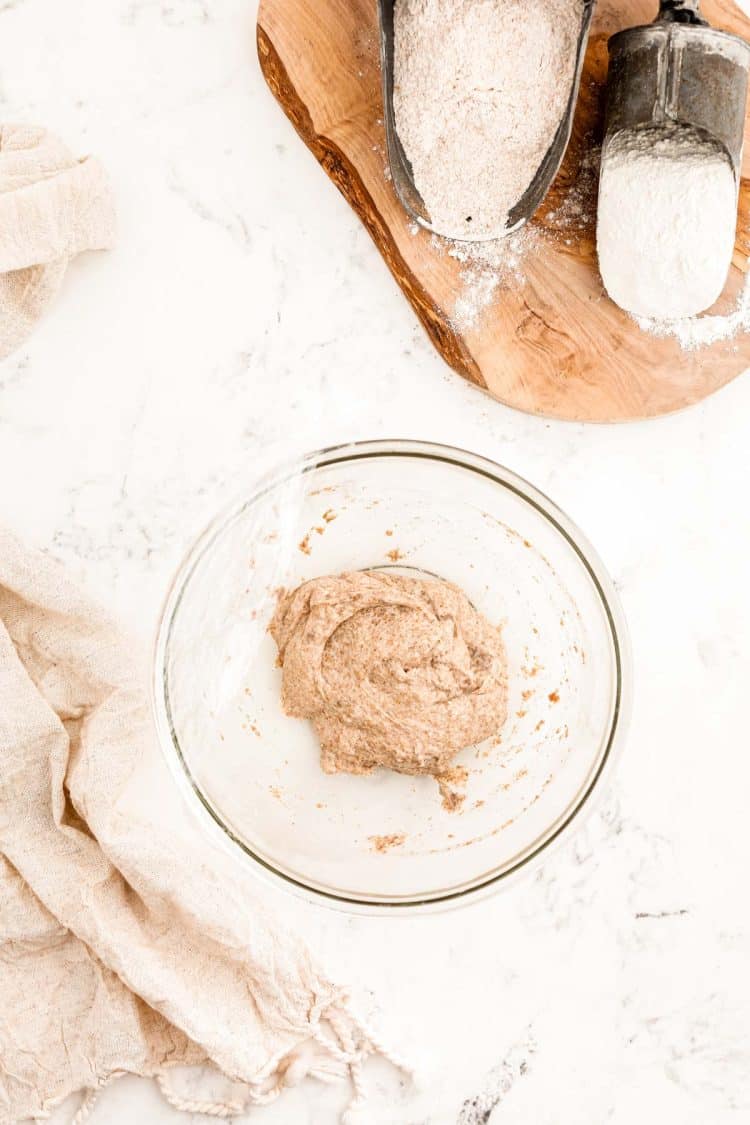
Next, add all-purpose flour OR whole wheat flour and water to the new container you just added 100 grams of starter to. Stir, re-cover it with plastic wrap, and then return it to the room temperature counter for another 24 hours.
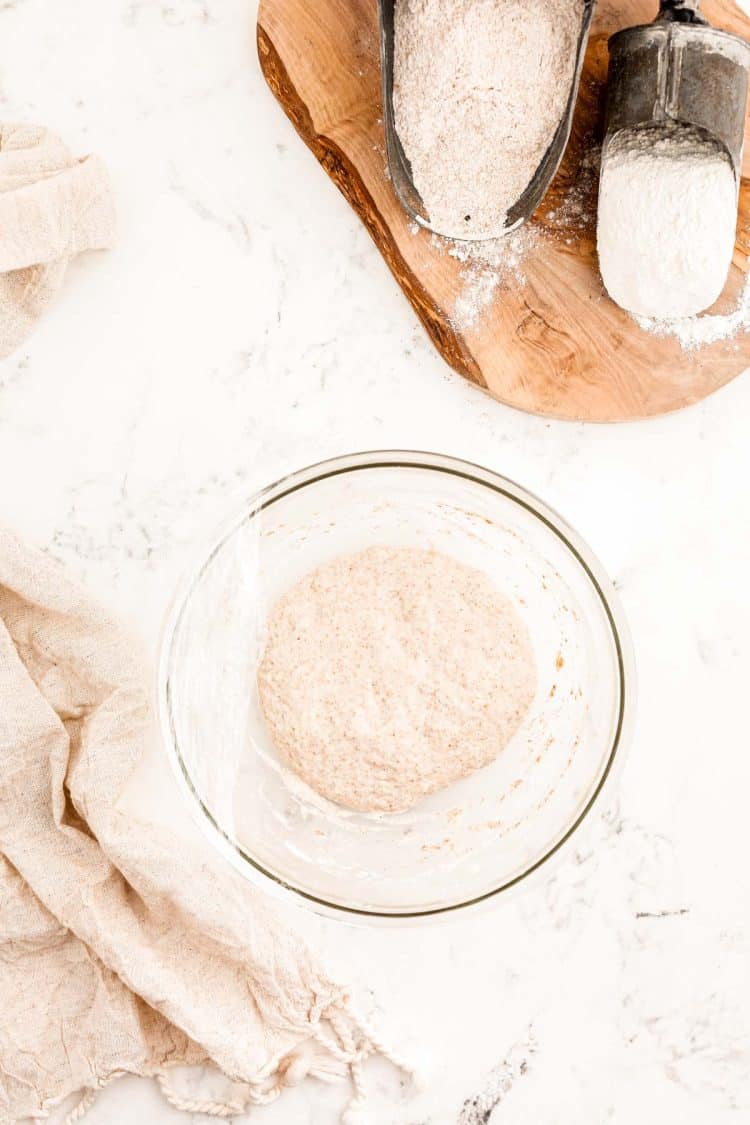
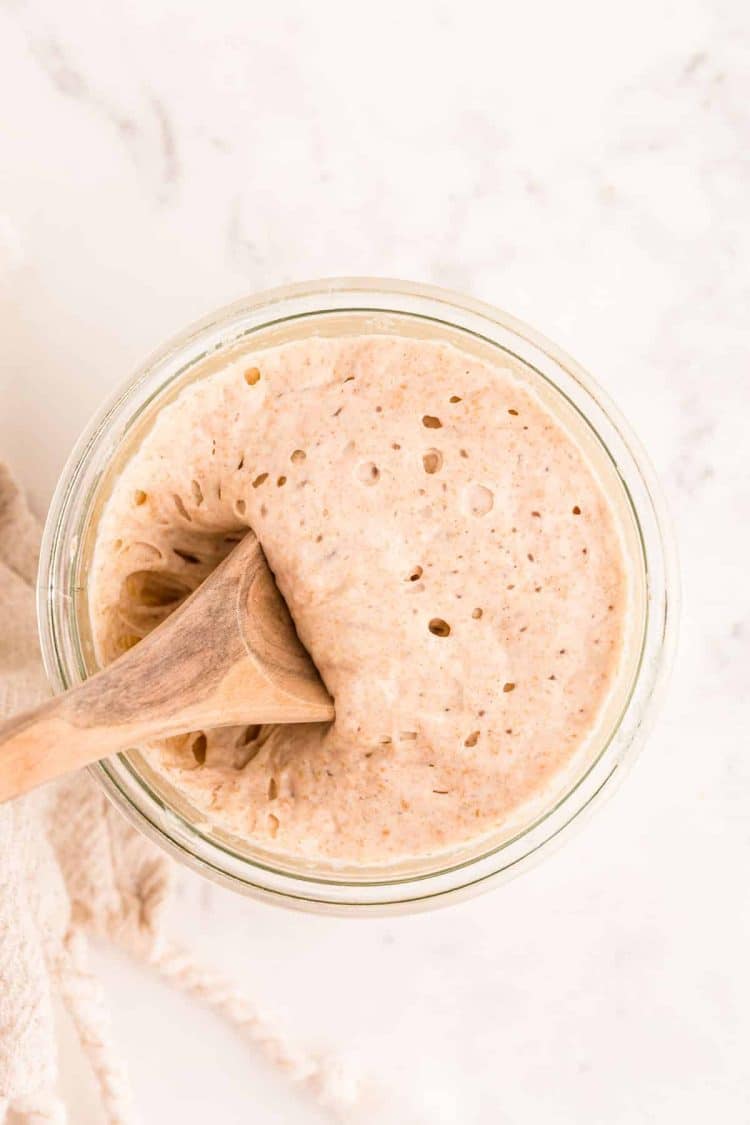
Day Three: (or four) is when you will begin to see signs of the fermentation process, such as bubbles and a slight aroma. This is when you will begin feeding the starter twice a day.
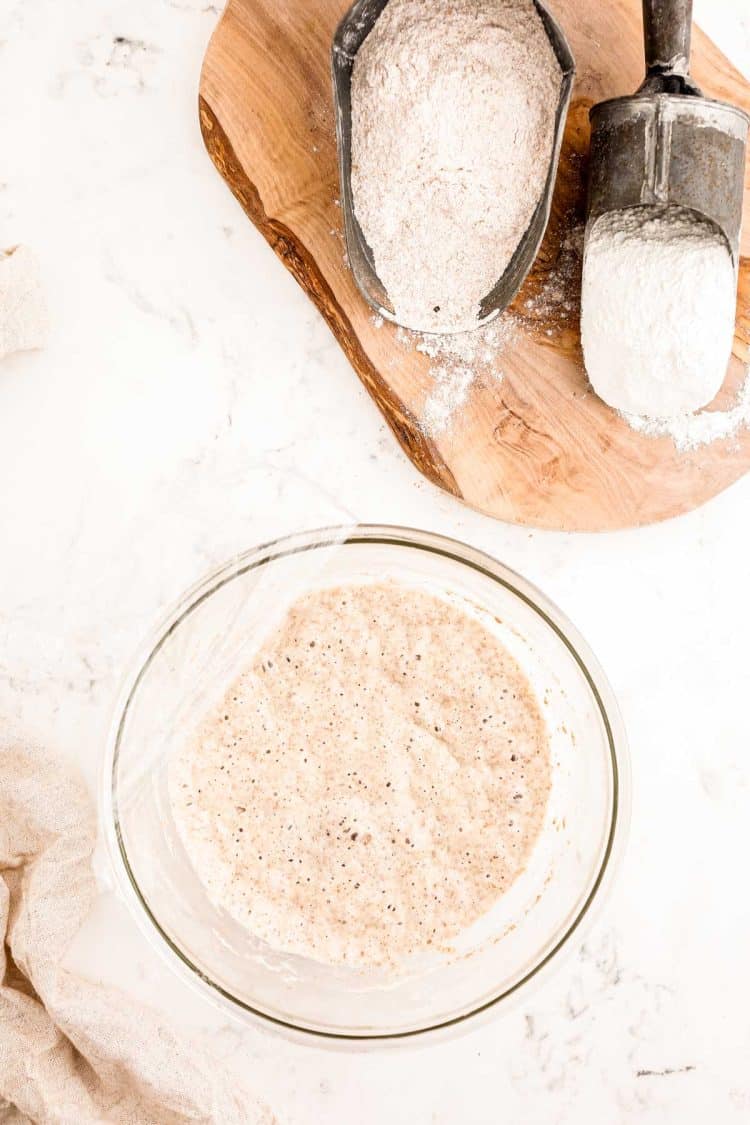
Feed the starter by measuring 100 grams of the starter mixture into a clean jar that has room enough for the mixture to double in size. Then add equal parts water and flour to it, stir together, and cover with plastic wrap.
Mark the glass with a dry-erase marker to keep track of how much the mixture rises between feedings. If you don’t have a dry-erase marker could also just use a rubber band.
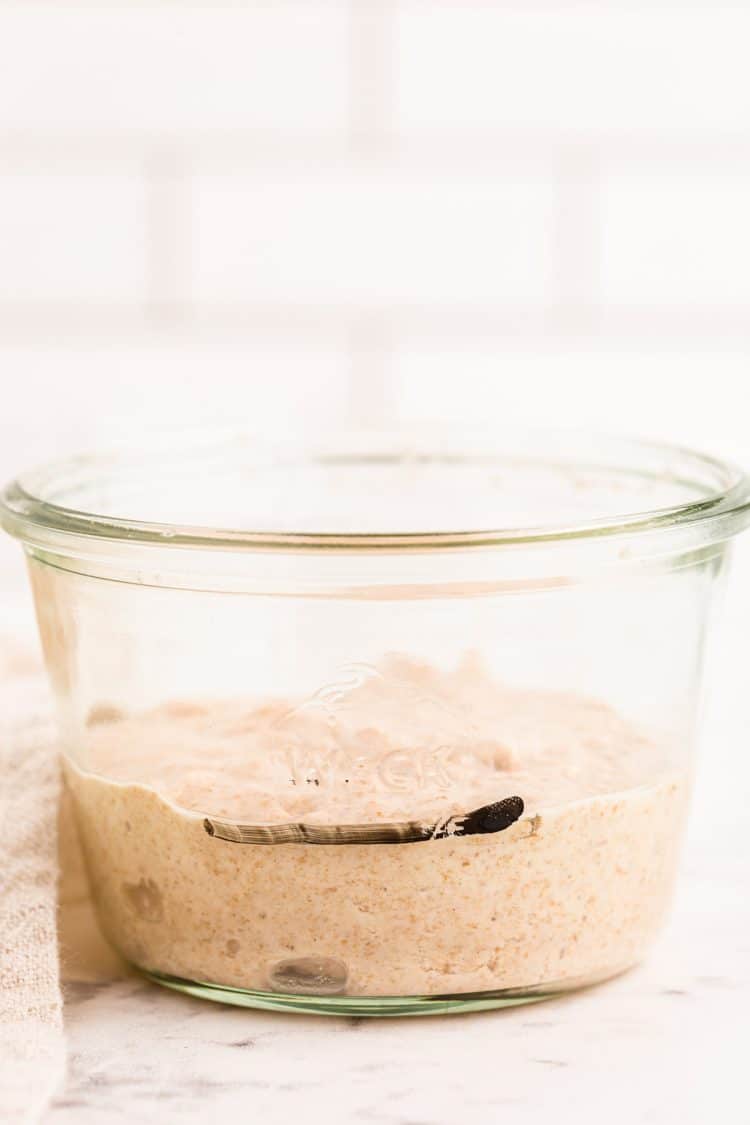
Day Four: (and beyond) continue feeding the Sourdough Starter every 12 hours. After a couple of weeks, the mixture should begin doubling and be bubbly on top after roughly 6 to 8 hours, this is when the starter is ready to be used to make sourdough bread or other sourdough recipes!
Frequently Asked Questions
How Can I Tell If My Sourdough Starter Has Gone Bad?
If your sourdough starter begins to have a tint or streak of color such as orange, pink, yellow, or blue it has surely gone bad. The color change is the result of bad bacteria growing in the sourdough starter.
Healthy Sourdough Starters having nothing in them that will cause their appearance to change colors.
How Long Can I Feed And Use The Same Sourdough Starter?
This varies heavily upon what kind of flour you use, how often it’s fed, and where you store it. But it can last a VERY long time as long as you take care of it properly! It’s called “mother dough” for a reason, there are some starters that are hundreds of years old around the globe. Boudin Sourdough, one of the most famous and the original San Francisco sourdough starter, claims theirs dates back to the California Gold Rush!
Does It Have To Be Kept at 100 Grams Of Starter, Water, And Flour When Feeding?
This can actually be adjusted to however you like, I just used 100 grams to keep things easy to measure and easy to multiply. Just be sure you’re measuring out even weights of starter, water, and flour.
What If I Don’t Want To Feed The Starter Every 12 Hours?
After you give the starter a feeding let it sit out at room temperature to get bubbly, about a few hours. Then store the starter in the fridge and feed it once a week the same way. Keeping the starter cold only allows for slow fermentation.
When you’re ready to make a sourdough recipe just take the starter out of the refrigerator and give it a feeding. Then leave it out for about 8 hours so that it can get active before removing the amount you need for your recipe.
Why Is This Recipe In Grams?
You will certainly find that some recipes are done in cup measurements such as 1/2 cup, 1 cup, etc. I personally think that if you’re going to be investing your time into making a sourdough starter and bread that you should invest in a kitchen scale (affiliate link).
This way you know precisely what you’re adding at all times, making the starter much more reliable.
How Can I Be Sure That My Sourdough Starter Is Ready To Be Used In Recipes?
When the starter is doubling in size every 6-8 hours and is bubbly on top it’s ready to be used. You could also try the float test to gauge if it’s ready or not.
For the float test drop a teaspoon of starter into a room temperature glass of water. If it floats it’s generally ready to be used. However, some starters can be ready but NOT float, typically ones that are made with rye or whole wheat will do this.
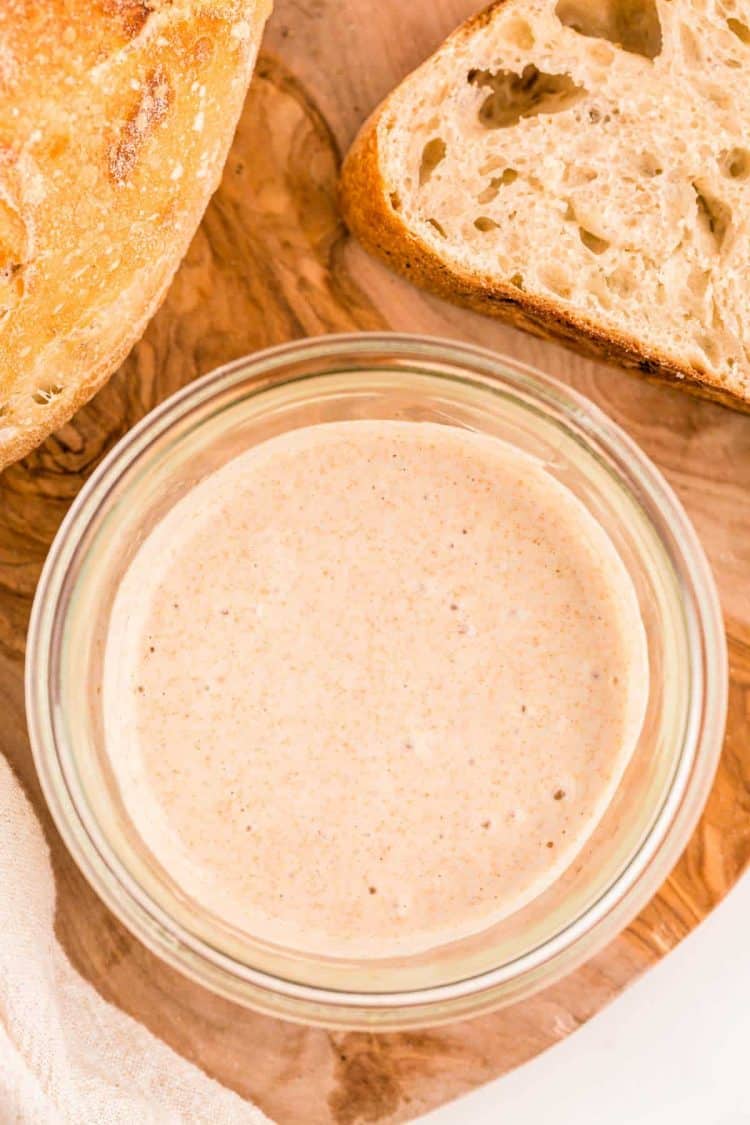
This Homemade Sourdough Starter recipe provides you with basic kitchen knowledge that’s great to always have in your back pocket! Here are more homemade recipes that are just as good to have on hand as this one!
- Fresh Grenadine Syrup – Made with pomegranate juice, sugar, and lemon juice!
- Homemade Bisquick – Consists of just 4 ingredients to easily replace the store-bought version for all your waffles, pancakes, and biscuits!
- Blender Butter – This easy-to-make old-fashioned butter comes out incredibly creamy and delicious!
- Simple Syrup – Use this 2 ingredient recipe to add wonderful flavor to cocktails, teas, lemonades, punches, and even desserts!
- How to Make Candied Pecans The Easy Way – You’re favorite addition to sweet potatoes, pumpkin pies, salads, and yogurts, homemade in just 15 minutes!
Let’s Connect!
If you’ve tried this recipe, please let me know how you liked it in the comments below and leave a review. I love hearing from you!
Don’t forget to tag me – @sugarandsoulco – on Instagram and Pinterest with your photos or join our Sugar & Soul Show-offs Community and share them there, where you can join our recipe challenges!

Sourdough Starter
Equipment
Ingredients
- 400 grams Whole wheat or whole rye flour
- 800 grams Filtered water
- 300 grams All-purpose flour
Instructions
- Day 1: In a small bowl, combine 100 grams whole wheat flour and 100 grams of filtered water. Stir together until an even paste forms. Cover with plastic wrap and set in a warm room temperature, draft-free location.400 grams Whole wheat or whole rye flour, 800 grams Filtered water
- Day 2: After 24 hours, stir the mixture. Remove 100 grams of the mixture to a clean container. To it, add 100 grams of all-purpose OR whole wheat flour and 100 grams of water. Stir, cover, and return to warm location for another 24 hours. Discard excess starter.300 grams All-purpose flour
- Day 3: You should begin to see signs of fermentation on day 3 – bubbles, a slight aroma. Begin feedings twice a day once you see signs of fermentation. Measure 100 grams of the starter mixture into a clean jar (choose a container with enough room for mixture to at least double). Add 100 grams of flour (I typically do a combination of 50g all-purpose, 50g whole wheat) and 100 grams of filtered water. Discard the extra starter or use in discard recipes. Repeat this process every 12 hours.
- Day 4 and beyond: Continue with feedings every 12 hours. Measure out a portion of your starter and feed with equal amounts of flour and water.
- After 1-2 weeks, the mixture should begin doubling after about 6-8 hours. When the starter is doubling in 6-8 hours regularly with large bubbles throughout the whole mixture, it is ready to use in bread.
Notes
- I started using a tall glass jar with straight sides so that I could mark a line on the outside of the jar with a dry-erase marker and then track how much the mixture was rising throughout the 12 hours between feedings.
- You should start to notice a regular pattern. The starter is thick when first mixed, it loosens and starts to have some bubbles on the surface after 2-3 hours. Then the starter bubbles and rises in the jar. It should be doubling in height at the 6-8 hour mark. From hours 8-12, the mixture continues to be bubbly, but will start to cave in at the top and decrease in height. At 12 hours, the mixture is “hungry” and less active and is ready to be fed.
- USE FILTERED WATER. The chlorine in city tap water can kill the yeast and decrease or completely prevent fermentation. I buy inexpensive distilled water by the gallon and use that. Over time, the starter may become strong and stable enough that it can withstand tap water, but proceed with caution.
- Whole wheat or whole rye flour is best to get the starter going. After the initial fermentation starts, I switched over to half all-purpose and half whole wheat for every feeding and that seemed to do great.
- I used 100 grams to keep things nice and even and easy to measure and easy to multiply. 100 grams of each starter, water, flour for every feeding. You can adjust this however you like – just make sure you’re measuring out even weights of starter, water, flour. I’m now maintaining at 50 grams. 50 grams starter, 50 flour, 50 water and keeping the starter on the countertop.
- If you don’t want to keep feeding the starter every 12 hours, you can give it a feeding, let it sit out for a few hours to get bubbly, and then store it in the refrigerator. Feed refrigerated starter once a week the same way. When you want to make bread, pull the starter out of the fridge, give it a feeding, and then wait at least 8 hours to get active before removing the amount needed for your bread.
- Some people provide cup measurements, for example ½ cup starter, 1 cup flour, ½ cup water. I really think that if you’re going to invest the time in making sourdough starter and bread, that you should invest in a scale so that you know precisely what you’re adding at all times. Much more reliable.
Nutrition
Did You Make This Recipe?
Don’t forget to share it with me on Instagram @sugarandsoulco and follow on Tiktok @sugarandsoulco and Pinterest @sugarandsoulco for more!



Share your thoughts!
Love this recipe? Share your thoughts with me below and leave a review! And don’t forget to connect on your favorite social platform below!