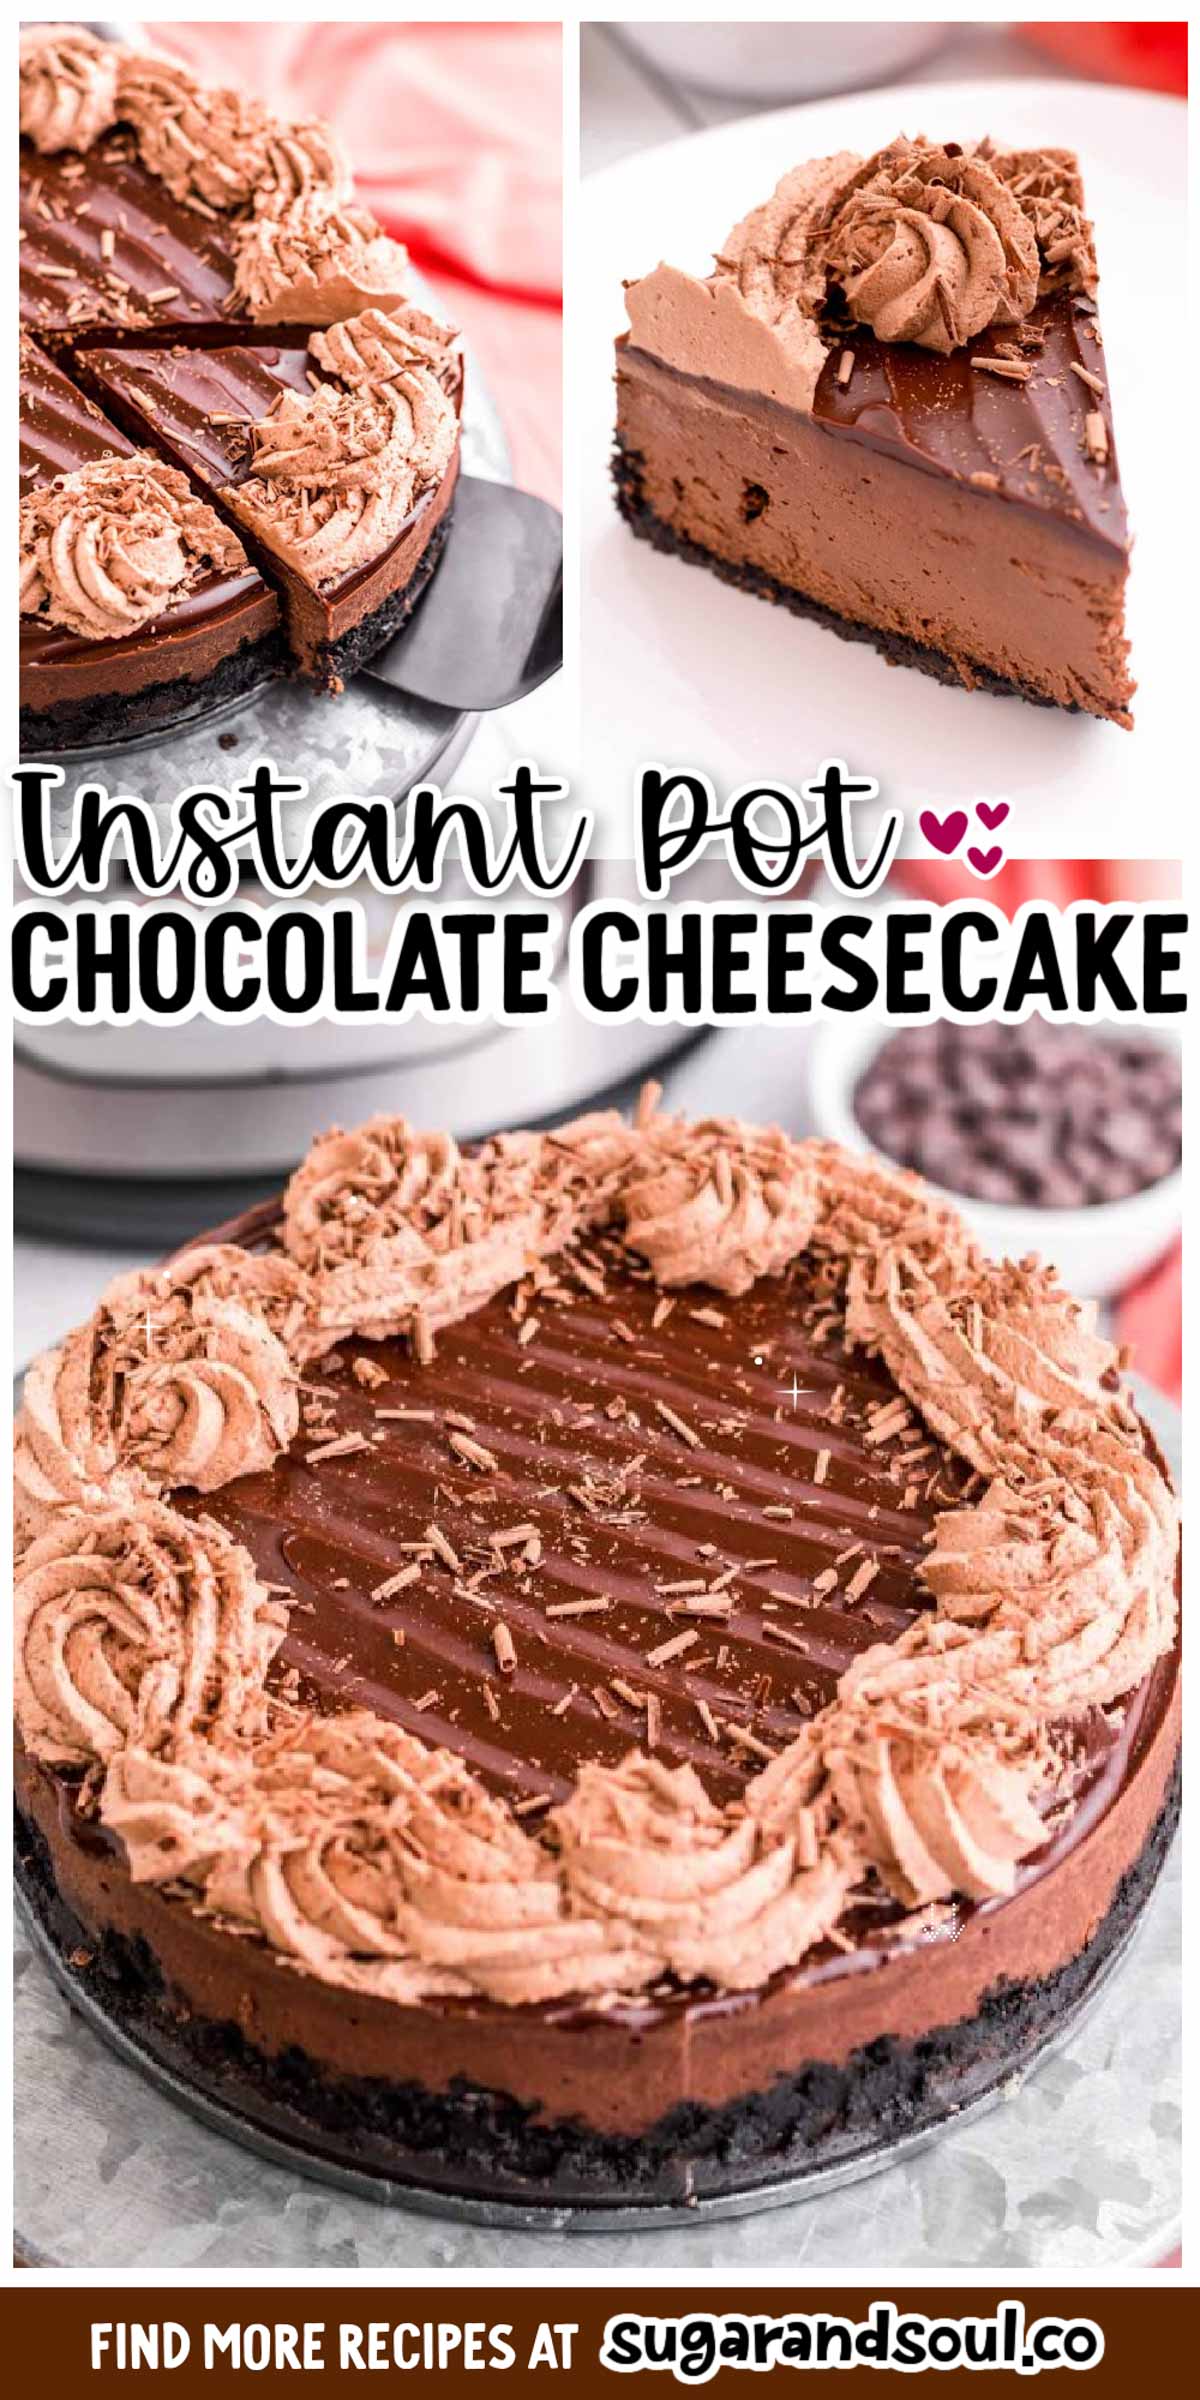
If you love chocolate then this Instant Pot Chocolate Cheesecake is just what you’re looking for! With multiple layers of chocolate, this cheesecake is deliciously smooth with a tasty ganache topping and swirls of chocolate whipped cream. The perfect dessert for any chocolate lover.
Looking for a slice of decadent chocolate cheesecake that doesn’t require the use of an Instant Pot? I’ve got your back! My Triple Chocolate Cheesecake has three layers of delicious chocolate and is baked right in the oven in under an hour!
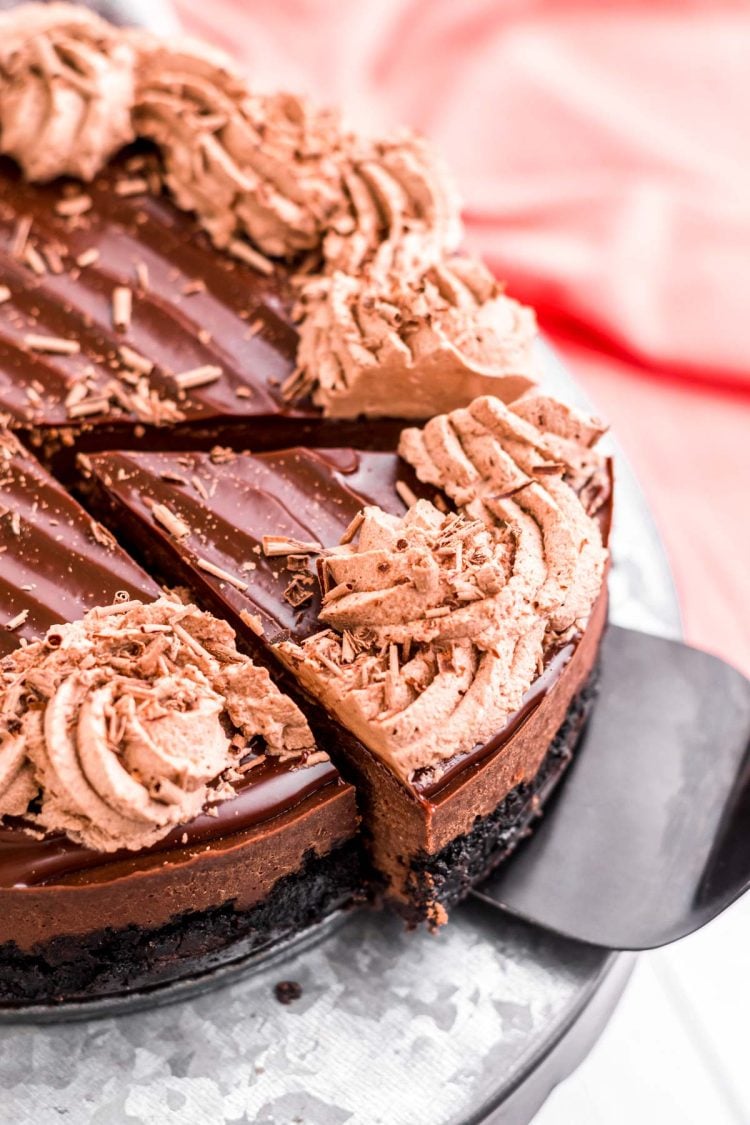
I love my instant pot! I will wholeheartedly admit that! If you don’t have one, I highly recommend that you get one because they are amazing and you can make almost everything you want in them, even desserts like this Chocolate Cheesecake!
We love making desserts in the instant pot and this cheesecake is one of my favorites, the only special equipment you need for this recipe would be a trivet and a 7-inch springform pan and you are good to go.
This whips up quickly and is a fun way to use your instant pot that doesn’t involve something savory, once you start making desserts in it you won’t be able to stop!
Why This Recipe Works
- With multiple levels of chocolate this is the perfect creamy chocolate dessert.
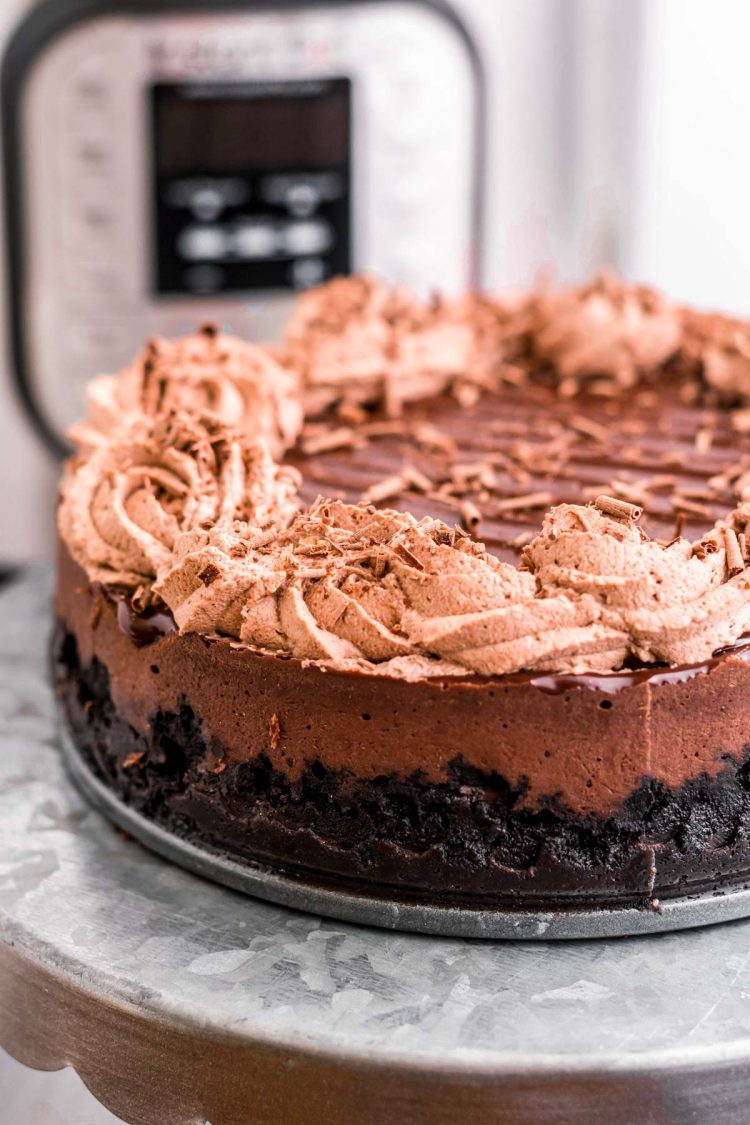
- Baking in the instant pot there is no need to keep checking on your cheesecake to see if it is baking right.
- Cheesecakes usually require a water bath, well the instant pot takes care of that for you!
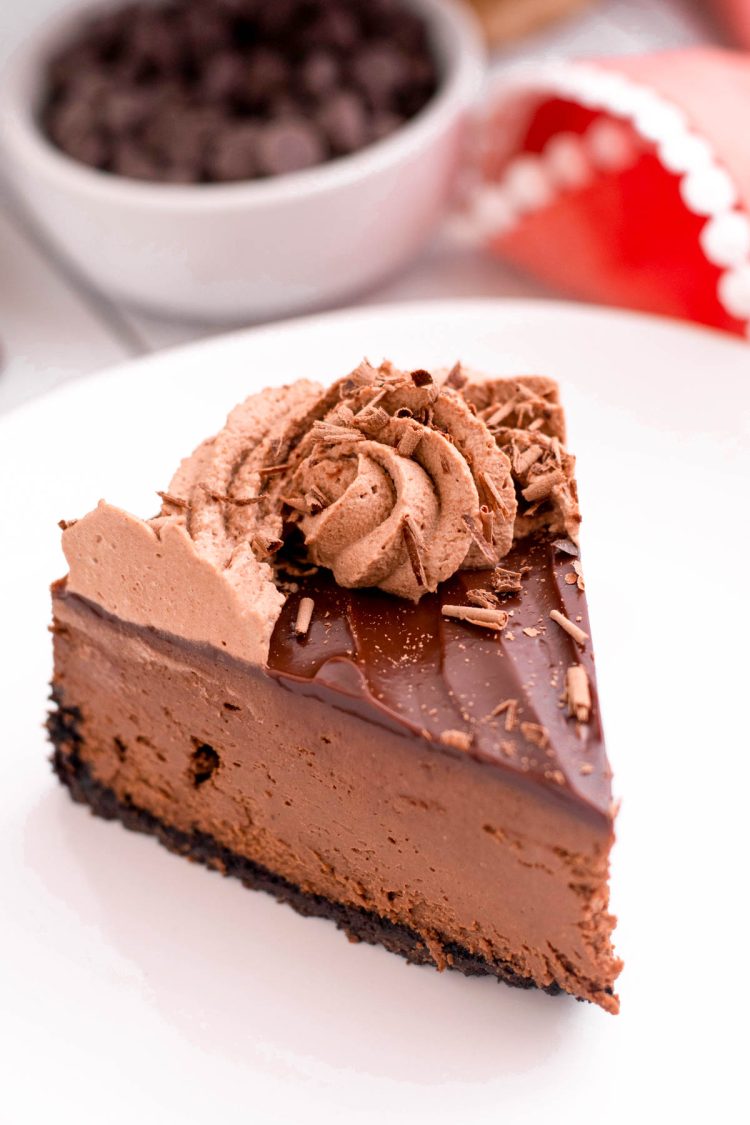
Instant Pot Chocolate Cheesecake Ingredients
The base of this Instant Pot Cheesecake starts out with crushed Oreos, butter, and salt. I mean an Oreo crust? We are already off to a good start!
The filling then consists of your basic cheesecake ingredients but added to it comes cocoa powder and semi-sweet baking chocolate. Just enough chocolate in the filling to not overpower the cheesecake flavor.
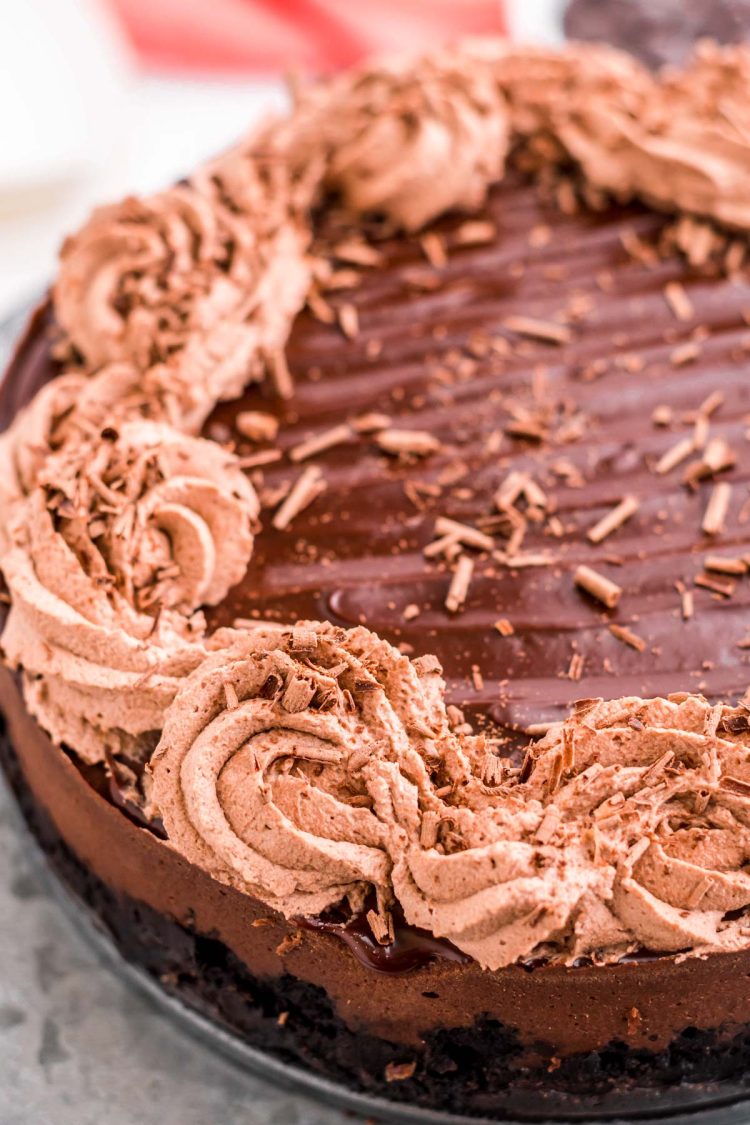
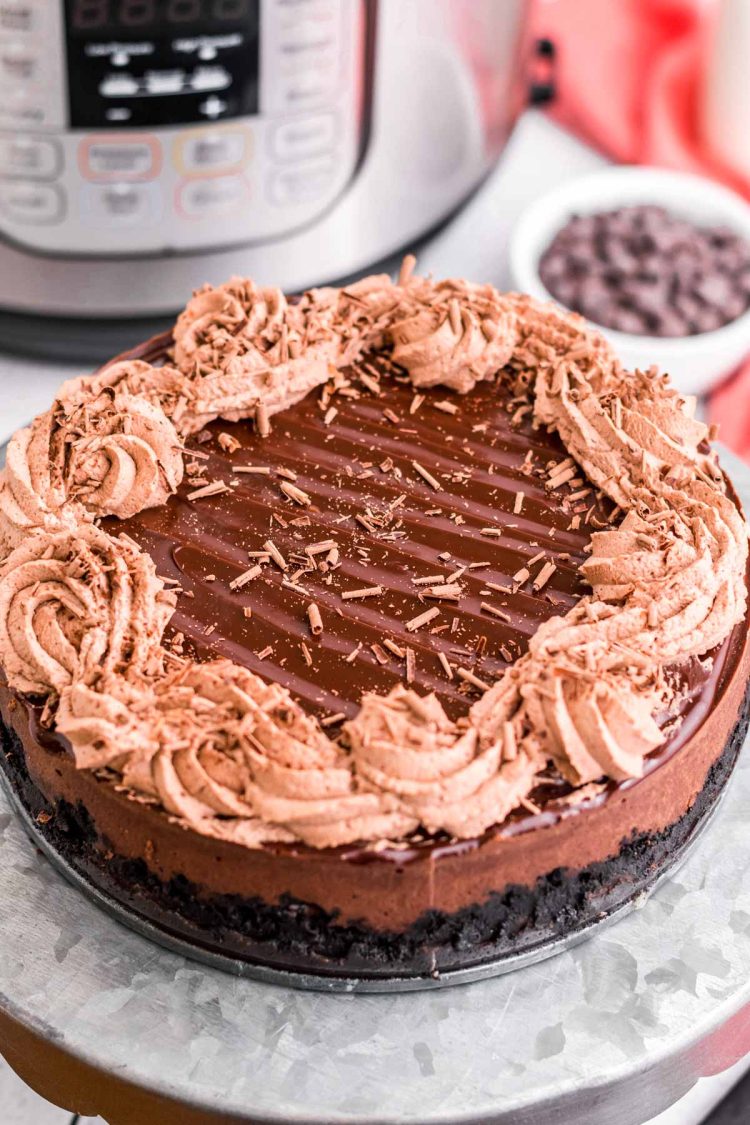
Topped with a delicious chocolate ganache and a chocolate whipped cream you have not only a delicious dessert but an absolutely pretty one as well.
How To Make Instant Pot Cheesecake
- Prepare the crust by add Oreos to a food processor. Then add in the melted butter and salt, pulsing again until well combined.
- Spread the crust mixture into the bottom of a springform pan that’s been coated with nonstick spray. Make sure to bring the crust up the sides of the pan.
- Chill the crust in the freezer until the filling is prepared.
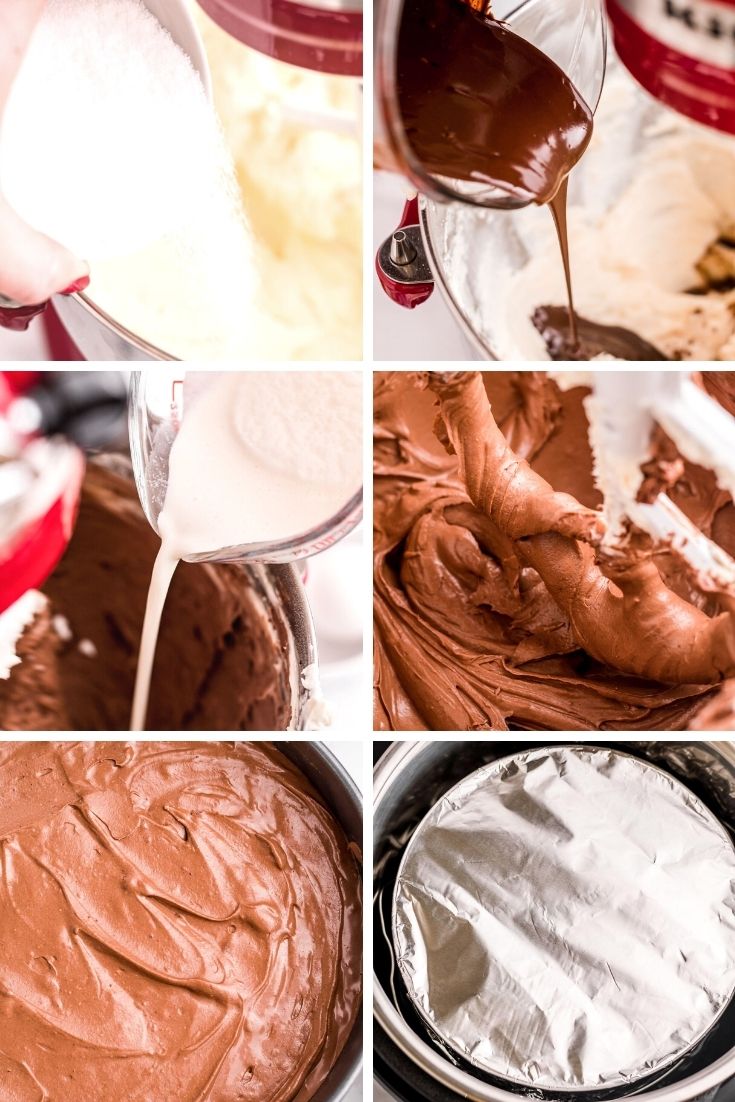
- Beat the cream cheese until it’s light and fluffy using a mixer with a paddle attachment. Afterward, add in the granulated sugar and beat again.
- Add in the cocoa powder and flour. This time mixing until just combined.
- Pour in the melted chocolate, heavy cream, and vanilla extract. Then mix the filling together at medium-high speed.
- Add the eggs in one at a time while the mixer is on low speed.
- Pour the cheesecake batter into the chilled crust. Then tap it on the counter gently to remove any possible air bubbles that may be hiding the cheesecake filling.
- Cover the pan tightly with aluminum foil.
- Prepare the Instant Pot by adding water and a trivet insert into the inner pot. Then place the cheesecake on the trivet and place the lid on sealing it.
- Cook the cheesecake on high and then allow a natural release. Afterward, remove the cheesecake and allow it to cool completely.
- Transfer the cheesecake to the refrigerator to allow it to be completely set once it has cooled to room temperature.
- Prepare the whipped cream by beating the whipping cream at high speed until it begins to thicken.
- Add in the cocoa powder, powdered, sugar, vanilla, and salt. Then continue mixing at high speed until stiff peaks form.
- Prepare the ganache by simmering the cream. Once simmering pour it over the chocolate chips and allow it to set.
- Whisk the cream and chocolate chips together until smooth. Afterward, allow it to cool and slightly thicken.
- Pour the chocolate ganache over the cheesecake and smooth it out.
- Pipe a whipped cream circle around the top of the cheesecake and then sprinkle with chocolate shavings. Enjoy!
I know that it seems like there are a lot of steps to make this Chocolate Cheesecake, but trust me, cheesecakes are really a simple recipe to make.
Alternative Cheesecake Toppings
Since this Instant Pot Chocolate Cheesecake is a simple basic recipe there are so many other things you can top it with some of these include:
- Raspberries
- Mint leaves
- Strawberries
- Oreos
- Peanut Butter Cups
- Crushed peppermint candies
- Banana slices
These are just some ideas but anything that you would love to pair with chocolate would be a great topping for this dessert.
Frequently Asked Questions
What Kind Of Chocolate Should I Use?
For the cheesecake itself we like to use a semi-sweet baking bar, it melts easy and gives off the flavor that we love.
For the ganache we like to use high-quality semi-sweet chocolate chips, you can also use a baking bar for this chopped up as we.
How Do I Cut The Perfect Slice?
The trick that I was taught long ago is to warm up a sharp knife under hot water and wipe it off then slice your cheesecake. This will produce a nice clean cut.
How To Store Cheesecake
Since cheesecake contains milk products it needs to be refrigerated. This should last in the refrigerator properly stored in an airtight container or wrapped tightly in its pan for about 3 to 4 days.
To freeze, bake and cool as directed, once cooled in the refrigerator, remove your springform pan sides and place uncovered in the freezer for about one hour, then remove and remove from the bottom of the springform pan.
Wrap tightly in plastic wrap or tin foil and place in an airtight container or a large ziplock bag, this should keep for about 3 to 4 months.
You can defrost overnight in the refrigerator then you can make your ganache and whipped topping and decorate.
More Cheesecake Recipes:
- Peanut Butter Chocolate Cheesecake – A luscious creamy peanut butter cheesecake topped with a chocolate ganache.
- Eggnog Cheesecake – A fun holiday cheesecake spiked with eggnog and whisky!
- No-Bake Raspberry Cheesecake – A quick and easy fruity cheesecake that requires no bake time!
- Pumpkin Cheesecake – A creamy pumpkin flavored cheesecake drizzled with a delicious cinnamon caramel sauce.
Let’s Connect!
If you’ve tried this recipe, please let me know how you liked it in the comments below and leave a review. I love hearing from you!
Don’t forget to tag me – @sugarandsoulco – on Instagram and Pinterest with your photos or join our Sugar & Soul Show-offs Community and share them there, where you can join our recipe challenges!

Instant Pot Chocolate Cheesecake
Equipment
- 1 Electric pressure cooker
- 1 7-inch springform pan
- 1 pressure cooker trivet
Ingredients
Crust
- 1½ cups Oreo cookie crumbs about 15 cookies
- 3 tablespoons butter melted
- ½ teaspoon salt
Filling
- 16 ounces cream cheese softened
- ½ cup granulated sugar
- ¼ cup unsweetened cocoa powder
- 2 tablespoons all-purpose flour
- 6 ounces semi-sweet baking chocolate
- ½ cup heavy whipping cream
- 1 teaspoon vanilla extract
- 2 large eggs
Toppings
- Chocolate Whipped Cream
- 1 cup heavy whipping cream
- 2 tablespoons unsweetened cocoa powder
- 3-4 tablespoons powdered sugar
- 1 teaspoon vanilla extract
Ganache
- ¼ cup heavy whipping cream
- ½ cup semi-sweet chocolate chips
- Chocolate shavings
Instructions
Crust
- Prepare a deep 7” springform pan with nonstick spray making sure to spray the sides and set aside.
- Add Oreos to a food processor and pulse until you get about 1½ cups of cookie crumbs.
- Add the melted butter and salt to the food processor with the crumbs and pulse until well combined.
- Pour the cookie crumbs into the springform and use the back of a spoon to gently press and form a crust. Make sure to bring the crust up about an inch up the sides as well. Place in the freezer until the filling is done.
Filling
- In the bowl of a stand mixer fitted with a paddle attachment, add the softened cream cheese and beat on high speed for 3 to 4 minutes. This is an important step, do not skip it or shorten it.
- When the cream cheese is light and fluffy and there are no lumps, scrape the sides of the bowl and add the granulated sugar. Beat for an additional 2 to 3 minutes.
- Scrape the sides and bottom of the bowl and add the cocoa powder and flour. Mix until just combined.
- Scrape the sides and bottom of the bowl and make sure there are no lumps of cream cheese in the batter, if there is, mix on high speed for a few additional minutes.
- Add in the melted chocolate, heavy cream, and vanilla extract and mix on medium-high speed for 2 to 3 minutes.
- With the mixer on low speed, add the eggs in one at a time and mix just until combined. Be careful not to overmix here! As soon as the yolk disappears, stop mixing.
- Scrape the sides and bottom of the bowl and make sure everything is combined and smooth.
- Pour the batter into the prepared crust and gently tap on the counter to remove any air bubbles.
- Cover the springform pan tightly with aluminum foil.
- Prepare your Instant Pot by adding 1 cup of water and a trivet insert into the inner pot. Place the cheesecake on the trivet and place the lid on sealing.
- Cook on high for 40 minutes and allow a natural release. Once you can open the lid, remove the cheesecake and allow it to cool completely on the counter. (If the cheesecake looks undercooked when you take it out, it's okay! It will fully set up in the fridge.)
- Once the cheesecake has cooled to room temperature, place in the refrigerator for at least 6 hours but overnight is best.
Toppings
- Once the cheesecake has set, prepare the whipped cream by adding the whipping cream into the bowl of stand mixer equipped with a whisk attachment and beat on high speed until it starts to thicken.
- Add the cocoa powder, powdered sugar, vanilla, and salt and mix at high speed until stiff peaks form.
- Prepare the ganache by bringing ¼ cup of cream to a simmer and carefully pour it over the chocolate chips in a heat-safe bowl and allow to sit for 3 to 4 minutes before whisking until smooth. Allow it to cool slightly and thicken.
- Pour the ganache over the cheesecake and smooth. Add the whipped cream to a piping bag and pipe a circle around the top of the cheesecake and sprinkle with chocolate shavings.
- Keep any left overs in an air tight container in the refrigerator
Did You Make This Recipe?
Don’t forget to share it with me on Instagram @sugarandsoulco and follow on Tiktok @sugarandsoulco and Pinterest @sugarandsoulco for more!



Share your thoughts!
Love this recipe? Share your thoughts with me below and leave a review! And don’t forget to connect on your favorite social platform below!