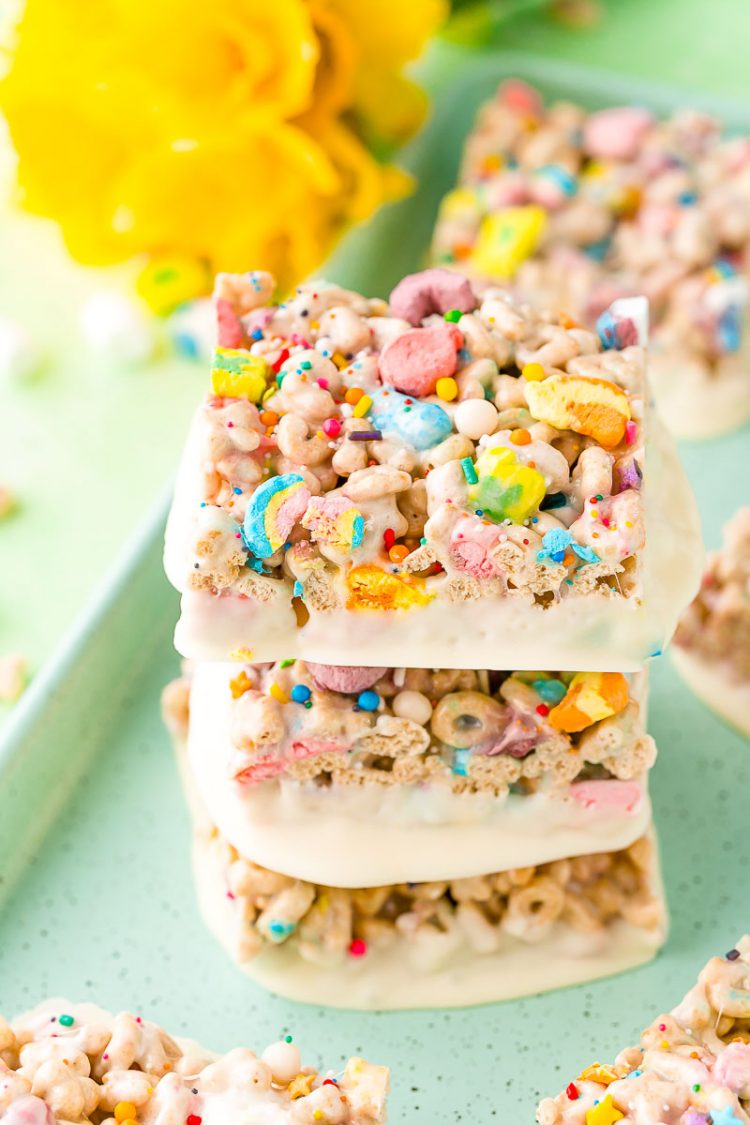
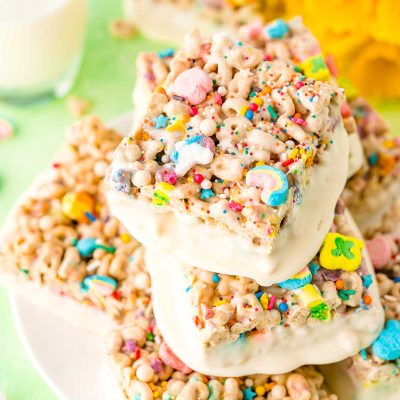
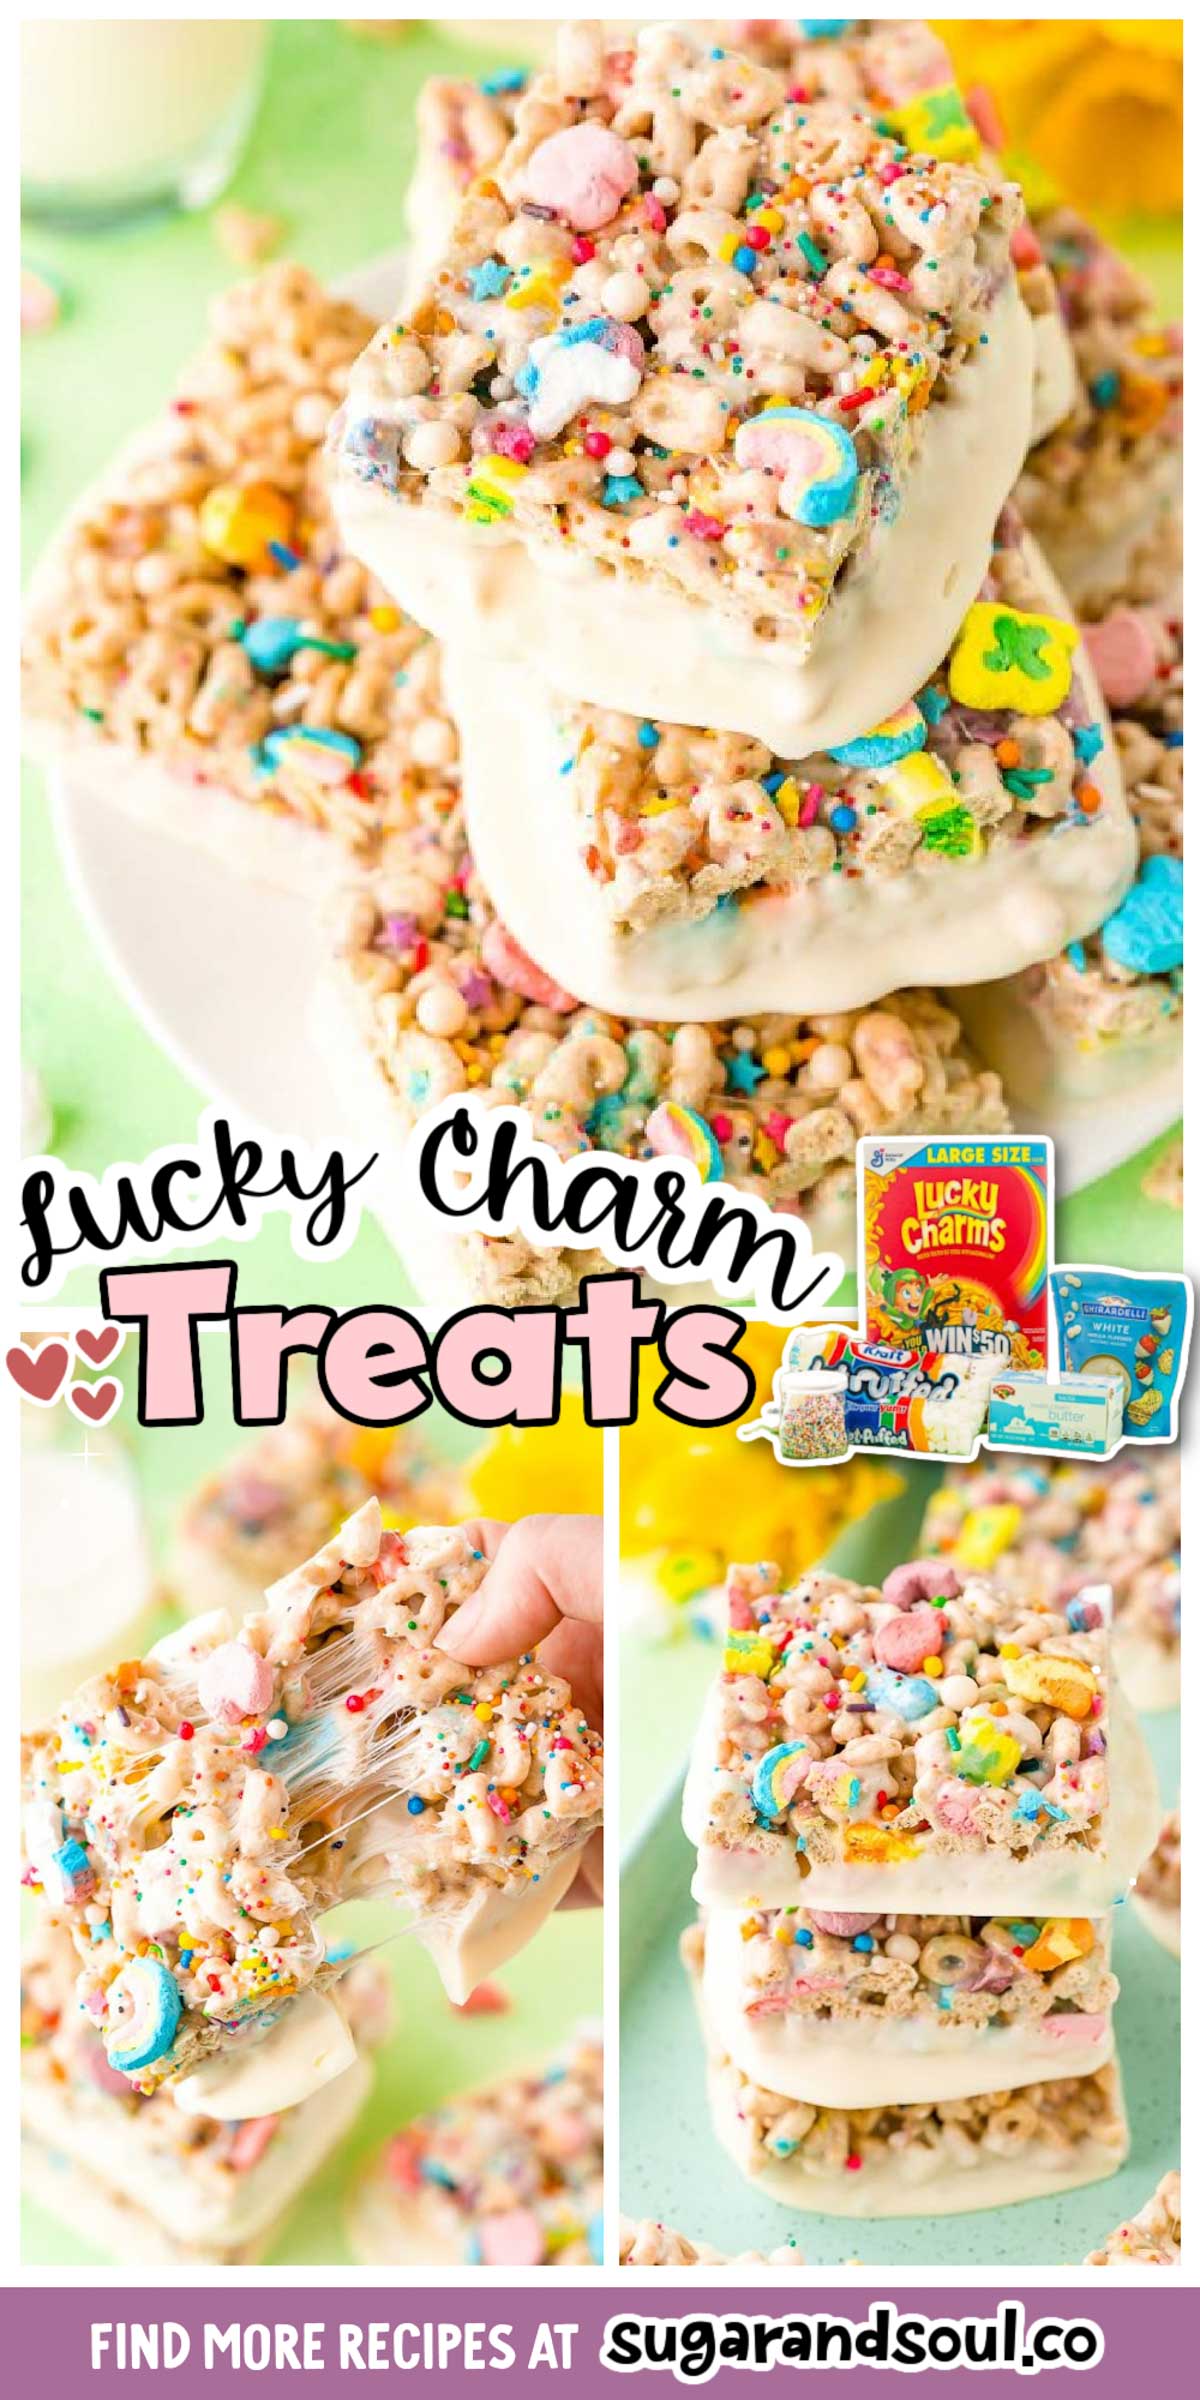
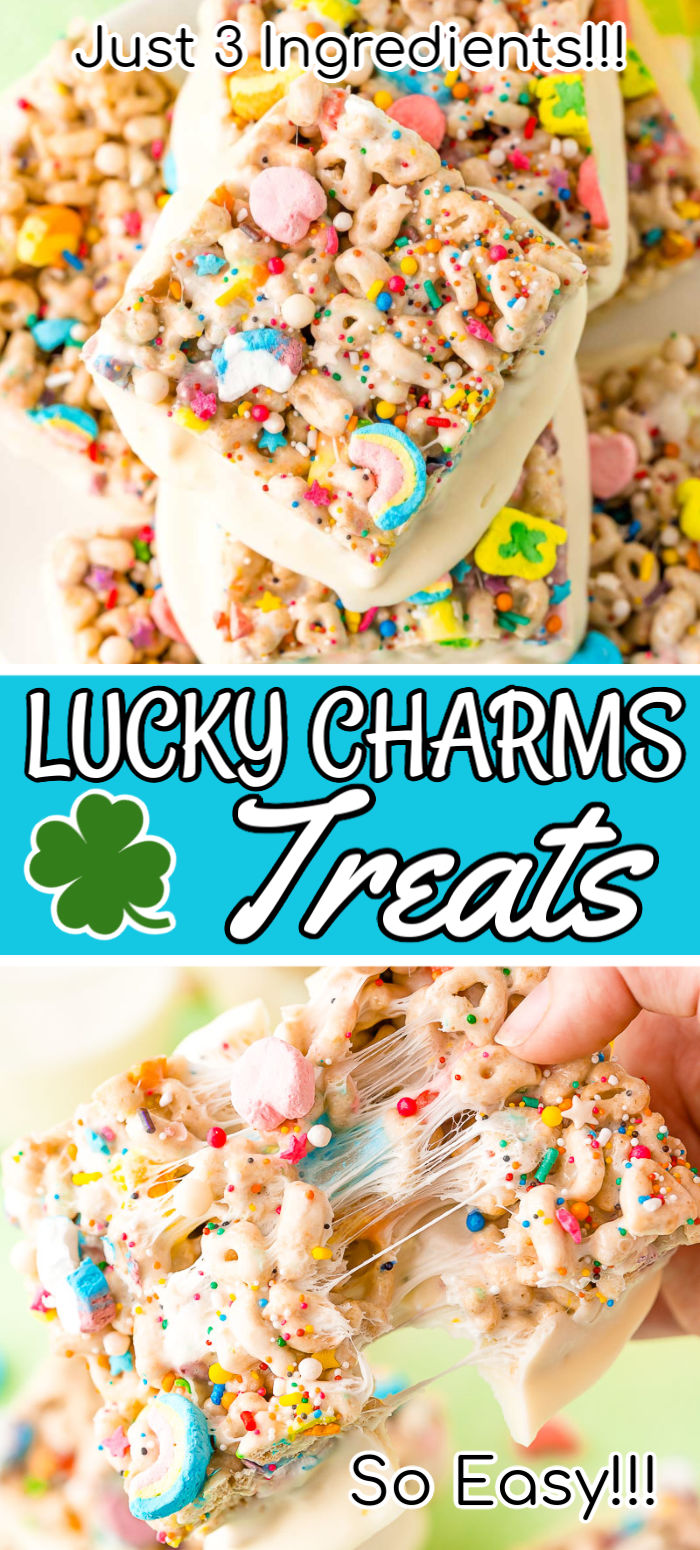
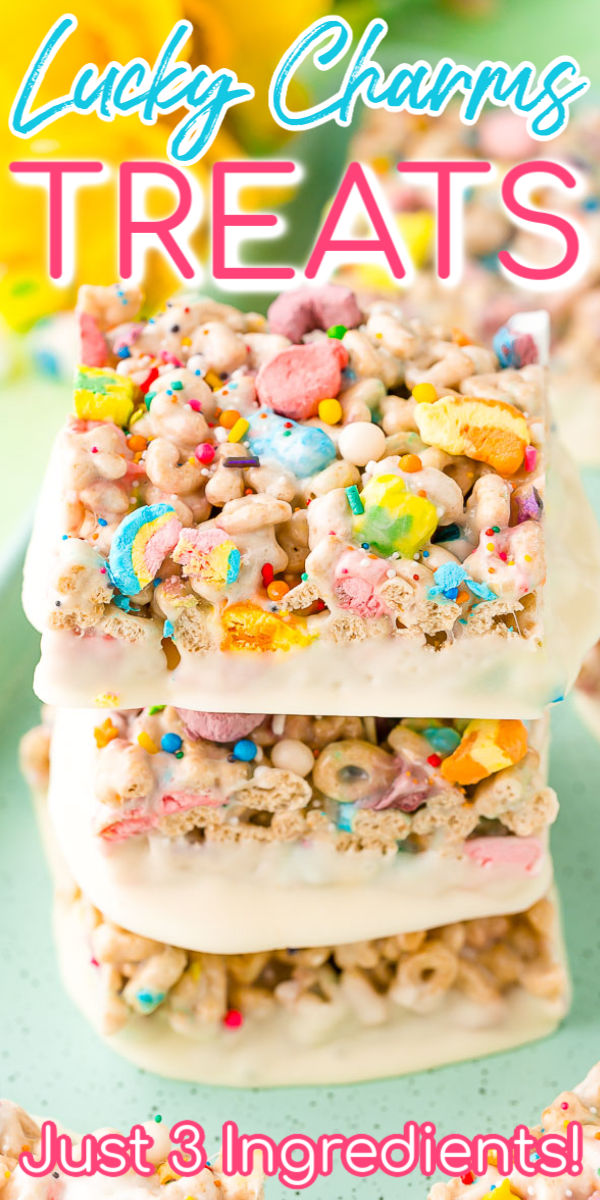
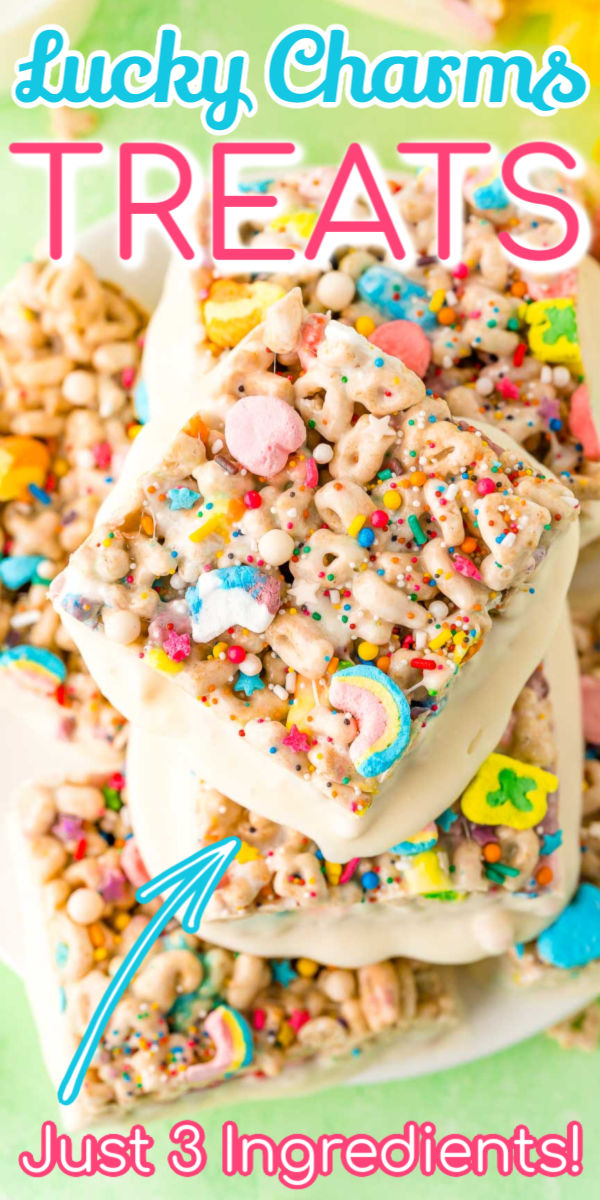
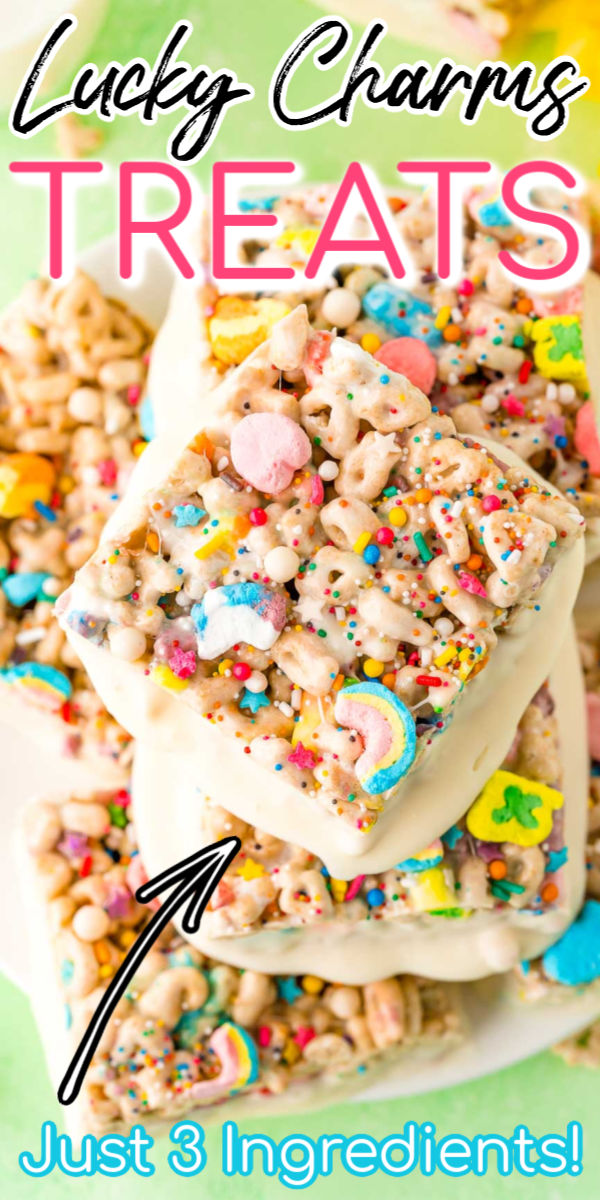
These Lucky Charms Treats are a fun and easy 3 ingredient dessert that requires ZERO baking! Dip them in white chocolate and top them with sprinkles for an extra fun treat!
They’re perfect for St. Patrick’s Day – serve them up with my St. Patrick’s Day Punch or when you just want something a little sweet!
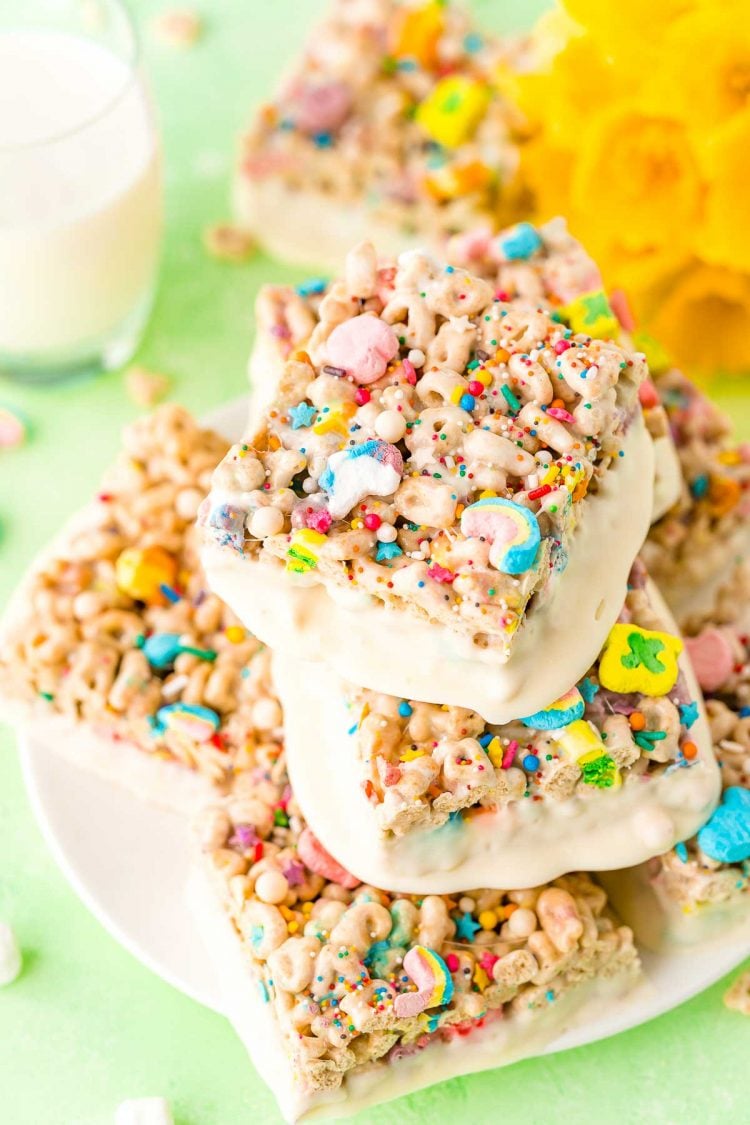
No-bake treats are a serious weakness of mine and these Lucky Charms Treats are high on that list. When you take my Rice Krispie Treats recipe and combine it with one of the best cereals ever, it’s hard to say no to one of these sweet little squares! Especially since they’re super easy to make!
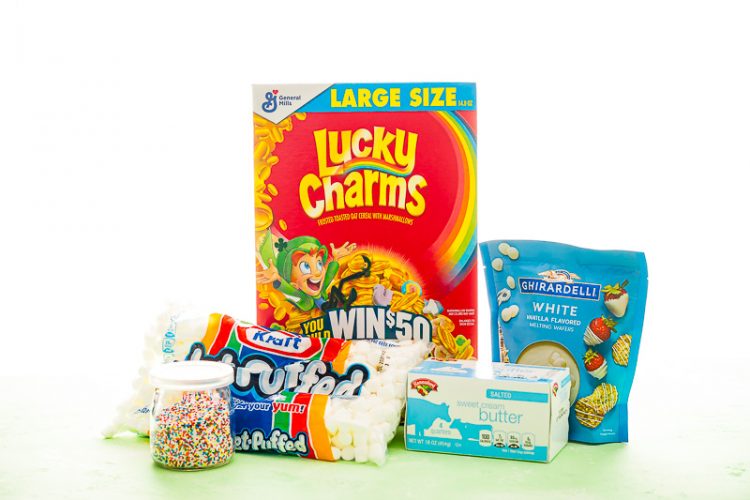
What’s In Them?
Lucky Charms – Of course, the treats can’t be made without the star ingredient! I like to use traditional Lucky Charms, but the Chocolate Lucky Charms and Lucky Charms Frosted Flakes would work too! However, I don’t recommend the Fruity or all-marshmallow versions.
Marshmallows – Maybe they’re not the star, but this ingredient is definitely the hero of this recipe! I prefer to use mini marshmallows in these marshmallows treats recipe. Once melted, they’re going to bind out cereal pieces together!
Butter – It’s important to use salted butter in this recipe to help offset all the sweetness from the cereal and marshmallows. This ingredient provides both flavor and texture to the recipe.
Sprinkles – Add them, or don’t, it’s completely up to you. But when you’re making a recipe that includes colorful fun-shaped marshmallows you should probably just take things all the way 😉
White Chocolate – Another completely optional ingredient. Every now and then I like to dip or drizzle my cereal treats with chocolate. It adds an extra layer of sweetness and can even fancy them up a bit!
How To Make Them
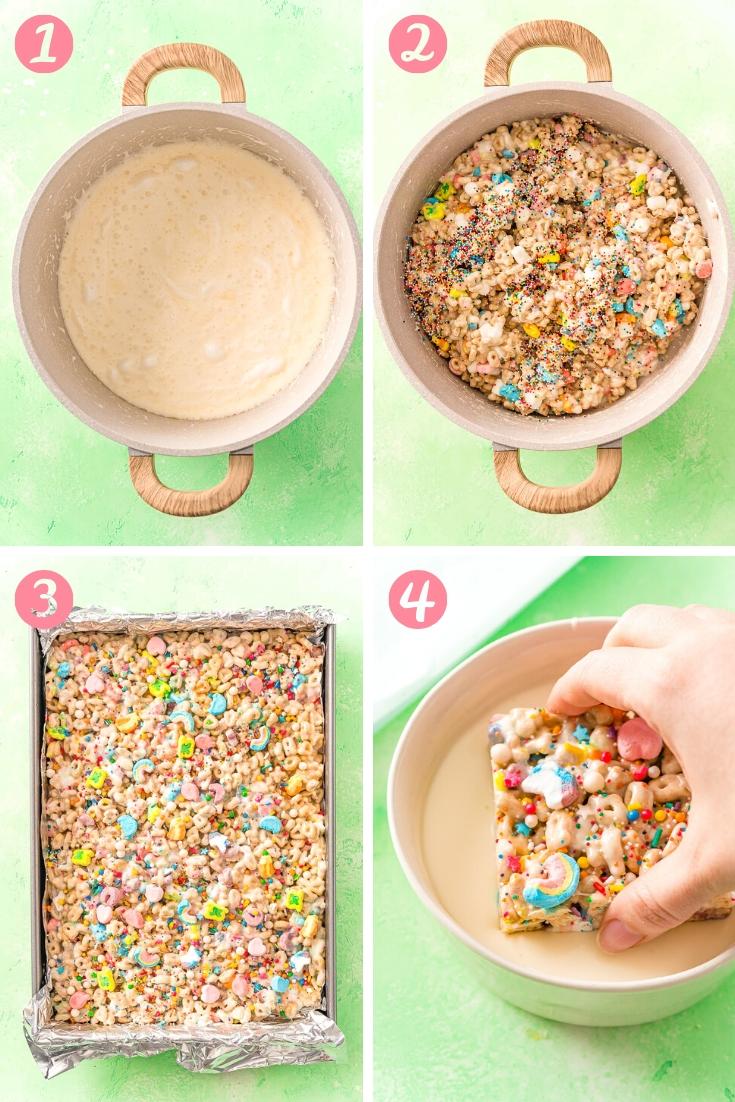
- Melt: Begin by melting the butter in a large pot. Then and in the most of the marshmallows and stir until melted.
- Mix: Add in the remaining marshmallows and cereal and stir (and sprinkles if desired) until fully coated in the marshmallow and butter mixture.
- Shape: Transfer the mixture to a 9×13-inch baking pan lined with aluminum foil or parchment paper that’s been coated with nonstick spray. Gently press the mixture out evenly in the pan and top with additional Lucky Charms marshmallows and sprinkles. Allow them to cool to room temperature before cutting.
- Dip: This step is completely optional, but if you’d like, you can dip the cooled and sliced treats in melted chocolate. Place them on wax paper after dipping until the chocolate has hardened.
Recipe Tips
- Coat your Hands with Cooking Spray: This helps prevent your fingers from sticking to the treat mixture and makes it easier to handle when pressing it into the pan.
- Don’t Press Too Hard: You want your treats to be firm, but still chewy. Pressing too hard on the mixture when you put it in the pan will cause treats to become tough.
- Salted Butter: Normally with sweet treats, you use unsalted butter. But when it comes to no-bake treats like this, I prefer to use salted because half the deliciousness is from the salty buttery taste. However, you can use unsalted and add salt as needed.
- Reserve Extra Marshmallows: I don’t like to melt all of my marshmallows into the mixture, I always reserve 2 cups to go in with the cereal because this leaves little pockets of marshmallow goodness throughout the treats. You can add in a couple more cups if you really want to load these babies up with marshmallows! Also, I highly recommend saving some of the Lucky Charms marshmallows too to put on the top
- Slice Just Before Serving: To ensure that your treats to get dried out or crispy around the edges, slice them just before serving or dipping them.
- Make It Fun: If you have little ones who love to help in the kitchen, this is the perfect recipe for them to make! Let them assist in measuring the ingredients, pressing the mixture into the pan, or adding the sprinkles!
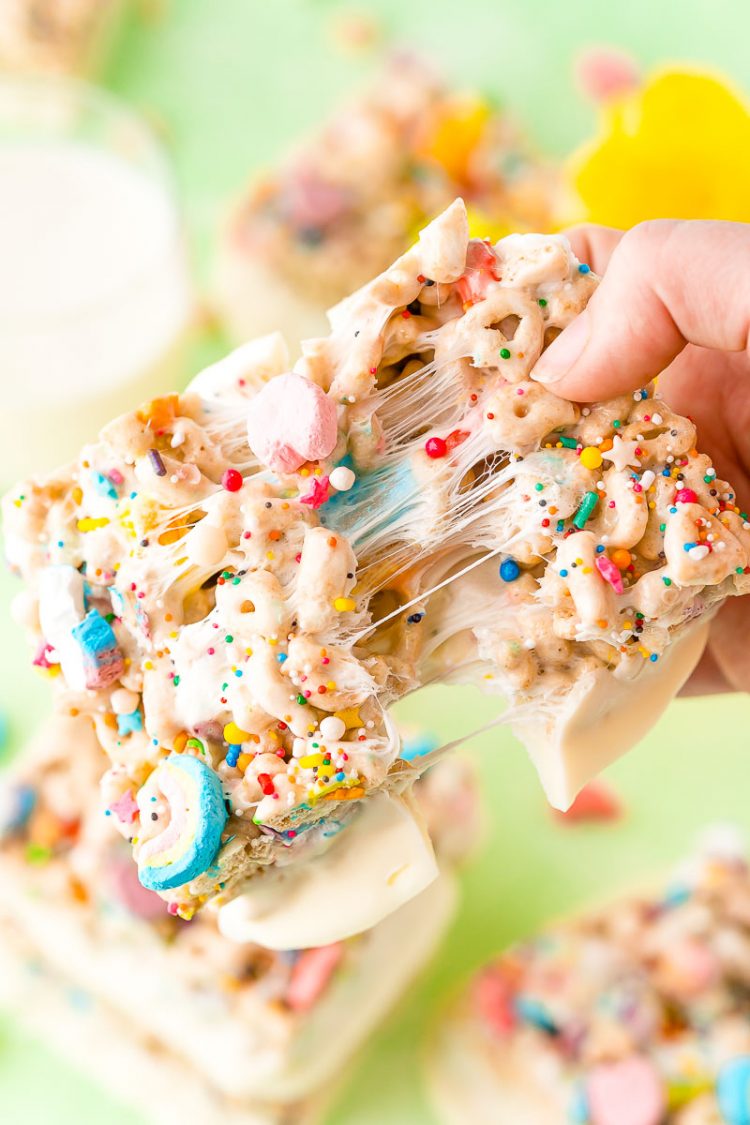
If Lucky Charms is one of your favorite cereals too then you’re going to love these simple no-bake crispy treats! These cereal bars are going to be a hit with kids and adults alike! They are sweet, sticky, and even a bit nostalgic!
Shelf Life:
Make sure to keep your treats in an airtight container so they don’t get tough and dry out. Because they’re sticky, I recommend storing them in a container that allows you to keep them in a single layer OR simply cover the pan you made them in with aluminum foil or plastic wrap. They should be good for up to 3 days.
How To Freeze:
Cut the lucky charms treats up and either wrap them individually or store them in a freezer container for up to 6 weeks.
More St. Patty’s Day Recipes
- Irish Mule – My go-to cocktail!
- Irish Potato Candy – Such a fun and cute treat!
- Corned Beef Hash – One of my favorite breakfast dishes!
- Pot Of Gold Cupcakes – Kids will love these!
More No Bake Treats
- Peanut Butter Pie – A classic everyone loves!
- White Hot Chocolate No Bake Cookies – One of my favorites!
- Pumpkin No Bake Cookies – A huge hit with our readers!
- Peanut Butter Fudge – So creamy and makes a great gift!
👋 Let’s Connect!
If you’ve tried this recipe, please let me know how you liked it in the comments below and leave a review. I love hearing from you!
Don’t forget to tag me – @sugarandsoulco – on Instagram and Pinterest with your photos or join our Sugar & Soul Show-offs Community and share them there, where you can join our recipe challenges!

Lucky Charms Treats
Ingredients
- 8 tablespoons salted butter1
- 10 cups mini marshmallows2 divided
- 8 cups Lucky Charms cereal
- 1 tablespoon sprinkles optional
- 1 cup white chocolate melting wafers optional
- nonstick spray3
Instructions
- Line a 9×13-inch baking pan with aluminum foil and spray with nonstick spray and set aside.
- In a large pot, melt the butter over medium heat.
- Add in 8 cups of the mini marshmallows and stir until completely melted. Remove from heat.
- Fold in the Lucky Charms cereal and remaining 2 cups of mini marshmallows until coated, then fold in the sprinkles.
- Transfer the mixture to the prepared baking pan and spray a rubber spatula and/or your hand with cooking spray and gently press the mixture evenly into the pan.4 Top with additional Lucky Charms marshmallows and sprinkles if desired.
- Allow the treats to fully cool to room temperature before removing from the pan and slicing.5 Once sliced, you can dip or drizzle the treats with melted white chocolate.6
Notes
- Salted Butter: Normally with sweet treats, you use unsalted butter. But when it comes to no-bake treats like this, I prefer to use salted because half the deliciousness is from the salty buttery taste. However, you can use unsalted and add salt as needed.
- Reserve Extra Marshmallows: I don’t like to melt all of my marshmallows into the mixture, I always reserve 2 cups to go in with the cereal because this leaves little pockets of marshmallow goodness throughout the treats. You can add in a couple more cups if you really want to load these babies up with marshmallows! Also, I highly recommend saving some of the Lucky Charms marshmallows too to put on the top.
- Cooking Spray: This is an essential item with this recipe, spraying your hands with it helps prevent your fingers from sticking to the treat mixture and makes it easier to handle when pressing it into the pan. You’ll also want to spray the lining of the pan so the treats don’t adhere to it.
- Don’t Press Too Hard: You want your treats to be firm, but still chewy. Pressing too hard on the mixture when you put it in the pan will cause treats to become tough.
- Slice Just Before Serving: To ensure that your treats to get dried out or crispy around the edges, slice them just before serving or dipping them.
- Make It Fun: If you have little ones who love to help in the kitchen, this is the perfect recipe for them to make! Let them assist in measuring the ingredients, pressing the mixture into the pan, or adding the sprinkles!
- Nutritional information is an estimate and does not include the white chocolate. Serving size is per bar when cut into 24 equally sized bars.
Nutrition
Did You Make This Recipe?
Don’t forget to share it with me on Instagram @sugarandsoulco and follow on Tiktok @sugarandsoulco and Pinterest @sugarandsoulco for more!


Share your thoughts!
Love this recipe? Share your thoughts with me below and leave a review! And don’t forget to connect on your favorite social platform below!