Easy Chocolate Cheesecake Recipe (No Bake)
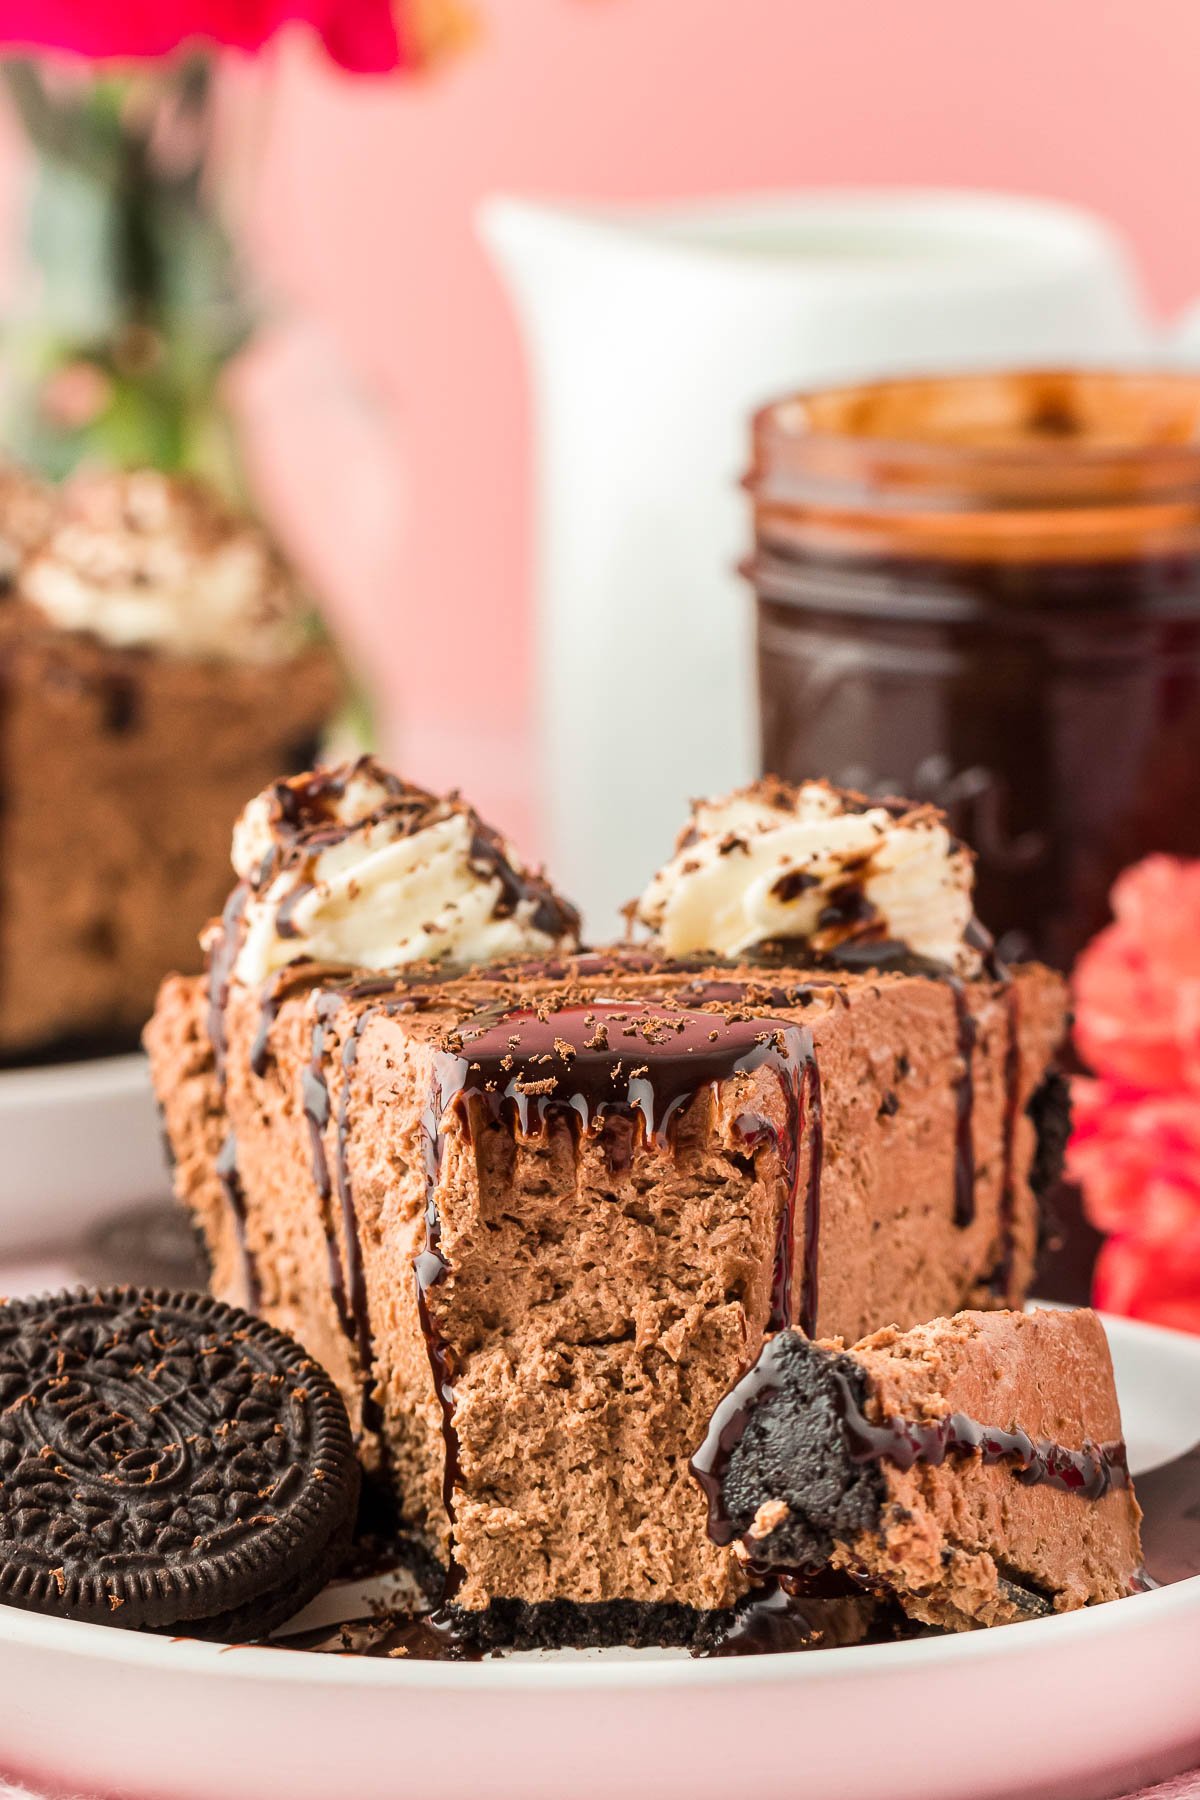
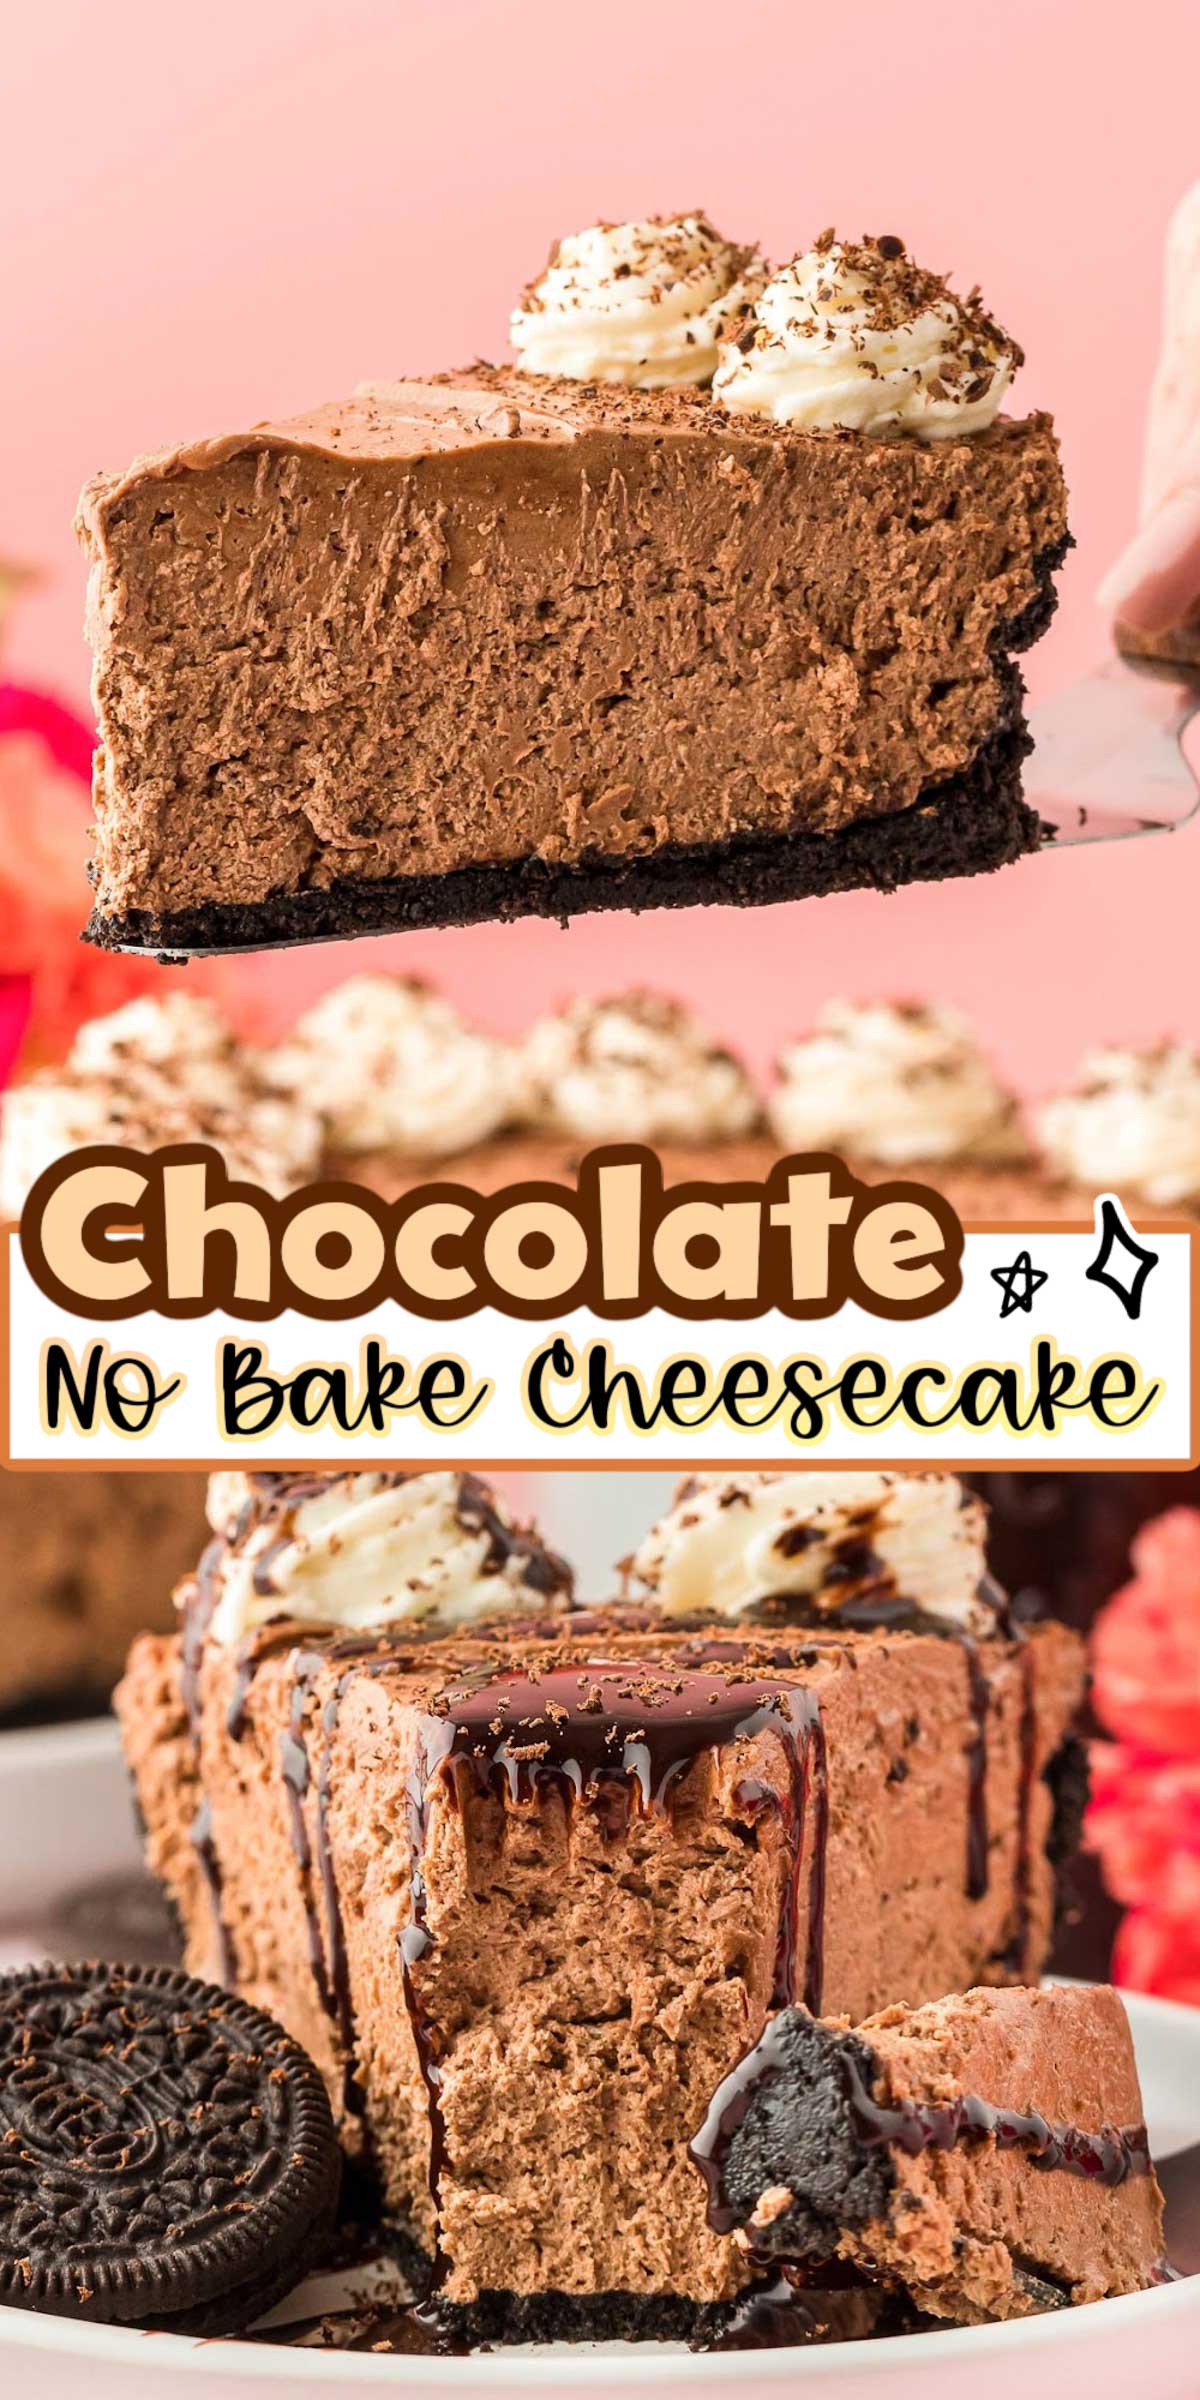
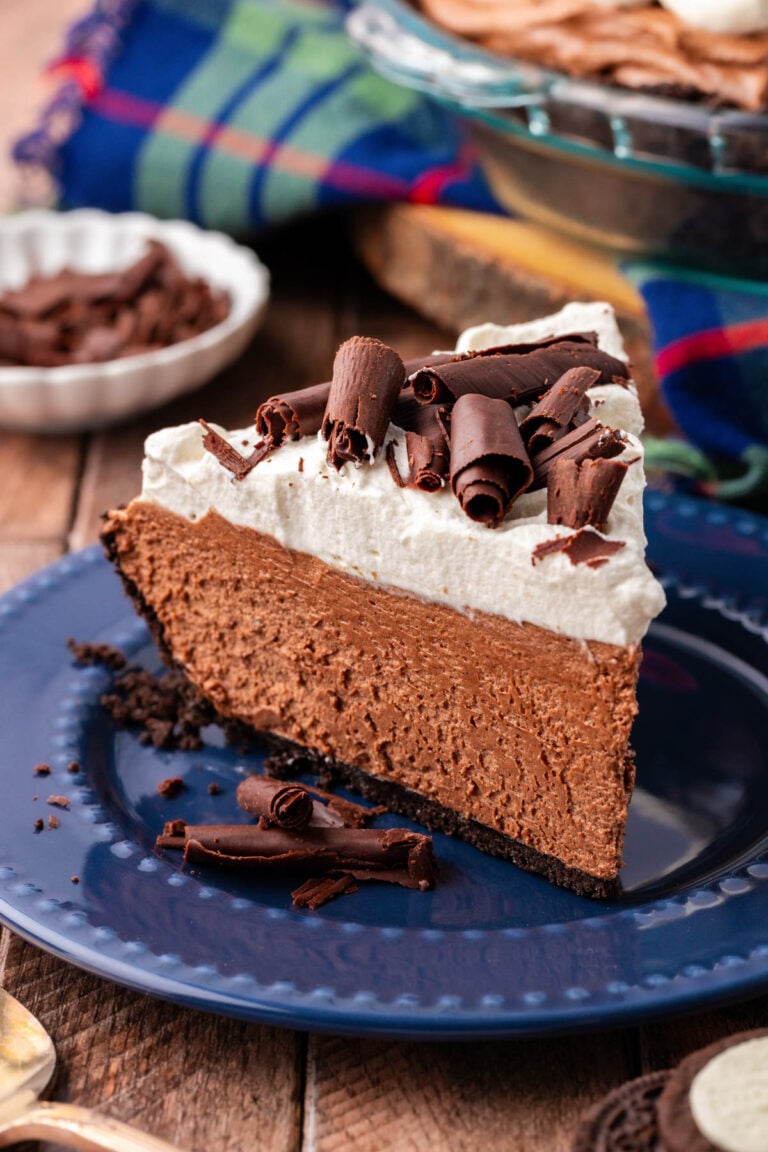
This Easy Chocolate Cheesecake Recipe is a no bake dessert with an Oreo crust that’s filled with a deliciously creamy chocolate filling! Finished off with homemade whipped cream, chocolate sauce, and chocolate shavings!
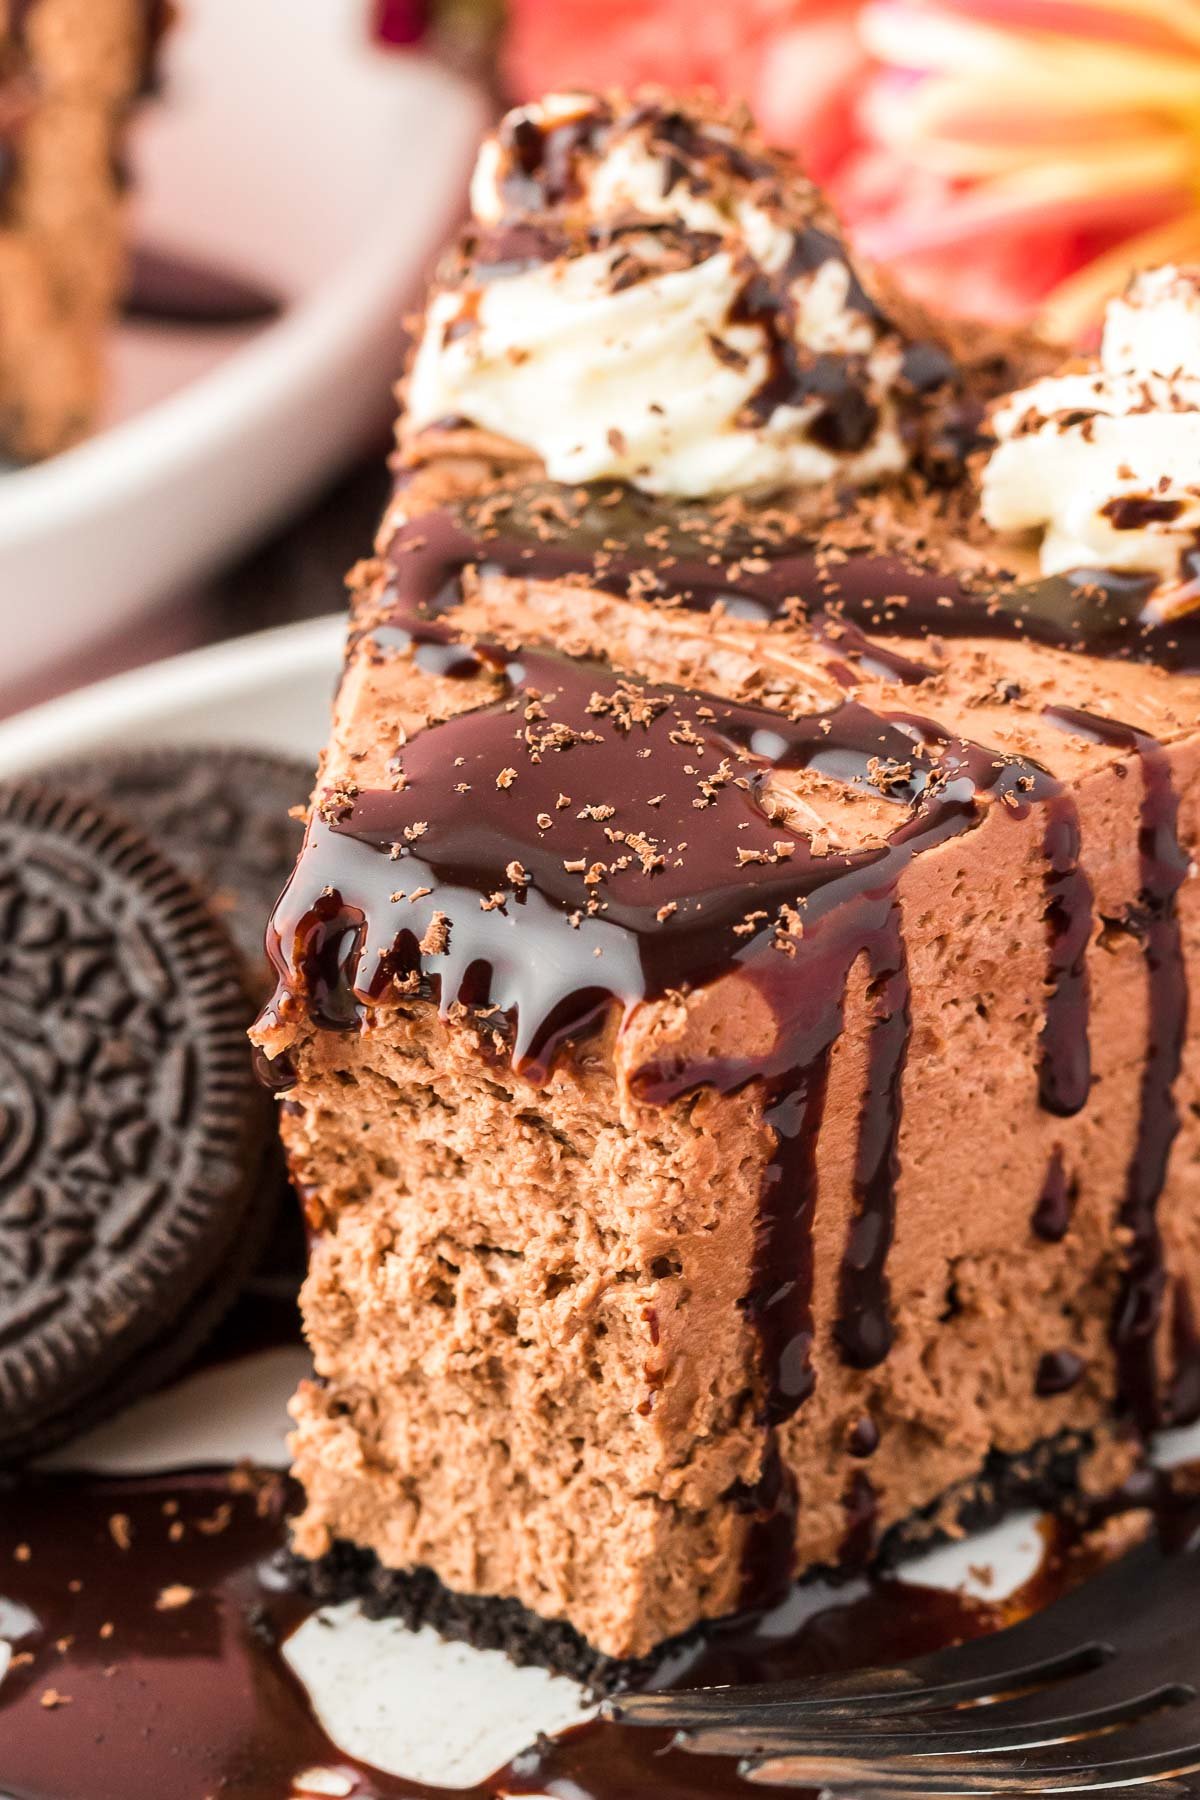
You Will Love This No Bake Chocolate Cheesecake Recipe
This No Bake Chocolate Cheesecake Recipe is the ultimate dream of chocolate lovers everywhere! It starts with an Oreo crust that’s filled with a decadent chocolate cheesecake feeling that’s then topped with chocolate sauce and chocolate shavings!
To achieve the best chocolate cheesecake filling, I made it with cocoa powder and melted semi-sweet chocolate. Together, the two ingredients bring a rich chocolate flavor to the cheesecake that really knocks this out of the park!
And you get all of this unforgettable flavor with just 20 minutes of prep!
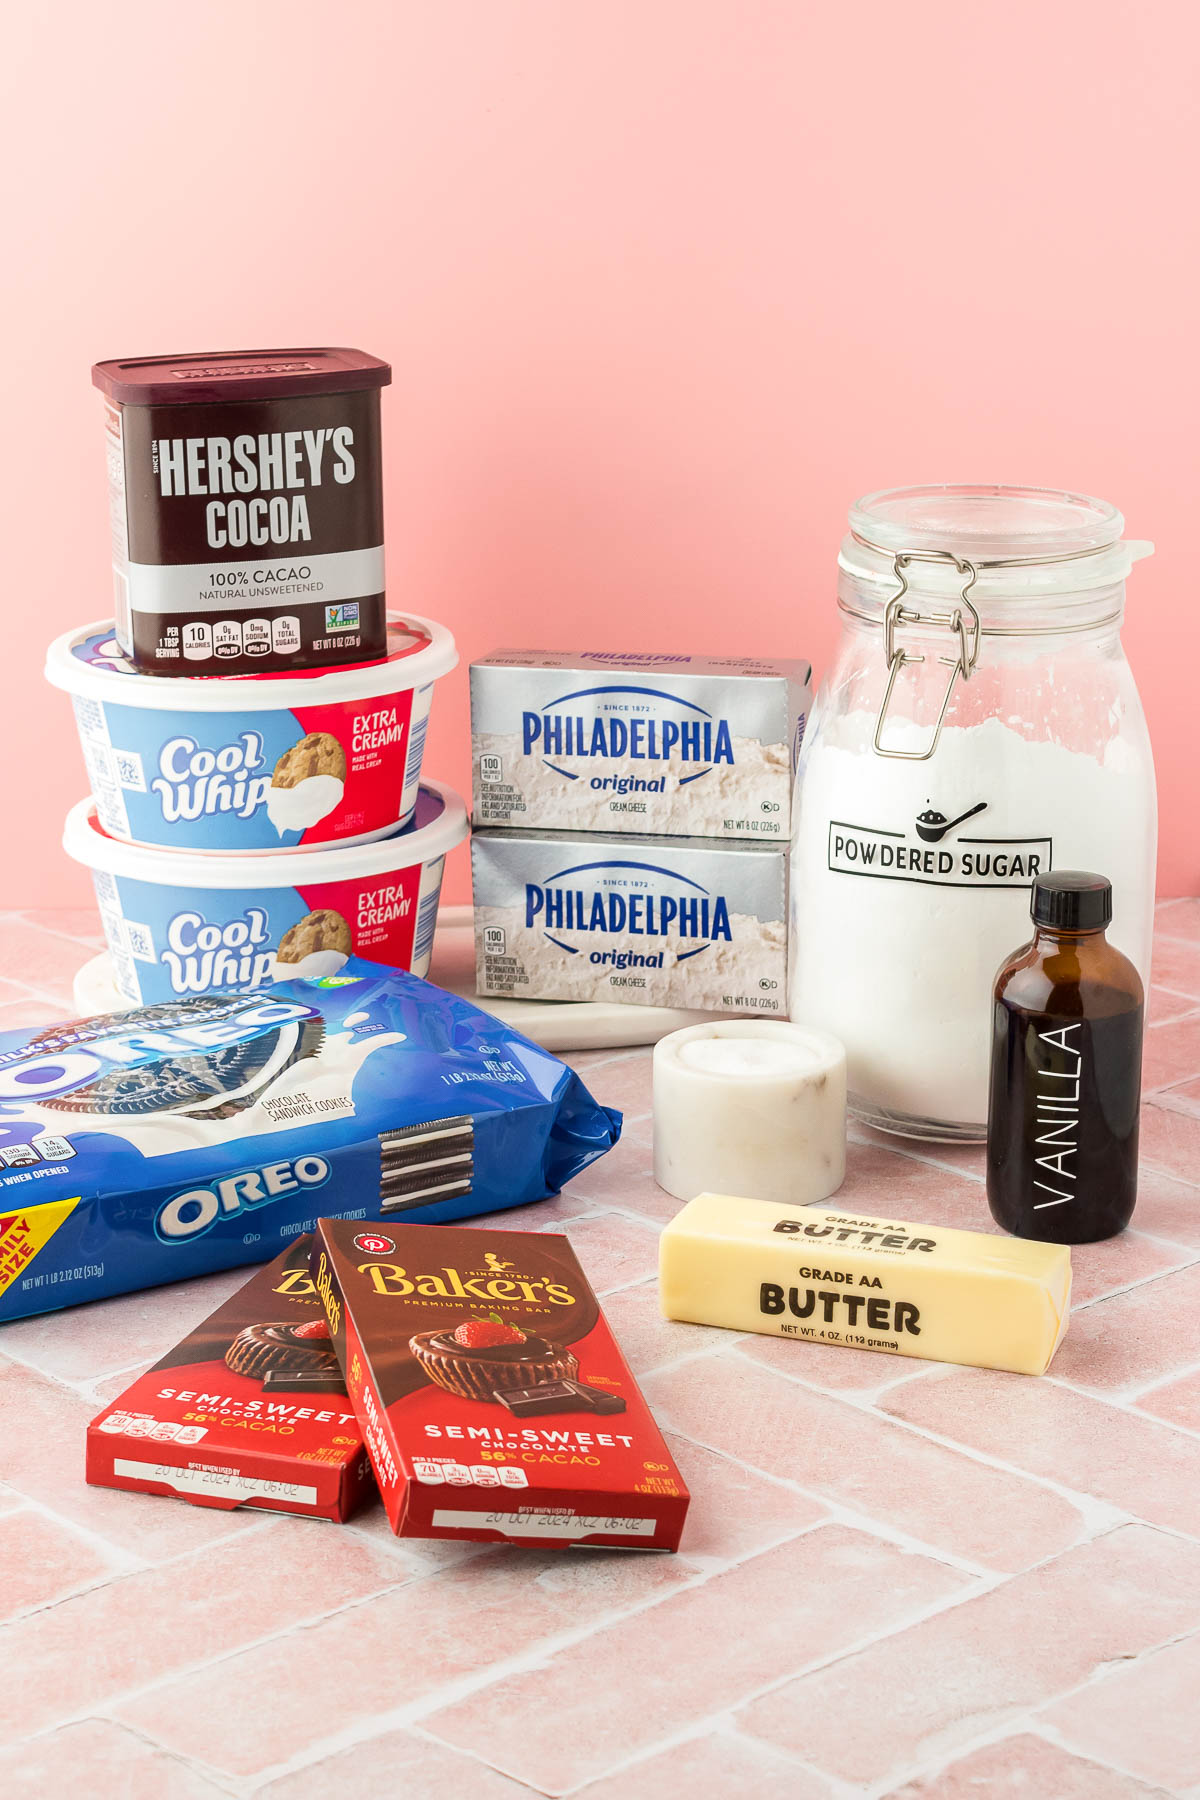
Chocolate No Bake Cheesecake Ingredients
Crust
- Oreos
- salted butter
Cheesecake Filling
- cream cheese
- powdered sugar
- cocoa powder
- salt
- vanilla extract
- semi-sweet chocolate
- Extra Creamy Cool-Whip
Optional Toppings
- heavy cream
- instant white chocolate pudding mix
- chocolate sauce
- chocolate shavings
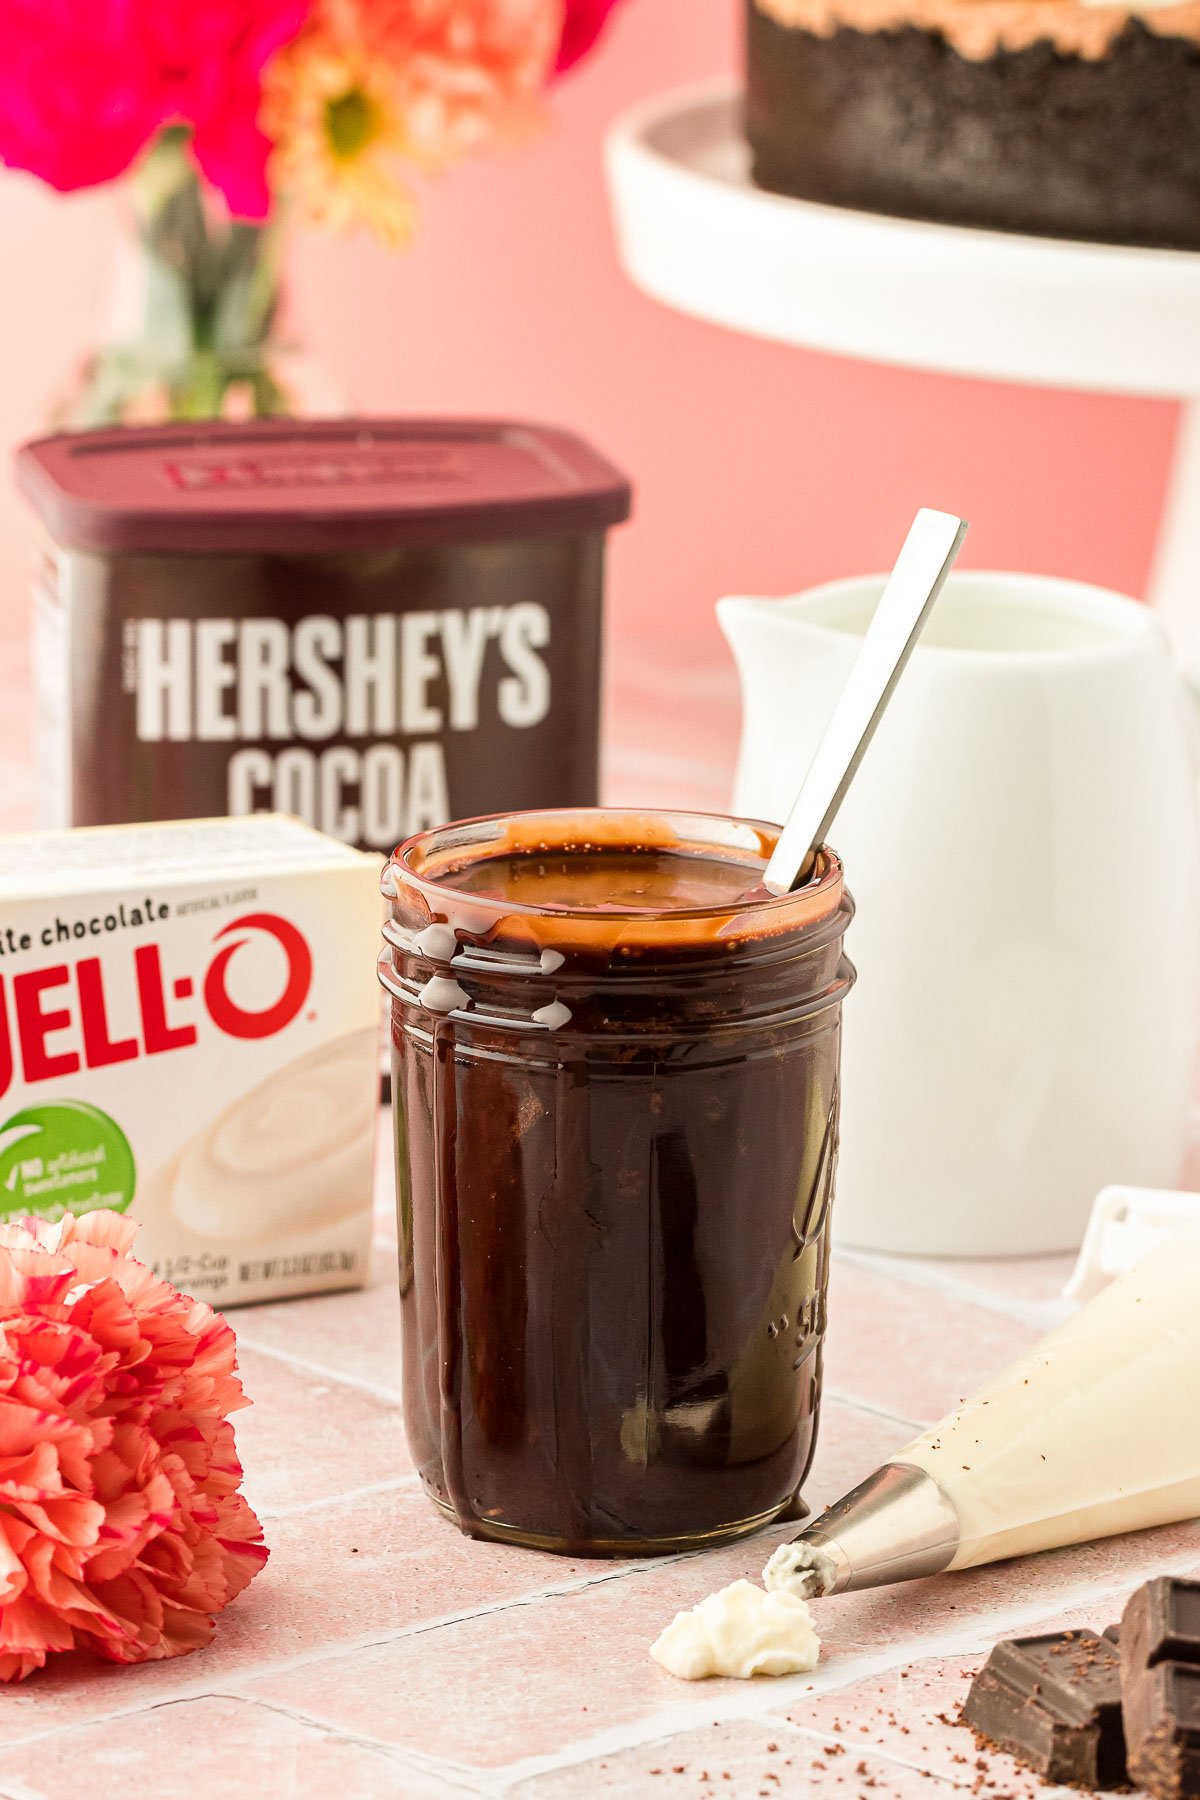
Ingredient Notes
This cheesecake has all the best ingredients to make it the creamiest, most delicious dessert out there! To be sure the cheesecake achieves peak taste and texture, I recommend using full-fat cream cheese and an extra creamy cool whip.
The full-fat ingredients are what give this cheesecake its thick, creamy texture! However, if you prefer, you can make this no-bake cheesecake recipe with low-fat options; it just may not turn out to be as creamy.
As for the crust that this creamy cheesecake filling sits in, we used Double Stuf Oreos. We tested the crust using regular Oreos as well as Double Stuf Oreos and found that we preferred the consistency of crust that we got from using Double Stuf.
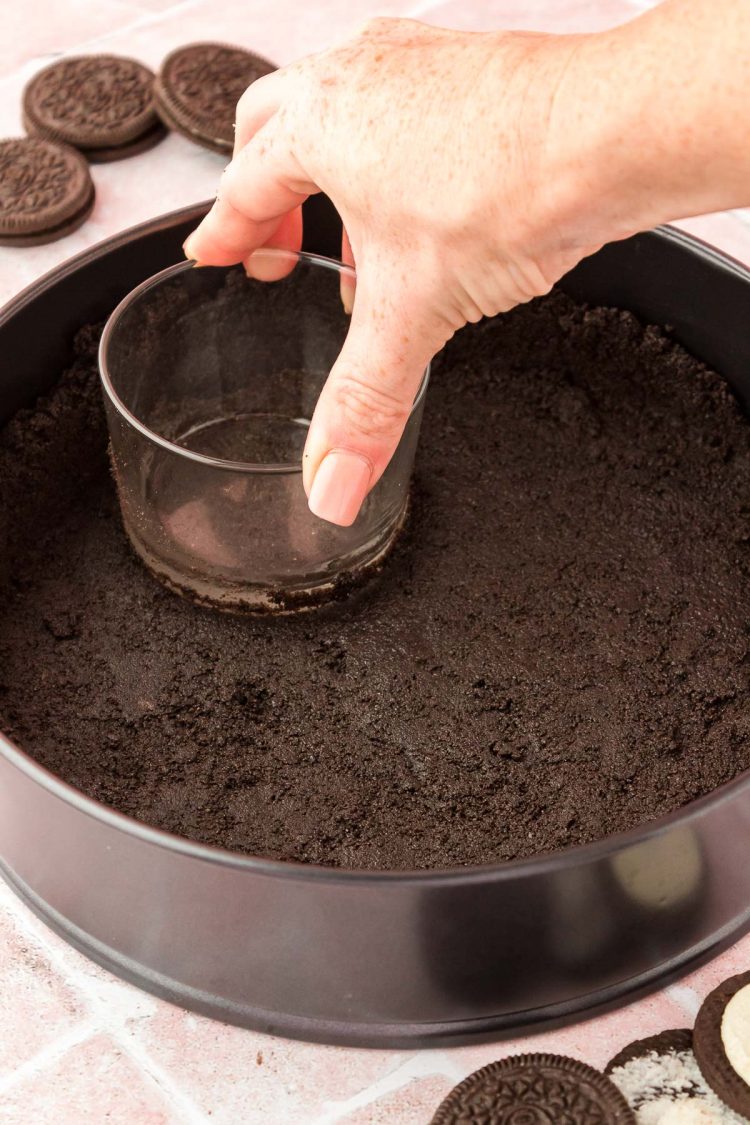
However, it is worth noting that the Double Stuf Oreo crust can be a little trickier to work with. I recommend using a flat bottom cup to press the crust into the pan and then spinning the cup as you pull it up to loosen the crumbs; otherwise, the crust may stick to the cup and lift off.
Substitutions & Variations
- Graham Cracker Crust – Instead of an Oreo crust, you can use my Graham Cracker Crust Recipe, that’s made with graham crackers and chocolate sprinkles!
- Pudding Mix – Instant white chocolate pudding mix can be swapped out for vanilla pudding mix. You can skip the homemade whipped cream altogether and serve each slice with canned whipped cream. Just be sure to garnish with the spray whip cream before serving each slice to ensure it doesn’t deflate.
- Chocolate Sauce – Garnish this cheesecake with Ghirardelli Chocolate Sauce or my Homemade Chocolate Syrup!
- Optional Toppings – Aside from chocolate sauce and shavings, you can top this chocolate cheesecake with crushed peanut butter cups, Reese’s Pieces, or crushed Oreos!
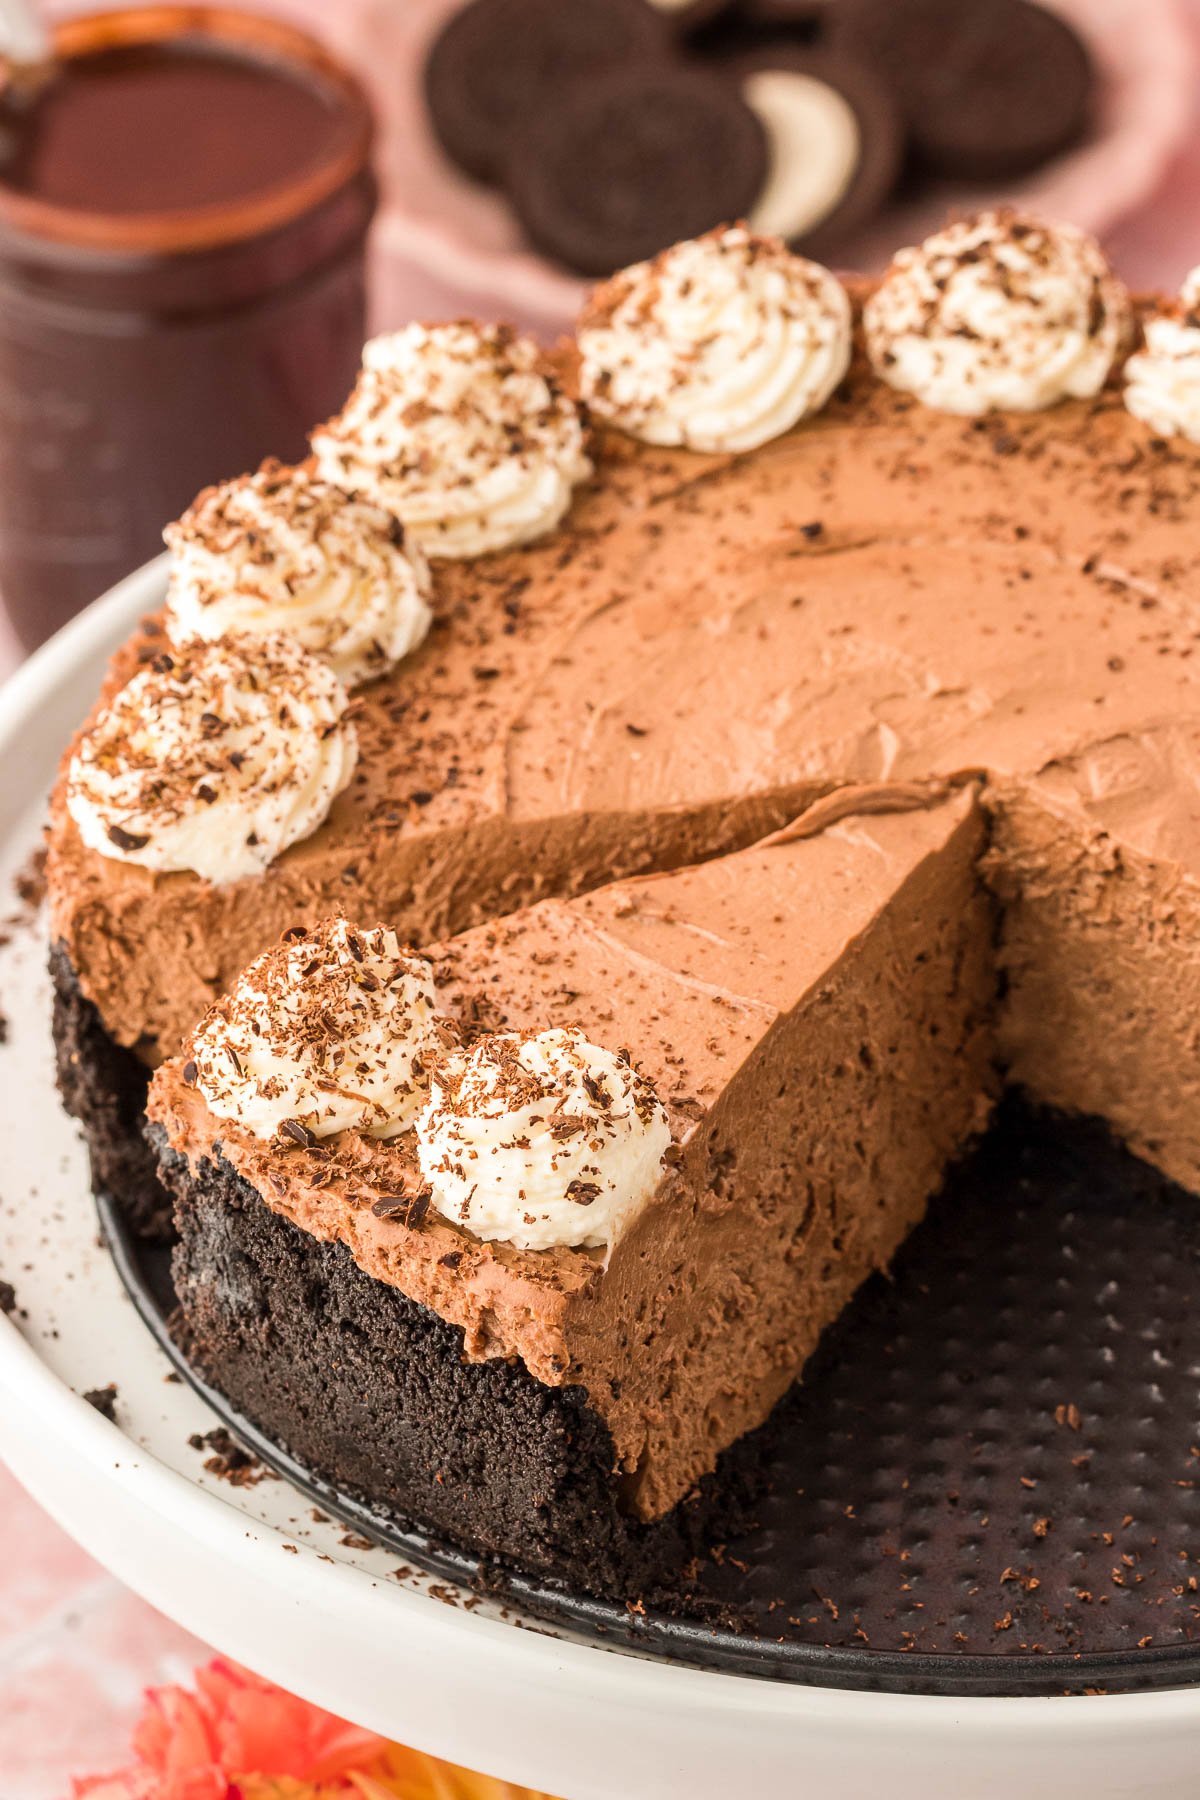
How To Make No Bake Chocolate Cheesecake
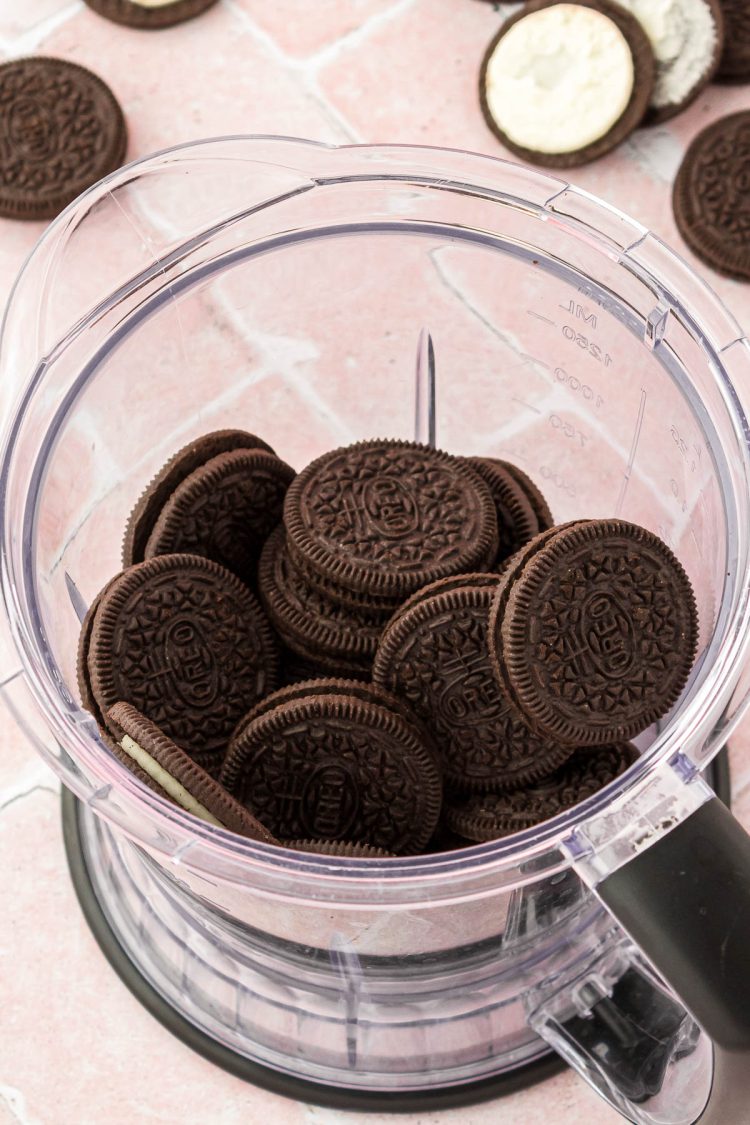
Step 1: Prepare the crust by pulsing Oreos in a food processor until fine crumbs form.
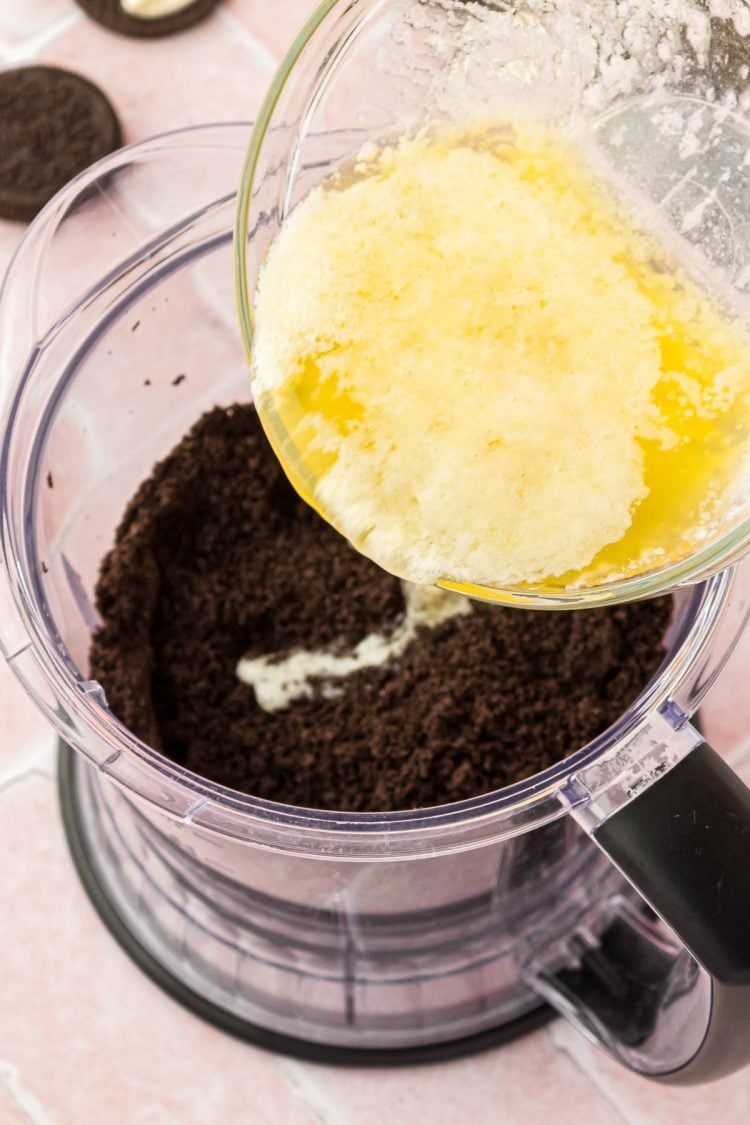
Step 2: In a small bowl, melt the butter and then pour it into the crumbs. Pulse again until fully combined and with evenly moistened crumbs.
Step 3: Transfer the crust mixture into a springform pan and firmly press it down using the bottom of a flat cup. Be sure to bring the crust up the sides of the pan, though it does not need to come all the way up the sides!
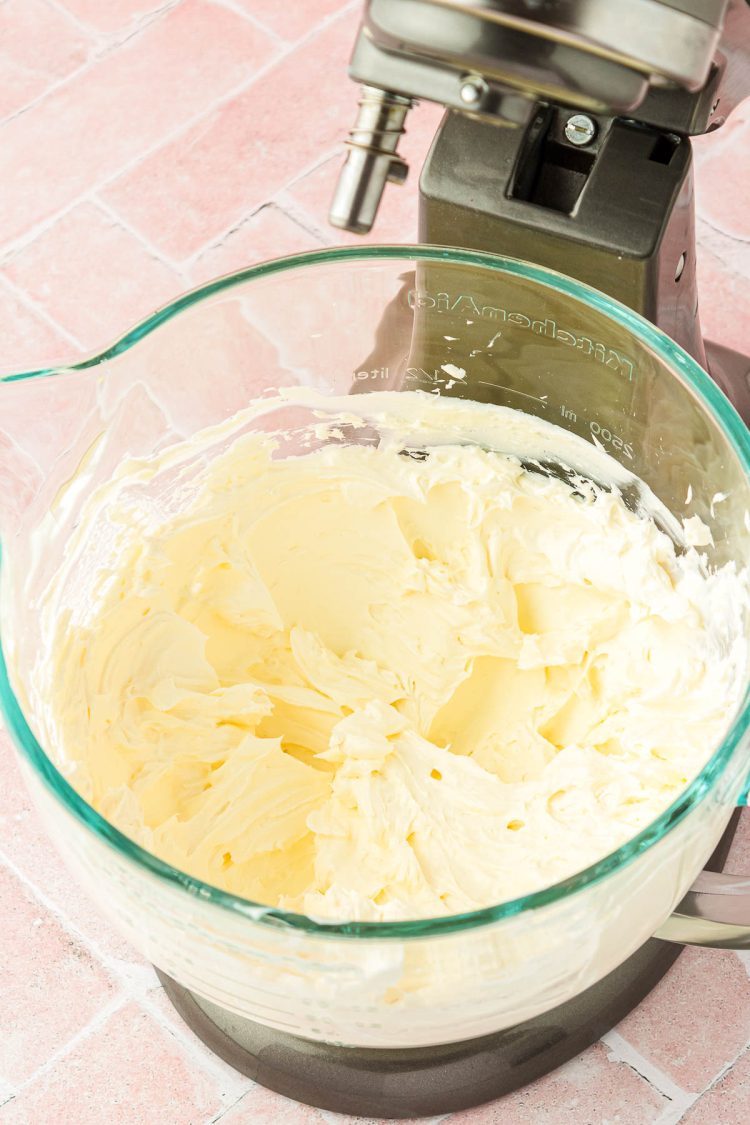
Step 4: Prepare the cheesecake filling by beating the cream cheese in a large bowl with a hand mixer or in the bowl of a stand mixer that’s fitted with a paddle attachment. Scrape the sides of the bowl down as necessary.
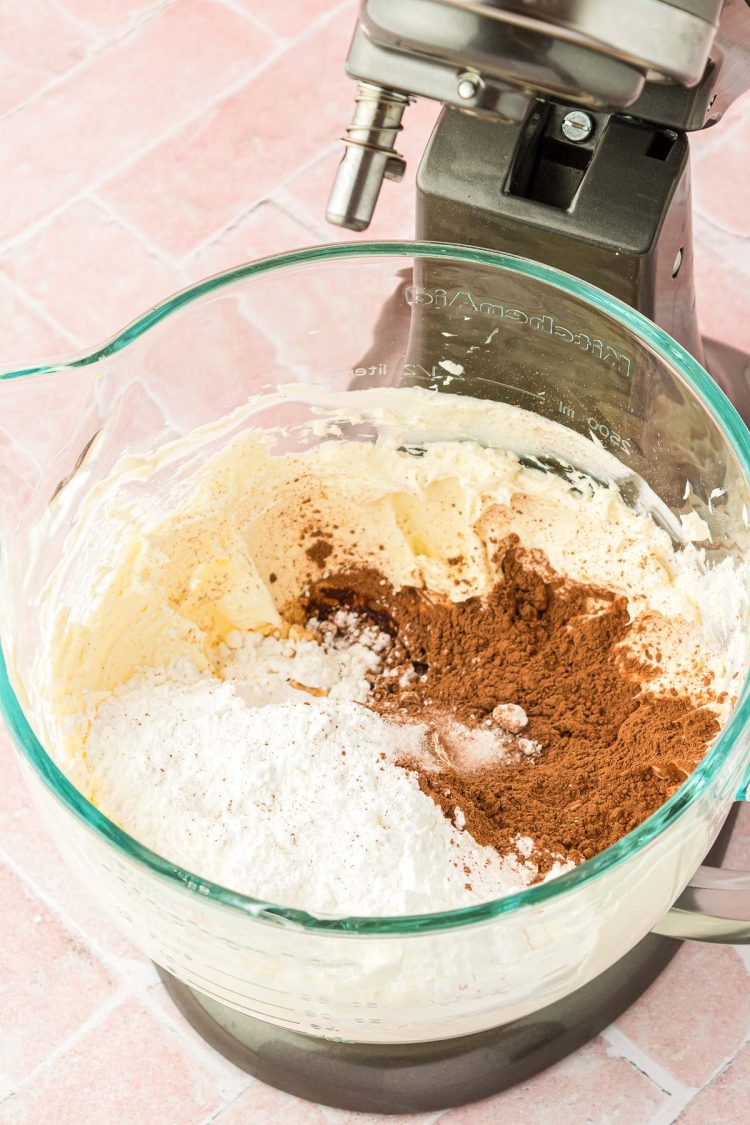
Step 5: Sift in the powdered sugar, cocoa powder, and salt into the mixing bowl of cream cheese. Then, pour in the vanilla extract. Mix at a low speed until the sugar is combined, and then increase the speed to high and whip.
Step 6: Using a microwave-safe bowl, melt the semi-sweet chocolate in the microwave until smooth. Afterward, pour the smooth melted chocolate into the cheesecake mixture while mixing at a slow speed until fully incorporated.
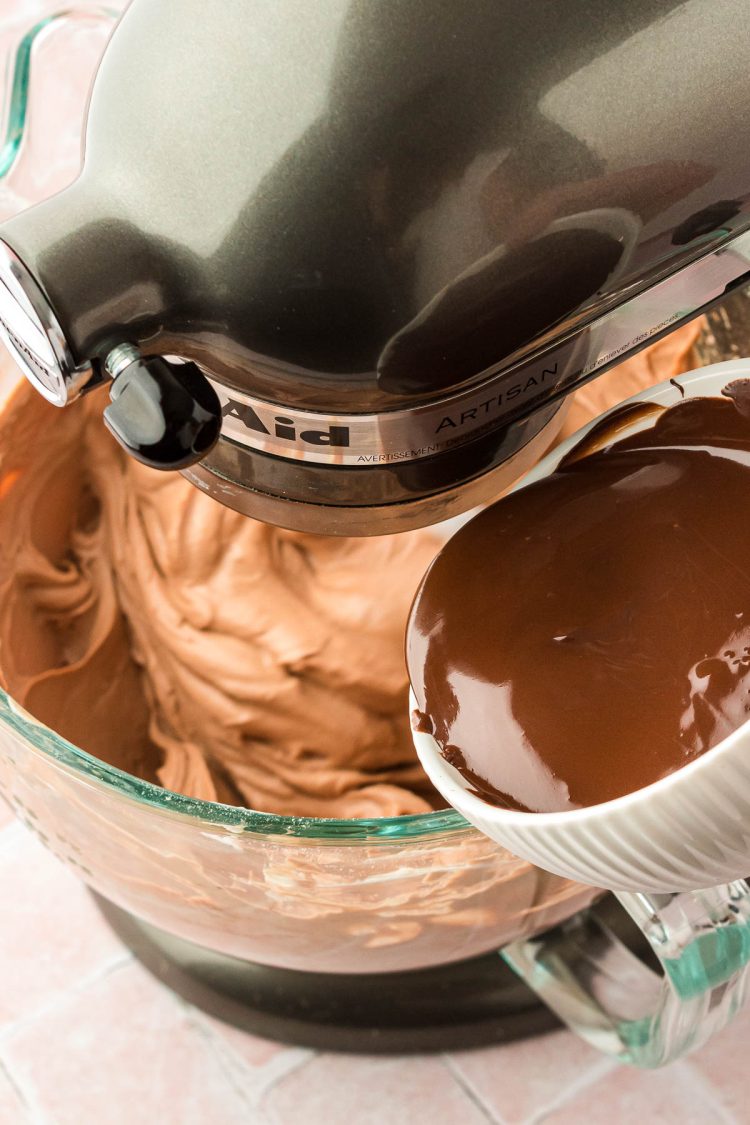
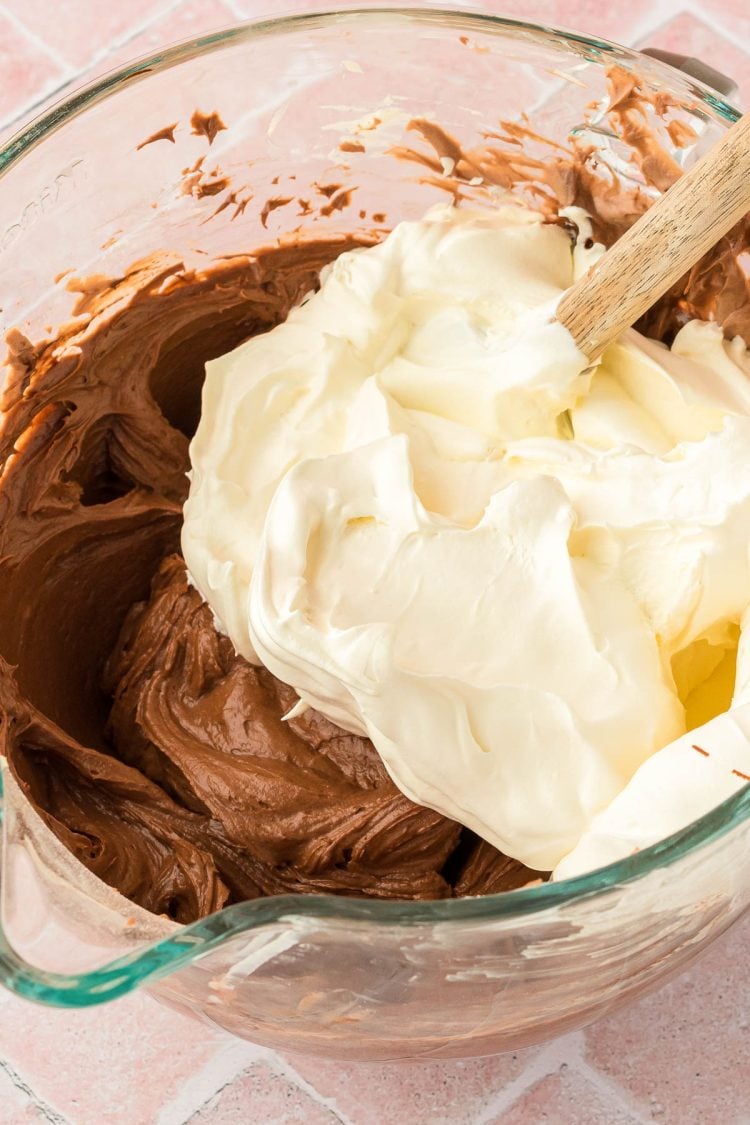
Step 7: Fold in the extra creamy cool whip using a rubber spatula for a fluffier texture, or mix it in with the paddle attachment for a silkier texture.
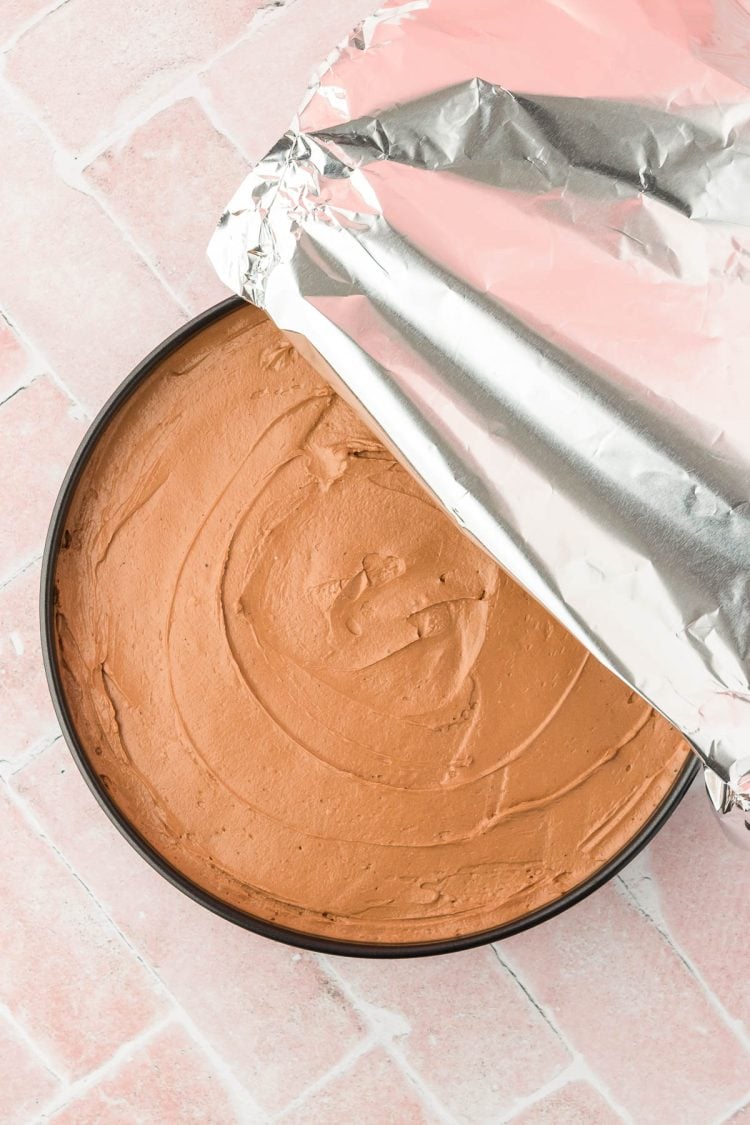
Step 8: Transfer the cheesecake filling into the prepared crust, smoothing out carefully so as not to pull the crust back into the filling.
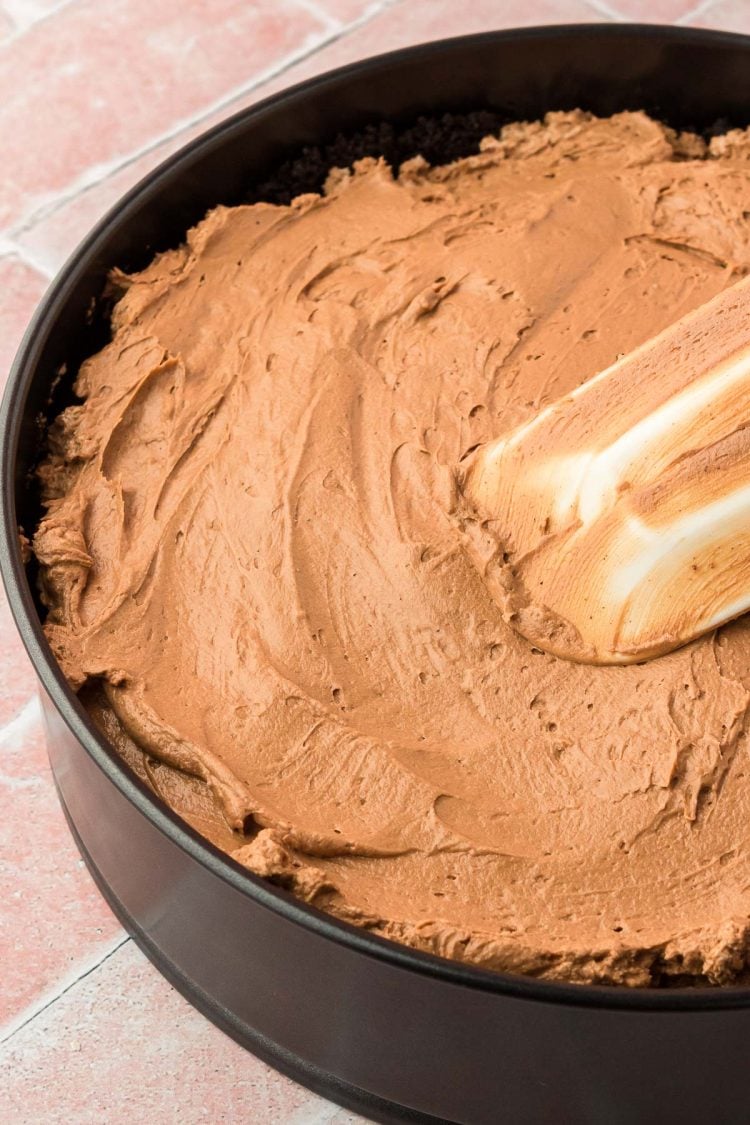
Step 9: Then cover the cheesecake with aluminum foil and chill the No Bake Cheesecake in the refrigerator for 10 hours.
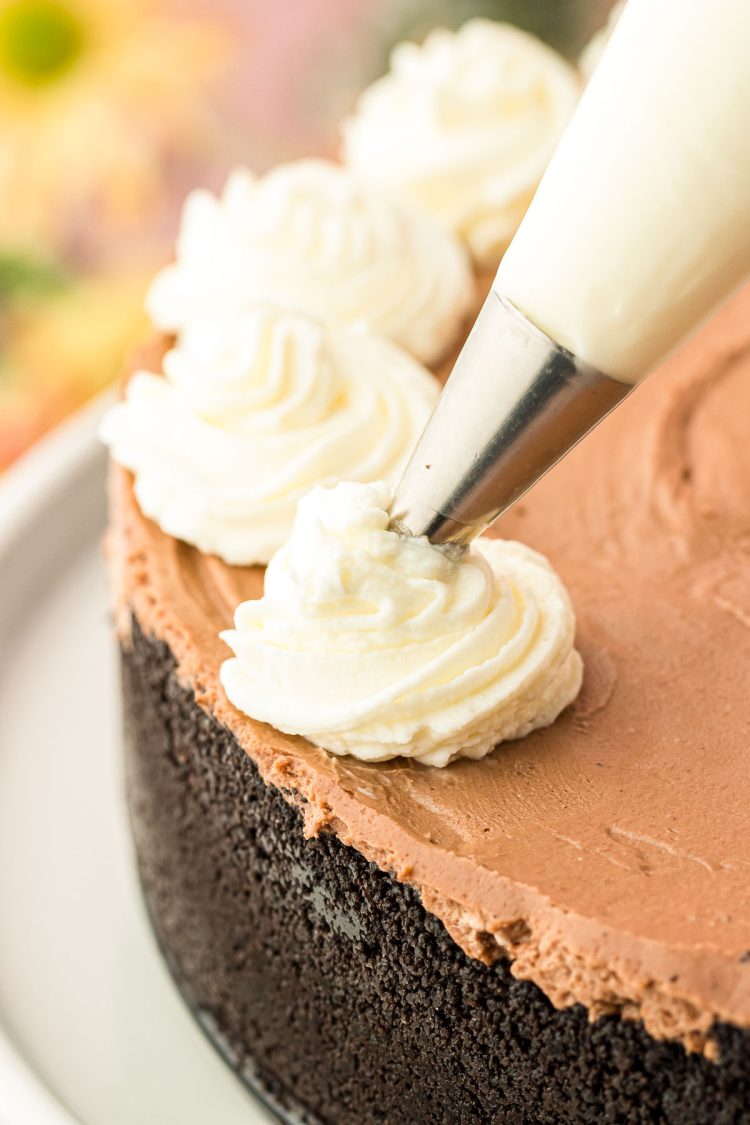
Step 10: Prepare the topping by beating the heavy cream with instant white chocolate pudding mix until thick, fluffy, and stiff. Then transfer the topping into a piping bag fitted with a star tip and pipe the whipped cream around the edge of the cheesecake.
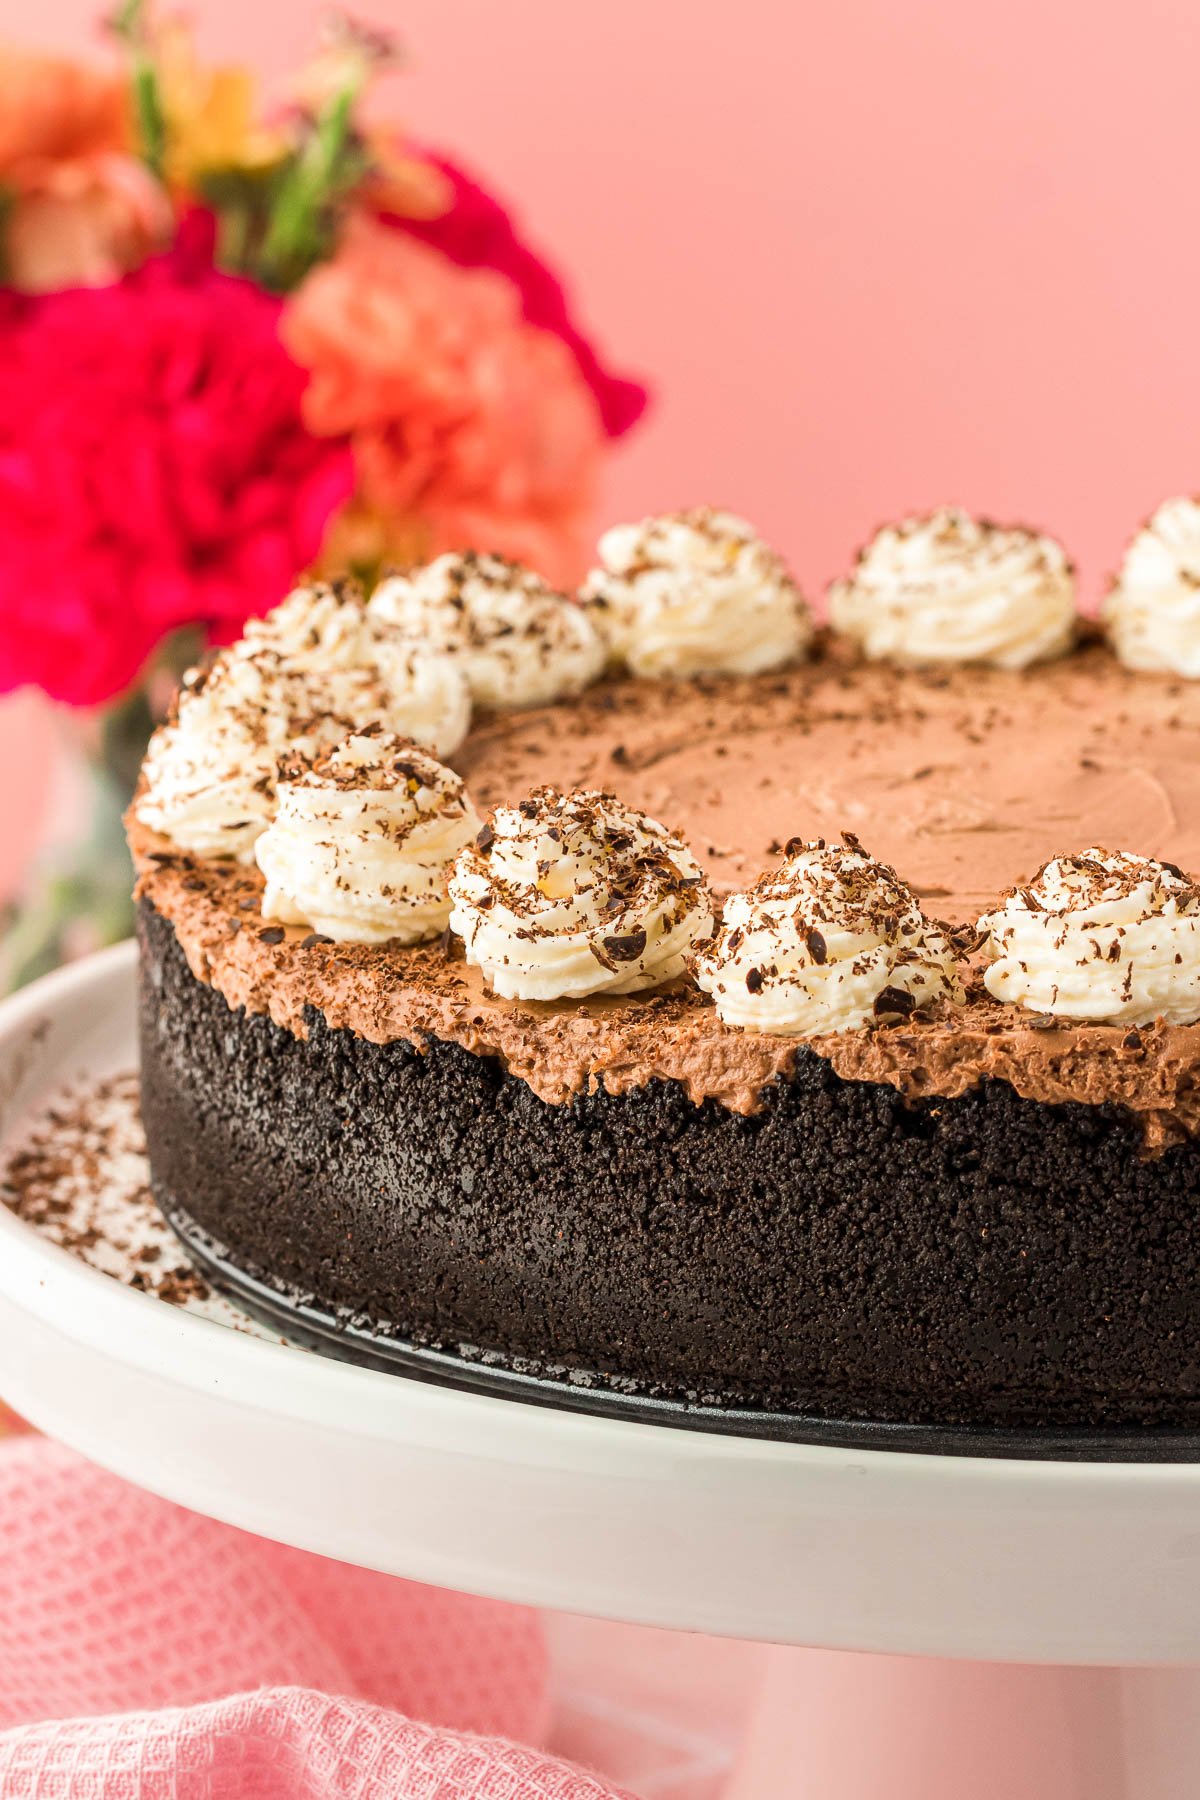
Step 11: Top with chocolate sauce and chocolate shavings.
How To Store Easy No-Bake Chocolate Cheesecake
No Bake Chocolate Cheesecake can be stored in the refrigerator by first transferring leftover slices into an airtight container. You can also just cover the spring form pan with plastic wrap or tin foil. Once covered, store the cheesecake in the fridge to enjoy for up to 5 days.
Freezing cheesecake is great for longer storage when you’re making it ahead of time or just want an easy treat to enjoy later. To store in the freezer, first flash-freeze the cheesecake in the springform pan. Then remove it from the pan and transfer it into an airtight container or wrap it tightly with plastic wrap and again with aluminum foil.
The frozen cheesecake can then be stored in the freezer for up to 3 months. I do suggest that if you’re planning to freeze this ahead of time, wait and pipe the whipped cream onto the cheesecake, as well as hold off on the chocolate toppings.
Chocolate No Bake Cheesecake FAQs
If your no-bake cheesecake is gooey, then it may not have had enough time to set in the fridge. Be sure to give the cheesecake the full 10 hours in the fridge so that it firms up the way it should!
Putting cheesecake in the fridge won’t harden it into a solid state, but it does firm it up to give it its delicious consistency!
This largely depends on your personal preference! If you enjoy an airy, light dessert, then you may enjoy no bake cheese more. However, if you prefer a dense, velvety dessert, you would likely prefer a baked cheesecake!
Both are absolutely delicious, so you can’t go wrong with either!
If you don’t have a piping bag, you can just use a Ziploc bag with a corner cut off. If you have a star tip or piping tip of choice, you can place it inside the bag and into the cut opening.
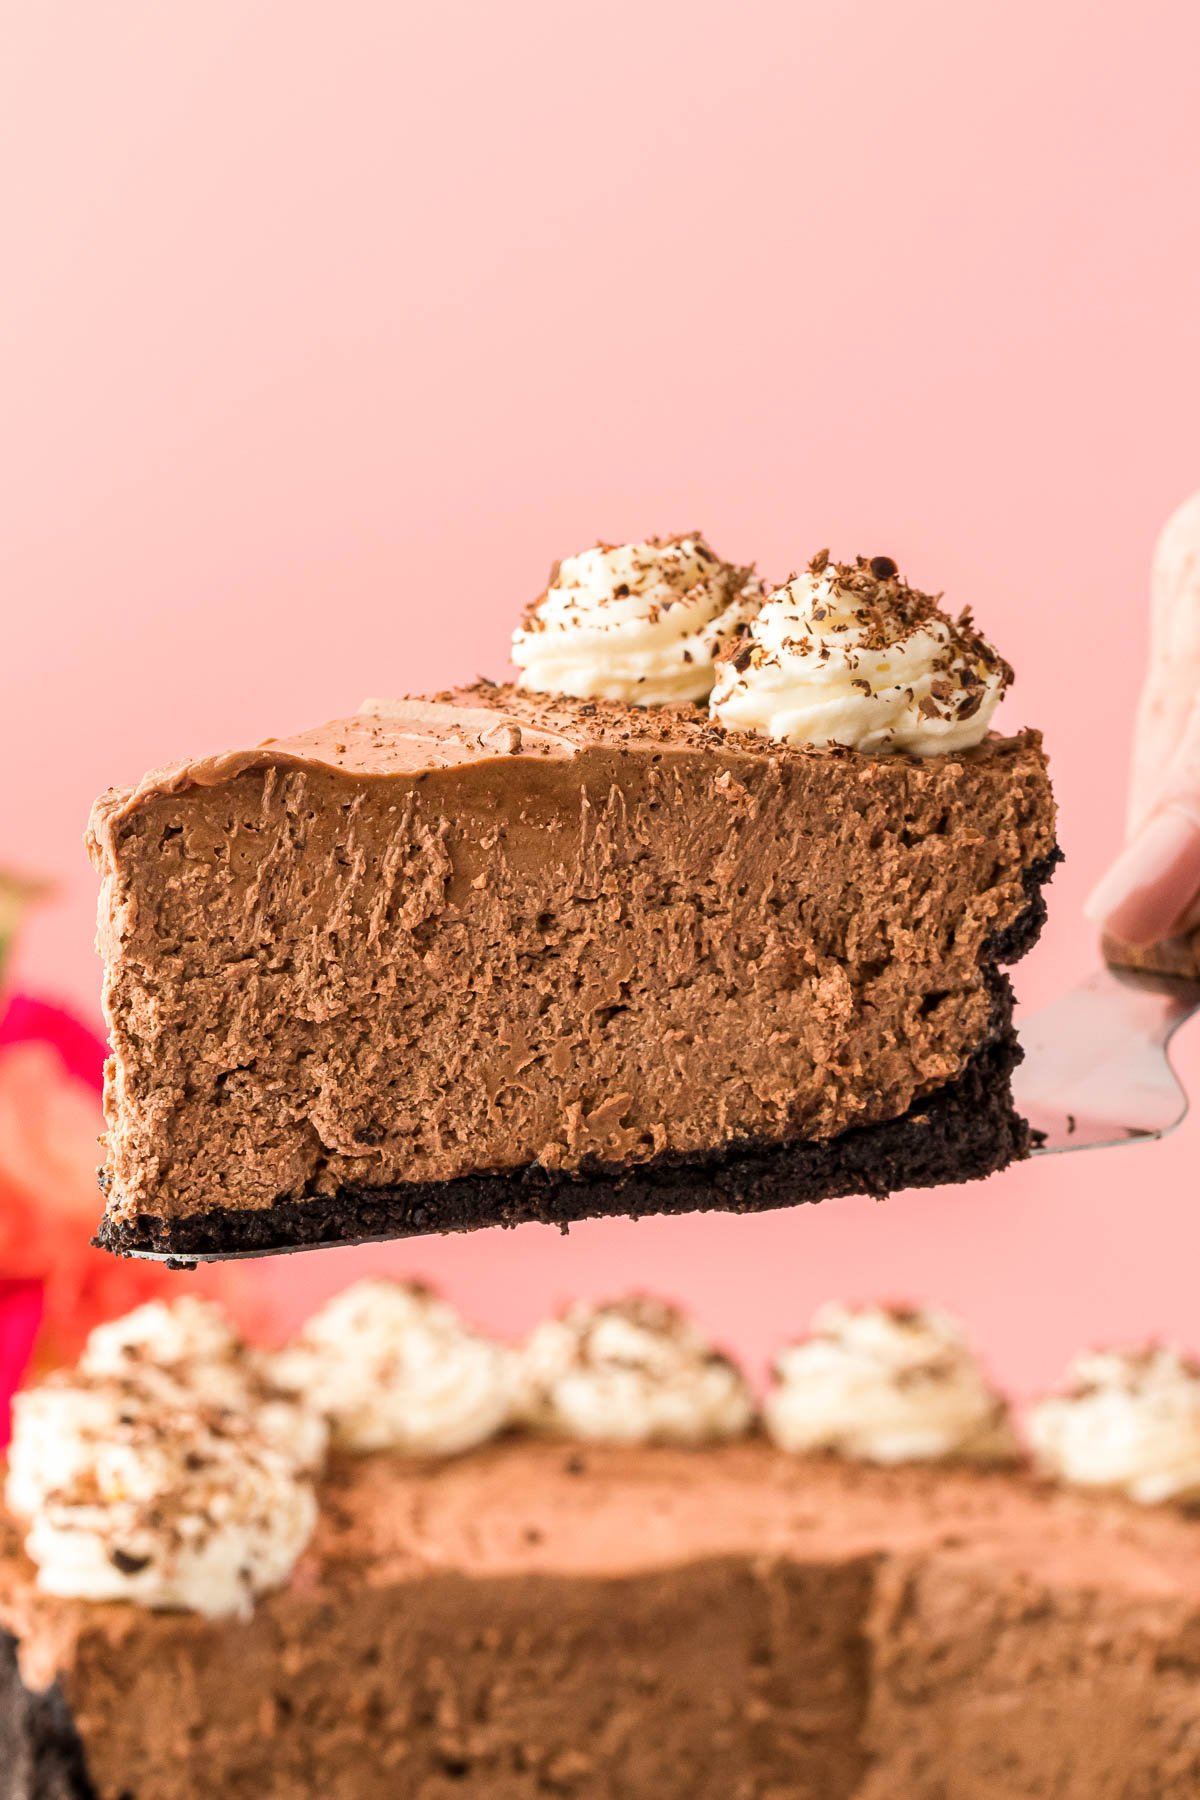
I have found that the easiest and cleanest way to cut cheesecake is to run a chef’s knife under hot water to heat the blade. Then I slice it, cleaning and reheating the blade after each slice to give clean and even cuts.
Let’s Connect!
If you’ve tried this recipe, please let me know how you liked it in the comments below and leave a review. I love hearing from you!
Don’t forget to tag me – @sugarandsoulco – on Instagram and Pinterest with your photos or join our Sugar & Soul Show-offs Community and share them there, where you can join our recipe challenges!
Chocolate Cheesecake (No Bake Recipe)
Ingredients
Crust
- 28 Oreos see notes
- 6 tablespoons salted butter melted
Cheesecake Filling
- 24 ounces cream cheese softened
- 2 cups powdered sugar sifted
- ¼ cup cocoa powder sifted
- ¼ teaspoon salt
- 2 teaspoons vanilla extract
- 8 ounces semi-sweet chocolate melted
- 16 ounces Extra Creamy Cool-Whip thawed
Optional Toppings
- 1 cup heavy cream
- 3 tablespoons instant white chocolate pudding mix unprepared
- chocolate sauce
- chocolate shavings
Instructions
Crust
- Add 28 Oreos to a food processor and pulse until fine crumbs form.
- Melt the 6 tablespoons salted butter in a small bowl and add it to the crumbs and pulse until fully combined and evenly moistened.6 tablespoons salted butter, 28 Oreos
- Transfer the crust mixture to a springform pan and spread out, then use the bottom of a cup to press the mixture into the bottom and sides of the pan. The mixture does not need to come all the way up the sides. Set the pan aside.
Cheesecake Filling
- In a stand mixer fitted with a paddle attachment or a large bowl with a hand mixer, beat 24 ounces cream cheese for 1 minute. Scrape down the sides of the bowl.24 ounces cream cheese
- Sift in the 2 cups powdered sugar, ¼ cup cocoa powder, and ¼ teaspoon salt and add in 2 teaspoons vanilla extract and mix at low speed until the sugar is incorporated then increase the speed to high and whip for 1 minute. Scraping down the sides as needed so everything is evenly combined and there are no lumps.2 cups powdered sugar, 2 teaspoons vanilla extract
- Melt 8 ounces semi-sweet chocolate at 30-second intervals, stirring in between each one, until smooth. While mixing at slow speed, pour the melted chocolate into the cheesecake mixture and mix until fully combined.
- Fold in the 16 ounces Extra Creamy Cool-Whip with a rubber spatula until evenly incorporated for a fluffier texture or mix in with the paddle attachment for a silkier texture.16 ounces Extra Creamy Cool-Whip
- Spread the filling mixture out in the prepared crust, the filling may come above the crust in the pan, but that's okay. Just be careful around the edges so you don't pull the crust back into the filling. Smooth out the top and cover with aluminum foil.
- Chill in the refrigerator for at least 10 hours. When ready to slice, run a chef's knife under hot water to heat the blade, then slice. Clean and heat the blade after each slice for clean and even cuts.
Topping
- In a medium bowl or stand mixer, beat together 1 cup heavy cream and 3 tablespoons instant white chocolate pudding mix until thick, fluffy, and stiff. Transfer to a piping bag fitted with a star tip.
- Pipe the whipped cream around the edge of the cheesecake and top with chocolate sauce and chocolate shavings, or your other favorite toppings before serving.chocolate sauce
Notes
- We have tested the crust with both regular Oreos and Double Stuf. We preferred the finished texture of the Double Stuf, but it is a little trickier to work with when pressing it into the pan. When using a cup to press the crust into the pan, your will need to spin the cup to loosen the crumbs, otherwise they will stick to and lift up with the cup.
- I recommend using full-fat cream cheese, sour cream, and cool whip in this recipe. However, low-fat options would also work; it just may not be as creamy.
- Speaking of heat, this cheesecake really should stay out in the heat for too long as it will still soften, and as it softens it becomes hard to slice and move since the crust will also soften when the butter begins to warm up.
Nutrition
Did You Make This Recipe?
Don’t forget to share it with me on Instagram @sugarandsoulco and follow on Tiktok @sugarandsoulco and Pinterest @sugarandsoulco for more!






Making this today for my daughter’s birthday tomorrow.
What size springform pan do you suggest?
I usually use a 9-inch.