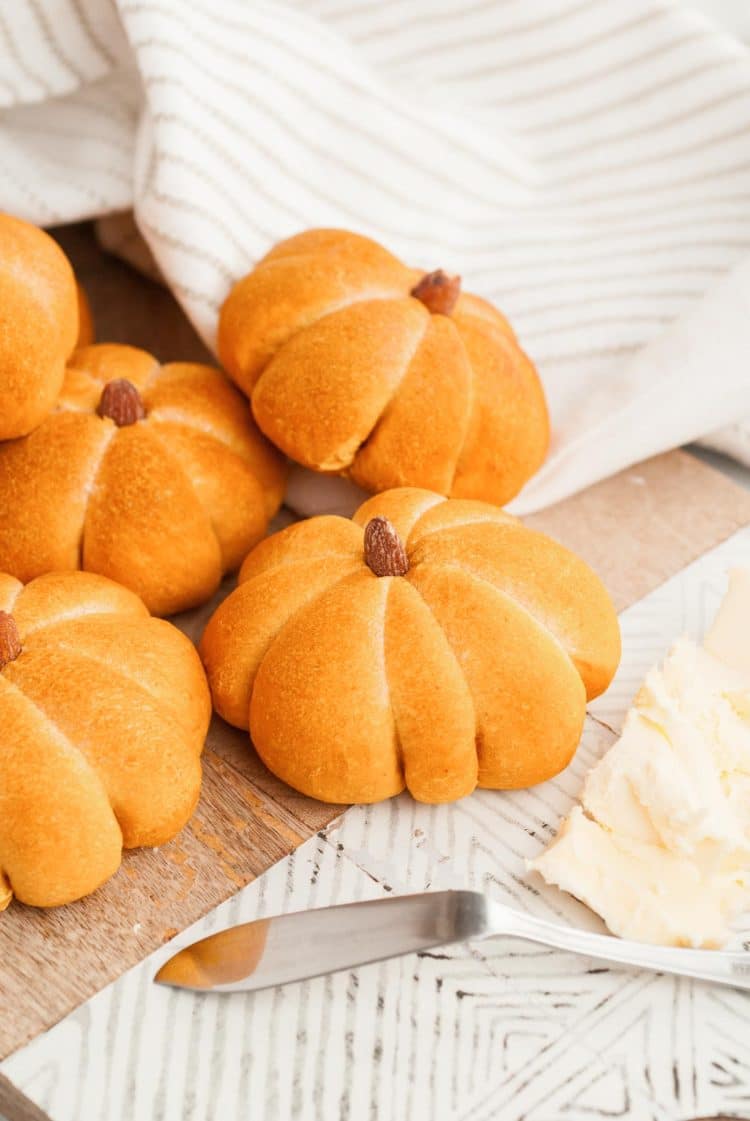
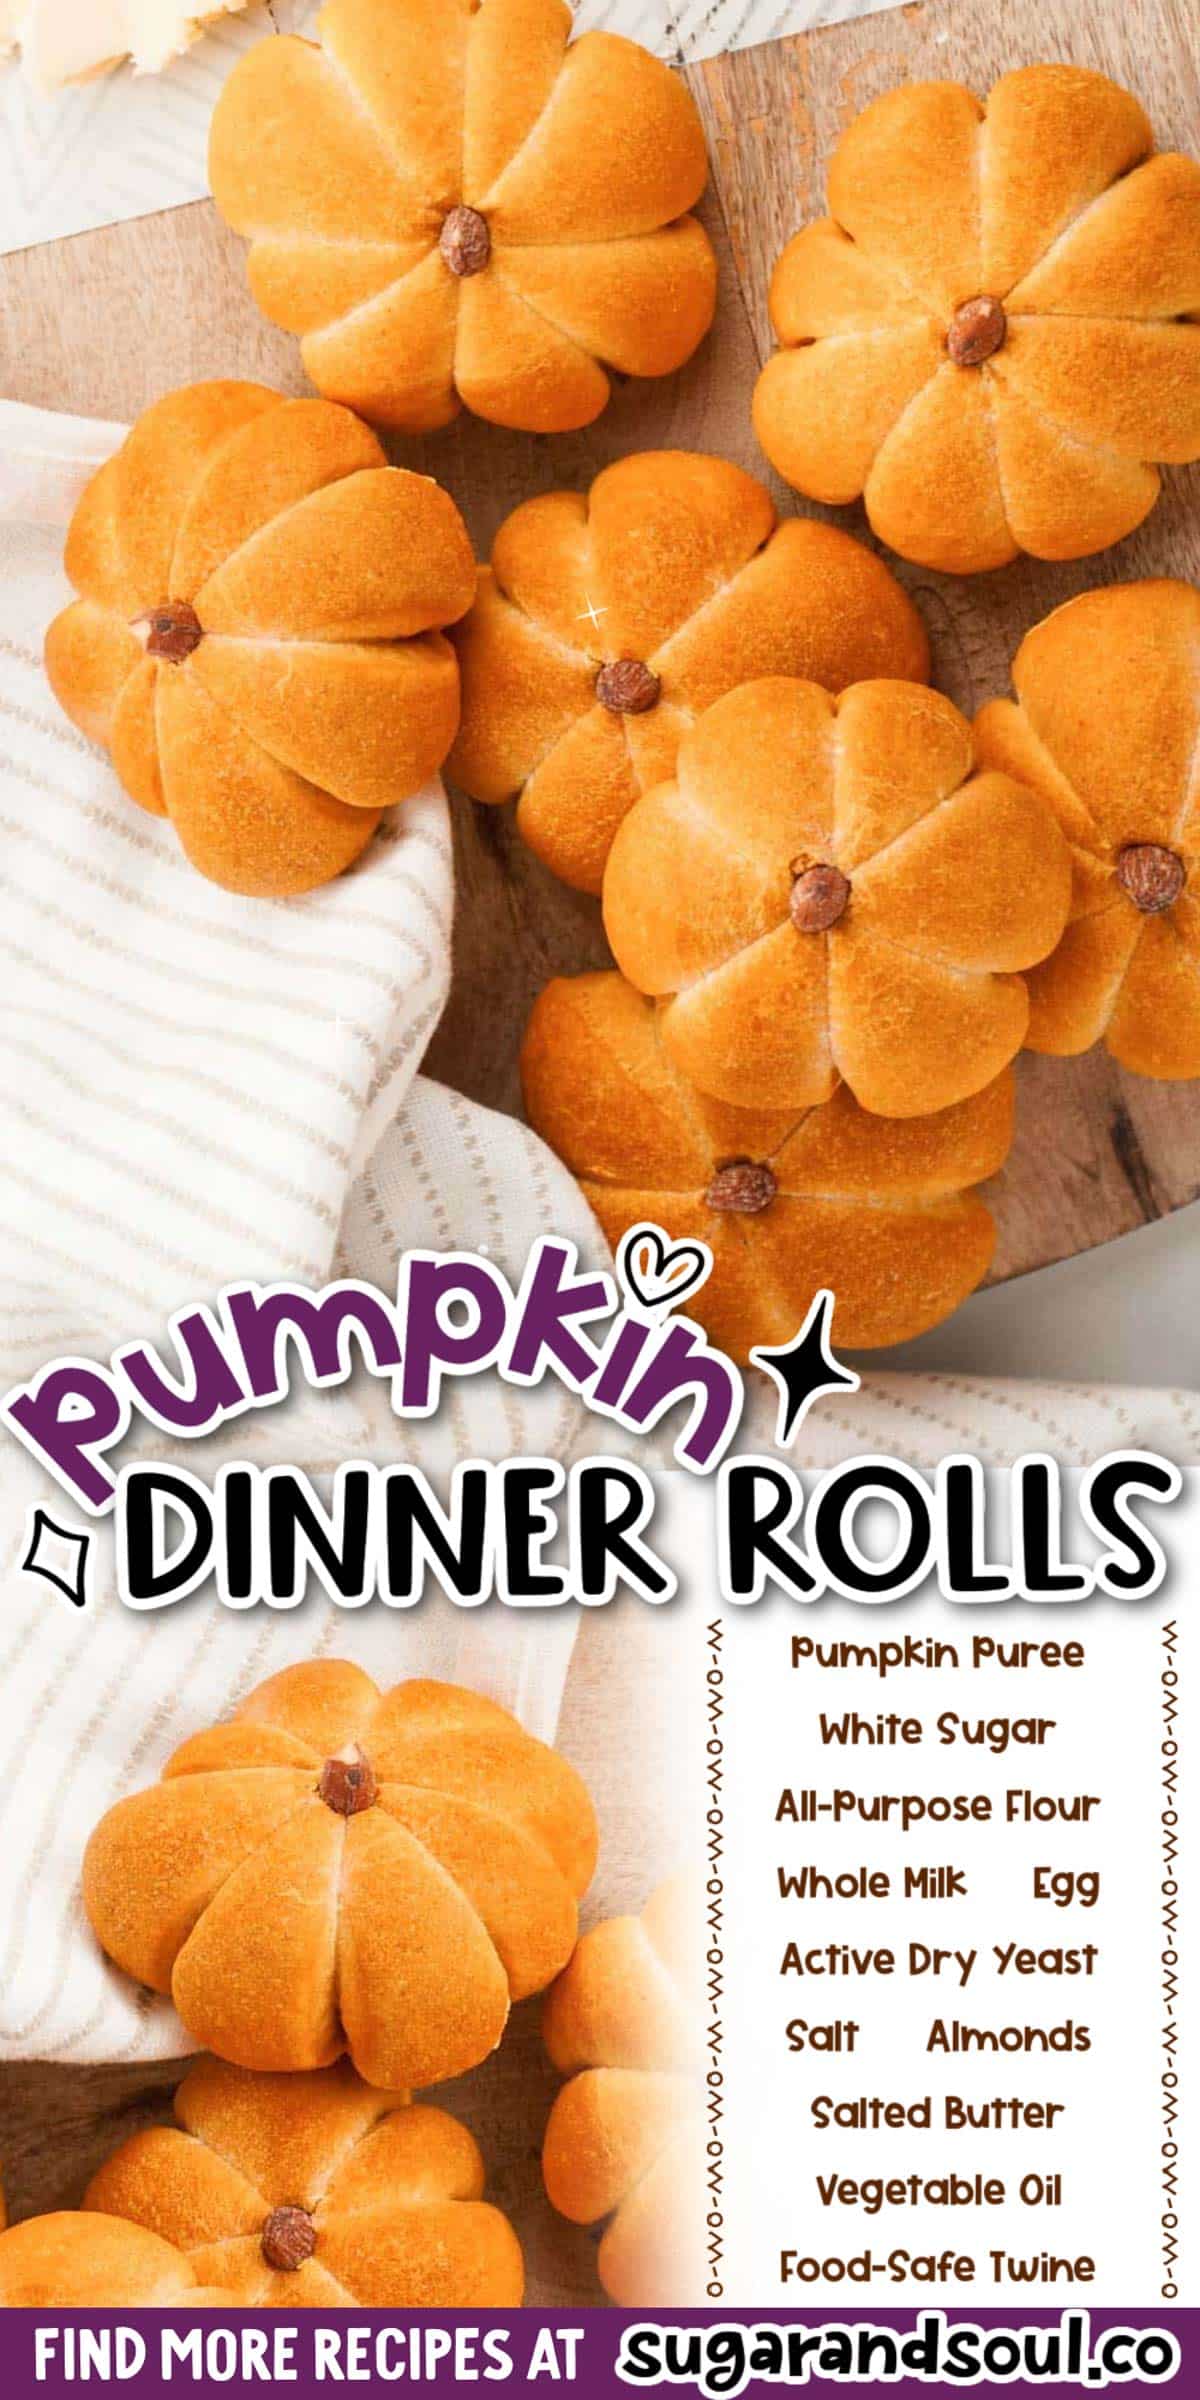
These Pumpkin Dinner Rolls are made with a delicious yeast dough and shaped into pumpkins using food-safe twine with almonds as the stem! Over a dozen of these dinner rolls take only 15 minutes to prep!
I find that food is more exciting when it’s formed into fun, festive shapes like these Pumpkin Dinner Rolls! This is why I also love my Easy Mini Pumpkin Bundt Cakes that are filled with sweet cream cheese frosting!
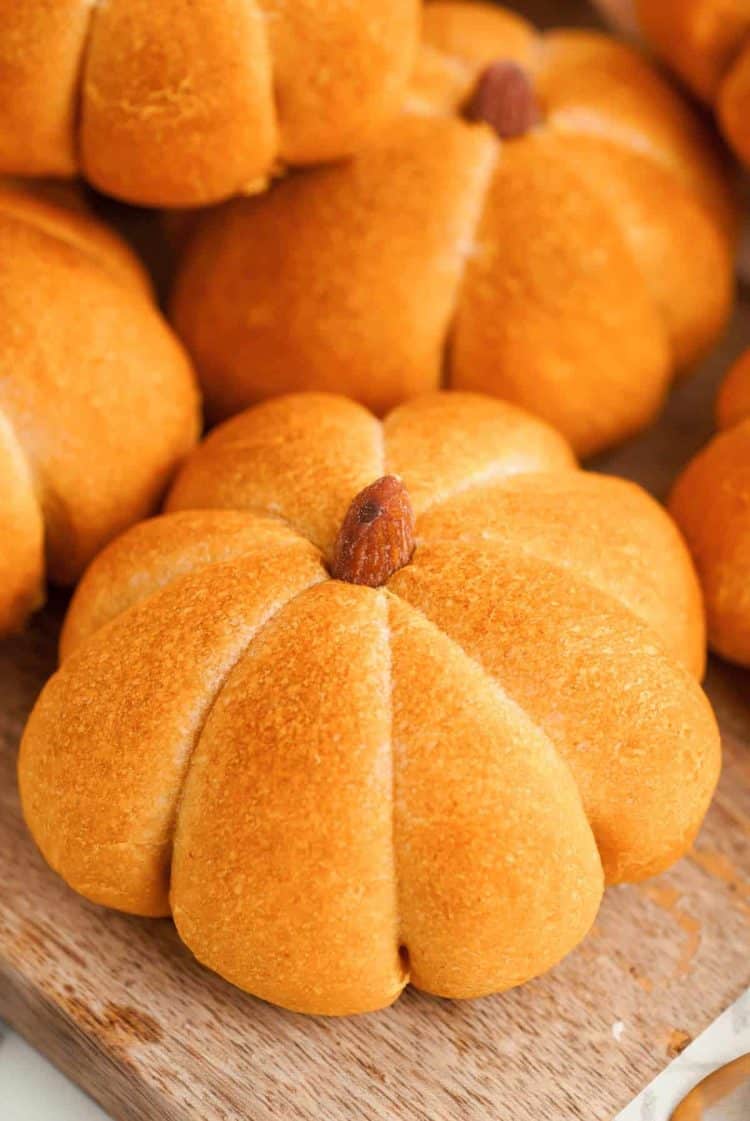
Make a statement this fall with these soft and fluffy Pumpkin Dinner Rolls! Not only do these rolls look good, but they also taste incredibly delicious as well!
Between their flavor and appearance, these rolls will disappear quickly while also being the talk of the night!
Each batch of rolls calls for yeast, pumpkin puree, and pantry staple ingredients, allowing you to grow your pumpkin patch of rolls after just 30 minutes of baking!
What To Expect At The Pumpkin Patch Of Rolls!
Taste: These easy pumpkin dinner rolls have the classic flavor of a yeast roll with a very light, savory pumpkin flavor! Enjoy them warm with your favorite butter!
Smear on some Herb Butter for tasty pumpkin rosemary dinner rolls! For a sweeter flavor, enjoy them as Honey Butter pumpkin dinner rolls!
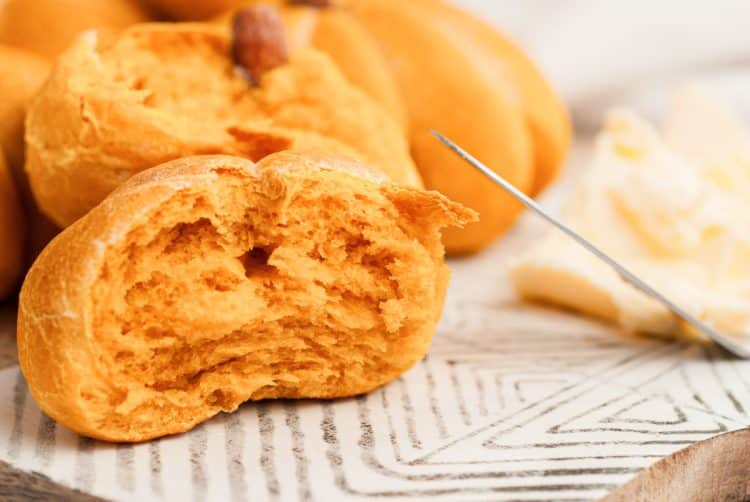
Texture: When baked, these rolls take on a golden exterior, allowing their pumpkin shape to really shine! However, the inside of these pumpkin rolls remains tender and fluffy – just how a dinner roll should be!
Proofing Tips And Tricks!
Working with yeast dough requires that you allow it to rest and rise before baking! During this time the yeast ferments the dough, producing the gases needed to leaven the dough. All you need is a warm spot – but sometimes that can be tricky so here are my most helpful proofing methods!
- Warm Spot In Your Home – Most times just placing the covered bowl of bread dough in a warm spot in your home will do the trick! Warm spots near a woodstove or pellet stove are a great location!
- Cold Oven With Hot Water – In a cold oven place a bowl or pot of boiling water on the bottom shelf. On the shelf above it place the bowl of covered dough. The hot water creates a warm oven, making the perfect dough-rising atmosphere.
- Preheat The Oven – Preheat the oven to the lowest temperature for 2 minutes. Afterward, shut the oven off and place the oven-safe bowl of dough into the oven and close the door.
- Proof Setting – Check your oven for a “proof” setting as some of the newer models have this option!
How To Shape These Rolls Into The Perfect Pumpkins!
Don’t let the festive shape of these rolls intimidate you! It’s actually quite easy to shape them into pumpkins. Here are some helpful tips to create the perfect pumpkins!
- Twine – Food-safe twine (affiliate link) is used to indent the rolls, giving them their pumpkin shape! When grabbing twine, make sure to get 100% natural cotton twine. This type is usually labeled as butcher, kitchen, or cooking twine and is specifically made to withstand high-heat cooking. Do not use jute twine! Though jute twine is food-safe it is not meant for high-heat or oven use.
- Pre-Cut The Twine – Cut 10″ pieces of twine ahead of time! This will speed up the process when making this pumpkin dinner roll recipe!
- Oil – The pre-cut twine will then soak in oil. Doing so will allow for the twine to be easily removed from the rolls without damaging them or their pumpkin shape.
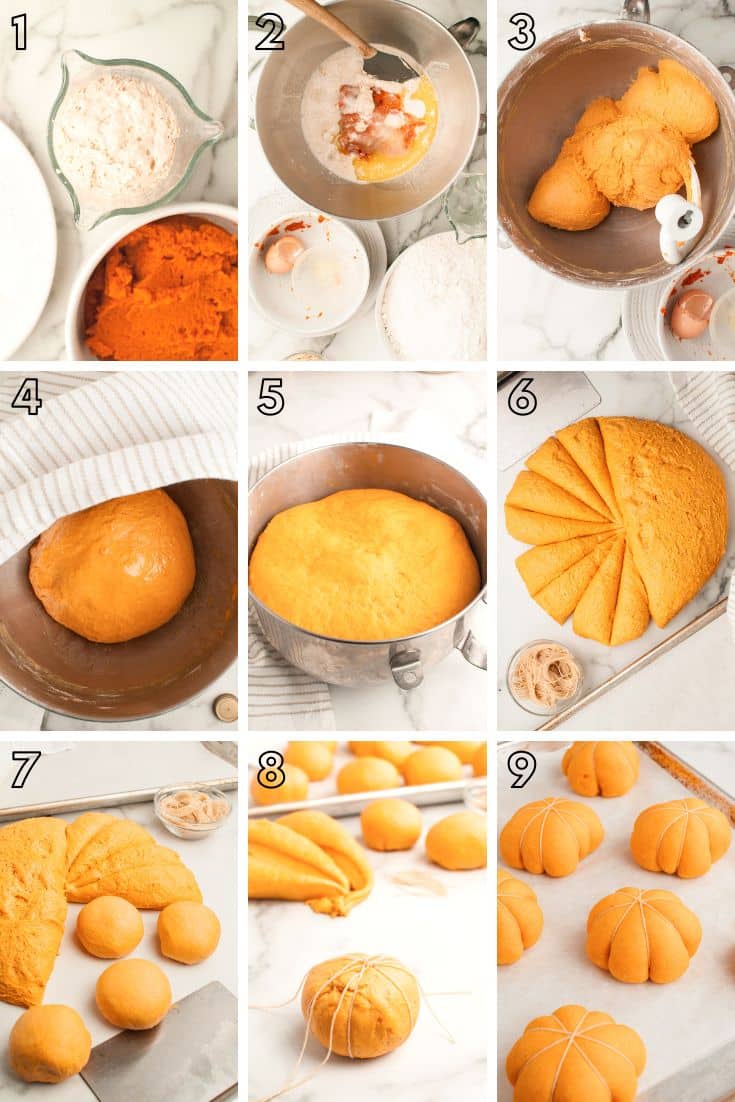
- Assemble The Pumpkins – Prepare the pumpkins by placing 4 pieces of oiled cut twine on the counter in a shape that resembles a cut pie. Place a ball of dough into the center of the twine. Afterward, take the ends of one of the pieces of twine and tie it together over the top of the dough ball. Repeat with all the strands of twine, trimming any excess after.
- Second Rise – Once all of the pumpkins are assembled, they need to be covered and placed in a warm area to allow them to rise a second time. After rising you’ll begin to see these rolls take their pumpkin shape!
To make sure your rolls are fully cooked, you can use a kitchen thermometer to make sure the internal temperature is at least 190°F.
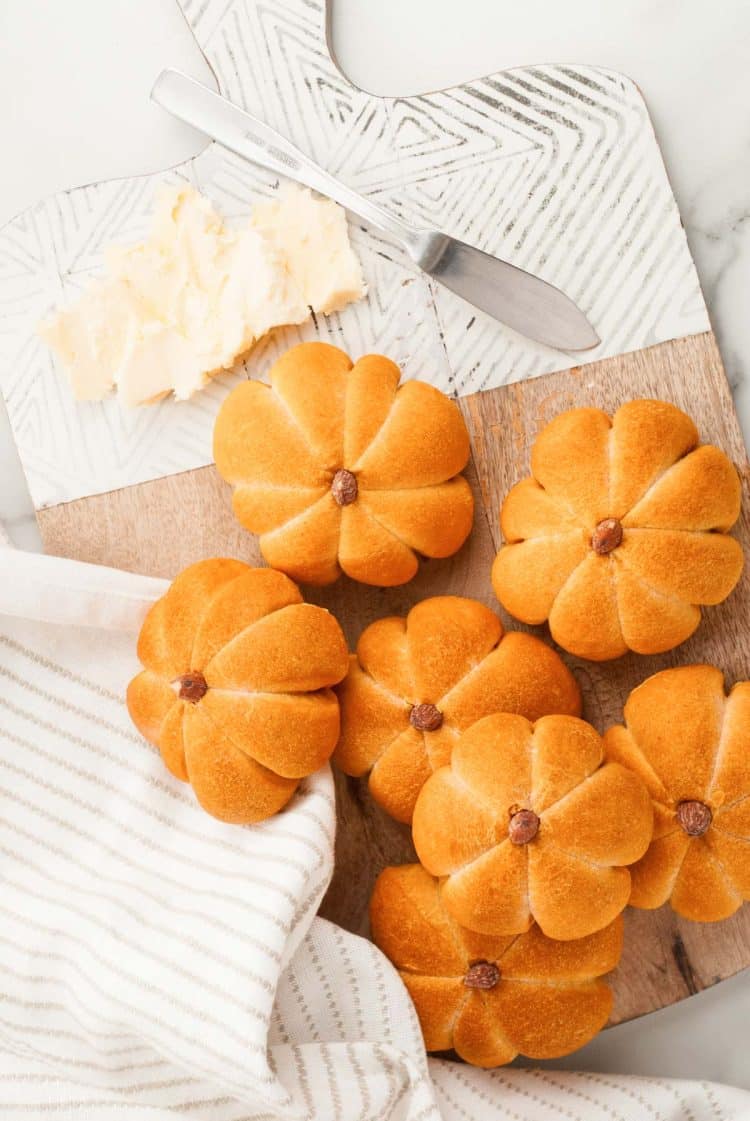
These Pumpkin Dinner Rolls will surely WOW all of your friends and family at any dinner party! Specifically, the big Thanksgiving Day meal!
After all, with the work that goes into that juicy, tender Perfect Thanksgiving Roast Turkey you might as well continue going the extra mile! From the Homemade Apple Pie to the Classic Cranberry Sauce and Crockpot Cheesy Corn, these rolls will fit right in!
What’s The Best Way To Store These Pumpkin Dinner Rolls?
These Pumpkin Dinner Rolls should be stored in an airtight container or a Ziploc back with the excess air squeezed out. When kept at room temperature, these rolls will be good for up to 3 days.
How Many Pumpkin Shaped Rolls Does This Recipe Make?
This recipe yields 16 pumpkin-shaped rolls. If you’re feeding a larger crowd, you can easily just whip up a second batch since you’ll already have the ingredients out!
What Temperature Should The Milk Be When Preparing The Yeast?
The temperature of the milk should be between 100 and 110 degrees. If the milk is too hot, it will kill the yeast. However, if it’s too cold the yeast won’t activate.
Therefore, I just use a simple kitchen thermometer to closely monitor the temperature before adding the yeast.
How Do I Know If The Yeast Is Active And Ready To Be Used In This Recipe?
The milk and yeast mixture should bubble. Creating a foamy layer on top of the liquid.
Let’s Connect!
If you’ve tried this recipe, please let me know how you liked it in the comments below and leave a review. I love hearing from you!
Don’t forget to tag me – @sugarandsoulco – on Instagram and Pinterest with your photos or join our Sugar & Soul Show-offs Community and share them there, where you can join our recipe challenges!

Pumpkin Dinner Rolls
Equipment
- Stand mixer
- Dough hook
- Measuring Cups
- Measuring spoons
- Kitchen towel
- Large mixing bowl
- Baker's twine
- 2 Baking sheets
Ingredients
- ½ cup whole milk
- 2½ teaspoons active dry yeast
- ¼ cup granulated sugar divided
- 15 ounces 100% pumpkin puree
- ¼ cup salted butter melted
- 1 large egg
- 1½ teaspoons salt
- 4½ cups all-purpose flour more if needed
- 2-3 tablespoons vegetable oil
- 16 whole almonds
Instructions
- Warm the milk to 100-110°F in the microwave in a small measuring cup or bowl.½ cup whole milk
- Add the yeast and a tablespoon of sugar to the warm milk. Gently stir, then let sit for 5 minutes to bloom.2½ teaspoons active dry yeast, ¼ cup granulated sugar
- In the bowl of a stand mixer fitted with a paddle attachment, mix together the pumpkin puree, the remaining sugar, melted butter, egg, and salt.¼ cup granulated sugar, 15 ounces 100% pumpkin puree, 1 large egg, 1½ teaspoons salt, ¼ cup salted butter
- When the yeast has bloomed, add to the bowl with the pumpkin mixture and mix on low until combined.
- Slowly add in the flour, about halfway through, switch to a dough hook, then continue to add in the remaining flour.4½ cups all-purpose flour
- This dough will be soft and sticky, it should pull away from the edges after kneading for a couple of minutes. If it does not, add in a little extra flour. Knead the dough for 7 to 10 minutes in total
- Pour a little oil into the bottom of a large bowl. Form the dough into a ball and roll it in the oil to coat. Leave the dough ball in the oiled bowl, cover it with a towel and let sit in a warm space to proof for about 1 hour until doubled in size.2-3 tablespoons vegetable oil
- While the dough is rising, cut 64, 10” pieces of food-safe twine. Place the cut twine into a small bowl with 1 to 2 Tablespoons of oil and let soak. This will prevent the twine from sticking to the rolls.
- After the dough has doubled in size, dump the dough out onto an oiled work surface. Cut the dough into 16 equal pieces. Take each piece and shape it into a ball by pulling all of the edges to the center and pinching to seal. Set aside.
- Take 4 pieces of the oiled cut twine. Arrange the twine so that the center of each piece crosses each other and fans out to look like a cut pie, making sure the sections are all equal in size.
- Take one of the dough balls and place it seam-side up on top of the twine. Take the ends of one of the pieces of twine and gently tie it together over the top of the dough ball. Repeat this with each of the 4 pieces of twine. Trim any excess twine. Place the dough ball onto a parchment-lined baking sheet, knot-side down.
- Repeat the tying process with all of the balls of dough, placing them on the baking sheets with plenty of space between them (you will need 2 baking sheets to fit 16 rolls).
- Cover the tied rolls and place in a warm area to rise for 30 to 60 minutes or until almost doubled in size.
- Bake in a preheated oven at 375°F for 20 to 30 minutes. The outside should sound and feel a bit crusty when tapped. You can also use a kitchen thermometer to make sure the internal temperature is at least 190°F.
- Remove rolls from the oven and let cool.
- Once cooled, gently cut and remove the string from the rolls.
- Gently press one almond, pointy-end down into the center of each roll from the top down.16 whole almonds
Notes
- What’s The Best Way To Store These Pumpkin Dinner Rolls? These Pumpkin Dinner Rolls should be stored in an airtight container or a Ziploc back with the excess air squeezed out. When kept at room temperature, these rolls will be good for up to 3 days.
- How Many Pumpkin Shaped Rolls Does This Recipe Make? This recipe yields 16 pumpkin-shaped rolls. If you’re feeding a larger crowd, you can easily just whip up a second batch since you’ll already have the ingredients out!
- What Temperature Should The Milk Be When Preparing The Yeast? The temperature of the milk should be between 100 and 110 degrees. If the milk is too hot, it will kill the yeast. However, if it’s too cold the yeast won’t activate. Therefore, I just use a simple kitchen thermometer to closely monitor the temperature before adding the yeast.
- How Do I Know If The Yeast Is Active And Ready To Be Used In This Recipe? The milk and yeast mixture should bubble. Creating a foamy layer on top of the liquid.
- Proofing Tips And Tricks!
- Working with yeast dough requires that you allow it to rest and rise before baking! During this time the yeast ferments the dough, producing the gases needed to leaven the dough. All you need is a warm spot – but sometimes that can be tricky so here are my most helpful proofing methods!
- Warm Spot In Your Home – Most times just placing the covered bowl of bread dough in a warm spot in your home will do the trick! Warm spots near a woodstove or pellet stove are a great location!
- Cold Oven With Hot Water – In a cold oven place a bowl or pot of boiling water on the bottom shelf. On the shelf above it place the bowl of covered dough. The hot water creates a warm oven, making the perfect dough-rising atmosphere.
- Preheat The Oven – Preheat the oven to the lowest temperature for 2 minutes. Afterward, shut the oven off and place the oven-safe bowl of dough into the oven and close the door.
- Proof Setting – Check your oven for a “proof” setting as some of the newer models have this option!
Nutrition
Did You Make This Recipe?
Don’t forget to share it with me on Instagram @sugarandsoulco and follow on Tiktok @sugarandsoulco and Pinterest @sugarandsoulco for more!


Comments & Reviews
Catherine says
Excellent! They were gobbled up at a church youth event! I ended up using close to 5 cups of flour, but they were still soft & tender. I’m making them again for Thanksgiving.
Rebecca Hubbell says
So glad they enjoyed them!