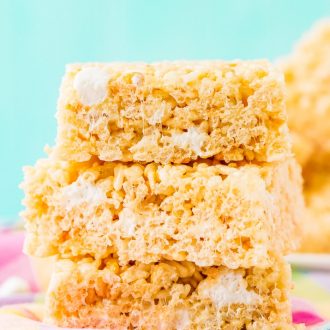
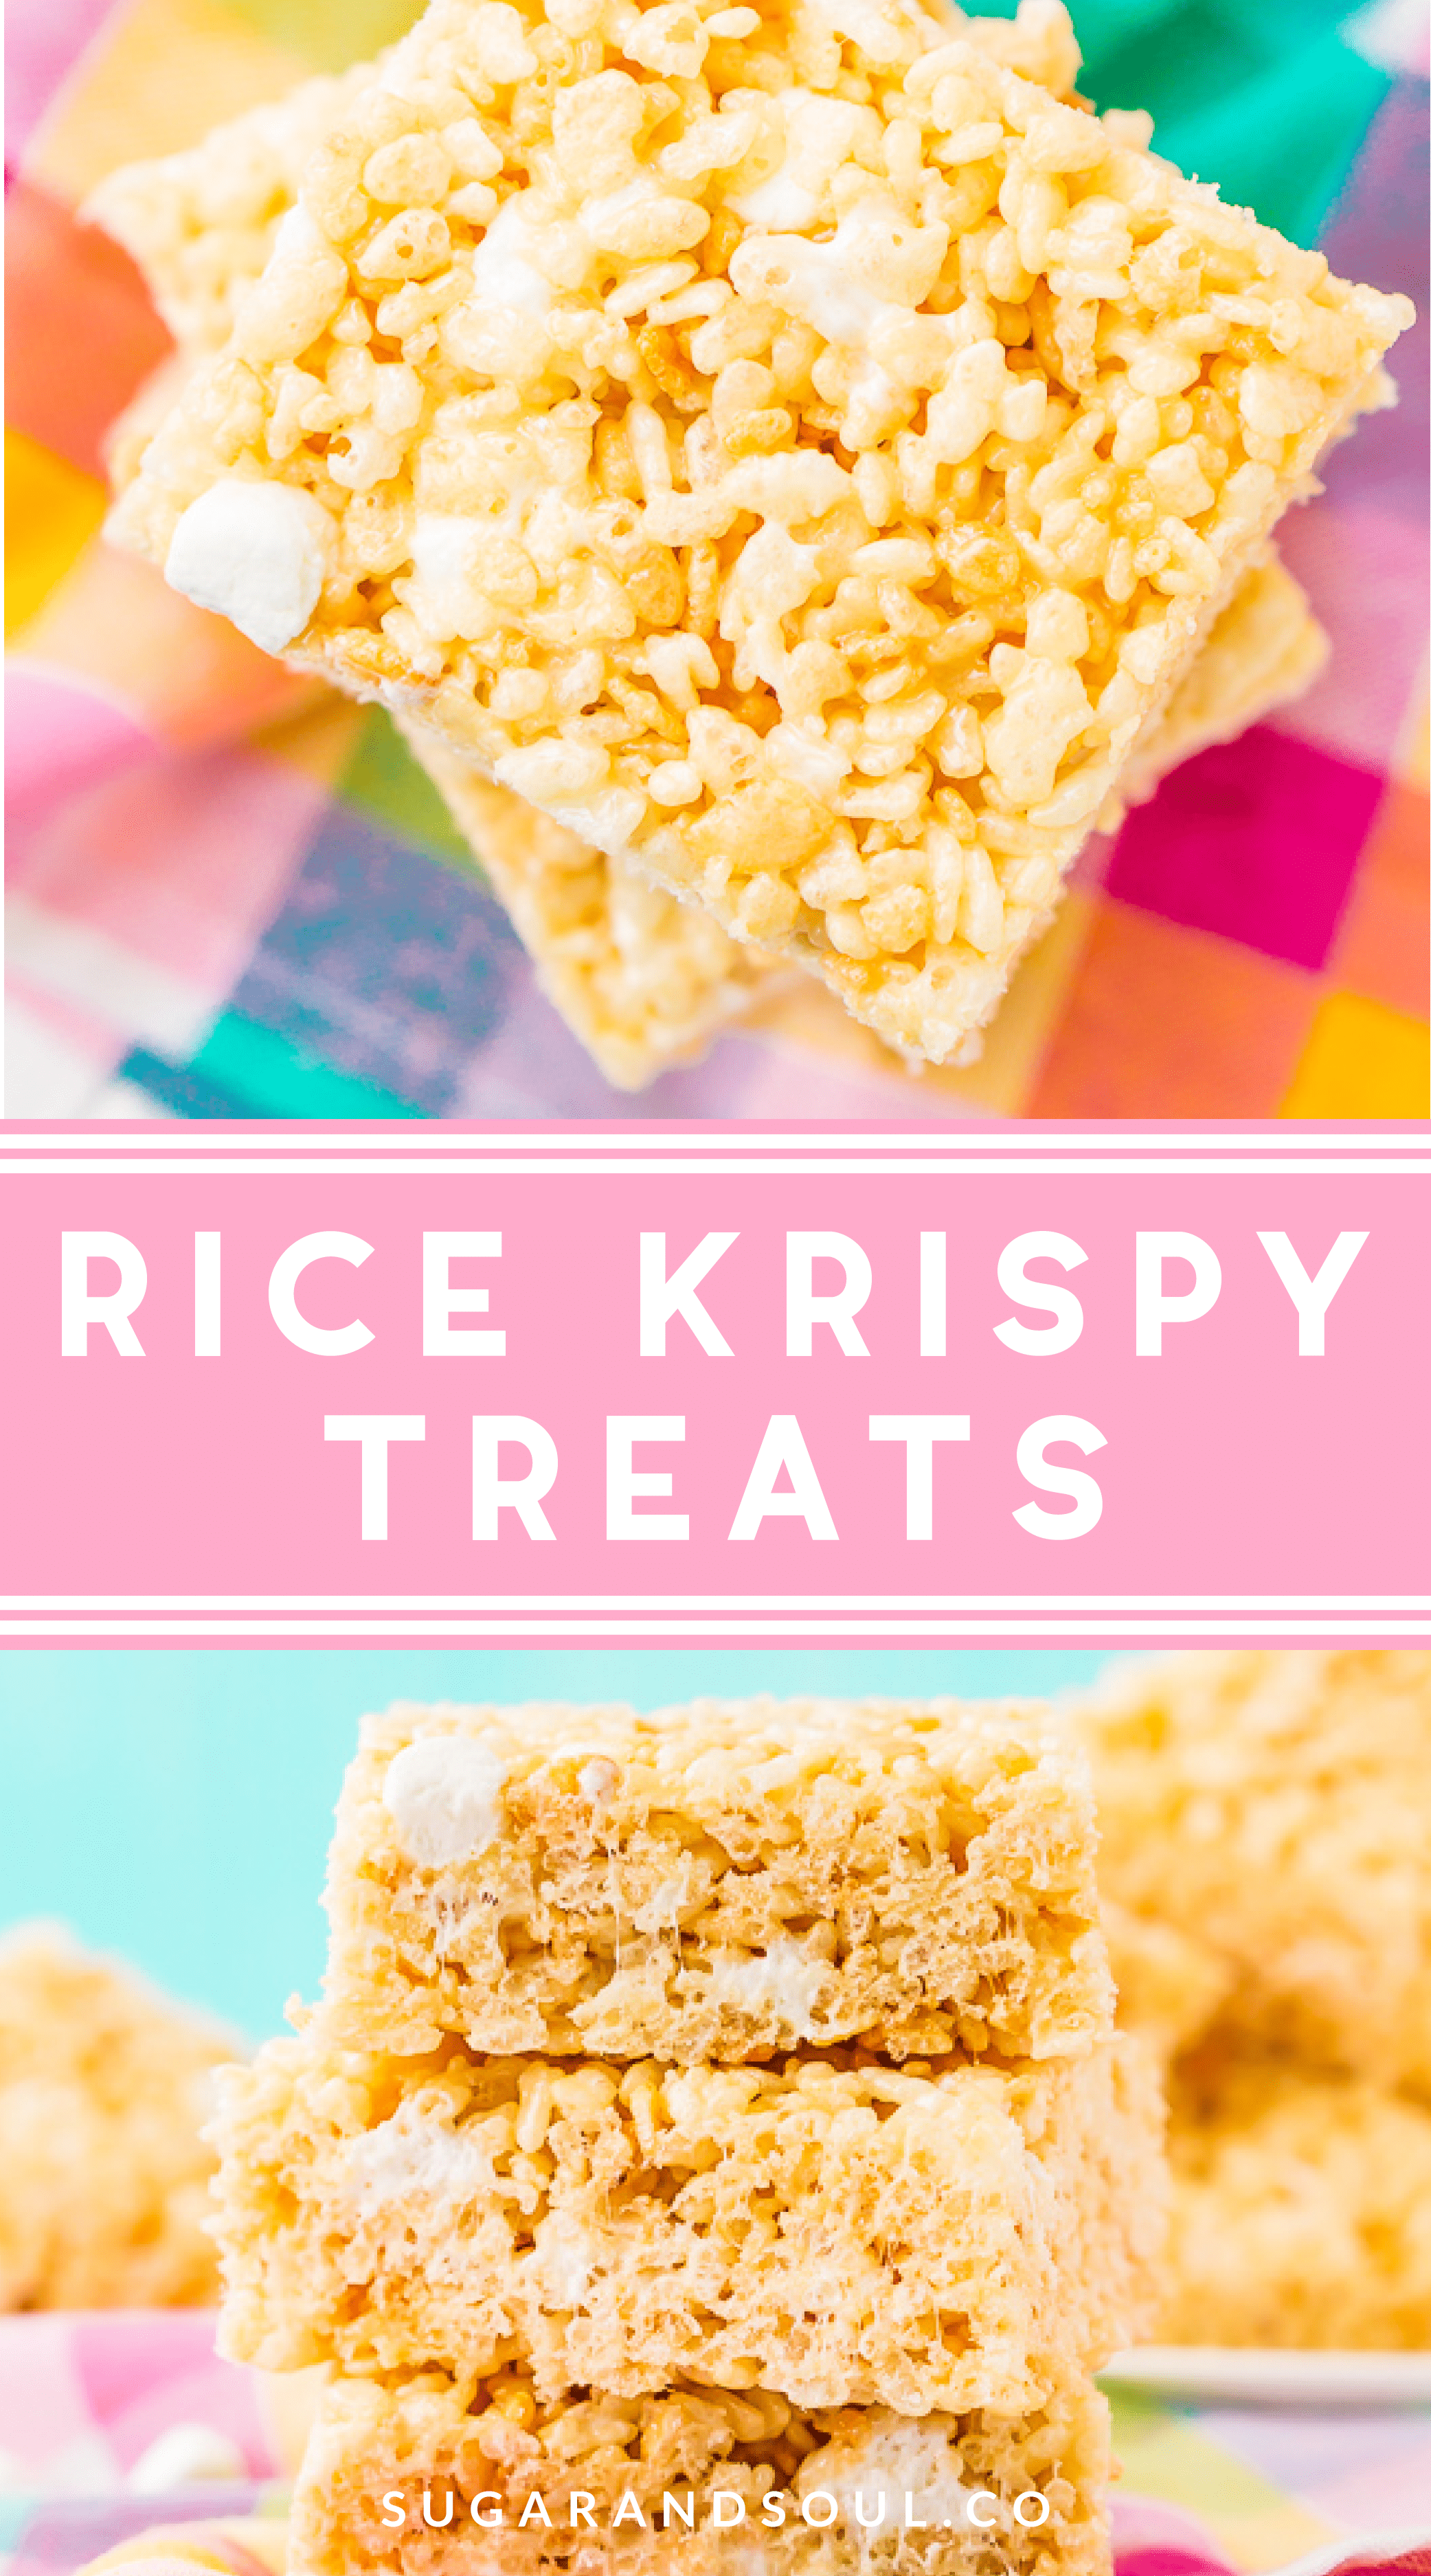
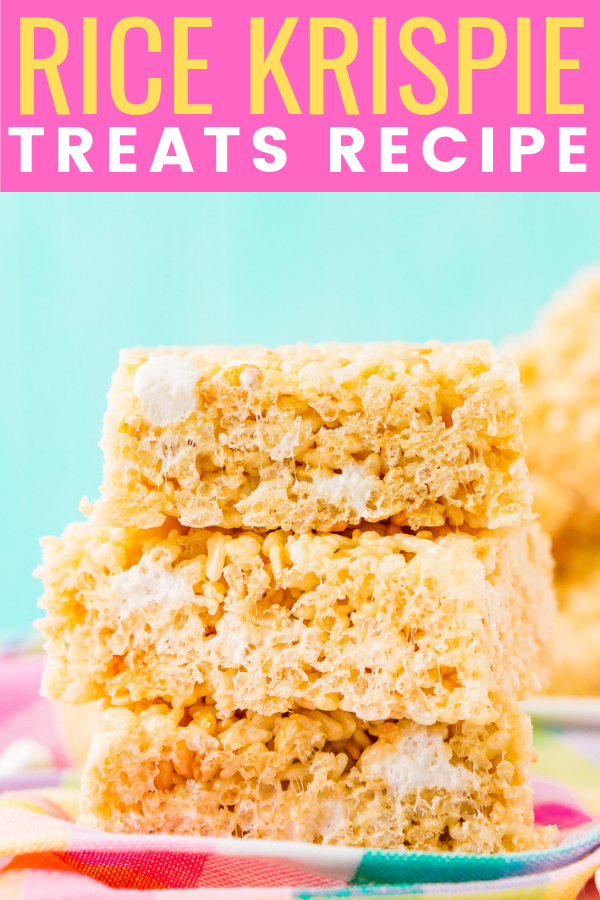
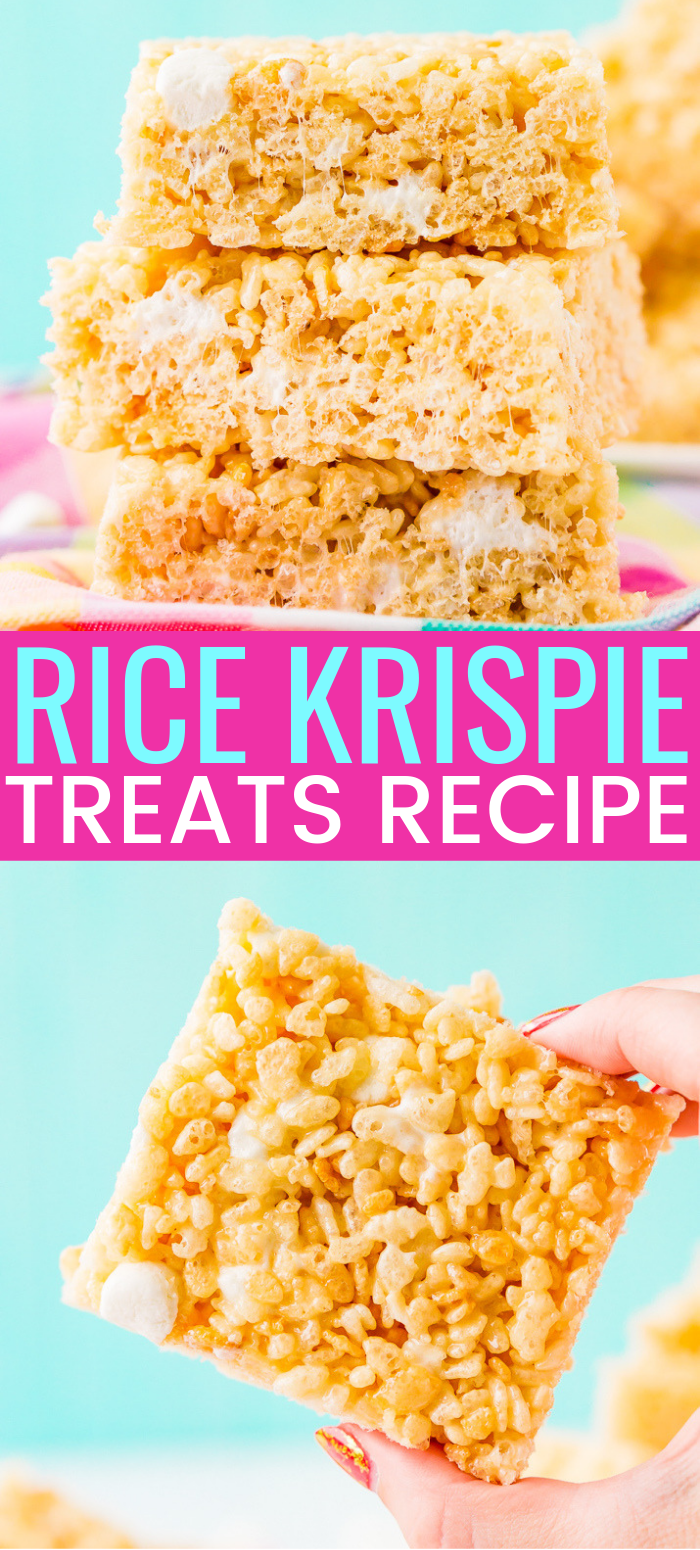
Rice Krispie Treats are loaded with salty butter, sweet marshmallow, warm vanilla, and crunchy rice krispies cereal.
No one will be able to resist this easy and delicious no-bake dessert that’s ready in less than 30 minutes! You might also enjoy my Fruity Pebbles Treats or Cap’n Crunch Treats!
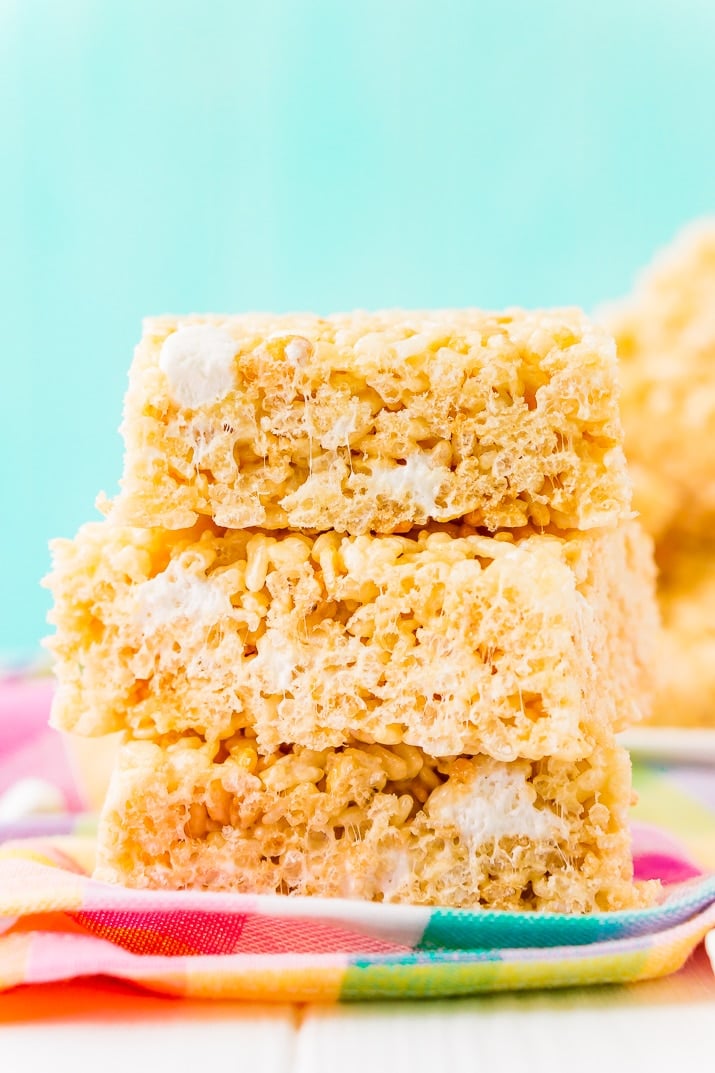
I pretty much grew up on Rice Krispie Treats. They’re a classic recipe and my Nana made them for us as after school treats when we were little and I’ve loved them ever since.
I mean, how could you not love that blend of salty butter, creamy and sweet marshmallow, warm vanilla, and crispy cereal. Plus, the best part is that they’re no-bake and SUPER easy they are to make.
My Nana always made them from the recipe on the back of the cereal box. And I’m sure you’ve all made that very recipe at least once in your life, BUT… there’s a better way and this is it!
Seriously though, these Rice Krispie Treats are AMAZE-balls! Because we balance the ratios of butter to marshmallow to cereal and we’re left with gooey rice krispie treats that adults and kids alike will LOVE!
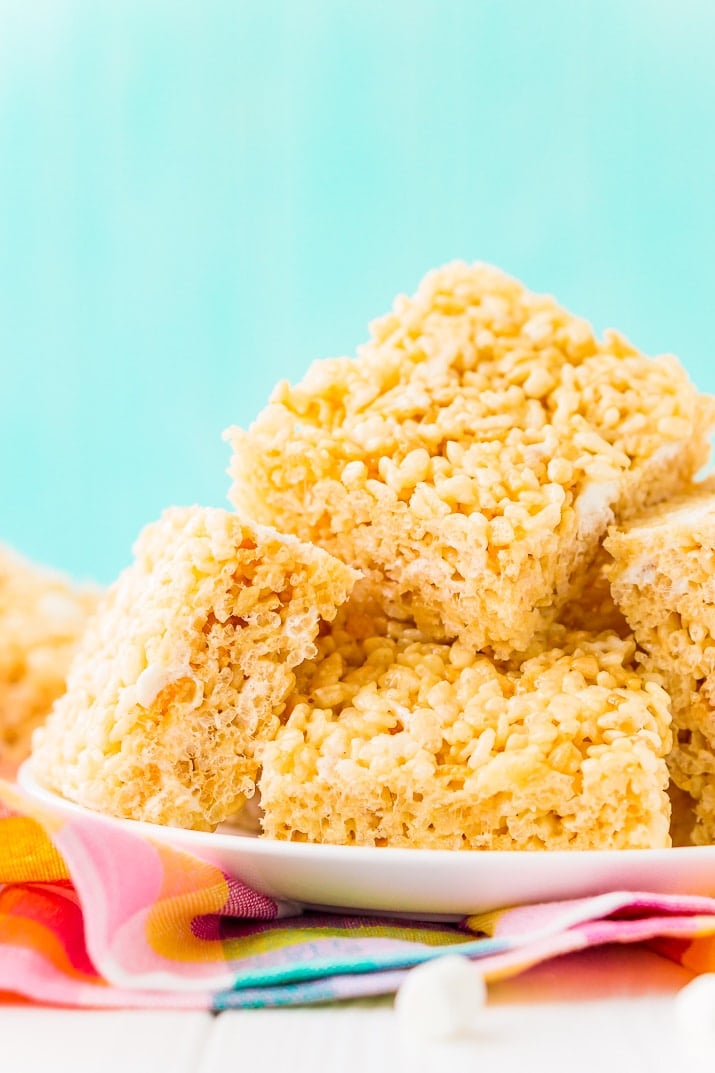
How To Make Them:
This no-bake dessert recipe requires minimal ingredients, tools, effort, and time, making it one of the easiest things you’ll ever make!
- You’ll begin by lining a 9×13-inch baking pan with aluminum foil and spraying it with non-stick spray. Then set it aside so it’s ready when the treat mixture is done. It’s important to do this beforehand because the mixture will cool down fast and become less forgiving as it does.
- In a large pot, melt the butter over low heat. I recommend a 6-quart pot as the smallest you should use for this recipe so you don’t worry about overflow.
- Once the butter has melted, add in 8 cups of the mini marshmallows and stir until completely melted with a rubber spatula.
- Remove from heat and stir in the cereal, vanilla, and the remaining 2 cups of marshmallows and mix until the cereal is evenly coated with marshmallow.
- Finally, transfer mixture to the prepared pan and spray your hands with non-stick spray and gently press the mixture into the pan. Allow the treats to cool for about 20 minutes before removing from the pan and slicing into 24 pieces.
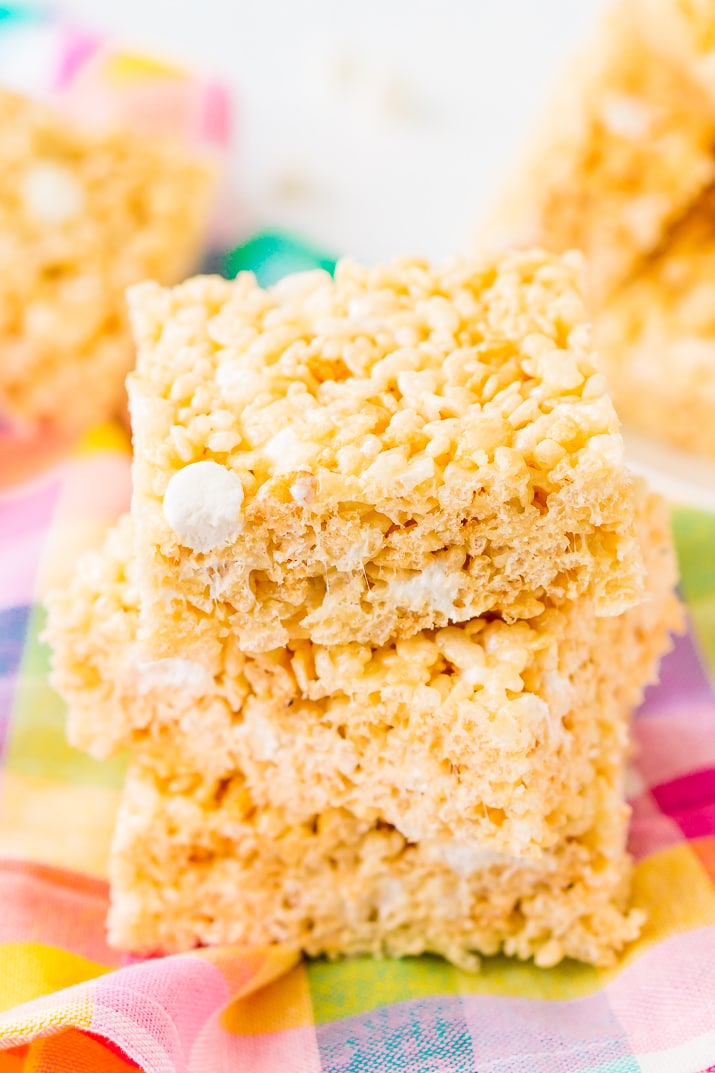
Tips for Making the Best Rice Krispies Treats Ever:
- Coat your Hands with Cooking Spray: This helps prevent your fingers from sticking to the treat mixture and makes it easier to handle when pressing it into the pan.
- Don’t Press Too Hard: You want your treats to be firm, but still chewy. Pressing too hard on the mixture when you put it in the pan will cause treats to become tough.
- Pick Your Butter: Normally with sweet treats, you use unsalted butter. But when it comes to Rice Krispie Treats, I prefer to use salted, because half the deliciousness is from the salty buttery taste. However, you can use unsalted and add salt as needed or sprinkle the treats with sea salt just before serving.
- Add Vanilla Extract: This isn’t an overly common ingredient in Rice Krispies Treats, but it should be because it amplifies the flavor of the marshmallows and makes them taste that much better!
- Reserve Extra Marshmallows: I don’t like to melt all of my marshmallows into the mixture, I always reserve 2 cups to go in with the cereal because this leaves little pockets of marshmallow goodness throughout the treats. You can add in a couple more cups if you really want to load these babies up with marshmallows!
- Slice Just Before Serving: To ensure that your treats to get dried out or crispy around the edges, slice them just before serving!
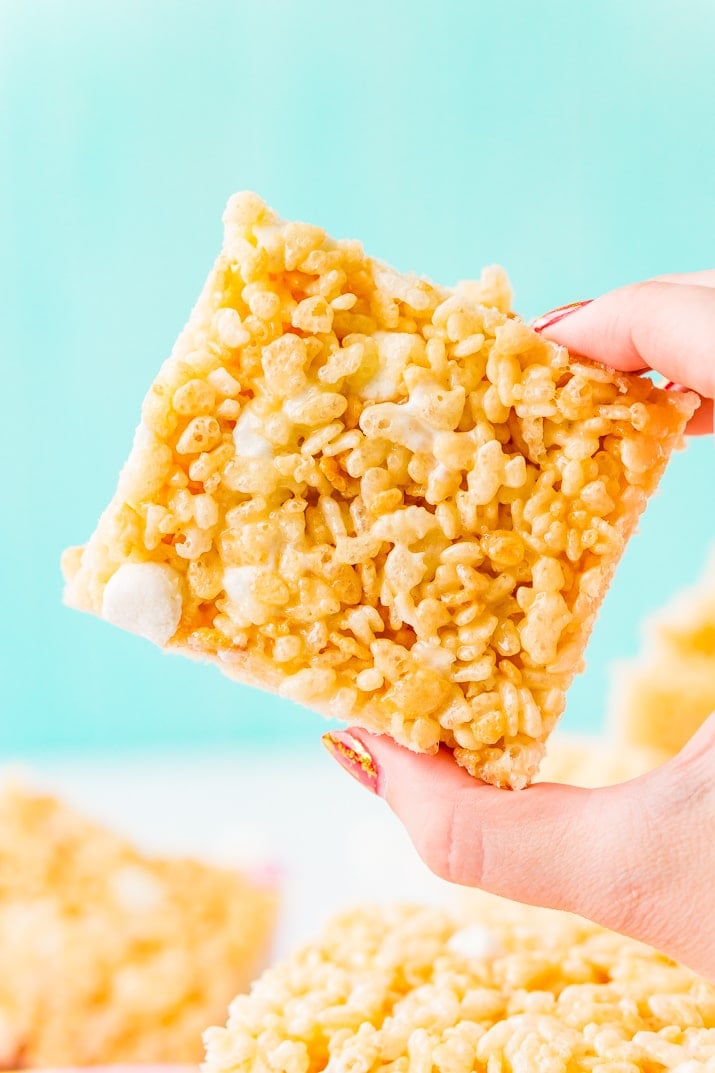
How Long Will They Stay Good For?
Once they have been cut up, any that are not enjoyed immediately can be stored in an air-tight container at room temperature for up to 3 days.
Can They Be Frozen?
Yes, the can! Simply cut them up and store them in an air-tight container in the freezer for up to 6 weeks.
An Easy Party Dessert!
This Rice Krispie Treat recipe will yield about 24 deliciously chewy treats. I highly recommend them for parties because they’re a comforting classic that everyone knows and loves! You can even add in some sprinkles to make that seem a little more upscale 😉
So, are you ready to make this recipe? I’ve walked you through all the steps and I would hope by now you’re thoroughly convinced that these delicious Rice Krispie Treats need to be in your belly STAT!
I promise you won’t regret it! And if you love Cocoa Krispies I bet you’ll love these Cocoa Pebbles Treats too!
More Delicious No Bake Recipes:
- No Bake Peanut Butter Cookies
- Peanut Butter Fudge
- Cornflake Cookies
- Edible Cookie Dough
- Lucky Charms Treats
Perfect Rice Krispie Treats
Click the button above to save this delicious recipe to your board!
👋 Let’s Connect!
If you’ve tried this recipe, please let me know how you liked it in the comments below and leave a review. I love hearing from you!
Don’t forget to tag me – @sugarandsoulco – on Instagram and Pinterest with your photos or join our Sugar & Soul Show-offs Community and share them there, where you can join our recipe challenges!

Rice Krispies Treats
Ingredients
- 8 tablespoons salted butter
- 10 cups mini marshmallows divided
- 9 cups Rice Krispies Cereal
- 1 teaspoon vanilla extract
Instructions
- Line a 9×13-inch baking dish with aluminum foil and spray with cooking spray and set aside.
- Melt the butter in a large pot, once the butter has melted, add in 8 cups of the marshmallows and stir continuously with a wooden spoon or rubber spatula until the marshmallows have melted.
- Add in the cereal, vanilla, and the remaining 2 cups of marshmallows and stir until the cereal is evenly coated.
- Transfer the mixture to the prepared baking dish, spray your hands with non-stick spray and gently press the mixture into the pan, don’t press down too hard or you’ll end up with hard treats.
- Allow the treats to cool for about 20 minutes before removing from the pan and slicing into 24 pieces.
Notes
- Coat your Hands with Non-Stick Spray: This helps prevent your fingers from sticking to the treat mixture and makes it easier to handle when pressing it into the pan.
- Don’t Press Too Hard: You want your treats to be firm, but still chewy. Pressing too hard on the mixture when you put it in the pan will cause treats to become tough.
- Pick Your Butter: Normally with sweet treats you use unsalted butter, but when it comes to Rice Krispie Treats, I prefer to use salted, because half the deliciousness is from the salty buttery taste. However, you can use unsalted and add salt as needed or sprinkle the treats with sea salt just before serving.
- Add Vanilla: This isn’t an overly common ingredient in Rice Krispies Treats, but it should be because it amplifies the flavor of the marshmallows and makes them taste that much better!
- Reserve Some Marshmallows: I don’t like to melt all of my marshmallows into the mixture, I always reserve 2 cups to go in with the cereal because this leaves little pockets of marshmallow goodness throughout the treats. You can add in a couple more cups if you really want to load these babies up with marshmallows!
- Slice Just Before Serving: To ensure that your treats to get dried out or crispy around the edges, slice them just before serving!
- Shelf Life: Once they have been cut up, any that are not enjoyed immediately can be stored in an air-tight container at room temperature for up to 3 days.
Nutrition
Did You Make This Recipe?
Don’t forget to share it with me on Instagram @sugarandsoulco and follow on Tiktok @sugarandsoulco and Pinterest @sugarandsoulco for more!


Comments & Reviews
Clare says
I just wanted to share that I coat my hands with butter not cooking spray. The flavor is sooooo much better! Great recipe!