This Sourdough Bread Recipe is the ultimate step-by-step guide on how to create the perfect homemade loaf of Sourdough Bread from scratch!
Enjoy more warm, fresh-baked bread right at home by trying my buttery, rich Homemade Brioche or my French Baguette that’s made with only 4 ingredients!
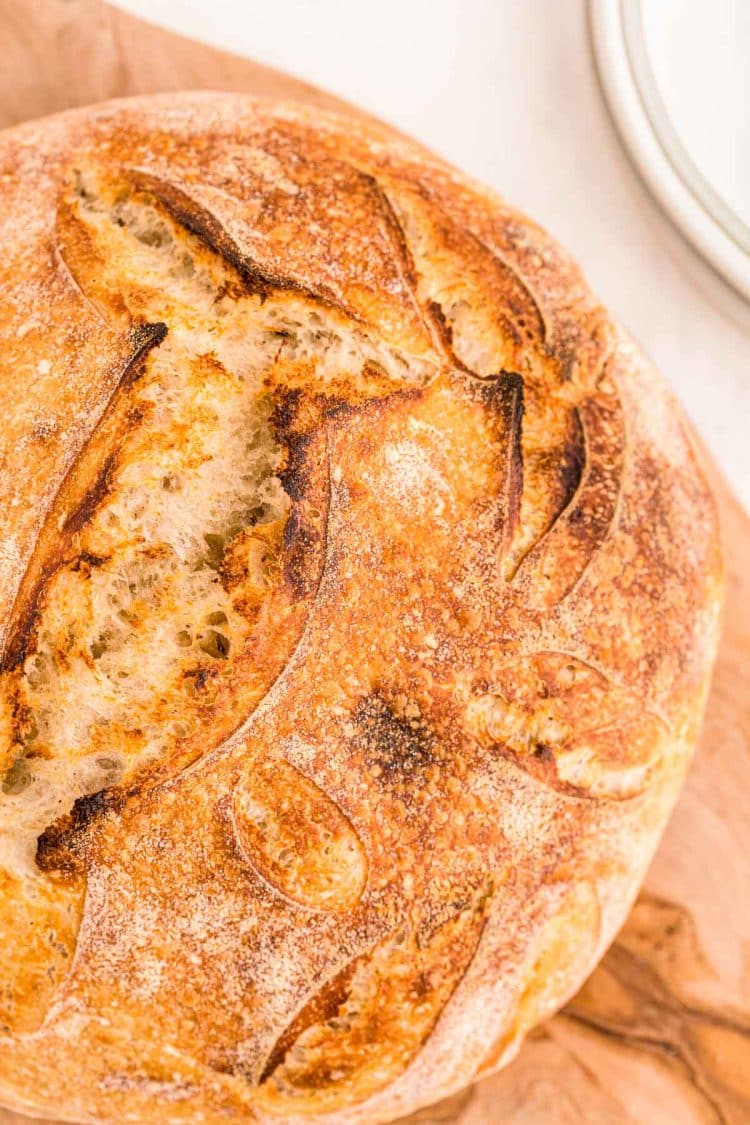
Homemade Sourdough Bread is a challenge every baker, new or seasoned, sets their eyes upon! Whether they want to enjoy a slice smeared with butter, use it to make delicious sandwiches, make the Best Sausage Stuffing, or simply to just say that they’ve mastered the art!
There’s no doubt that even a basic Sourdough Bread recipe is a labor of love. From the Sourdough Starter to the “stretching and folding” of the dough all the way to proofing and baking. It’s a process.
But a process that rewards you with a hearty 2-pound chewy loaf of Sourdough Bread and the satisfaction of being able to say, “I did it!” Don’t forget it can also be a super fun tradition to pass on from generation to generation!
What’s The Difference Between Sourdough And Regular Bread?
Regular bread is made using packaged yeast that you can get at a store. Whereas sourdough bread uses a starter to get the dough to rise. This starter is made and fed right at home with flour and water to cultivate wild yeast over the course of 6 to 10 days.
The best part about sourdough is that it keeps on going. Some starters are said to be hundreds of years old and there are so many sourdough recipes beyond bread that you can make with the discard!
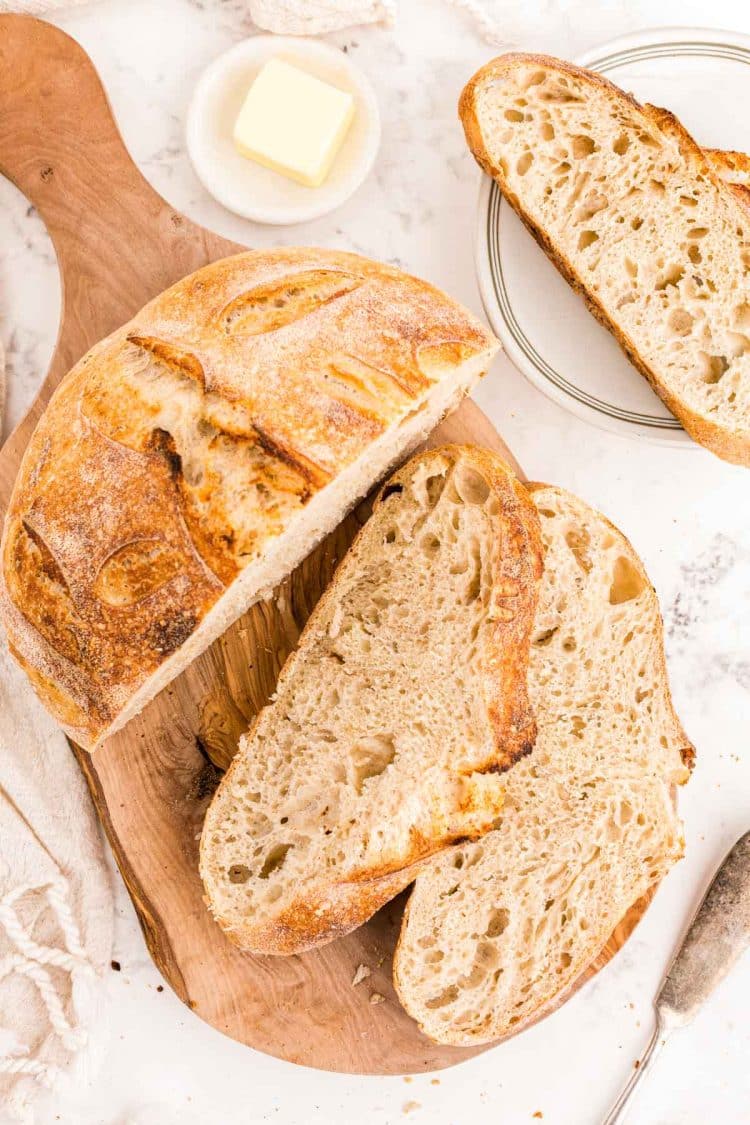
Ingredient Notes
To make this Sourdough Bread Recipe you’ll need bread flour, whole wheat flour, filtered water, salt, and ripened sourdough bread starter. If you’ve never made Sourdough Bread Starter it’s incredibly easy, and my recipe includes step-by-step photos and instructions to help easily walk you through the process!
Rice Flour is also recommended since it’s the best choice for dusting bannetons for sourdough because it’s gluten-free and doesn’t absorb moisture in the same way that all-purpose or bread flour does. Read more about Banneton Care from The Pantry Mama.
Sourdough Bread-Making Tools
You’ll also need a handful of kitchen supplies to help you complete this recipe such as:
- Dutch Oven – Or a bread cloche. This is what the bread will be baked in.
- Lame – For scoring the bread to allow steam to escape and the loaf to puff during baking. You could also use a very sharp knife.
- Banneton With Liner – Used for proofing the bread and producing the perfect loaf.
- Plastic Wrap – To cover the bowls and banneton throughout the process.
- Kitchen Scale – This recipe uses grams instead of measuring cups. Measuring out the ingredients allows for a more precise loaf of bread!
This Sourdough Proofing Set (affiliate link) has pretty much all the “extra” tools you might need to make sourdough at home for beginners for a reasonable price!
If you don’t have a banneton, don’t simply substitute for a regular large bowl. Instead, line colander with a linen dish towel (not cotton kitchen towels) and dust it liberally with rice flour.
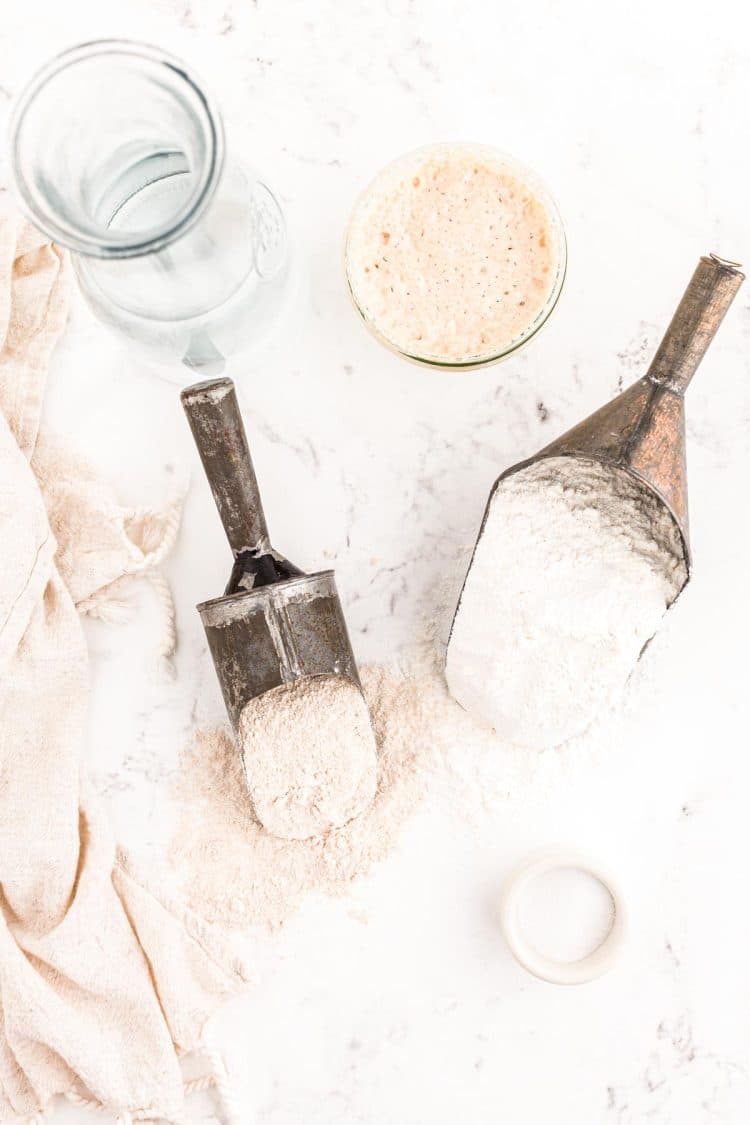
How To Make Sourdough Bread
Making sourdough bread might seem like a complicated process, and it kind of is. There’s a lot of waiting involved and tons of steps to follow, but all of them are relatively easy and don’t require much skill as long as you have the right tools!
1. Stir the flour and water together in a large mixing bowl. The mixture will appear “shaggy”. I recommend using a Danish Dough Whisk (affiliate link) but a wooden spoon will also work.
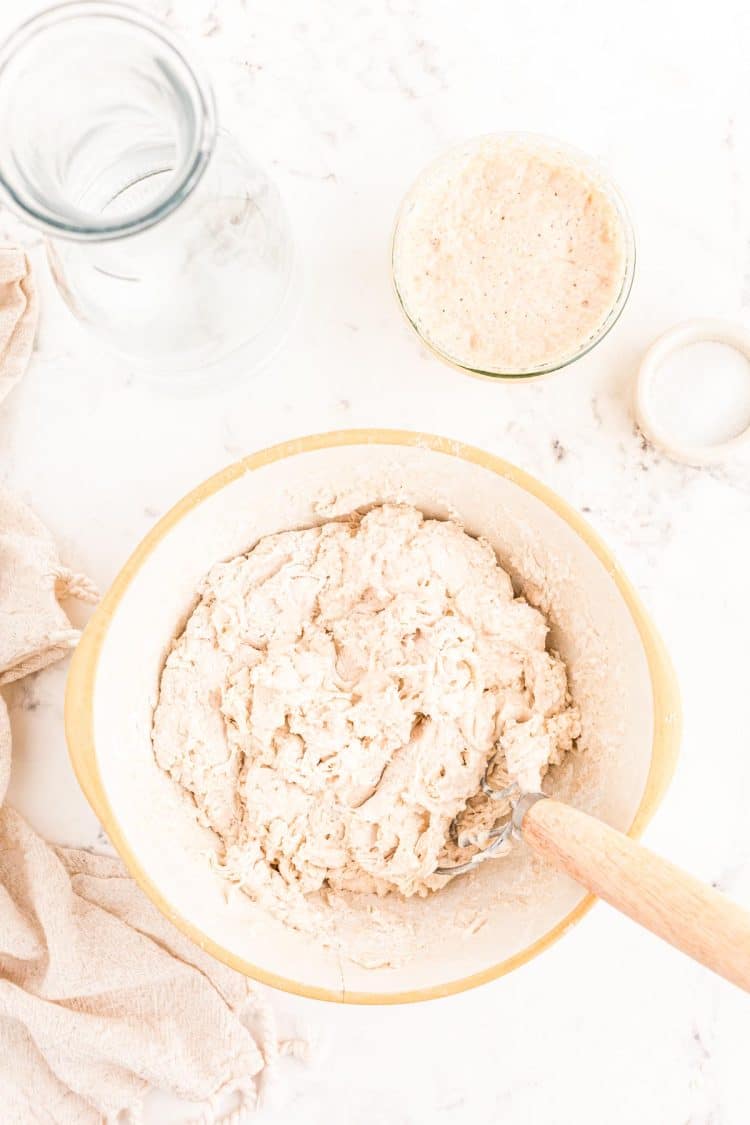
2. Cover the bowl with plastic wrap and set it aside in a warm location. This allows the mixture to autolyse.
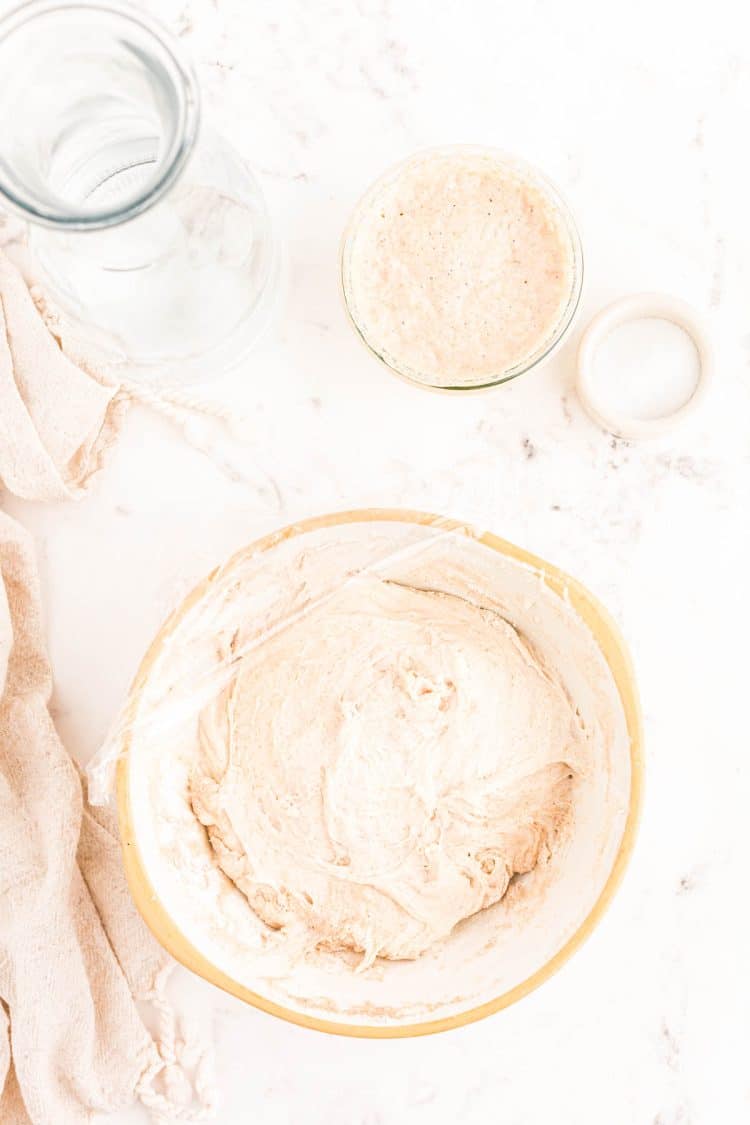
3. Add the starter and salt to the flour/water mixture. Stirring it all together very well.
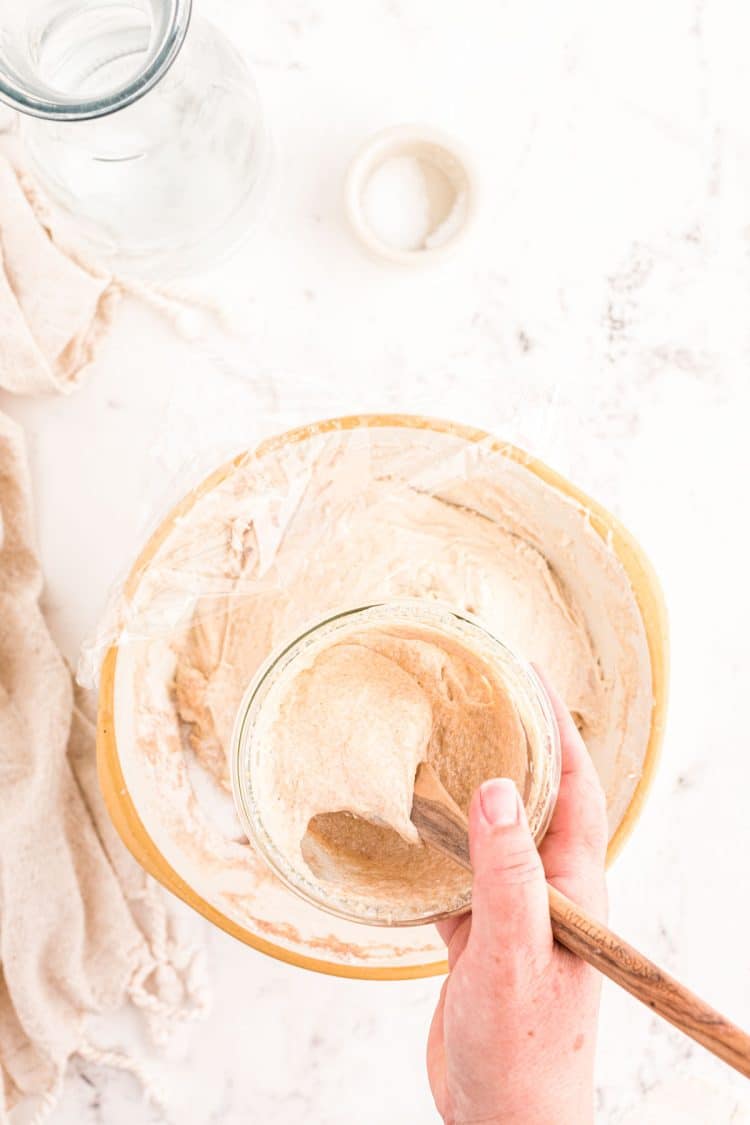
4. Cover the dough again with plastic wrap and set it back in the warm location it was in.
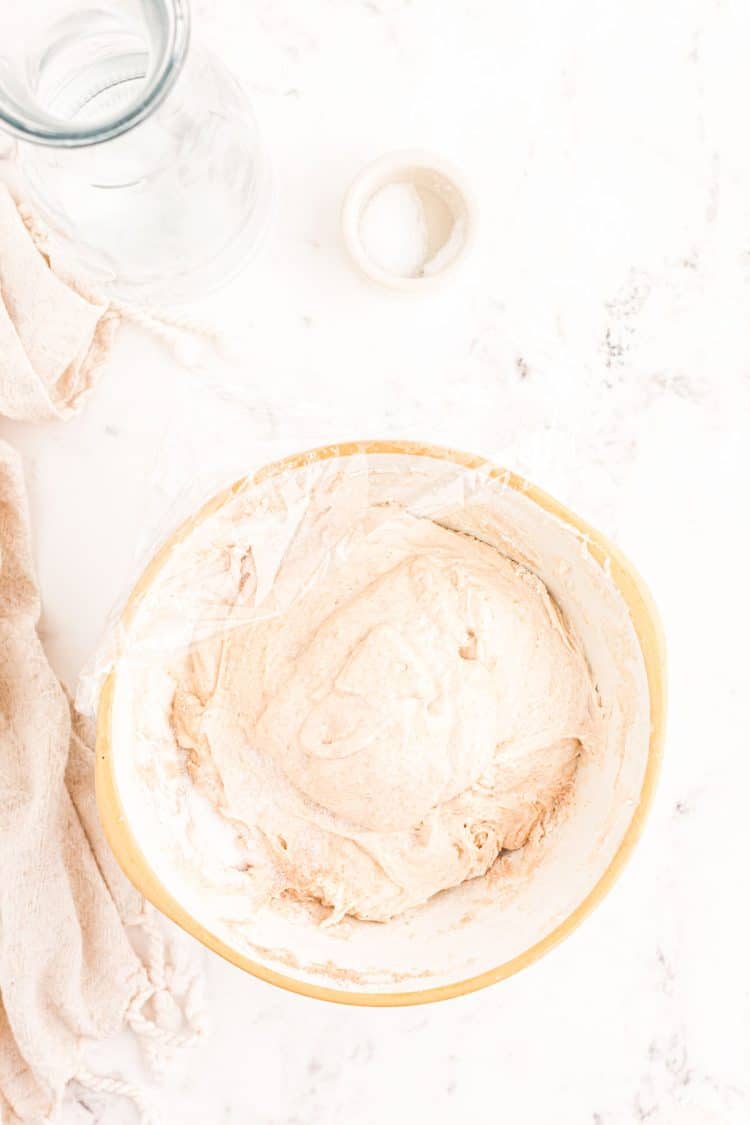
5. During the first part of “bulk fermentation” time we’re going to complete a set of folds to strengthen the dough. Every half hour you’ll uncover the bowl of dough, dip your hands in warm water, and slide your hands down around the top of the dough.
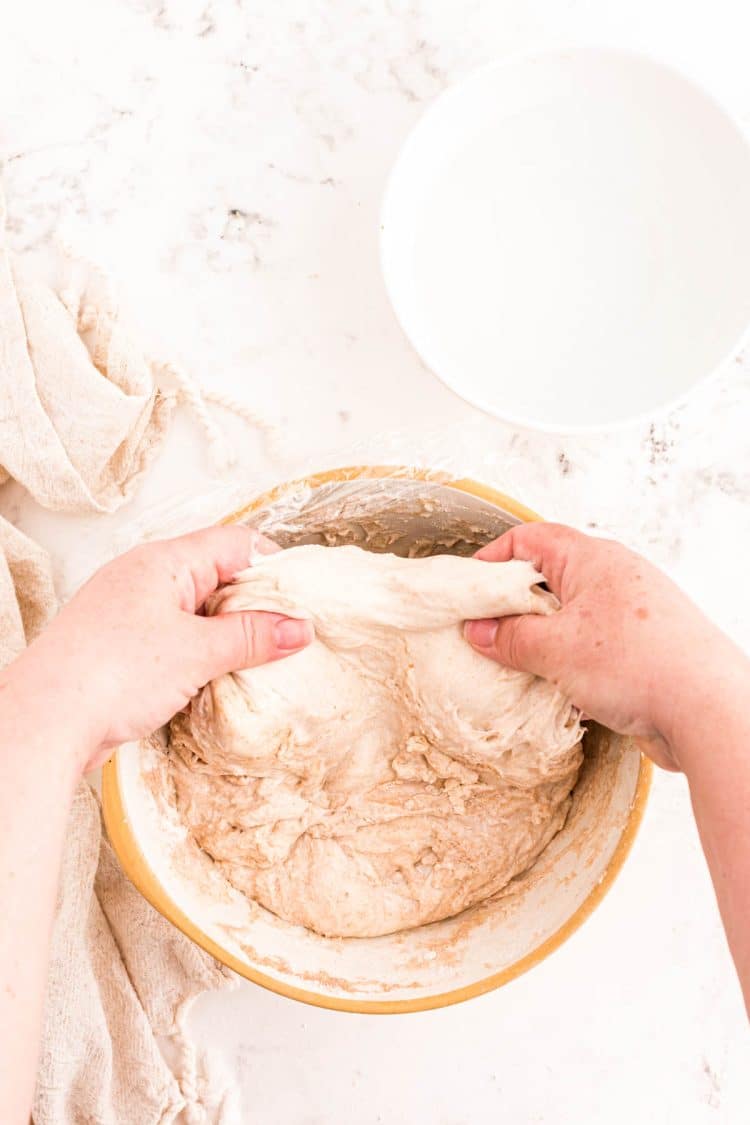
6. Lift one side of the dough up and fold it down over the opposite side. Repeat this process on all four sides of the dough and then cover it back up with plastic wrap and set it aside for 30 minutes.
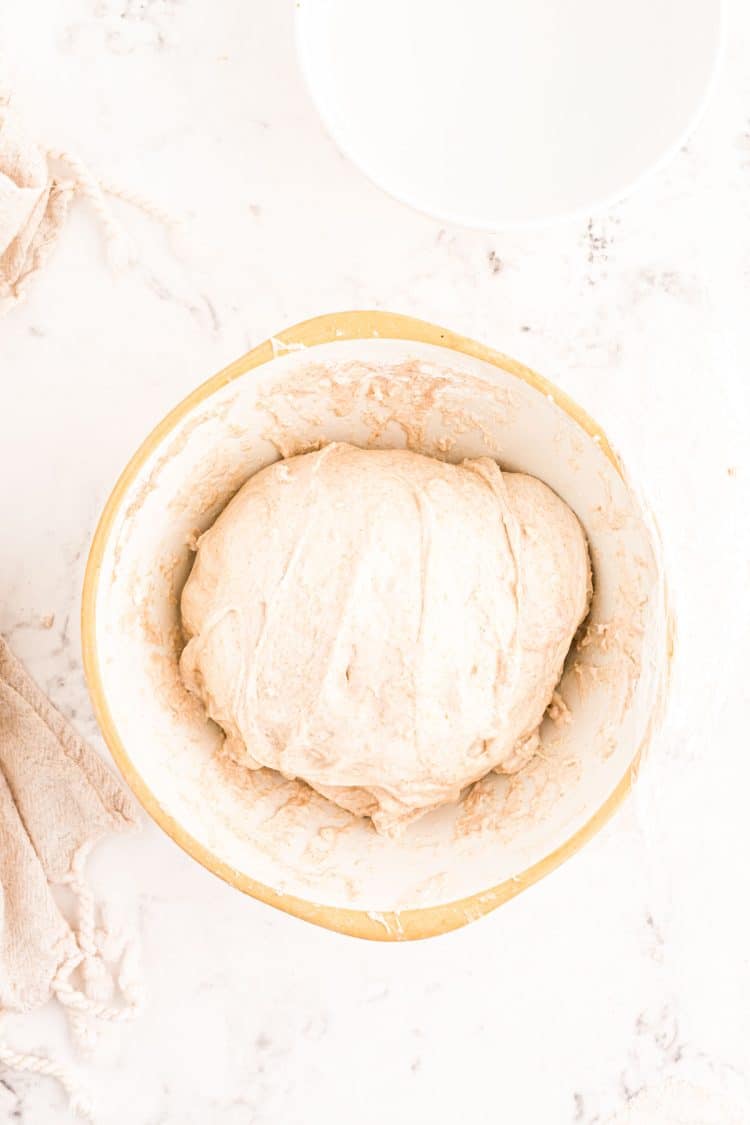
7. Repeat steps five and six two more times.
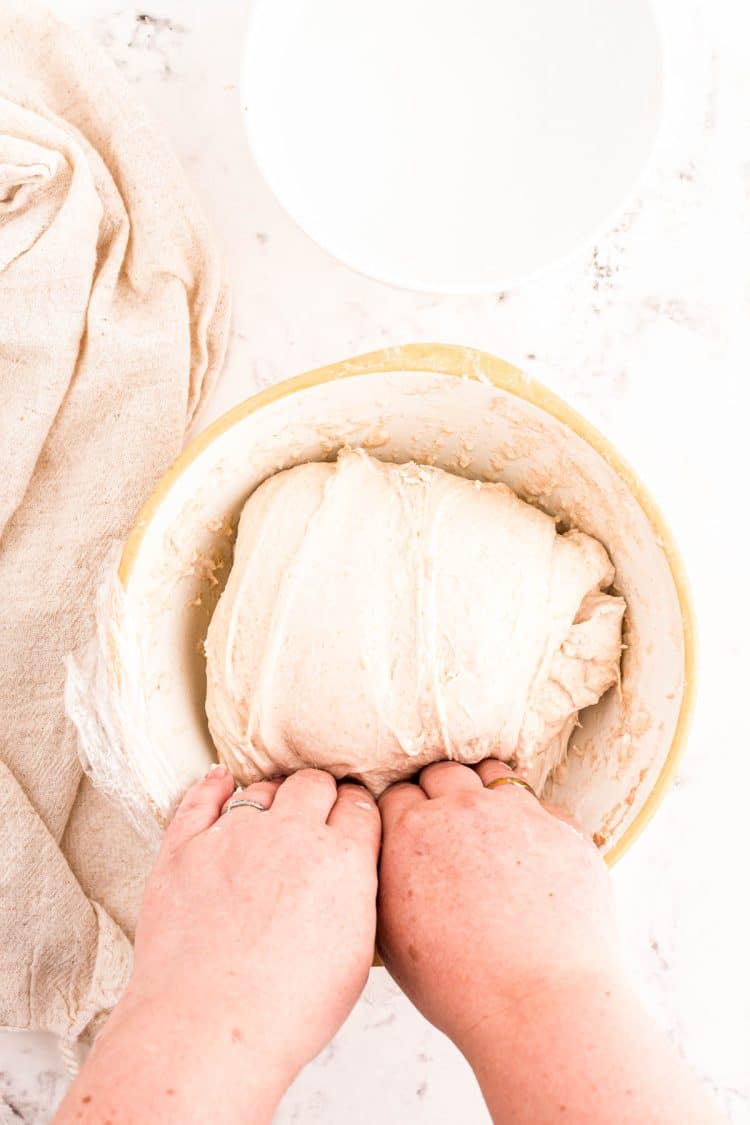
8. Complete one final set of dough-strengthening folds by sliding your damp hands around the dough sides. Lift the dough straight up from the bowl, the end will dangle down and stretch.
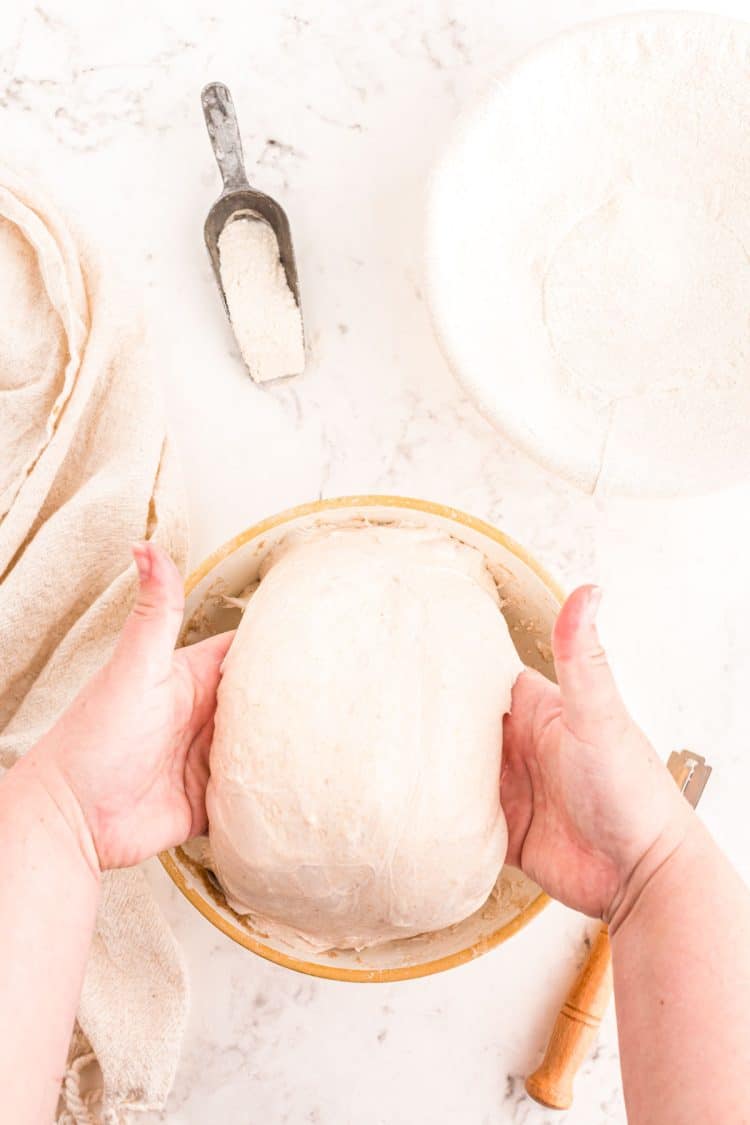
9. Set the dough straight back down on itself, being careful that the dough doesn’t break. Rotate the bowl and repeat four more lift and stretch sets.
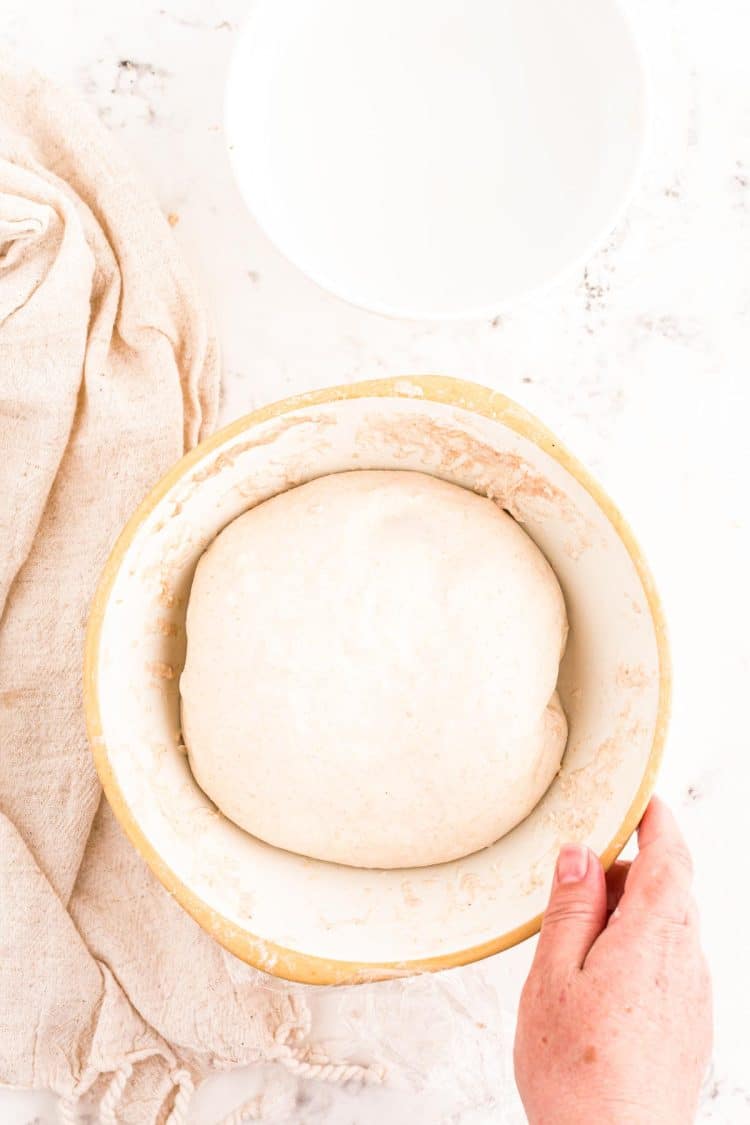
10. Allow the dough to now sit undisturbed to complete bulk fermentation. The dough should be smooth and rounded, large air bubbles may appear under the surface of the bread.
Now we’ll shape the dough into one round loaf. If you prefer, now is the time for you to use a bench scraper to divide the dough into two smaller loaves or shape it into ovals or baguettes, whatever you desire.
Begin by placing the liner in the banneton and sprinkling it with rice flour. Place the dough into the basket so the smooth “top” of the dough is now face down in the basket.
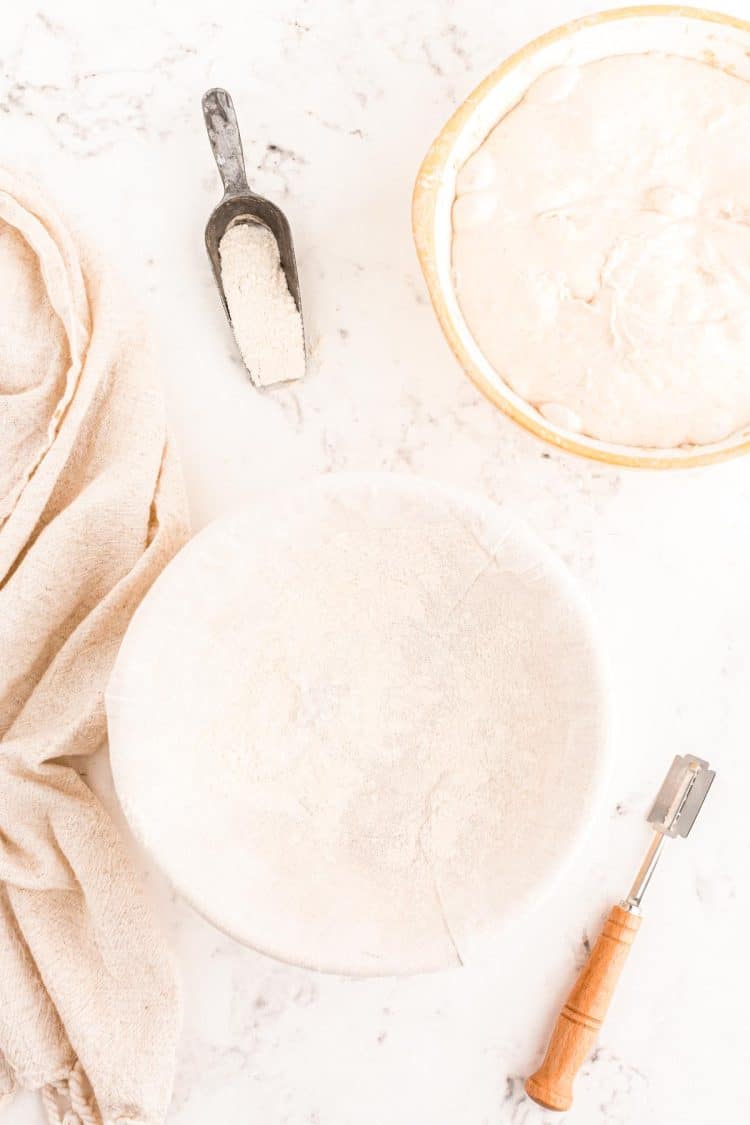
11. To form a neat upside-down loaf tuck the excess dough onto itself. Then sprinkle rice flour on top of the dough, wrap the entire basket with plastic wrap, and place it in the refrigerator overnight.
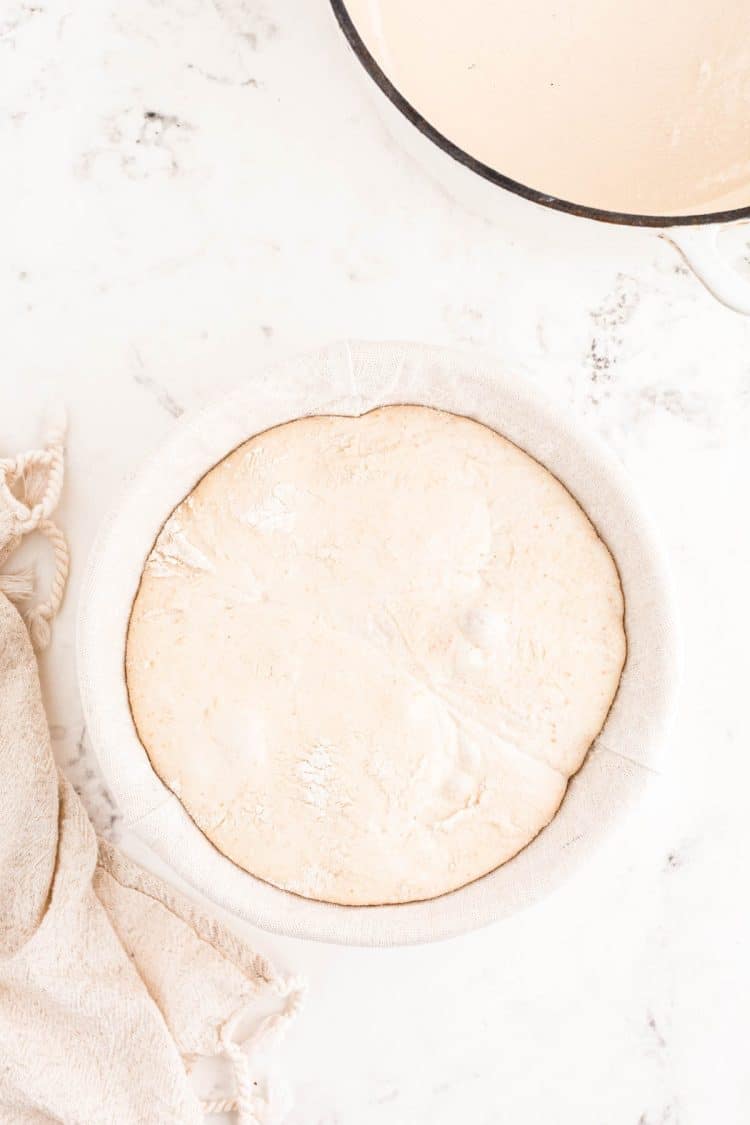
12. When you’re ready to bake the bread place the Dutch oven into the oven and preheat to 500 degrees F. Wait for the oven and Dutch oven to heat up at this temperature.
Once the Dutch oven is heated, remove it from the oven, and carefully flip the banneton basket upside down to dump the dough into the center of the heated dutch oven.
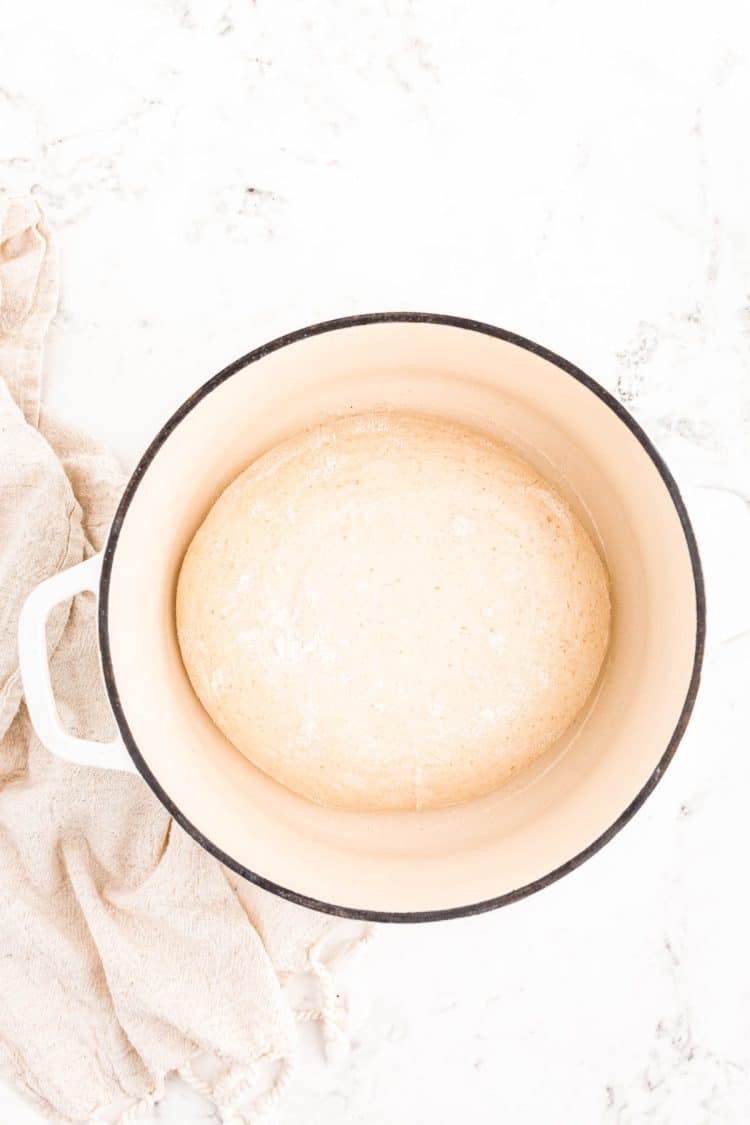
13. Score the loaf with the lame.
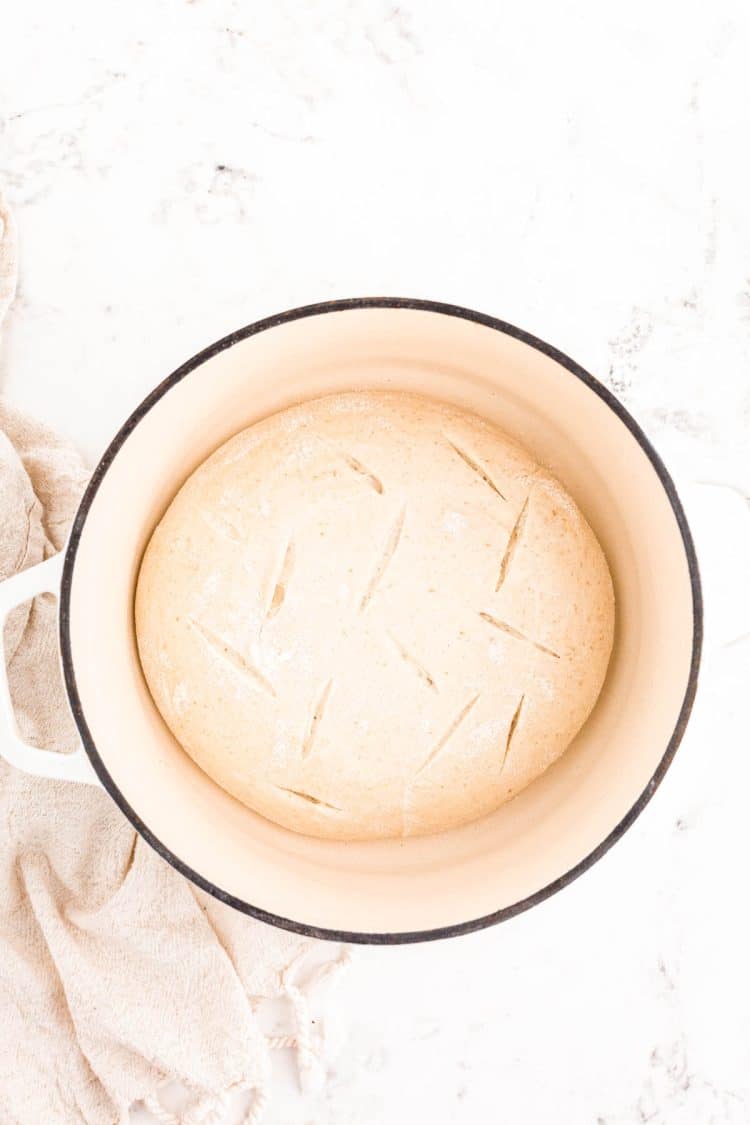
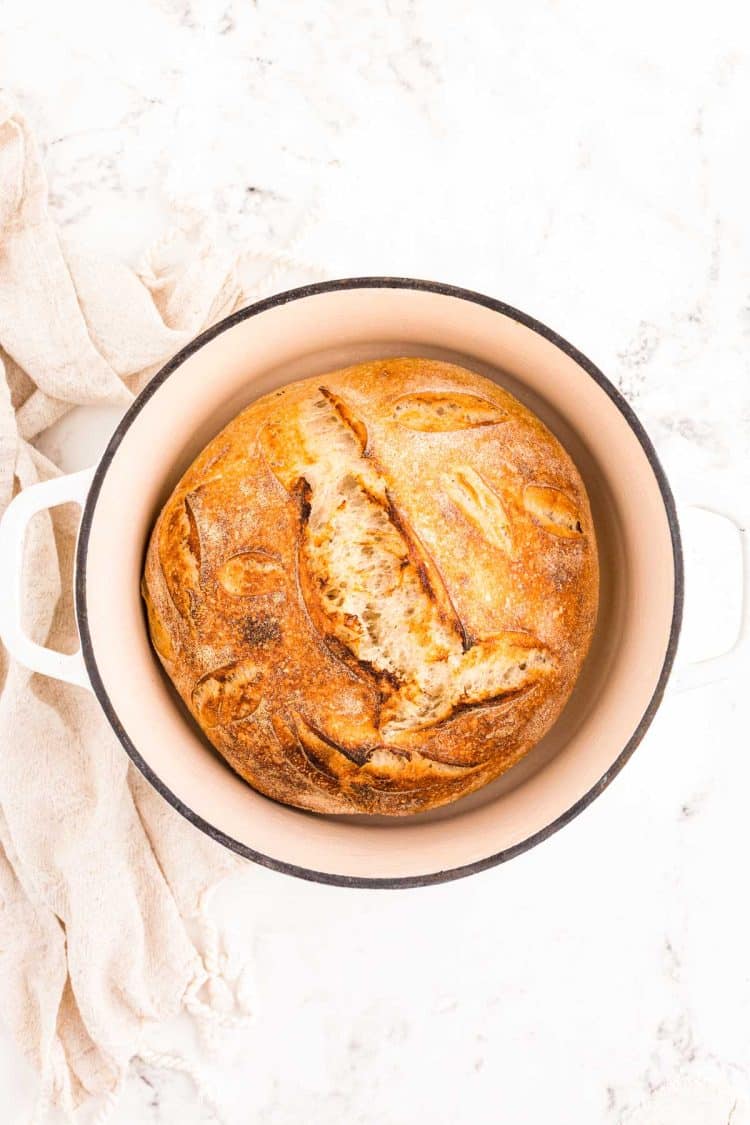
14. Cover the Dutch oven and bake the Sourdough Bread at 500 degrees F. Then reduce the oven temperature to 450 degrees F, remove the lid of the Dutch oven, and continue baking until the crust is a deep golden brown. (5)
Then transfer the loaf to a cooling rack to cool completely.
Frequently Asked Questions
How To Store
Store the bread in an airtight container after it’s been cooled and cut into. Enjoy the bread within 4 to 5 days!
You can also freeze whole loaves of Sourdough Bread for 3 to 6 months! To do so wrap it tightly in aluminum foil, plastic wrap, or a small paper bag, and then place that into a Ziploc bag.
Can I Use All-Purpose Flour Instead Of Bread Flour?
I prefer using bread flour but if all-purpose is all you have on hand then you can certainly use that. You could also use whole wheat or whole rye.
You could do 100% bread flour or 50% bread flour and 50% another flour, or really even any combination of flour.
Do I Have To Allow The Water And Flour Mixture Time To Autolyse?
I don’t recommend skipping this step! Allowing the mixture to autolyse helps get the gluten developing and makes the dough more pliable from the start.
Why Do I Need To Strengthen The Dough?
Completing all the sets of “stretch and folds” encourages the gluten to develop, strengthens the dough, and adds air. This helps to create bread that has a greater volume and a more open crumb structure.
How Long Can I Leave The Dough In The Refrigerator For Proofing?
You can leave the dough in the refrigerator for 12 hours all the way up to 18 hours. This allows for a pretty large window of flexibility when it comes to timing your baking!
When Can I Cut Into My Loaf Of Sourdough Bread?
I suggest waiting 1 to 2 hours before cutting into the loaf. Cutting into the loaf before it cools makes for a gummy loaf of bread.
How Can I Be Sure The Sourdough Bread Has Baked Completely Through?
You can check the internal temperature of the loaf by using a kitchen thermometer. The loaf should be done when the internal temperature reads about 208 degrees F.
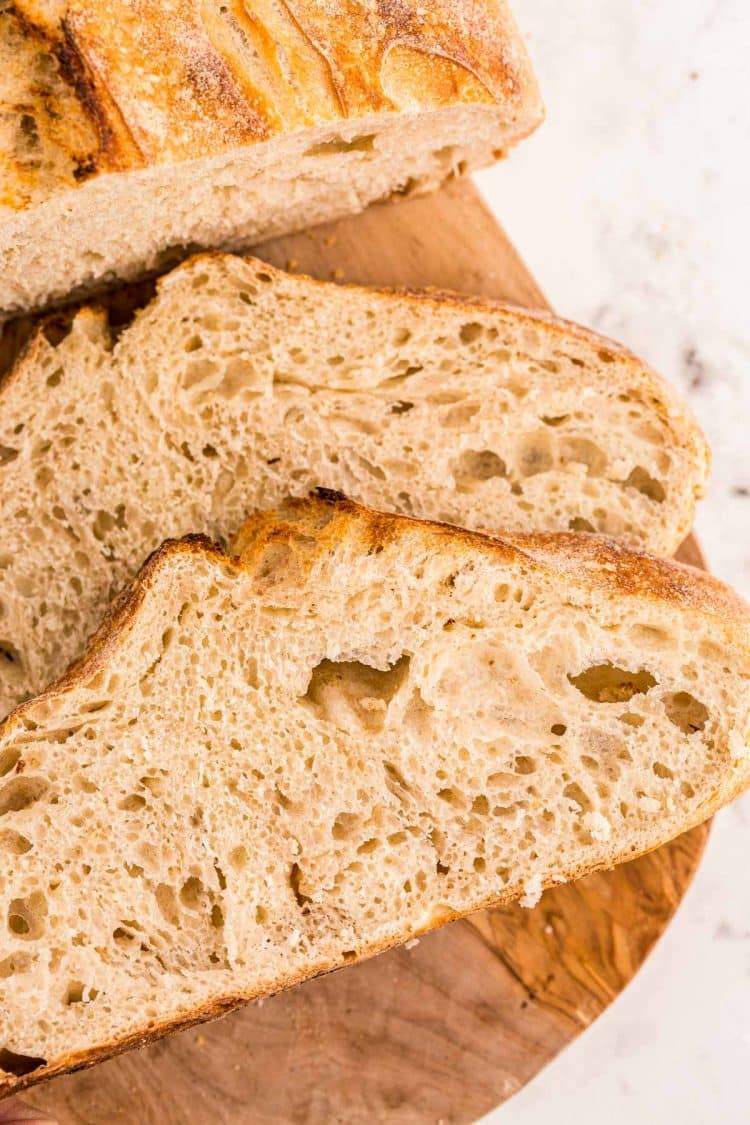
I love slicing up my fresh loaf of Sourdough Bread to serve alongside our favorite meals! Here are more delicious bread recipes that my family also enjoys eating that you may like as well!
- Homemade Bread – An easy step-by-step recipe that delivers fluffy, tender bread that’s great to use for sandwiches and French toast!
- How To Make Challah Bread – Braided bread that’s lightly sweet, only 40 minutes of prep time is needed for this homemade bread!
- Classic Southern Buttermilk Cornbread – Skip a box of the store-bought version to make this homemade recipe from scratch for the best tender and buttery cornbread!
- Classic Parker House Dinner Rolls – Perfectly fluffy yeast rolls that come out buttery and rich, great to enjoy with all of your family meals!
- Ice Cream Bread – A fun bread recipe that doesn’t require any yeast or kneading and is made with just two ingredients!
- Quick Dutch Oven Bread – A simple recipe for hearty artisan bread!
Let’s Connect!
If you’ve tried this recipe, please let me know how you liked it in the comments below and leave a review. I love hearing from you!
Don’t forget to tag me – @sugarandsoulco – on Instagram and Pinterest with your photos or join our Sugar & Soul Show-offs Community and share them there, where you can join our recipe challenges!

Sourdough Bread
Equipment
- Dutch oven (or bread cloche)
- Lame (for scoring the bread)
- Banneton with liner (for proofing the bread) or colander with linen
- Rice flour (for dusting the bowls/liner)
- Plastic Wrap
Ingredients
- 400 grams bread flour
- 200 grams whole wheat flour
- 460 grams filtered water
- 90 grams ripe sourdough starter 8-12 hours after last feeding
- 12 grams salt
Instructions
- In a large mixing bowl, combine the flours and water and stir to combine as best as possible (the mixture will be “shaggy”). Cover with plastic wrap and set in a warm location for 45 minutes.400 grams bread flour, 200 grams whole wheat flour, 460 grams filtered water
- After 45 minutes (this gives the mixture time to autolyse), add the starter and salt to the flour/water mixture and stir well.90 grams ripe sourdough starter, 12 grams salt
- Cover with plastic wrap and set aside for 4 to 6 hours (see next step for steps to strengthen dough during the 6 hours).
- We will perform a set of folds to strengthen the dough during the first two hours of this “bulk fermentation” time.
- Every 30 minutes, uncover the bowl of dough. Dip your hands into warm water (this keeps the dough from sticking to your hands). Slide your hands down around the top of the dough. Lift this side of the dough up and fold it down over the side opposite. Turn the bowl 90 degrees and repeat lifting and folding until you have lifted and folded each of the four sides of the dough. Replace the plastic wrap and leave the dough to set for another 30 minutes.
- Repeat twice more.
- After you’ve completed three sets of lifting and folding the dough, do a final set of dough-strengthening folds. Slide your dampened hands around the dough sides (right and left). Lift the dough straight up from the bowl. The ends will dangle down and stretch. Do not let the dough break. Set the dough straight back down on itself. Rotate the bowl 90 degrees and repeat, completing four lift and stretch sets.
- Now let the dough sit for about four more hours undisturbed to complete bulk fermentation.
- At this time, the dough should be smooth and rounded, holding its shape with somewhat of a dome toward the edges of the bowl. Large bubbles may appear under the surface of the bread.
- Now it’s time to shape the bread into a loaf. We will shape one round loaf but you can divide the dough at this point and make two smaller loaves or shape them into ovals, baguettes, or whatever you desire.
- Place the liner in the banneton and sprinkle with rice flour (the rice flour doesn’t have gluten so it won’t stick to the bread dough).
- Lift the dough from the bowl and place it into the basket, flipping it upside down so that the smooth “top” of the dough is now face down in the basket. Tuck the excess dough onto itself to form a neat upside-down loaf.
- Sprinkle rice flour on top of the dough to prevent it from sticking to the plastic wrap and also to dust the baking dish when it flips over into the pan at baking time.
- Wrap the entire basket with plastic wrap so that it is sealed up. Place in the refrigerator overnight or for at least 12 hours.
- When it’s time to bake, place the Dutch oven into the oven and preheat to 500°F. Allow the oven and Dutch oven to heat at this temperature for at least 30 minutes, but preferably 1 hour.
- Remove the dough from the refrigerator and discard the plastic wrap.
- Carefully remove the hot Dutch oven from the oven. Then quickly flip the banneton basket upside down to dump the dough into the center of the Dutch oven.
- Score the loaf with the lame. This gives the bread an area for steam to escape and the loaf to puff during baking.
- Quickly place the lid on the Dutch oven and return it to the oven. Bake for 20 minutes at 500°F.
- Reduce the oven temperature to 450°F and carefully remove the lid – turning the lid away from you so that the steam doesn’t rise out toward you.
- Continue baking for about 10 minutes longer or until the crust is deep golden brown.
- Remove from the oven and transfer the loaf to a cooling rack to cool completely.
Notes
- Store cooled bread in an airtight container once it has been cut into. Bread is most delicious the first day after baking.
- Rice Flour is also recommended since it’s the best choice for dusting bannetons for sourdough because it’s gluten-free and doesn’t absorb moisture in the same way that all-purpose or bread flour does. It is not actually used in the dough itself.
- Bread flour is preferred to all-purpose flour here, but you can use all-purpose if that’s all you have. Whole wheat or whole rye is fine. You can do 100% bread flour or really any combination.
- This is a 77% hydration recipe – to find the hydration, you’re dividing the amount of water by the amount of flour. Stick between 70% and 80% hydration – the lower the hydration, the easier the bread is to work with, but the higher hydration, the yummier. 🤣 (Higher hydration has a more open crumb and a thinner/crispier crust). We’re also using 15% starter and 2% salt.
- The step to autolyze the dough seems to help get the gluten developing and make the dough more pliable from the start. This method worked best for me.
- There are two basic techniques of the “stretch and folds” – the easy over method is done when the dough is just starting to develop and the lift and set down method is done later in the process when the dough is much more pliable and stretchy. The stretches and folds help the gluten develop, strengthen the dough, and add air.
- Overnight proofing in the fridge helps the dough develop more flavor and slows down the fermentation process. It’s pretty flexible. You can leave the dough in the fridge for 12 to 18 hours at least if you need flexibility in baking time.
- The lame and the proofing baskets make a world of difference. Go ahead and invest in these; they’re worth the results.
Nutrition
Did You Make This Recipe?
Don’t forget to share it with me on Instagram @sugarandsoulco and follow on Tiktok @sugarandsoulco and Pinterest @sugarandsoulco for more!


Share your thoughts!
Love this recipe? Share your thoughts with me below and leave a review! And don’t forget to connect on your favorite social platform below!