This Sourdough Pizza Dough recipe walks you through step-by-step to turn sourdough discard into a thick and chewy pizza dough!
Enjoy family pizza night with more mouthwatering homemade pizza such as my Taco Pizza that’s made on flatbread pizza sheets or this Classic Margherita Pizza that’s ready in just 35 minutes!

This Sourdough Pizza Dough recipe takes your pizza crust from average to out-of-this-world good! I’m not sure what you’ll love more, the fact that this recipe has just 5 ingredients, requires only roughly 30 minutes of hands-on time, or that delicious sourdough flavor!
If you’re looking to get a slice of pizza into your stomach quicker than a sourdough recipe you may want to check out my Air Fryer Pizza or these Easy 5-Ingredient Mini Pizzas! Both are ready to devour in under 30 minutes!
As for me, I’m going to stick out the time it takes to get to that delicious homemade sourdough crust that I plan to pile with all of my favorite pizza toppings! So if you’re like me then grab that sourdough discard and let’s get to work on perfecting our new favorite pizza crust!

Sourdough Pizza Crust Recipe Ingredients
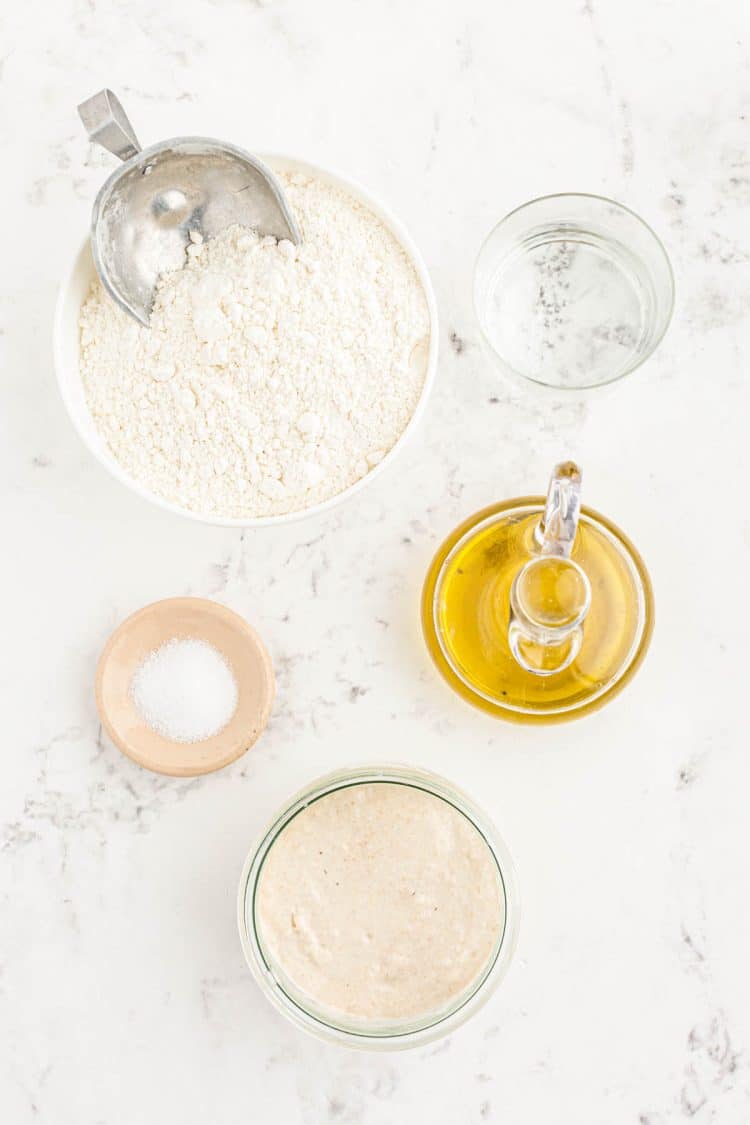
This Sourdough Discard Pizza Dough Recipe calls for water, bread flour, olive oil, sea salt, and a ripe Sourdough Starter that hasn’t been fed in 8 to 12 hours.
Once you scroll down to the recipe card you’ll notice that this recipe is measured out in grams. I prefer doing it this way to make sure I have the exact amount of ingredients needed to create the perfect crust.
I find that measuring with cups leaves a lot of variables on the table that could affect the final result of a sourdough recipe. And the last thing anyone wants after spending time and patience on a sourdough recipe is for it to be a flop!
That said, you’ll need a kitchen scale to follow the recipe. It’s an inexpensive kitchen tool that can be found almost anywhere and can certainly be re-used for many different recipes.
You’ll also need either a cast iron pizza pan or pizza stone to bake your delicious pizza on!
How To Make Sourdough Pizza Dough
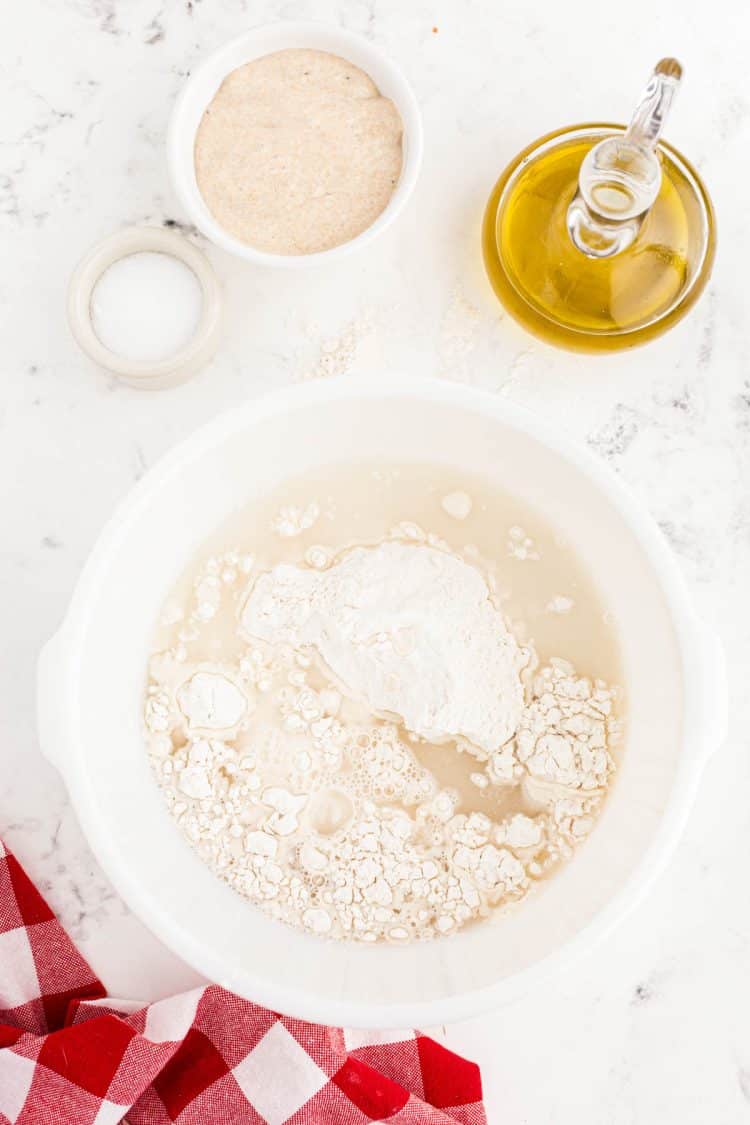
- Combine the water and bread flour in a large mixing bowl.
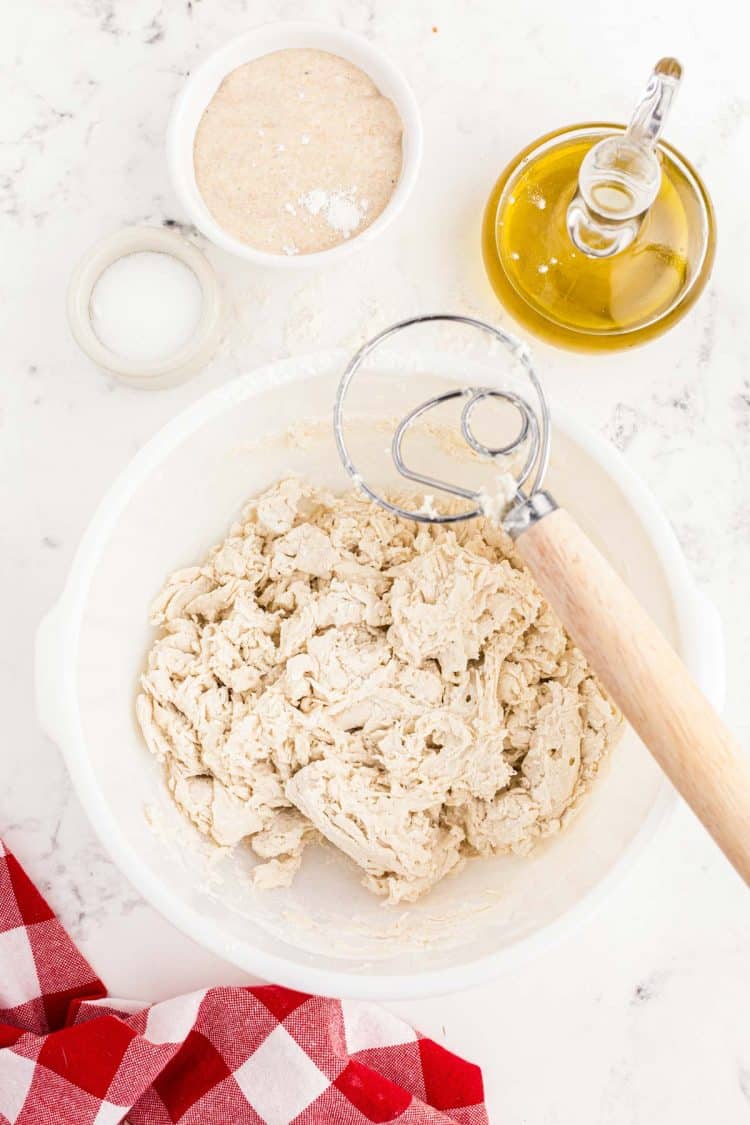
2. Mix until the dough becomes very “shaggy” in texture.
3. Add in the sourdough starter, olive oil, and salt.
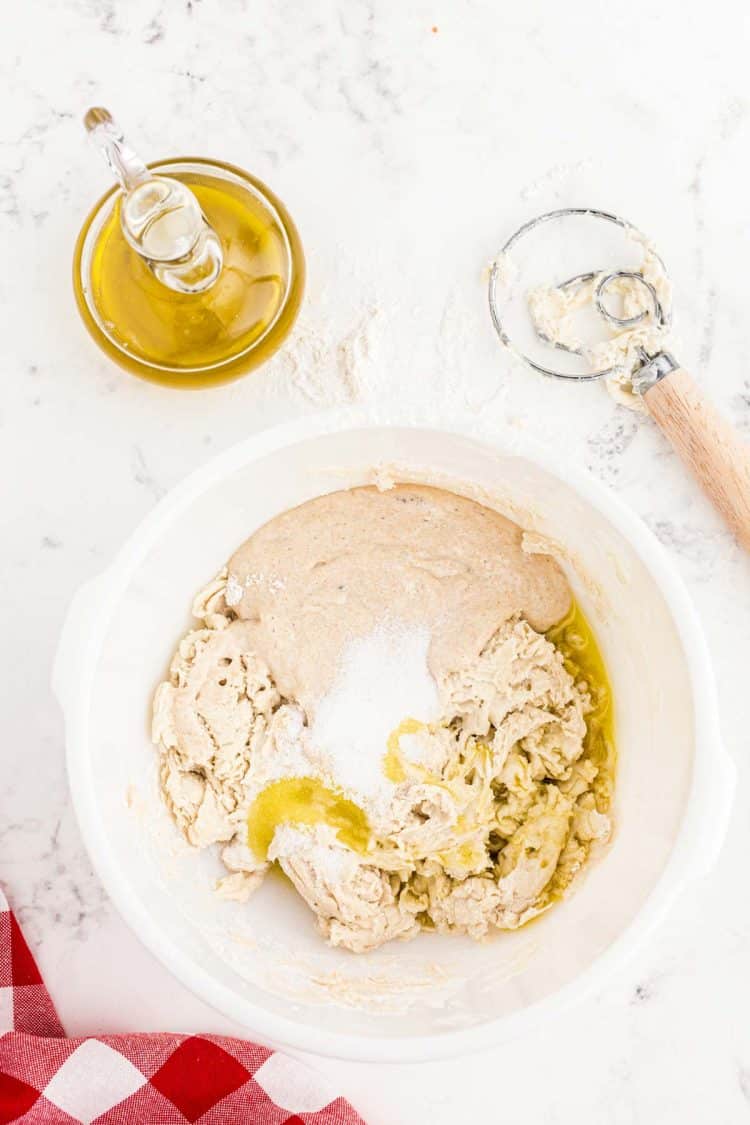
4. Mix together into a dough ball, at this point you may even need to use your hands as it will be fairly sticky. Once it’s mostly combined cover the bowl with plastic wrap and allow it to sit.
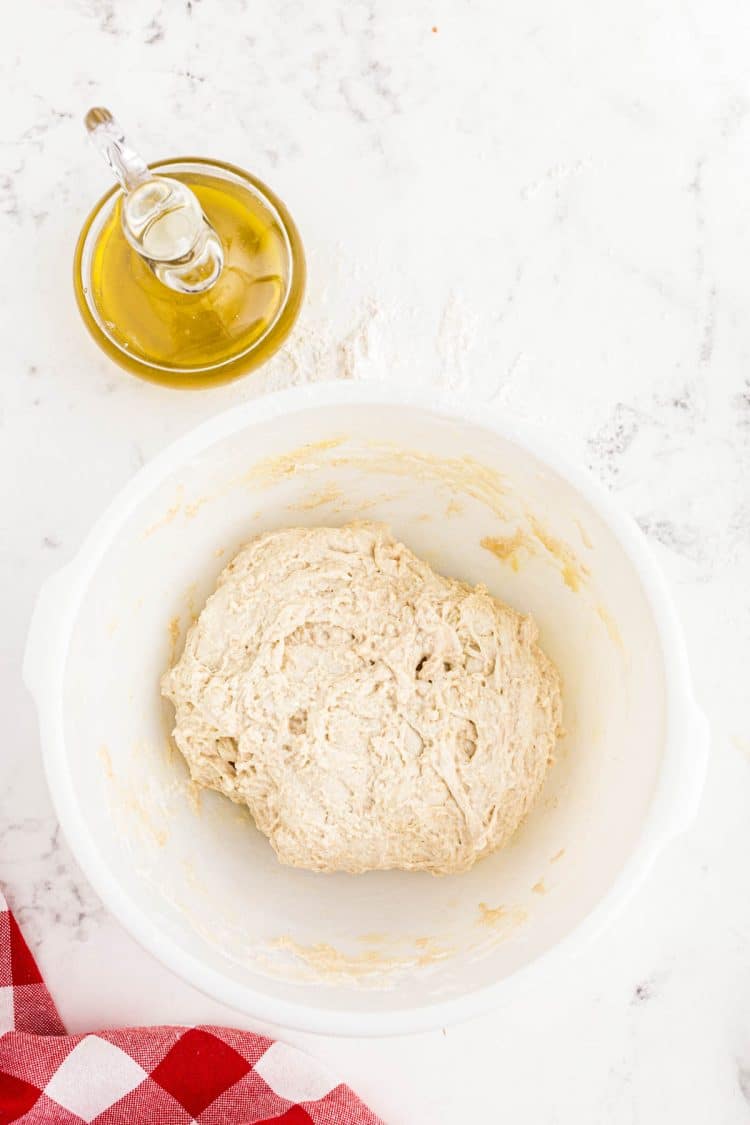
5. Stretch and fold the dough after about 30 minutes of setting. To do so, lift the edge of the dough that’s furthest away from you.
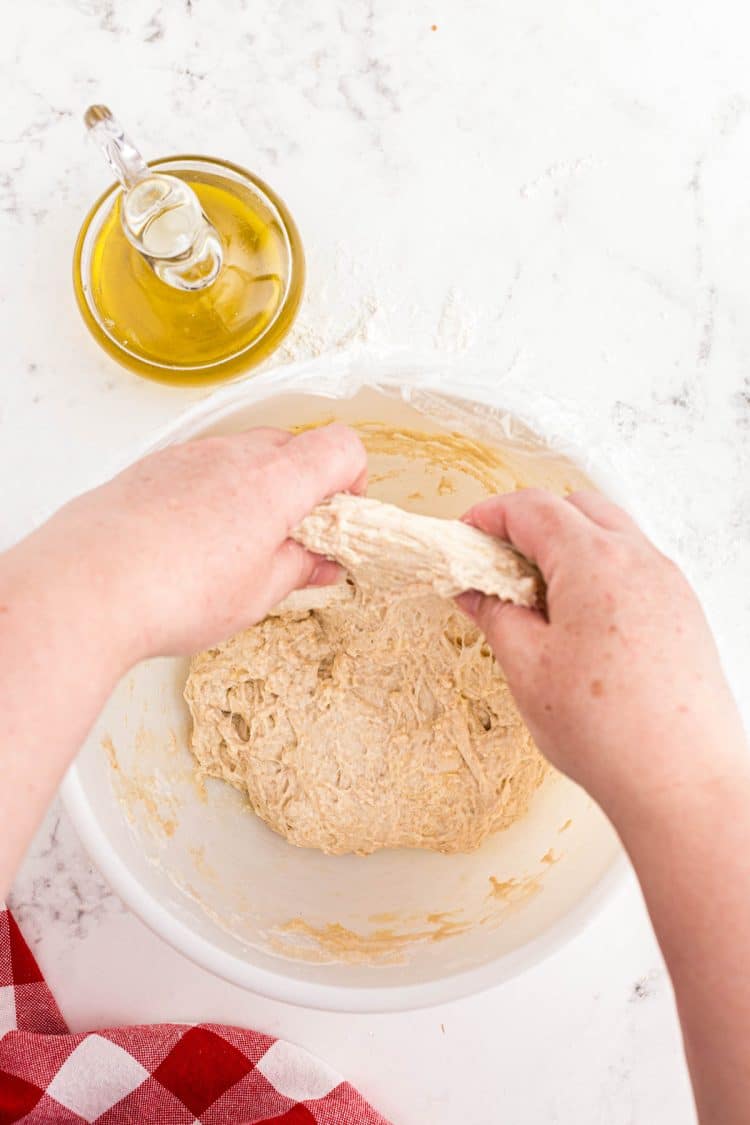
6. Fold it up and over to the side closest to you.
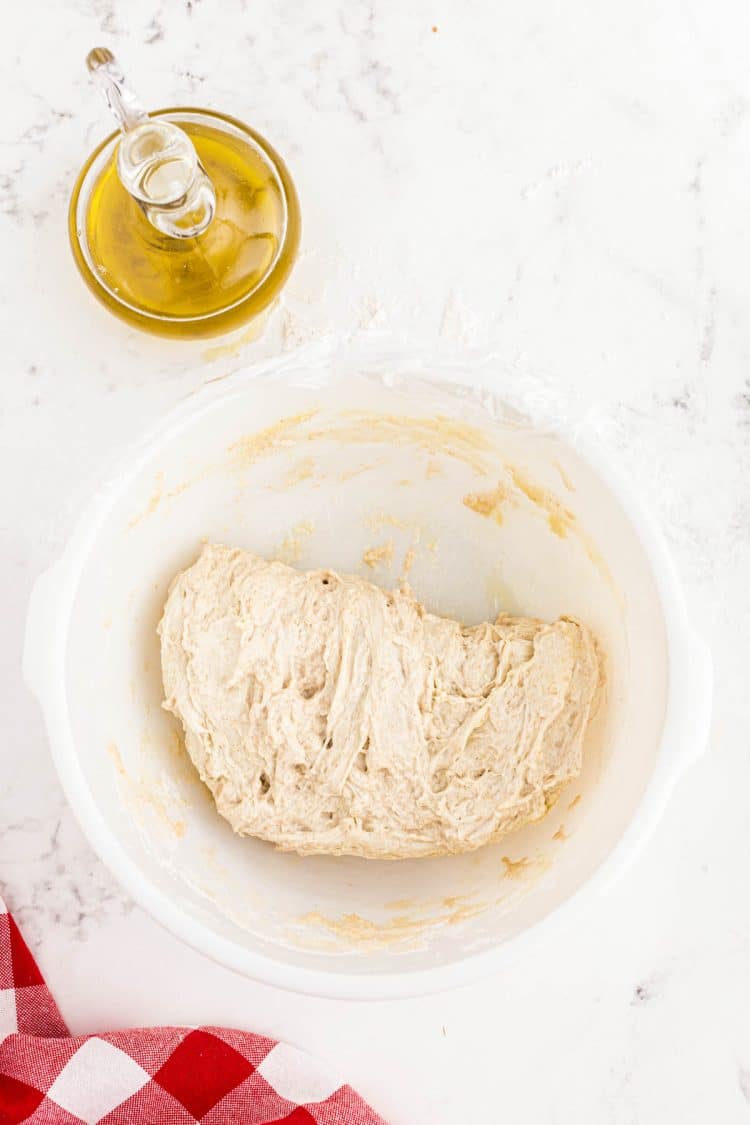
7. Turn the bowl counterclockwise at 90 degrees and perform another set of stretching and folding. Do this until you have stretched and folded the dough from every side.
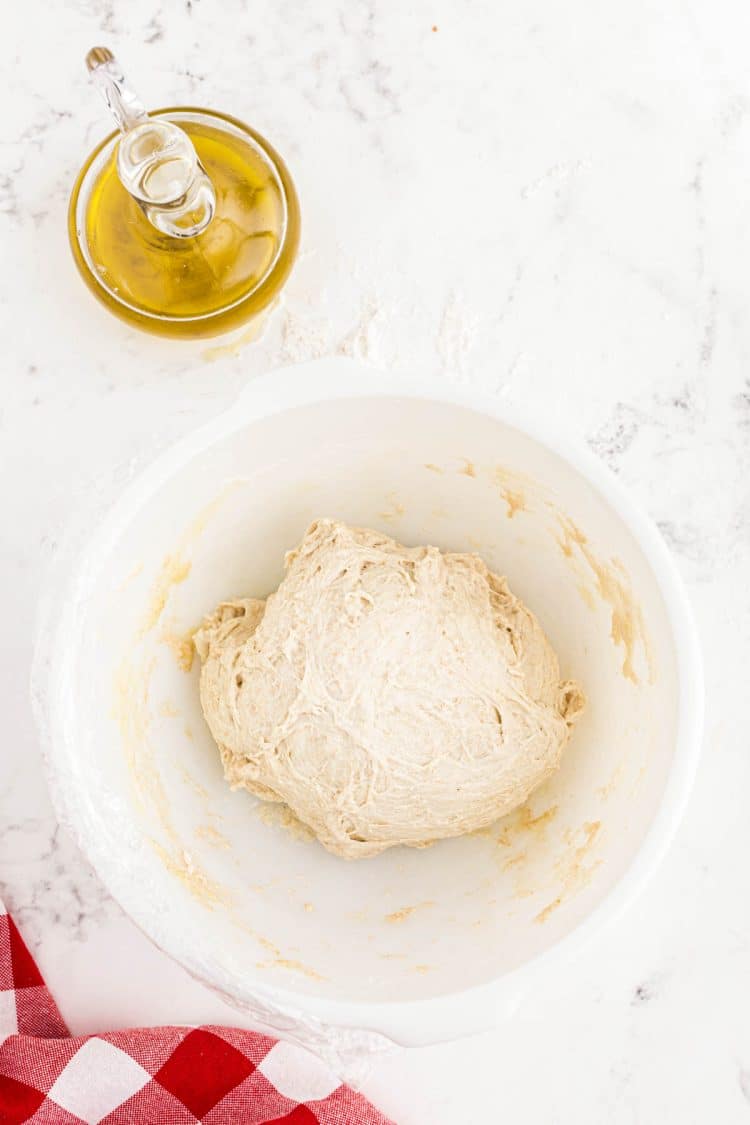
8. Allow the dough to sit covered again, after 30 minutes repeat another set of stretches and folds. Repeat this process a total of four times. Then leave the dough to rest until it expands and rises by about 50%.
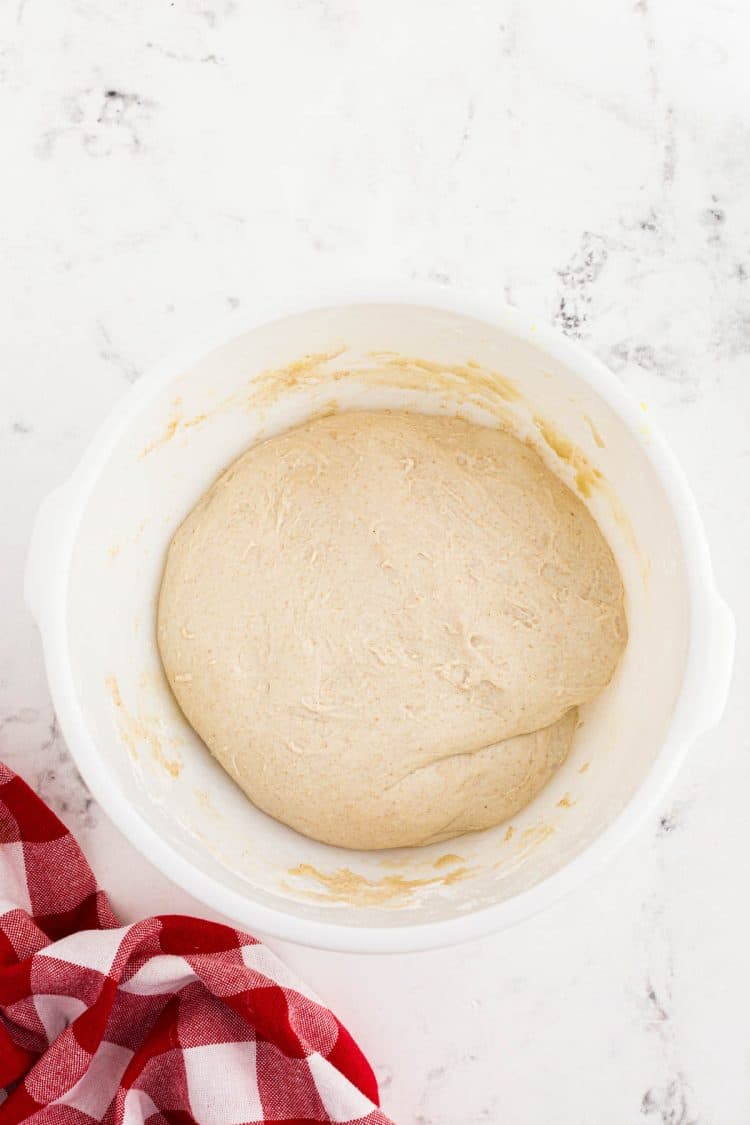
9. Divide the dough into two or three equal pieces after this initial “bulk fermentation”. Then transfer each section of dough to its own plastic bag. Then store them in the refrigerator overnight or until ready to use.
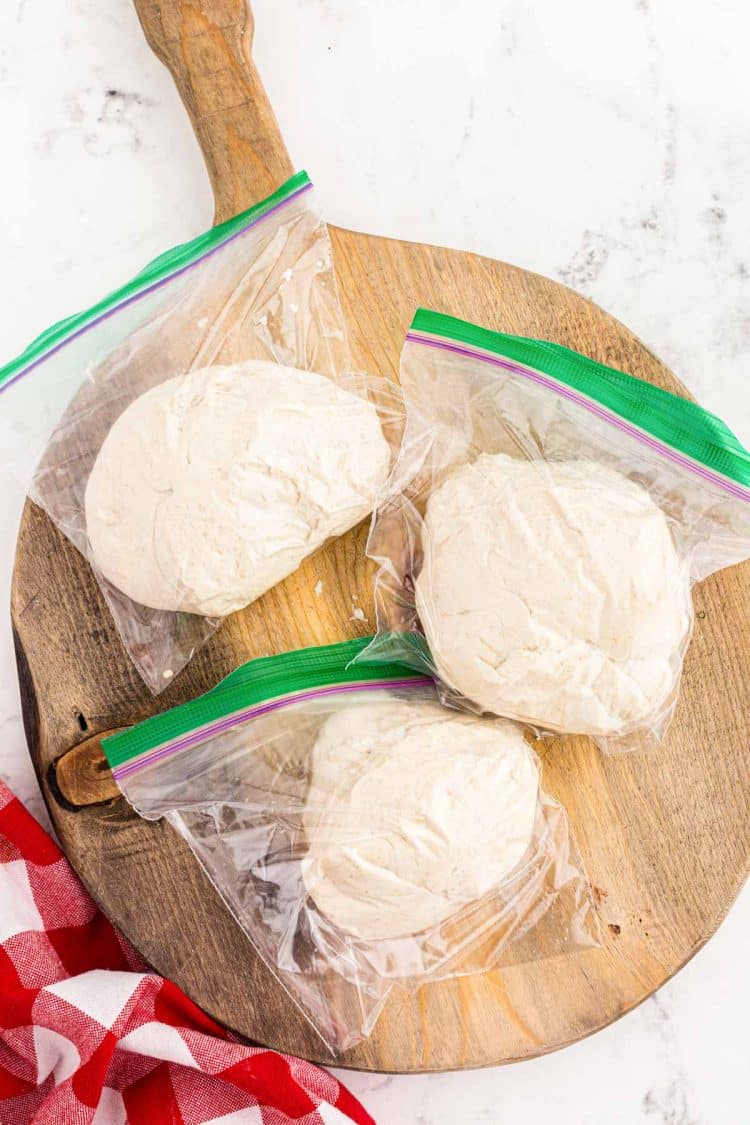
11. Remove a ball of dough from the fridge a few hours before you’d like your pizza to be ready. Place it on the counter, still inside the plastic bag, and leave it until it comes to room temperature.
Then drizzle a bit of olive oil onto a sheet of parchment paper and your fingers. Transfer the dough from the plastic bag onto the prepared sheet of parchment paper.
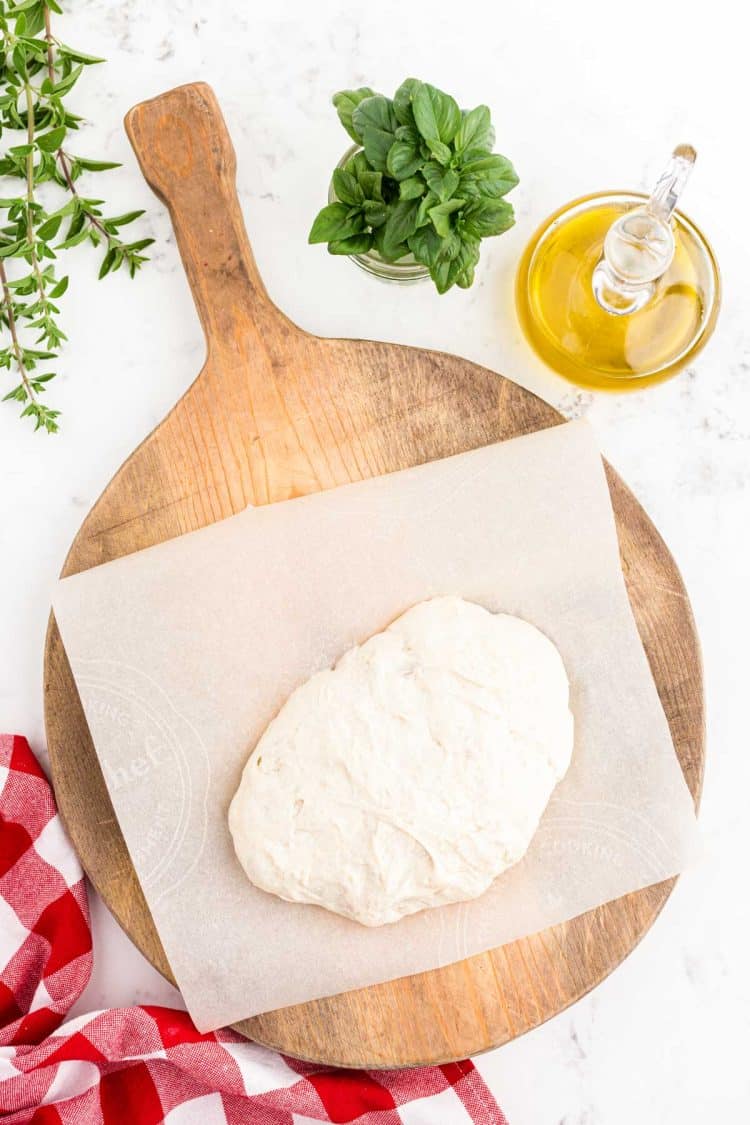
12. Shape the dough into a pizza crust, making it as thin or as thick as you’d like. Then brush the edges with olive oil and cover it with plastic wrap.
Then set the pizza crust in a warm place to rise. The crust is ready to bake when it’s puffy and slightly bounces back yet leaves a small indent when pressed with your fingertip. (14)
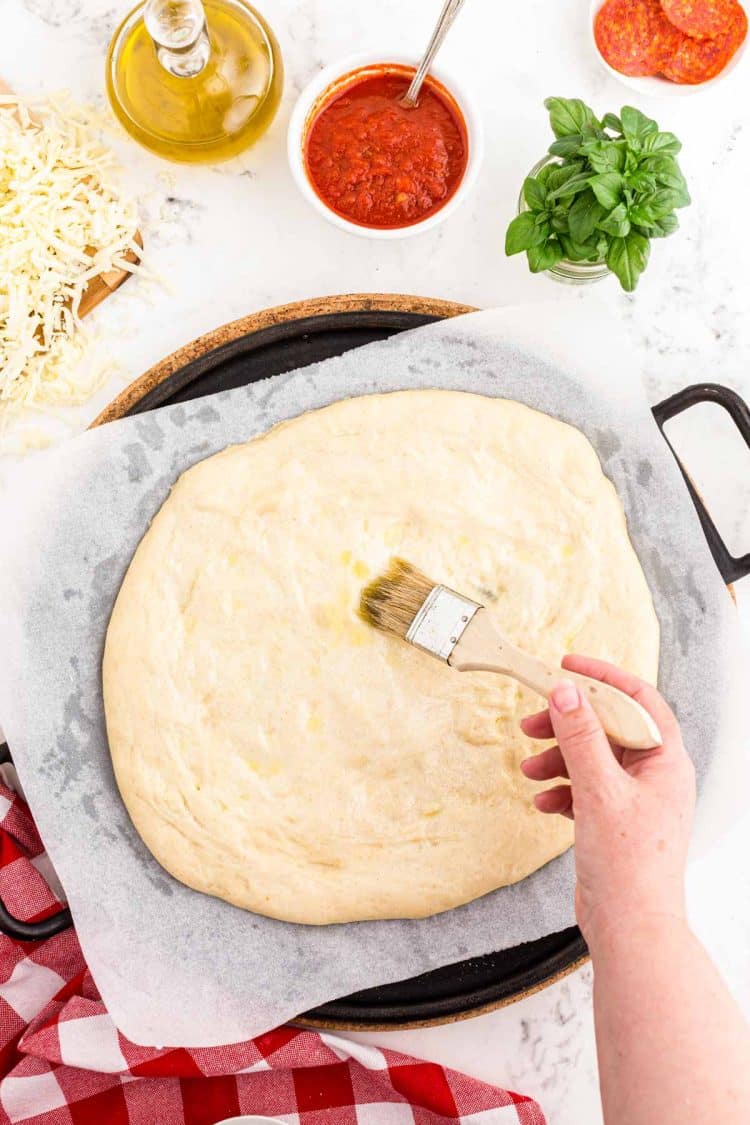
13. Transfer the pizza crust onto a hot cast iron pizza pan or pizza stone that was heated in the oven at 500 degrees F. Then bake the sourdough pizza crust in the oven for an initial 5 minutes.
14. Then add the sauce and toppings to the partially baked pizza crust. Then return it to the oven to finish baking until the crust has browned and the cheese is melted and bubbly.

Frequently Asked Questions
How To Store
You can keep this pizza dough in the refrigerator for up to 3 or 4 days. You can also place it in the freezer to be used within 1 month.
How Come This Recipe Takes So Long?
The dough takes time to ferment and rise, just as any sourdough bread recipe would take. Even though the crust takes some time to prepare it’s mostly a hands-off recipe.
This recipe requires only a few minutes here and there to work the dough. The majority of the time just requires some patience for fermenting and rising. The tasty end result is totally worth it, I promise!
Can I Use All-Purpose Flour In This Recipe?
You can if you’re in a pinch. But using bread flour really makes a big difference since it yields a puffier, chewier crust!
How Do I Make Sure I Get A Thicker Crust?
If you half the recipe you will get a 10″ pizza that has the thicker crust you’re looking for!
Do I Have To Store The Dough In The Fridge Overnight Before Using It?
Not at all! I just find that refrigerating the dough overnight before using it helps the dough develop more flavor. I also find it a bit easier to time the baking of the pizza when I’m ready!

We’re huge pizza lovers in our family and we find that this Sourdough Pizza Crust is such a tasty base for all of our favorite toppings! Grab another delicious pizza recipe that your family may enjoy as much as mine does!
- Pizza Sliders – Soft diner rolls that are coated with butter, herbs, and Parmesan get stuffed with your favorite pizza toppings for a quick and easy meal that’s ready in 25 minutes!
- One Pan Pizza Pasta – An inexpensive one-pot meal made with large elbow macaroni, pizza sauce, marinara sauce, mozzarella, pepperoni, and spices, ready to eat in under 30 minutes!
- Easy Stuffed Pizza Rolls – Mozzarella cheese sticks and pepperoni get wrapped up in flaky crescent rolls to make these handheld pizza rolls that get dipped in your favorite pizza sauce!
- Best Pepperoni Pizza Dip – This delicious appetizer gets paired with tortilla chips, crackers, bread, or vegetables for a crowd-pleasing snack!
- 5-Ingredient Mini Pizzas – Canned biscuits are covered in pizza sauce, cheese, pepperoni, and spices then baked in muffin tins to deliver individual pizzas in less than 20 minutes!

Let’s Connect!
If you’ve tried this recipe, please let me know how you liked it in the comments below and leave a review. I love hearing from you!
Don’t forget to tag me – @sugarandsoulco – on Instagram and Pinterest with your photos or join our Sugar & Soul Show-offs Community and share them there, where you can join our recipe challenges!


Sourdough Pizza Crust
Equipment
- Cast iron pizza pan or pizza stone
Ingredients
Instructions
- In a large mixing bowl, combine the water and bread flour. Mix until combined, the dough will be very “shaggy.”225 g water, 400 g bread flour
- Mix in the sourdough starter, olive oil, and salt. You may need to use your hands to work the dough together.125 g ripe sourdough starter, 25 g olive oil, 15 g sea salt
- When it is mostly combined, cover it with a piece of plastic wrap and allow it to sit for 4 to 6 hours, completing 4 sets of stretches and folds (see next step) every 30 minutes for the first 2 hours.
- After the first 30 minutes, do a set of stretches and folds, lifting the edge of the dough on the side furthest from you and folding it up and over to the side closest to you. Turn the bowl 90 degrees counter clockwise, perform another stretch and fold, etc. until you have stretched and folded the dough from every side.
- Allow the dough to sit, covered, for another 30 minutes and repeat the set of stretch and folds. Do this two more times (a total of four times) and then leave the dough to rest for another 2-4 hours, allowing it to expand and rise by about 50%.
- After this initial “bulk fermentation”, divide the dough into two or three sections, place in plastic bags, and store in the refrigerator overnight or until ready to use.
- Several hours before you’d like your pizza ready, remove a ball of dough from the refrigerator. Set it out on the counter (still inside the plastic bag) until it reaches room temperature.
- Set out a sheet of parchment paper; drizzle a bit of olive oil onto both the paper and your fingers.
- Remove the dough from the plastic bag and use your fingers to press it out into a pizza crust shape. You can make the crust very thin or with a bit of thickness.
- The pictures here show a “thick” crust made with half the dough recipe.
- Brush the dough with olive oil and cover with a damp towel or with plastic wrap.
- Set in a warm place to rise for 2 to 3 hours or until puffy. The dough is ready when it bounces back just
- slightly, leaving a small indent in the dough when pressed with your fingertip.
- Toward the end of the rise time, heat a cast iron pizza pan or pizza stone in the oven at 500°F for at least 30 minutes. (please check the maximum temperature a pizza stone can withstand and adjust if needed).
- Place the pizza dough onto the hot pan (you can leave it on the parchment paper during cooking) and bake for an initial 5 minutes.
- Add desired sauce and/or toppings to the partially baked pizza crust and return to the oven for another 5 to 10 minutes until crust is browned and cheese is melted and bubbly.
Notes
- Storage: Store pizza dough in the refrigerator for 3-4 days or in the freezer up to 1 month.
- This is a sourdough recipe and takes a good amount of time for the dough to ferment and rise, just as a sourdough bread recipe would take.
- Bread flour really does make a difference in this recipe and will yield a puffier, chewier pizza crust.
- You can use all-purpose flour in a pinch.
- We liked a thicker crust with this recipe – so we could really appreciate the chew and structure of the sourdough crust. ½ recipe will yield a 10” pizza with a thicker crust.
- Heat the pan before adding the crust and also cook the crust for about 5 minutes before adding toppings to ensure a nice even cook to the pizza crust.
- Even though the pizza crust takes some time to prepare, it is mostly hands-off, taking just a few minutes of work between steps and simply requiring some patience for fermentation and rising.
- You don’t have to store the dough in the refrigerator overnight, but it helps the dough develop more flavor and also makes it a bit easier to time baking the pizza.
Nutrition
Did You Make This Recipe?
Don’t forget to share it with me on Instagram @sugarandsoulco and follow on Tiktok @sugarandsoulco and Pinterest @sugarandsoulco for more!


Share your thoughts!
Love this recipe? Share your thoughts with me below and leave a review! And don’t forget to connect on your favorite social platform below!