If you love the family favorite, classic Toll House Cookies you don’t want to miss this recipe! Especially since it makes Better Than Toll House Cookies by simply using malted milk powder, high-quality butter, and then chilling the cookie dough!
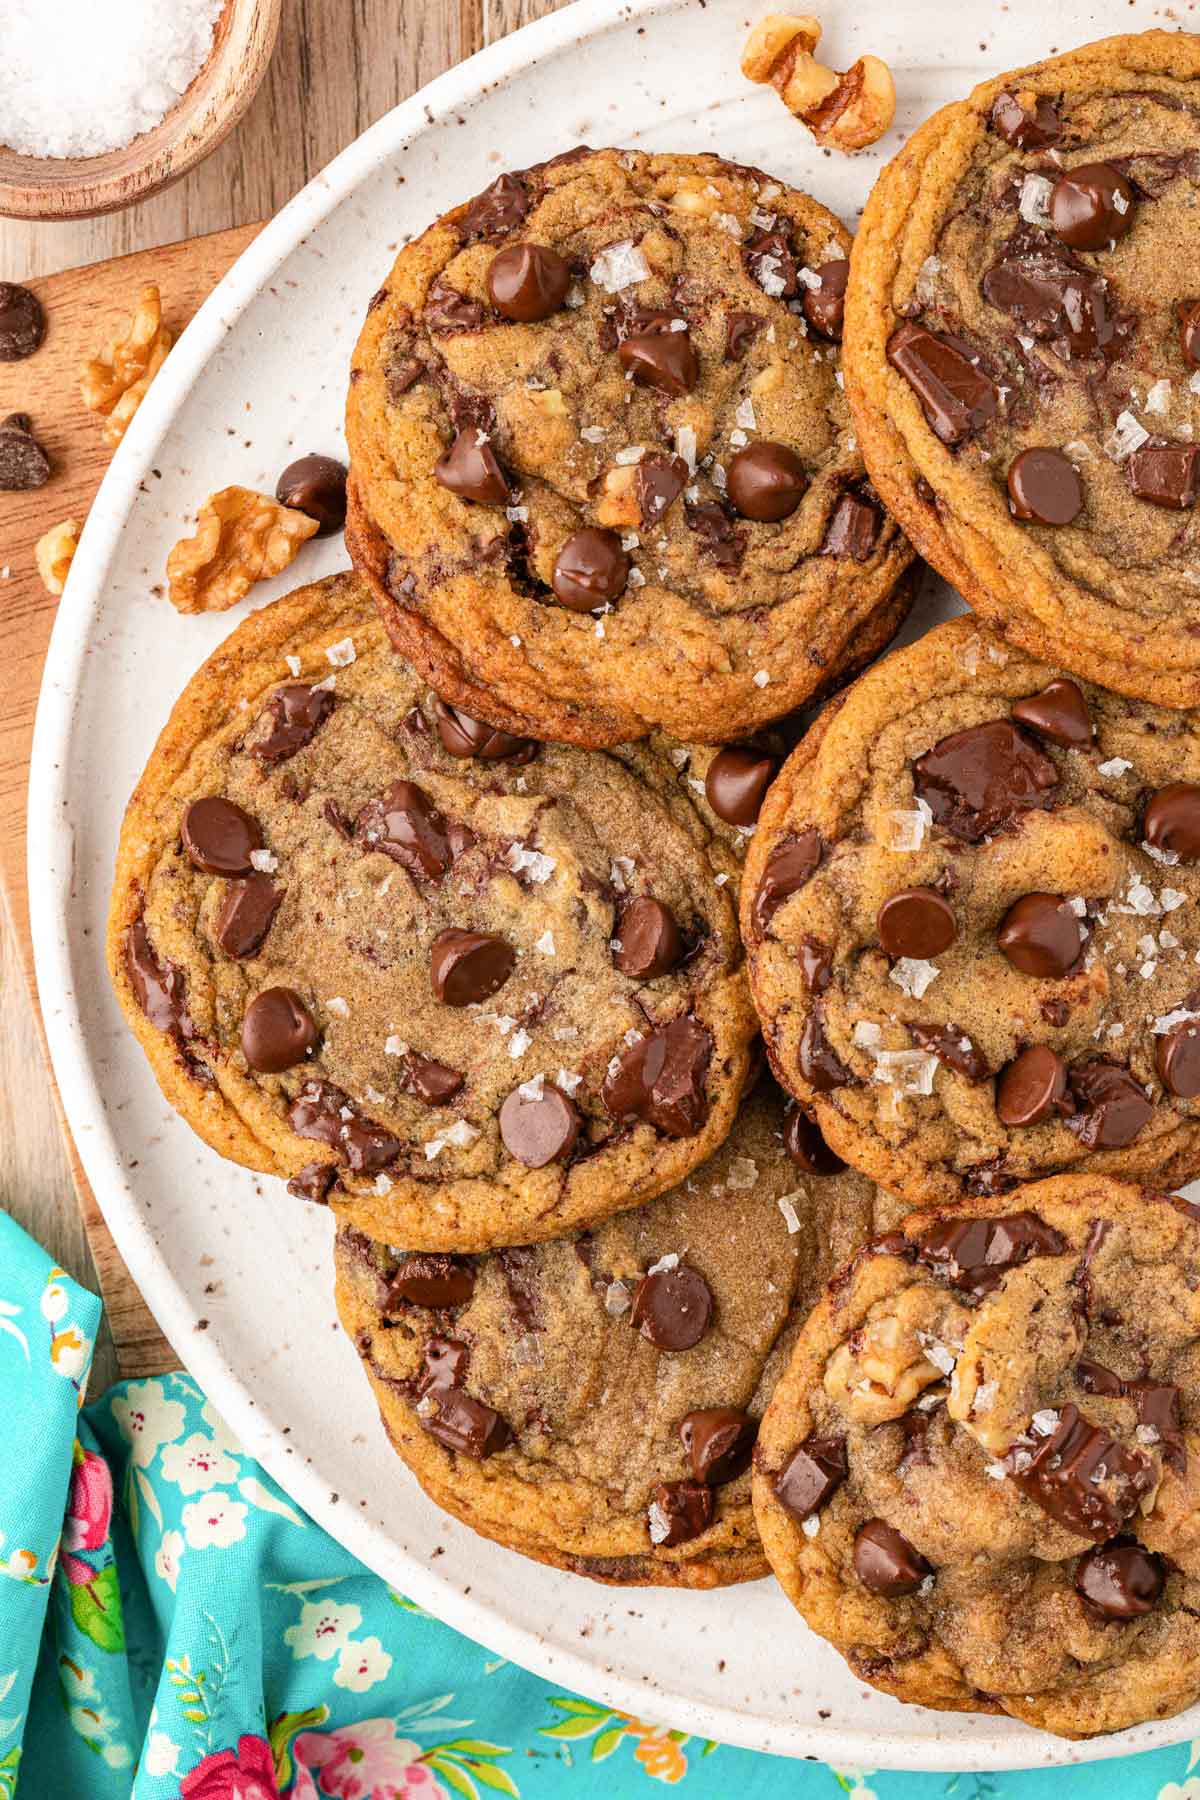
America’s Favorite Cookie, But Better!
Nothing beats a classic—except a recipe that’s BETTER than the classic! Think that’s a bold statement? Take just one bite of these cookies, and you’ll quickly say to yourself, “These are better than Toll House Cookies!”
Though this recipe is based on the original Toll House Cookie recipe, I made some tweaks that drastically improved these cookies to be the best! I added malted milk powder to the dough, an inexpensive ingredient that makes all the difference, enriched the cookies with COLD Kerrygold Butter, and then chilled the stacks of dough for at least 3 hours.
We also went back to the original Ruth Wakefield method of using chopped chocolate (chocolate chips weren’t invented until several years after Toll House purchased the recipe from her). This means ripples of chocolate in every bite!
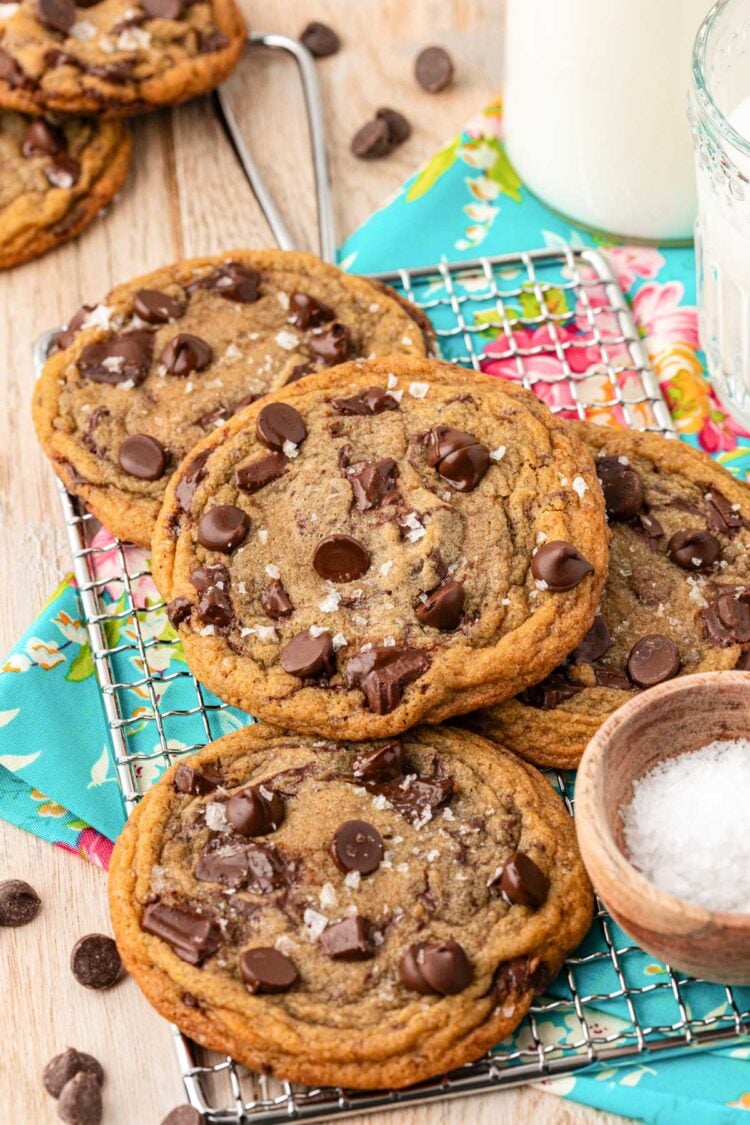
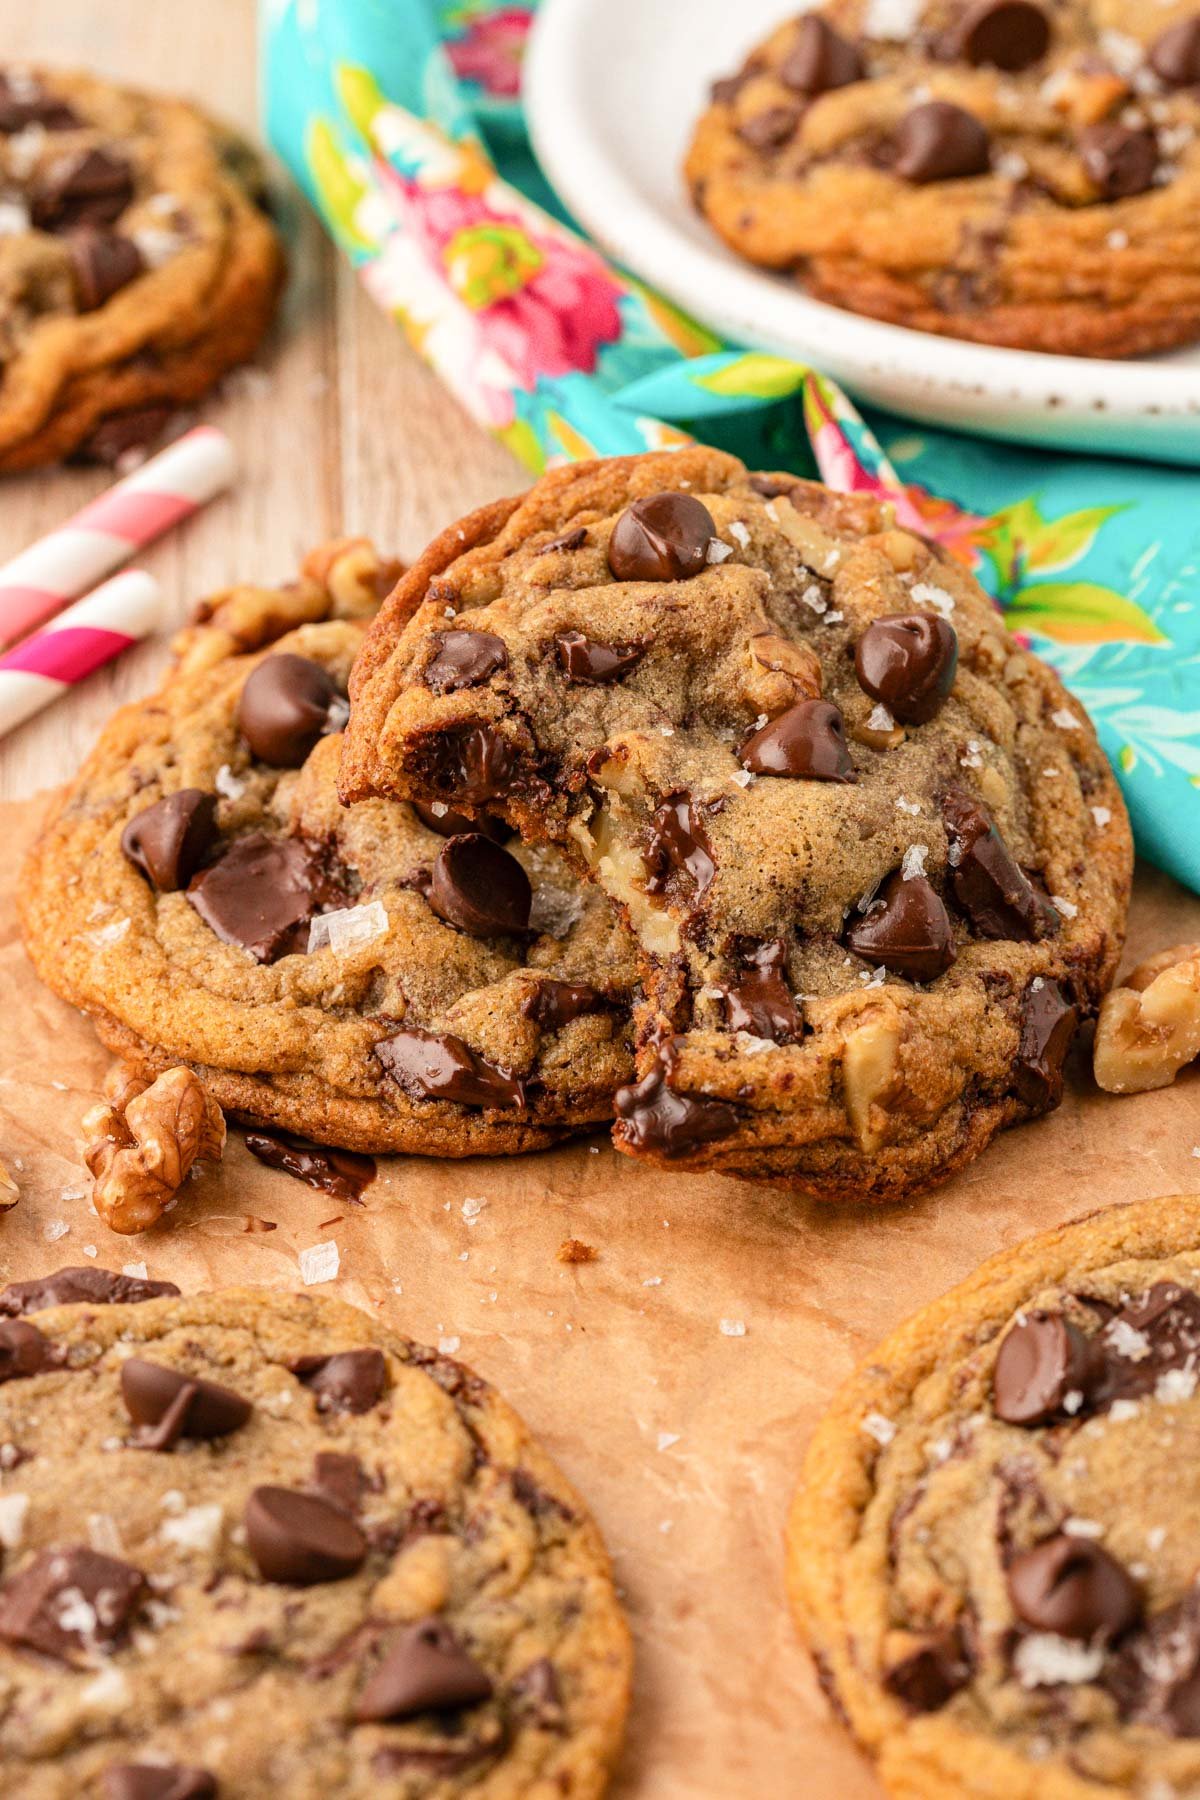
The result? Delightfully rich, sweet cookies with a hint of sea salt with slightly crisp edges and satisfyingly soft, chewy centers. A total drool-worthy treat that everyone will love!
Rebecca’s Recipe Review
Taste: Dark brown sugar, malted milk powder, and sea salt add dimension to an otherwise basic cookie. Ripples and puddles of chocolate throughout. Deep flavor develops while chilling.
Texture: Crisp edges, slightly underdone centers that start soft and cool to chewy.
Ease: 5/10 – Not hard but does require more work than the original.
Pros: Better flavor than the standard recipe. No waiting for butter to soften. Clearer instructions with more consistent results.
Cons: No one likes waiting for cookie dough to chill… but it’s worth it. This recipe also requires about $10 worth of chocolate.
Would I Make This Again? Yes! If I’m craving a slightly crisp and chewy Chocolate Chip Cookie, this is the recipe I’d go for!
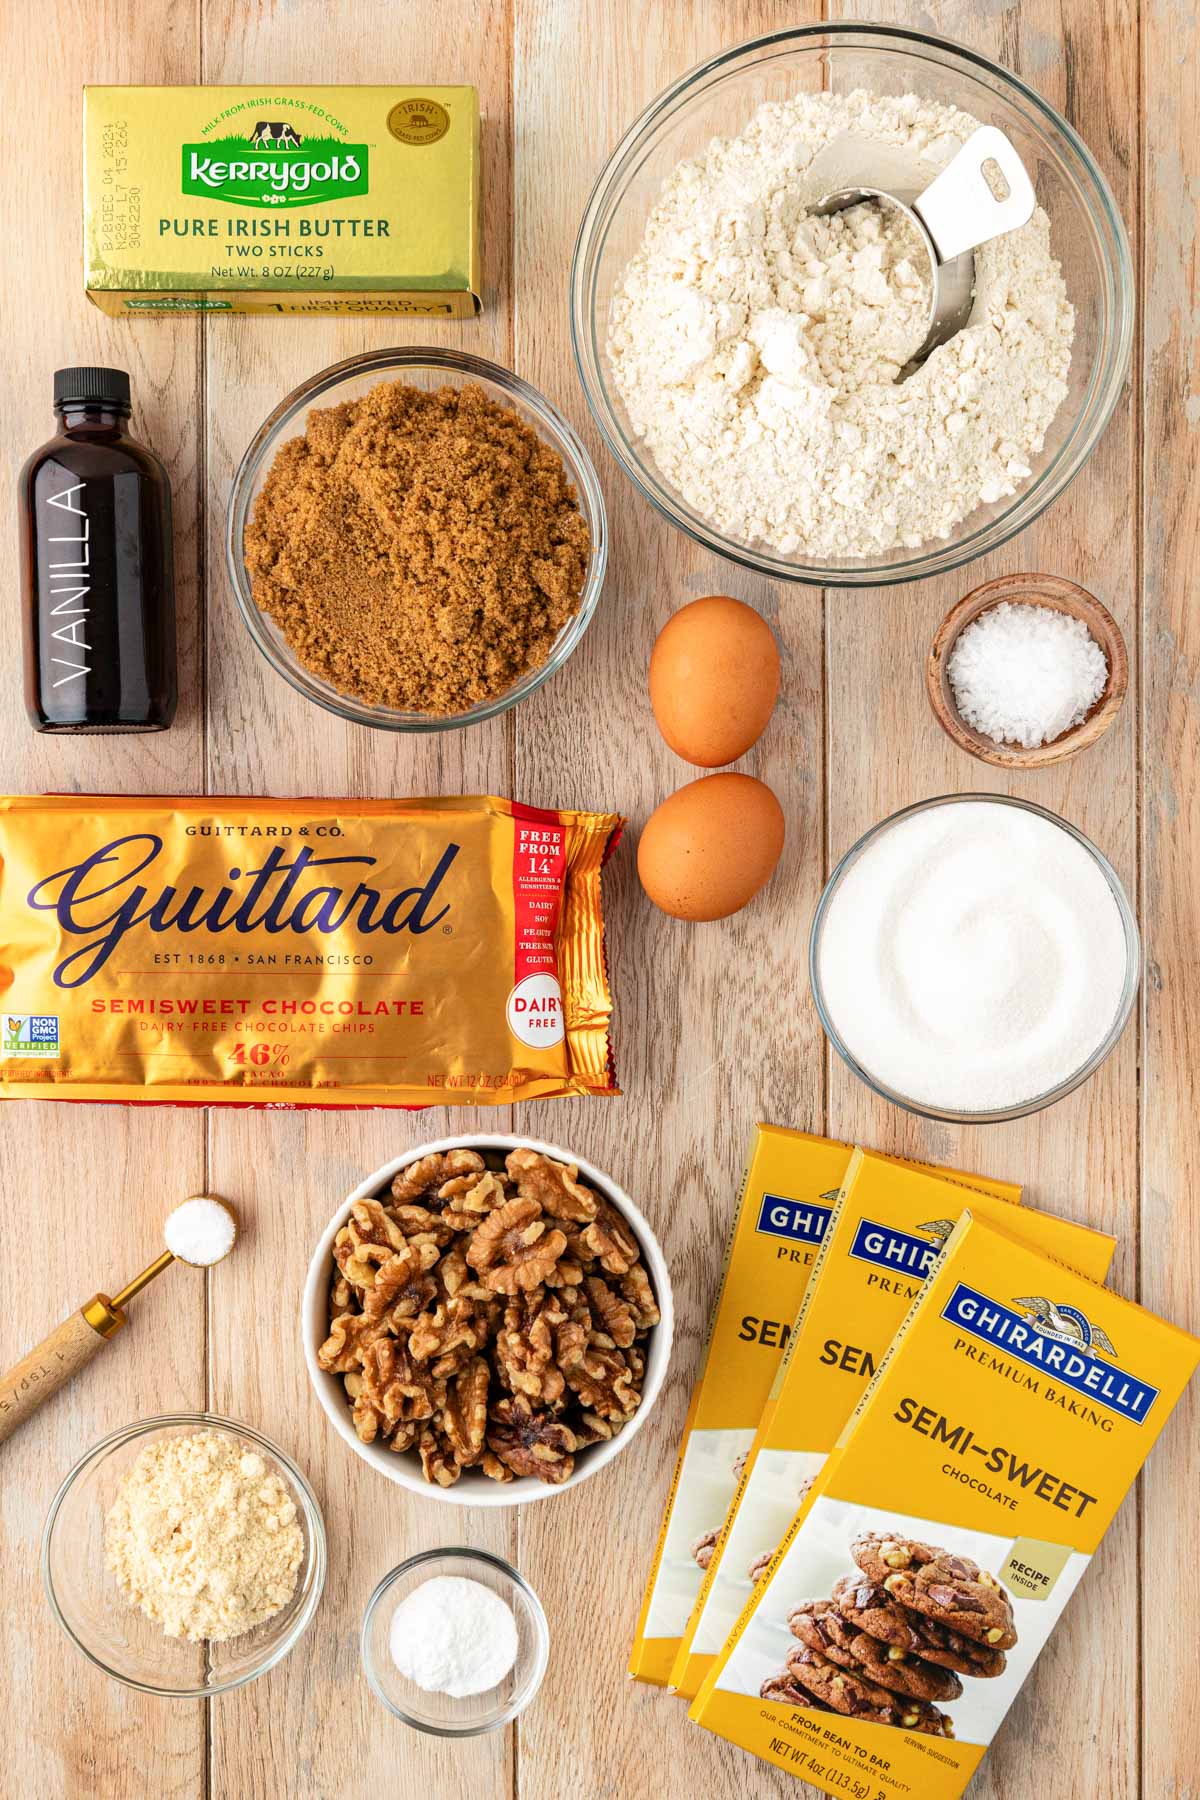
Elevated Toll House Cookie Ingredients
If you’re worried that a recipe that’s better than Toll House Cookies is filled with ingredients that you won’t have on hand, think again. To build a scrumptious cookie that can easily be made in all kitchens, it was important to me to keep the majority of the ingredients simple.
Therefore, this cookie recipe begins with pantry staple ingredients such as all-purpose flour, baking soda, salt, granulated sugar, dark brown sugar, vanilla extract, and eggs. The flavor then builds to perfection with the addition of malted milk powder and high-quality butter such as Kerrygold salted butter.
While malted milk powder isn’t necessary for the structure of the cookie, it does add an unforgettable depth of flavor that really pushes them to be better than Toll House Cookies! If you don’t have malted milk powder you can swap it out for powdered milk or powdered coffee creamer.
Another specific ingredient that’s used in this recipe is Kerrygold butter, since we need a full cup, we want to use a high-quality option to give them the best buttery flavor possible.
Then we loaded them up with semi-sweet chocolate chips and finely chopped semi-sweet chocolate. Oh, and we ditched Toll House Chocolate Chips because if you’re going through the trouble of waiting three hours for your cookies to be ready, you might as well use good chocolate chips.
Here’s a chocolate chip comparison you might find helpful. I personally like Guittard and Ghirardelli, but Trader Joe’s and Target’s Good and Gather Chocolate Chips are great options, too!
If you’d like, add in some chopped walnuts and flaky sea salt on top, too!
If gluten is a concern, try a 1 for 1 flour like Bob’s Red Mill in this recipe or try these Gluten-Free Chocolate Chip Cookies!
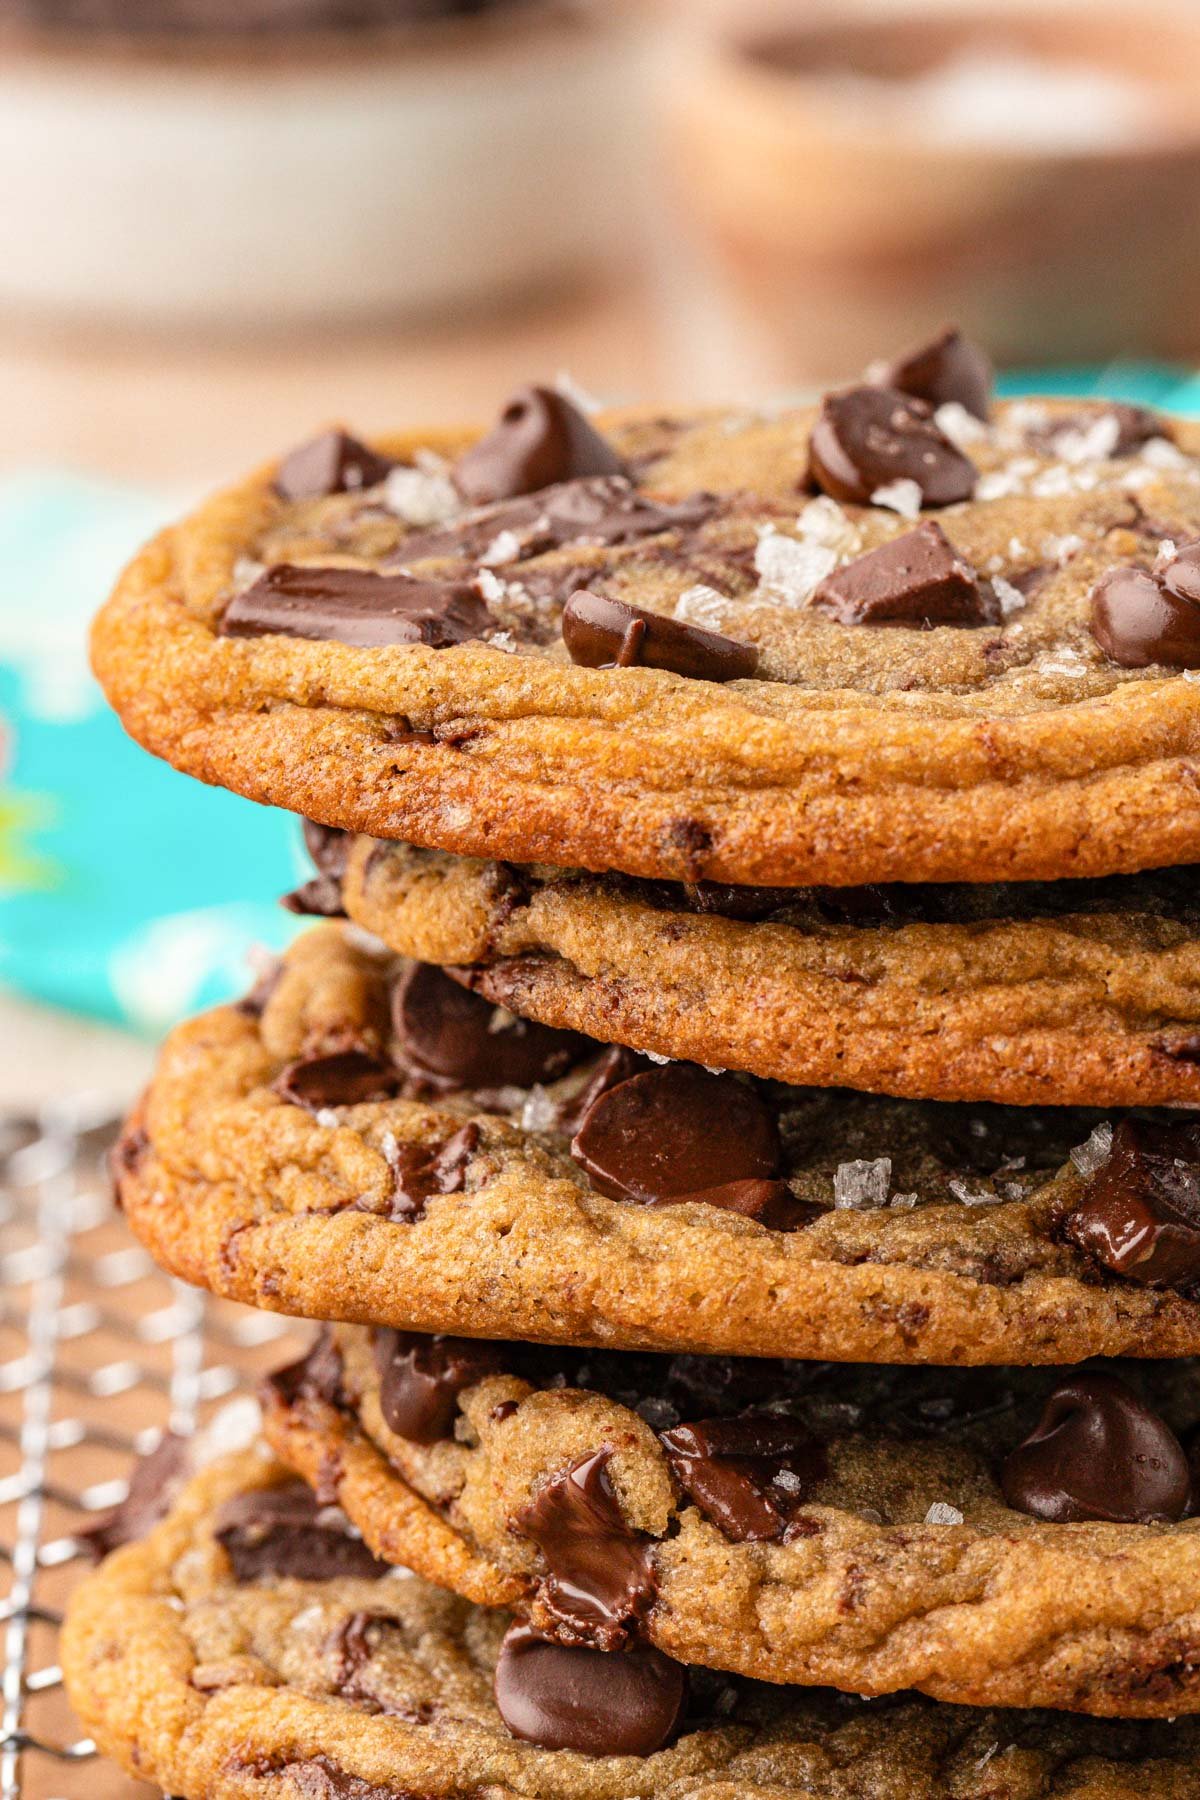
How To Make Toll House Cookies
A full recipe card with step-by-step photos and ingredient quantities for these cookies can be found at the end of the post. Leave a comment if you have any questions that weren’t answered in the post!
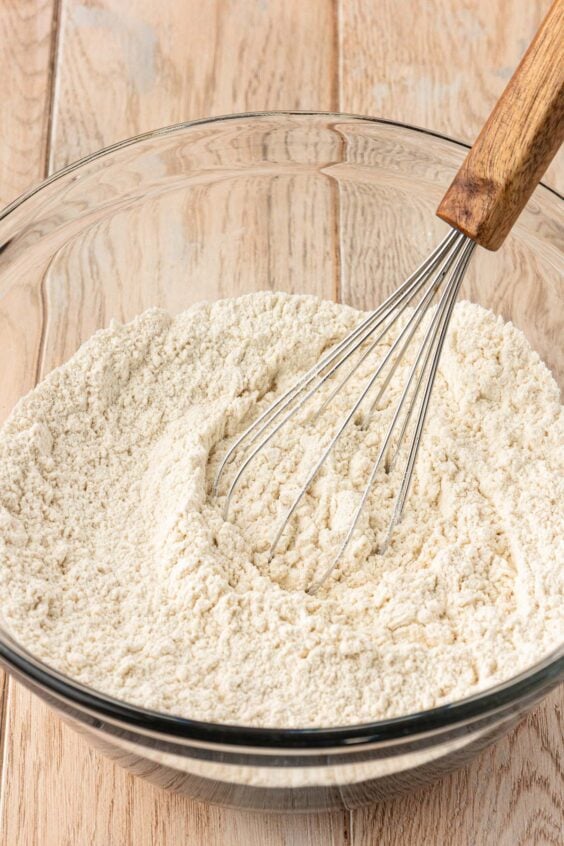
- Prepare the dough by whisking together the all-purpose flour, malted milk powder, baking soda, and sea salt in a mixing bowl. Then set this aside.
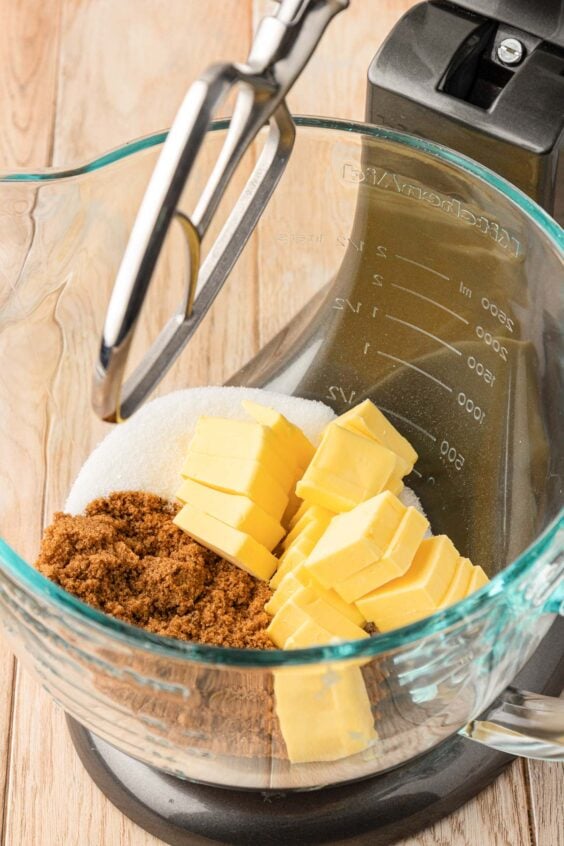
- In a stand mixer with a paddle attachment, cream together the butter, granulated sugar, brown sugar, and vanilla extract.
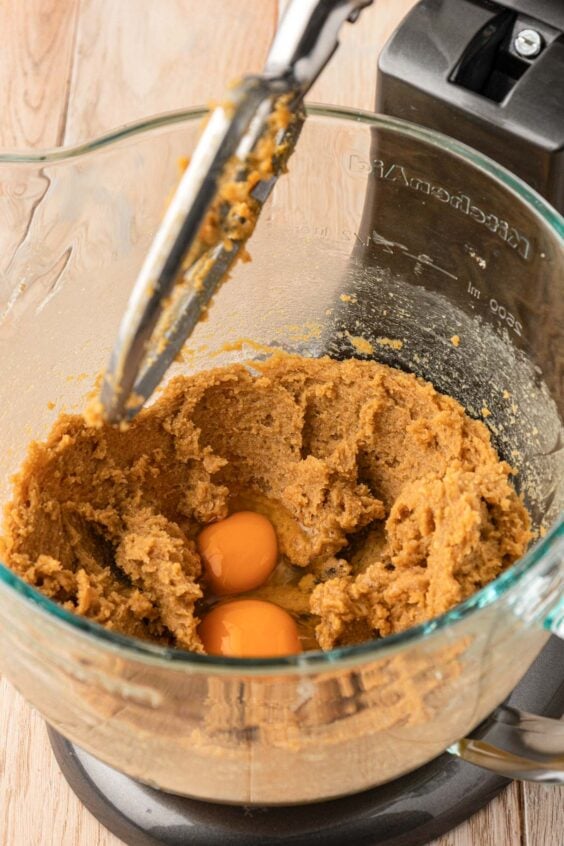
- Mix in the eggs until fully combined.
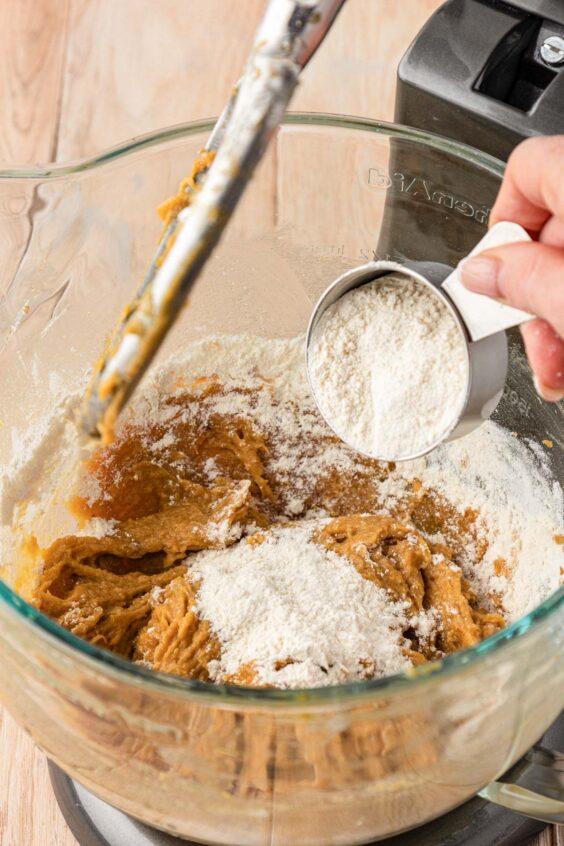
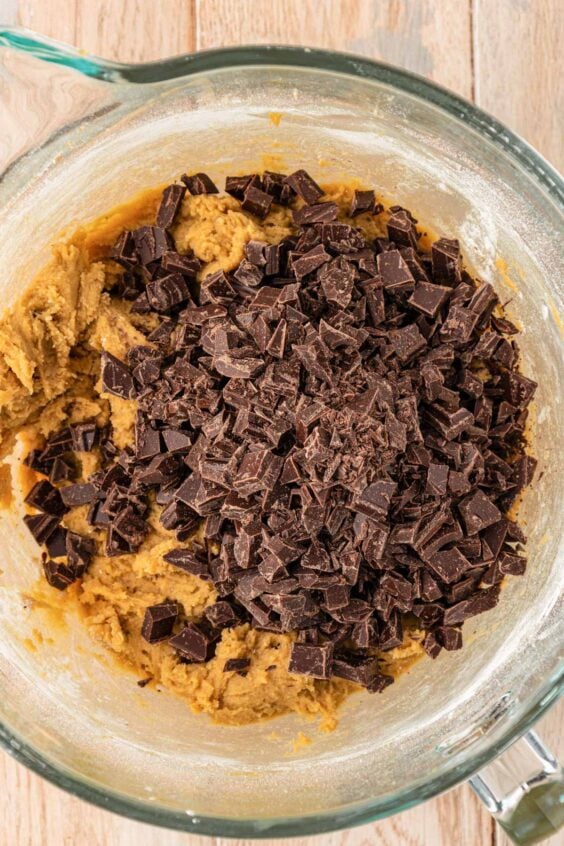
- Gradually beat in the flour mixture and stir until fully combined. Fold in the chocolate chunks and chopped walnuts (if using).
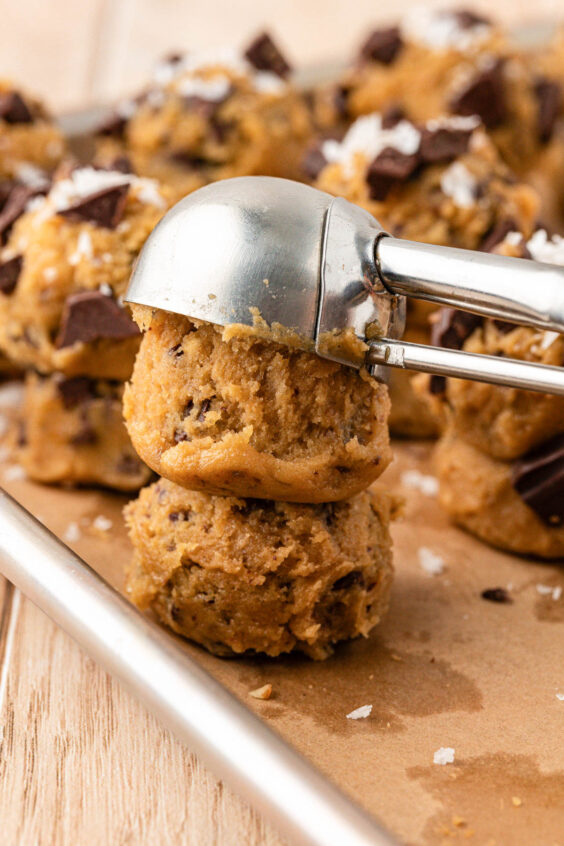
- Use a medium cookie scoop to scoop the cookie dough onto a parchment-paper-lined pan, stacking the scoop of dough two high.
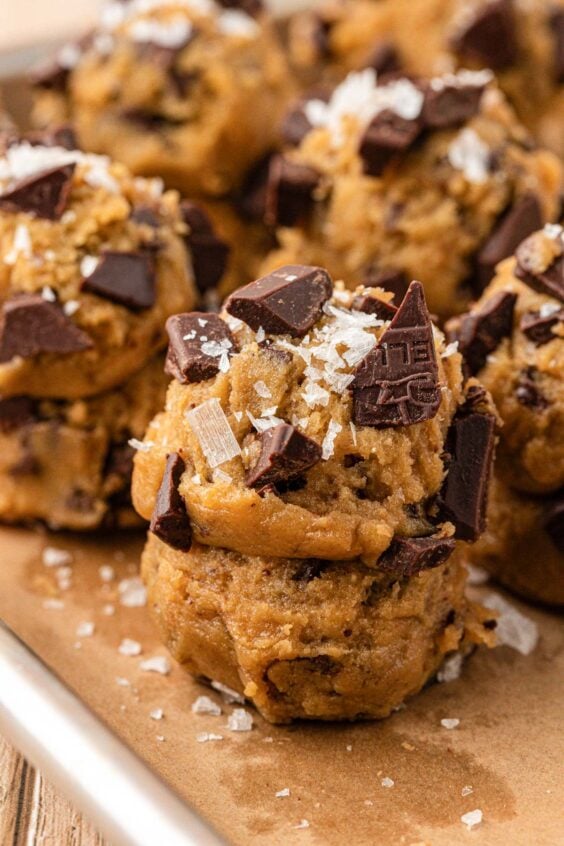
- Top the doubled-stacked dough with additional chocolate chips and sprinkle with flaky sea salt.
- Chill the dough in the refrigerator to achieve the best results.
- Transfer the chilled stacks of cookie dough onto a fresh parchment-lined baking sheet, making sure to give them plenty of space from each other.
- Bake each batch of cookies until the edges are golden brown and the centers have lost most of their glossiness.
- Optionally, press a few additional chocolate chips into the tops of each cookie as soon as they come out of the oven. This will give them the classic chocolate chip cookie appearance.
- Cool the cookies on the baking pan for a few minutes and then transfer them onto wire racks to finish cooling to room temperature.
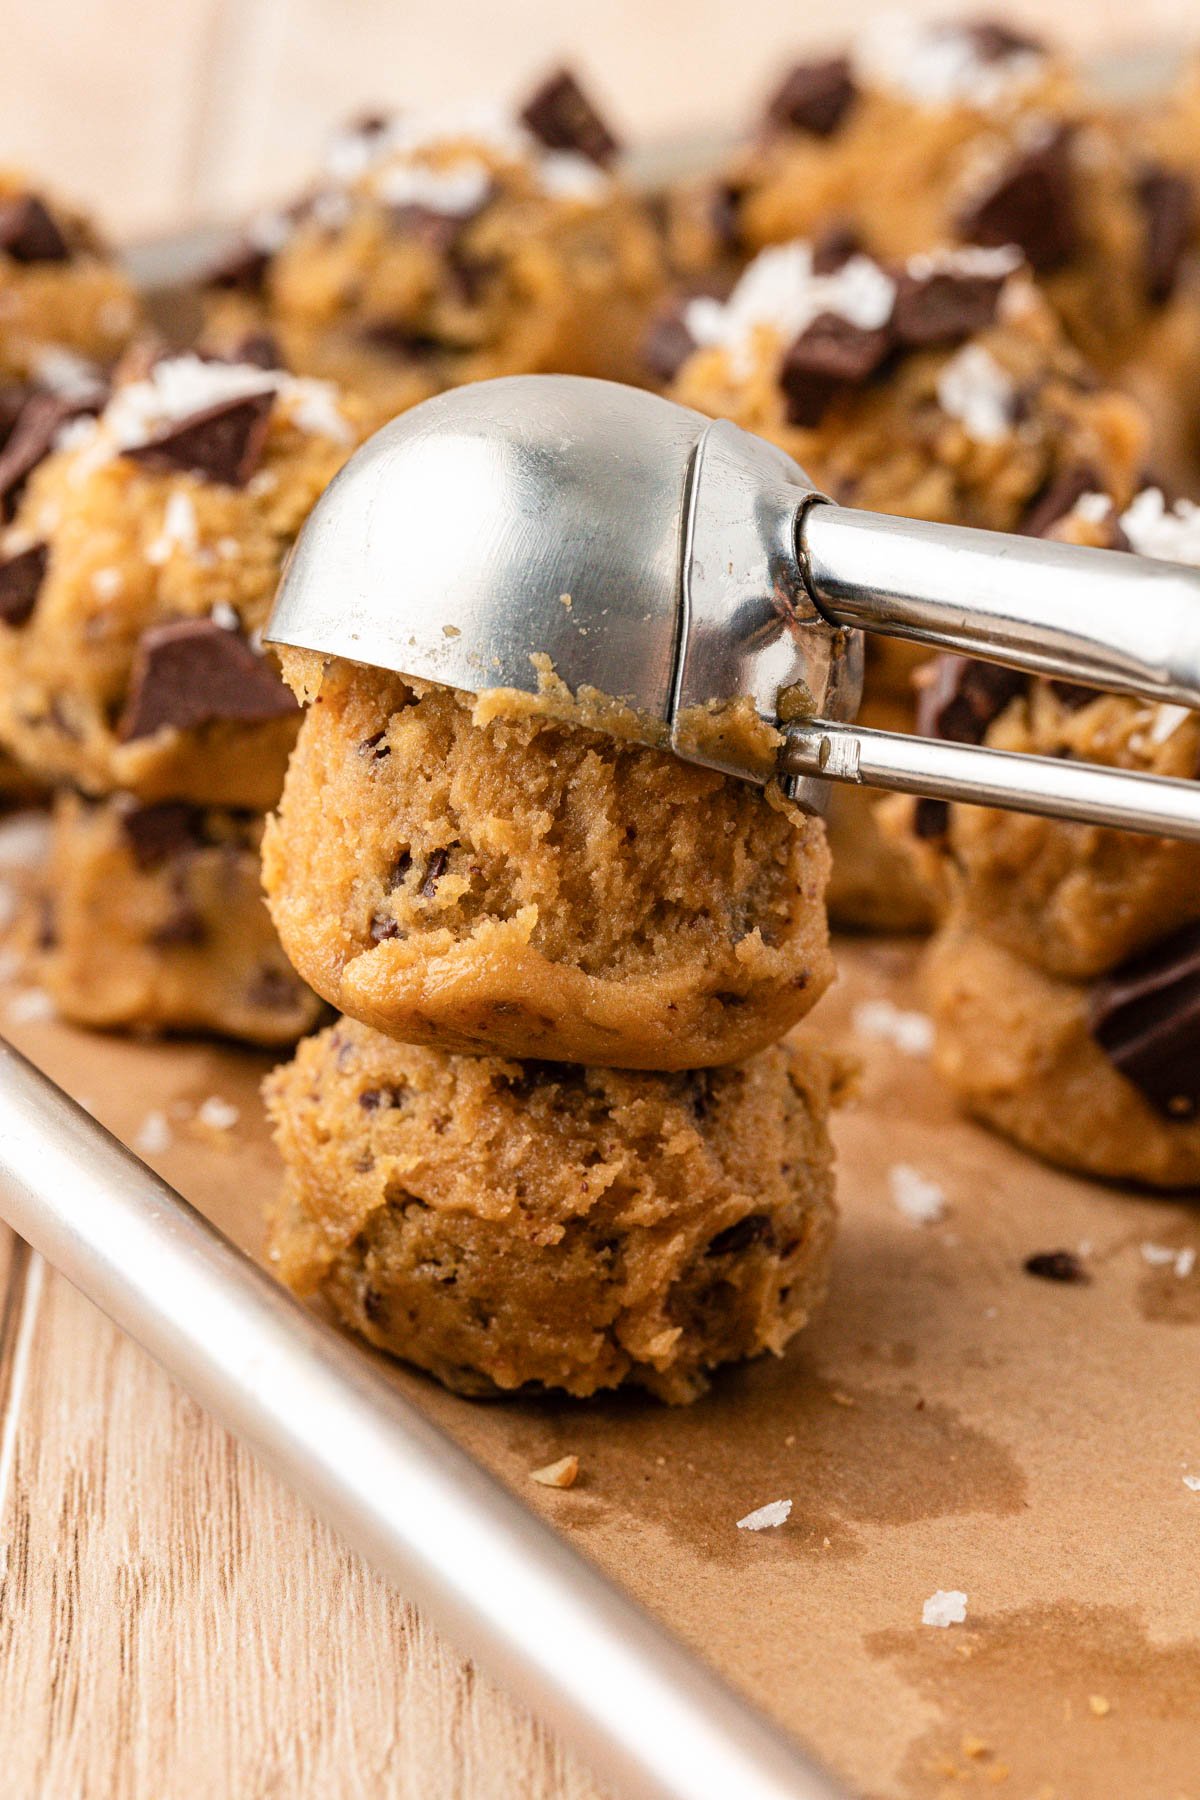
- Chilling The Dough – One of the things usually left out of the modern-day version of the recipe is the chilling time. But chilling the dough is absolutely crucial to getting soft and chewy cookies; if you don’t chill them, you’ll end up with flat cookies that spread.
- Stacking Cookie Dough – Double stack the scoops of dough! This makes for thicker cookies that are perfectly soft and chewy in the middle.
- Measurements – This recipe works best when ingredients are measured in grams using a kitchen scale. It’s easy to accidentally add too little or too much of an ingredient, especially too much flour, which then can significantly impact the final result.
- Butter – Make sure your butter is cold and use Irish or European for best results.
- Parchment Paper – Even if you’re using a non-stick pan, I still highly recommend using parchment paper for a better bake on your cookies.
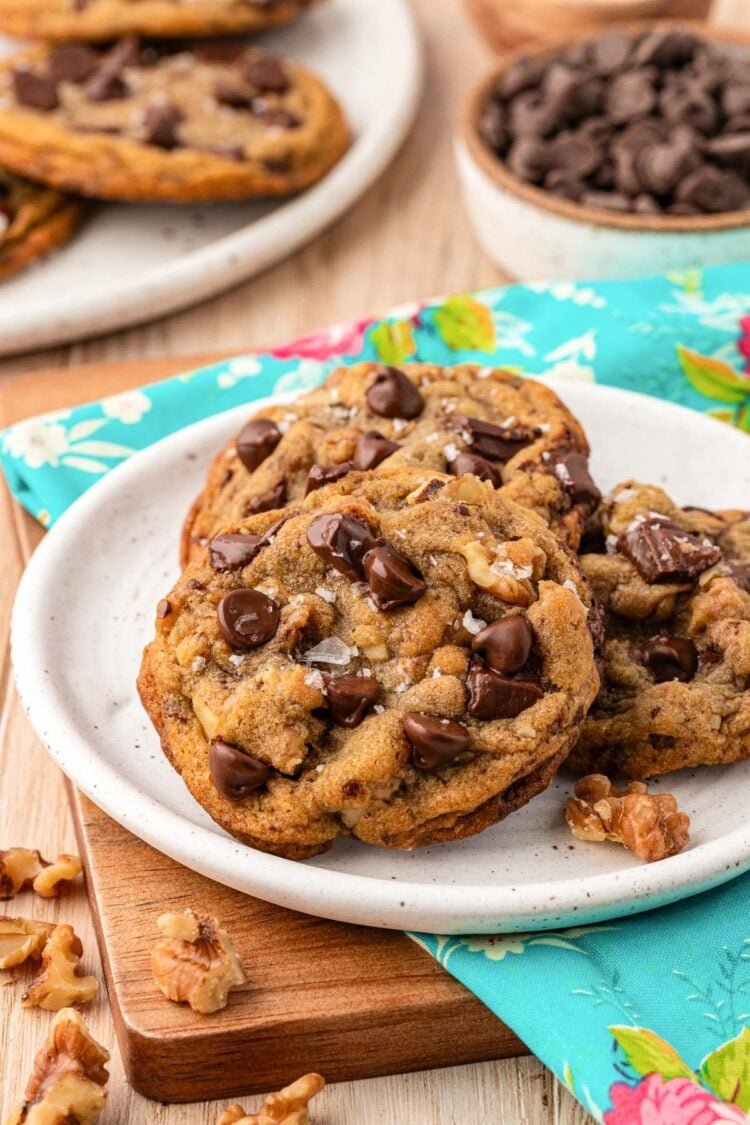
- Walnuts – Feel free to leave the walnuts out if you prefer, but they really do make the cookies! The two images below show this recipe made without walnuts and with, with no other changes being made.
How To Serve
Every ooey-gooey, fresh-from-the-oven chocolate chip cookie pairs best with a tall, ice-cold glass of milk! These Better Than Toll House Cookies are also excellent with ice cream between two to make an ice cream cookie sandwich!
Sometimes I even make ice cream sandwiches to keep in the freezer for when I’m in the mood for a frozen treat! You can also just pop a cookie in the microwave to warm it up and then enjoy it with a scoop of ice cream on top.
How To Store Toll House Cookies
Better Than Toll House Cookies are kept best in an airtight container for up to 4 days. You can also stack them in a gallon Ziploc baggie with the excess air squeezed out of it.
How To Freeze Chocolate Chunk Cookies
You can also store these cookies in the freezer for longer storage. Learn How To Freeze Cookie Dough so then you can bake these Toll House Cookies straight from the freezer for a warm, homemade treat anytime without the kitchen mess!
More Delicious Chocolate Chip Recipes!
- Edible Cookie Dough
- Pumpkin Chocolate Chip Pancakes
- Chocolate Cookie Dough Cake
- Cookie Dough Truffles
- Brownie Cookies
Did You Make This Recipe?
If you’ve tried this recipe, please let me know how you liked it in the comments below and leave a review. I love hearing from you!
Don’t forget to tag me – @sugarandsoulco – on Instagram and Pinterest with your photos or join our Sugar & Soul Show-offs Community and share them there.
This recipe was originally published in April 2018 and was updated in March 2024 with new photos and an improved recipe.

(Better Than) Toll House Cookie Recipe
Ingredients
- 2½ cups all-purpose flour 325g, spooned and leveled, King Arthur brand recommended
- 2 tablespoons malted milk powder 20g
- 1 teaspoon baking soda
- 1 teaspoon fine sea salt or ½ teaspoon salt
- 1 cup salted butter 227g, cold and sliced, Kerrygold brand for best results
- ¾ cup granulated sugar 150g
- ¾ cup dark brown sugar 165g, packed
- 1 teaspoon vanilla extract
- 2 large eggs Vitals Farms, Happy Eggs, or Nellie's brand recommended
- 12 ounces semi-sweet chocolate finely chopped
- 1 cup chopped walnuts optional
- ½ cup semi-sweet chocolate chips optional for topping
- flaky sea salt optional for topping
Instructions
- Line a large baking sheet with parchment paper and set aside.
- In a medium bowl, whisk together the 2½ cups all-purpose flour, 2 tablespoons malted milk powder, 1 teaspoon baking soda, and 1 teaspoon fine sea salt and set aside.
- Slice 1 cup salted butter (use cold for best results) into tablespoons and cream with ¾ cup granulated sugar, ¾ cup dark brown sugar, and 1 teaspoon vanilla extract in a stand mixer fitted with a paddle attachment at speed 4 for 3 minutes, scraping down the sides of the bowl after each minute.
- Mix in the 2 large eggs until fully combined.
- Gradually add in the flour mixture and mix until fully combined.
- Fold in most of the chopped 12 ounces semi-sweet chocolate and 1 cup chopped walnuts (if using).
- Use a medium cookie scoop (1.5 tablespoons) to scoop the cookie dough into 1-ounce portions and place the scoop on the prepared baking sheet. Then, gently press another scoop of dough into the top of the first so they are stacked.
- Top the scoops of dough with the remaining chopped chocolate and sprinkle with flaky sea salt.
- Chill the dough for at least 3 hours before baking for best results.
- When ready to bake, preheat the oven to 350°F and line another large baking pan with parchment paper
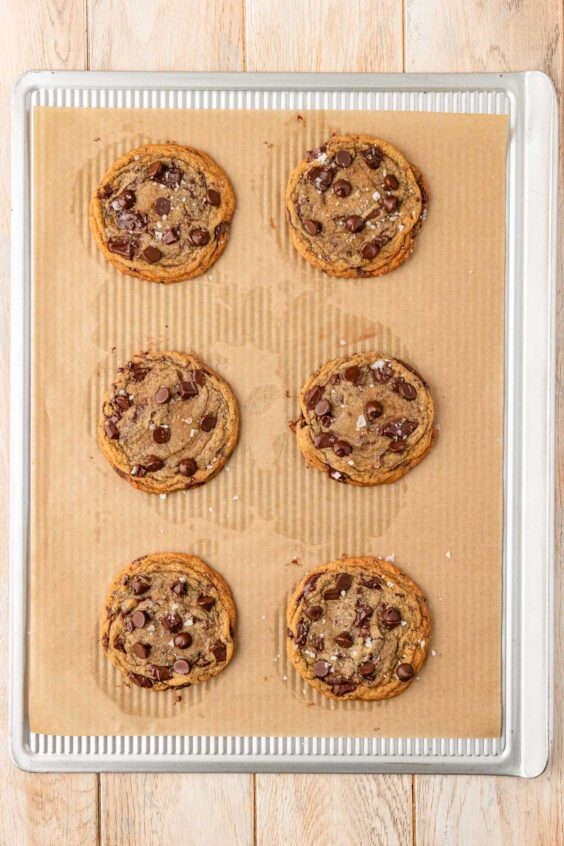
- Place 6 of the chilled cookie dough balls at least 3 inches apart on the baking pan. Bake for 9 to 12 minutes or until the edges are golden brown and the centers have lost most of their glossiness (they will still be gooey in the center when you pull them out and will continue cooking on the pan).
- As soon as the cookies come out of the oven, gently press a few of the ½ cup semi-sweet chocolate chips into the tops of each one while they are still on the pan. This is optional if you really want that classic chocolate chip cookie look.
- Allow the cookies to cool on pan for 2 to 3 minutes before transferring to a cooling rack.
- Repeat with the next 6 cookies, either using another pan or chilling the pan from the first batch in the fridge for a few minutes.
- Cookies will be crisp on the edges and gooey in the center when fresh out of the oven. After cooling and resting, the centers will become more chewy and less gooey.
Video
Notes
- Not chilling the dough could result in flatter cookies with underdeveloped flavor.
- Light brown sugar can be used in place of dark.
- Nutritional information is an estimate that includes the optional nuts and chocolate chips.
- Adapted from Nestle Toll House.
Nutrition
Did You Make This Recipe?
Don’t forget to share it with me on Instagram @sugarandsoulco and follow on Tiktok @sugarandsoulco and Pinterest @sugarandsoulco for more!



Comments & Reviews
Jackie says
Hi
Can I refrigerate this dough longer than 3 hours.
Jessica M. says
The extra touches of malted milk, dark brown sugar, and flecks of chocolate make these cookies stand out! I’m not a fan of walnuts in my cookies, but I went ahead and put some in and they added a nice nutty flavor to complement the dark brown sugar. They came out a little flat, but that could have been a mistake on my part, or just personal preference, as I like my cookies a bit thicker. Overall, very yummy!
Rebecca Hubbell says
Glad you enjoyed them! These cookies are flatter than most of my other chocolate chip cookie recipes!
Carol S. says
My family and I are absolutely blown away by these cookies! Not only are they way better than Toll House but they’re also way better than any homemade chocolate chip cookie we’ve ever had. SO GOOD – Crisp edges yet still magically chewy and soft! My new go-to cookie recipe.
Adrienne L. says
Agreed! Better than Toll House for sure!!! Perfect taste and texture!
Karen says
HELP! ! I just tried this recipe and am a bit disappointed. Here’s my problem: the cookies have a cake like texture and they really didn’t spread out much as they baked. The flavor is OK- just not a chewy cookie as I was hoping to make. Being an inexperienced baker I’m not sure what might have caused this to happen. I followed the directions exactly and made no changes to the recipe. Any idea of where I went wrong?
Thanks so much!
kd
Rebecca Hubbell says
Did you possibly use baking powder instead of baking soda?
Karen says
I used baking soda. Maybe I mixed it too long?
Irma Valdivia says
Loved, loved, loved your recipe, don’t know if it was the Kosher Salt or the hand mixing but these were the best i’ve ever made. Followed our recipe to the letter. and cookies came out great!
Rebecca Hubbell says
I’m so glad you loved them, Irma! Thanks so much for the sweet comment!
Cathy says
The original recipe also included a teaspoon of water as the last ingredient.
Linda says
This is not the original recipe. The true original recipe calls for 1 teaspoon warm water mixed with the 1 teaspoon baking soda.
Mo says
This recipe has a small but vital component missing that perhaps an inexperienced baker may miss. It never actually tells you to mix the flour, salt and baking soda together therefore the cookies may turn out flat and bland with no leavening agent or salt. Please read through recipes rather than just copying them.
Rebecca Hubbell says
An inexperienced reader might have missed steps 1 and 3. Please read through the recipe before being so rude…
Linda says
Re-read the recipe. It said to whisk the flour, baking soda and salt together. Further in the recipe it said to add it gradually to the creamed mixture.
Kathi Pauling says
The handwritten original recipe from the inn used shortening. This is the first published version. I was also told the original bag recipe said to melt 1/2 C butter, 1/2 C shortening and the brown sugar together then cool. We’ve been doing that since the 40’s. The white sugar was beaten with the eggs and vanilla.
Albert Bevia says
Nothing beats a classic, I never knew the story of how these cookies became so famous…now I know!! I could live with free chocolate for life too!!!! these cookies look amazing, thanks for the recipe and tips on making it
Dennis says
Who doesn’t love a yummy cookie recipe with walnuts and semi-sweet chocolate? Yum! And your cookie photos are absolutely stunning! I wish I could hook up a 3D printer to my computer, so I could snack on them right now! I can’t wait to give this recipe a try at home with my family!
Jenn says
LOVE THESE SO MUCH! Fantastic cookies and photos!
Amanda Finks says
Can’t beat this classic chocolate chip cookie! So good!